
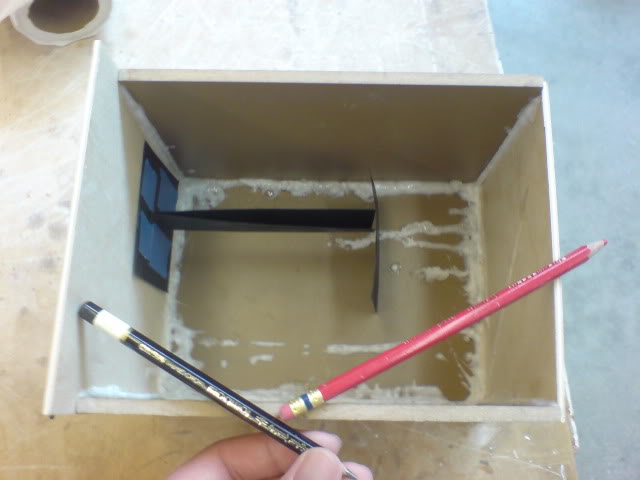
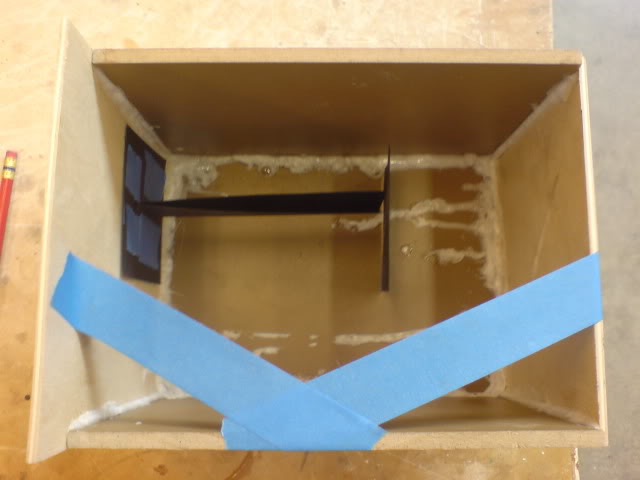
Scoop Intake Build


Merchant / Group Buy Organizer ( non-certified )
iTrader: (20)
Joined: Mar 2008
Posts: 307
From: Casa Grande, AZ
Nice to see the continued progress, still looking good.
In building the air box I might suggest trying to find a plastic container that you can cut the side or bottom off of for the top of your box. If you could find something about the right size, it will probably already have nice radius on the sides and being that most are made from polyethylene or polypropylene, you can use the plastic as a mold for fiberglass. Since there are so may different plastic container out there, this may make shaping the box a little easier.
In building the air box I might suggest trying to find a plastic container that you can cut the side or bottom off of for the top of your box. If you could find something about the right size, it will probably already have nice radius on the sides and being that most are made from polyethylene or polypropylene, you can use the plastic as a mold for fiberglass. Since there are so may different plastic container out there, this may make shaping the box a little easier.


Thanks guys
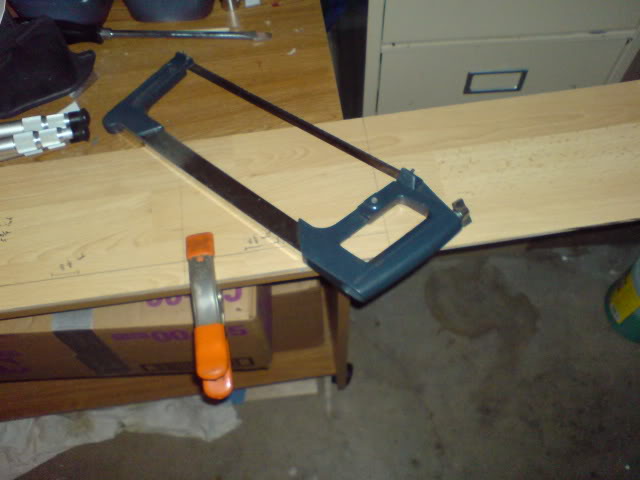
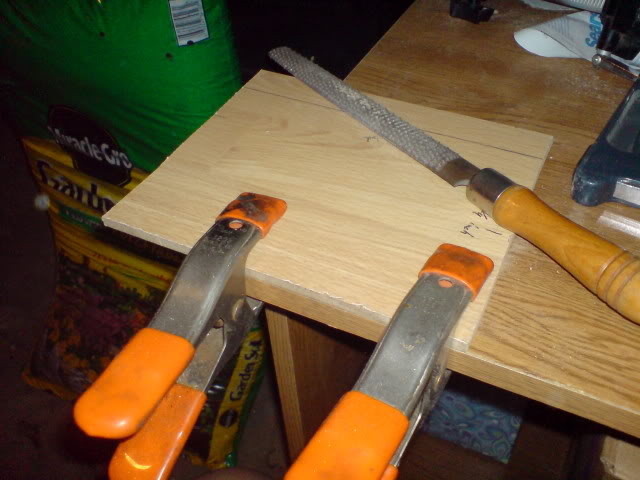
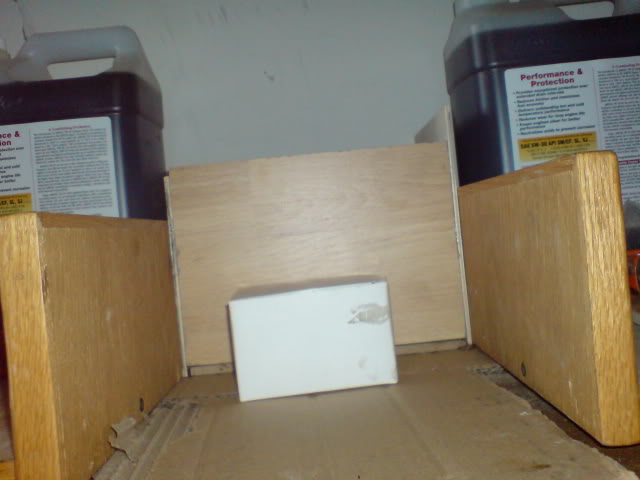
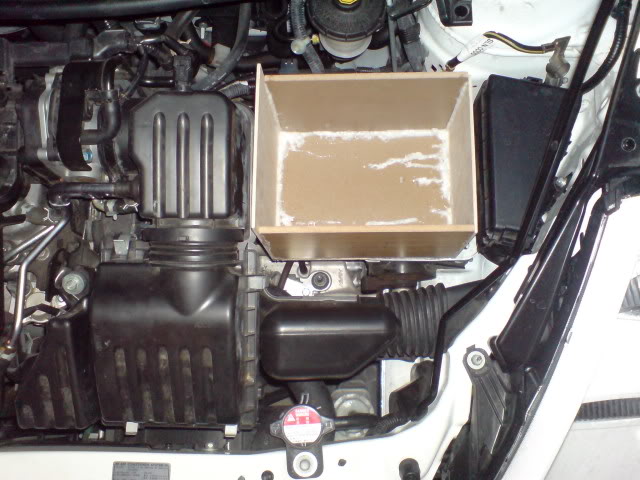
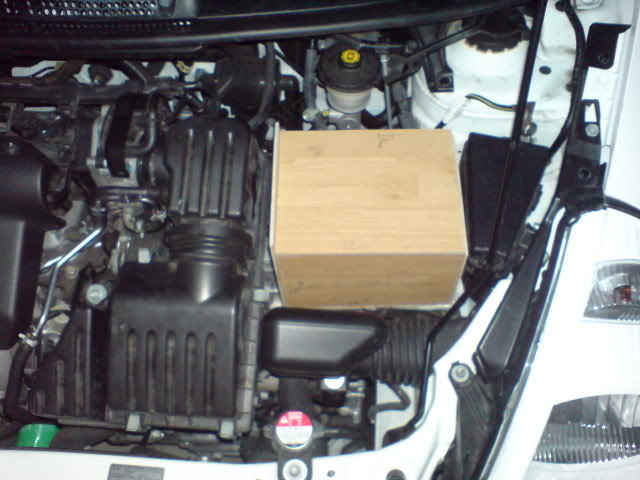
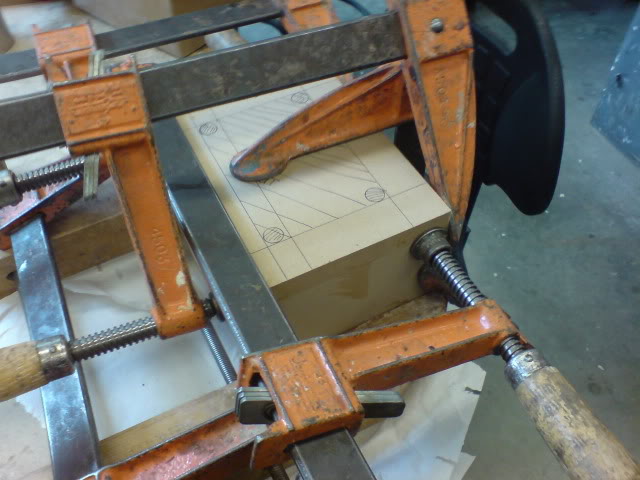
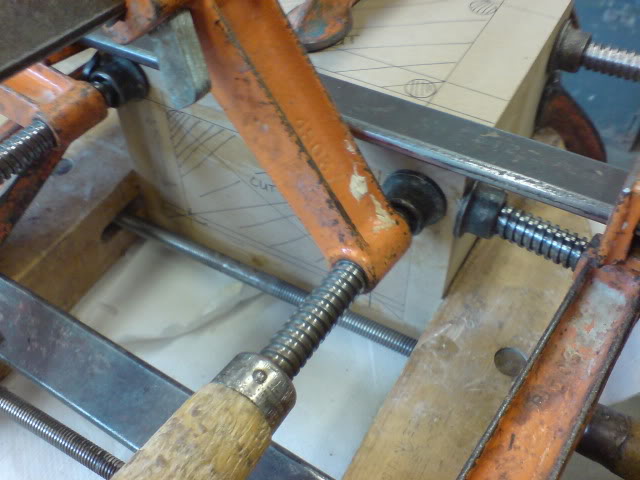
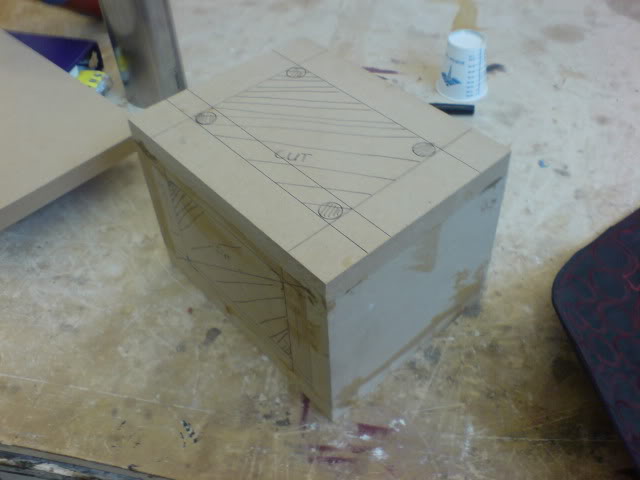
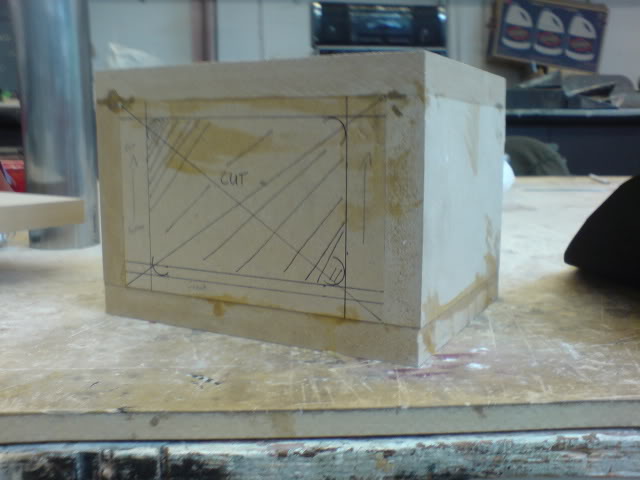
started to trim those wood pieces down to specs
NOTE: I need to invest in some powertools...the good all hacksaw and filer can only do so much (within reasons )
)
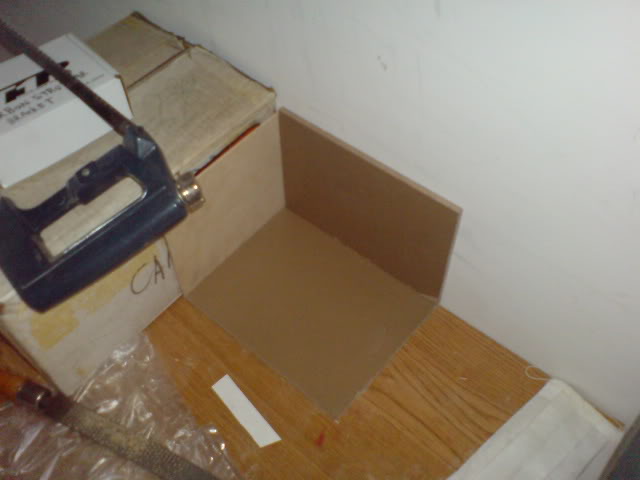
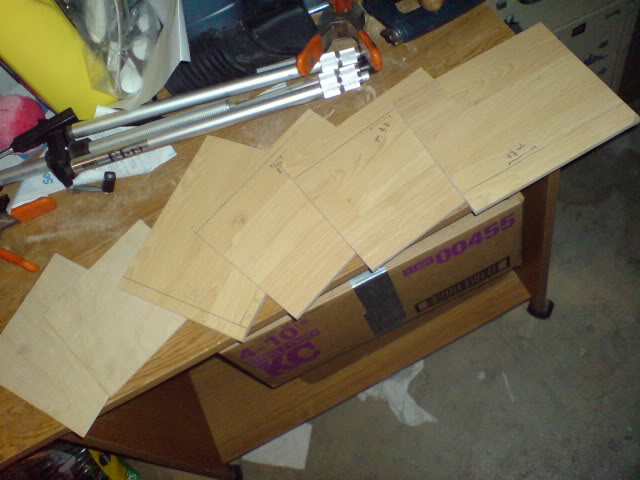
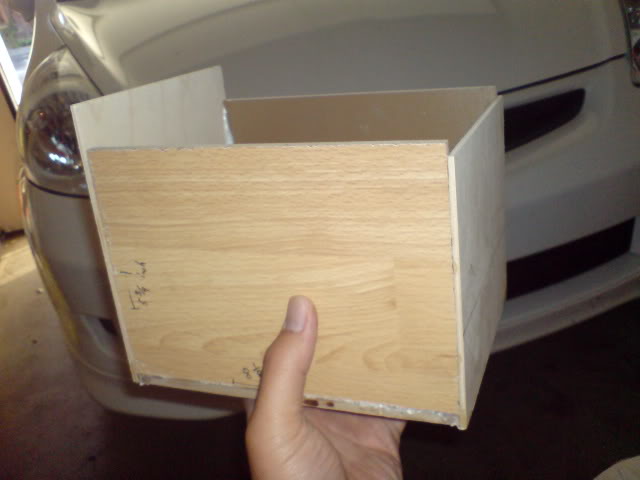
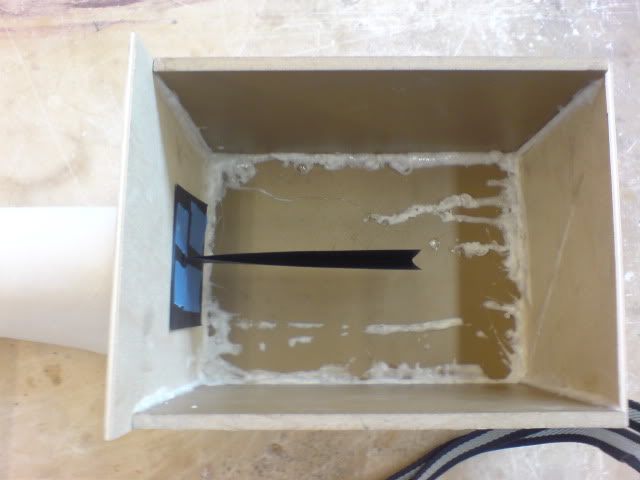
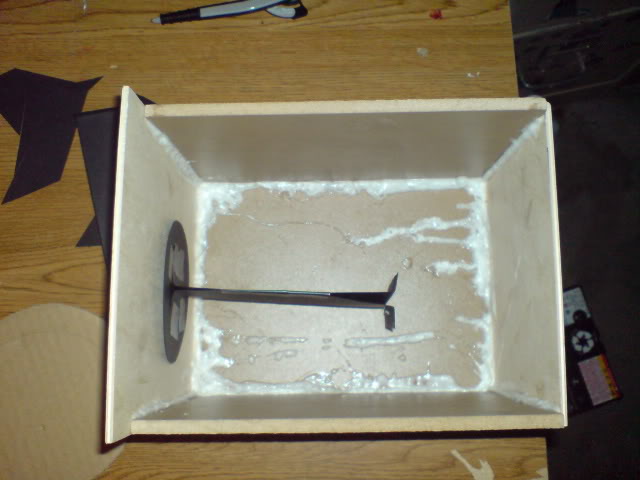
After that I started shaping and gluing down the pieces into the airbox
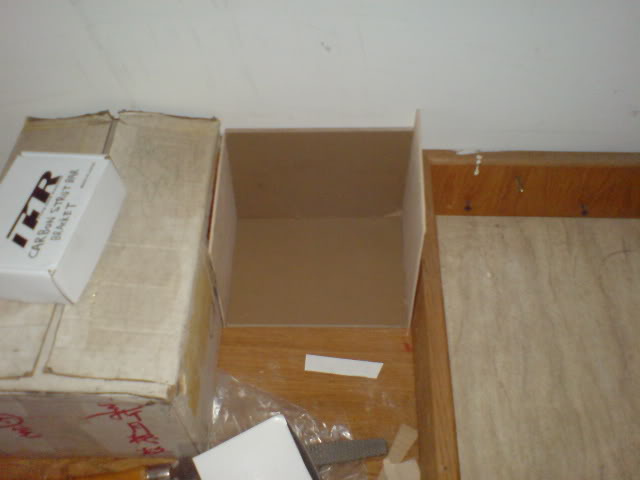


close up on my horrible job and cutting and gluing
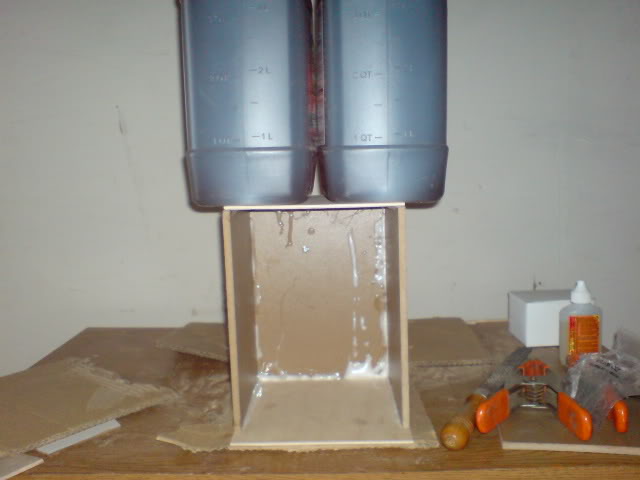
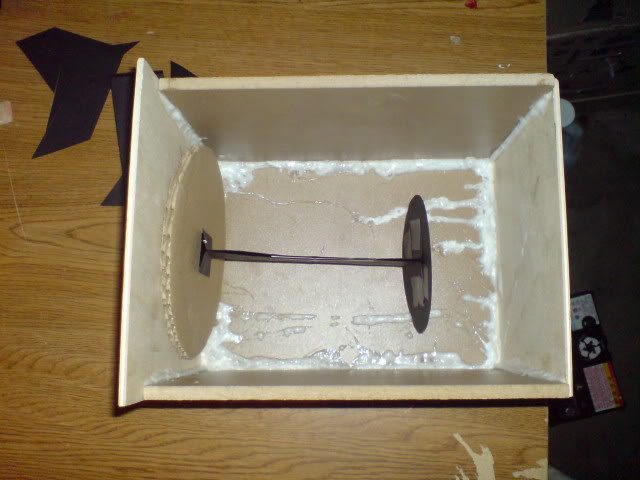
MOAR support
Starting to dry
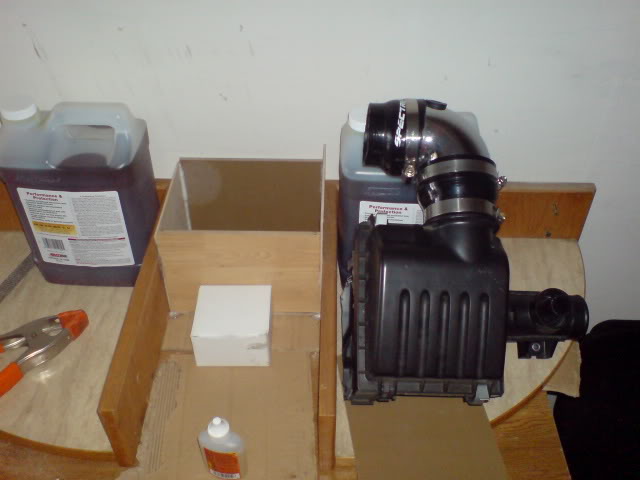
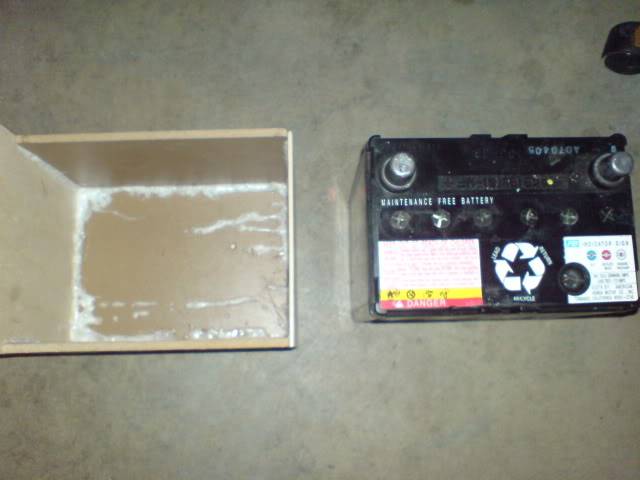
size comparison with my airbox
almost.....
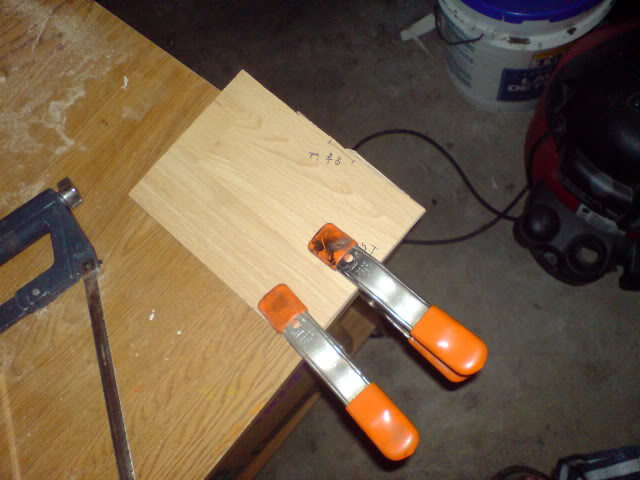
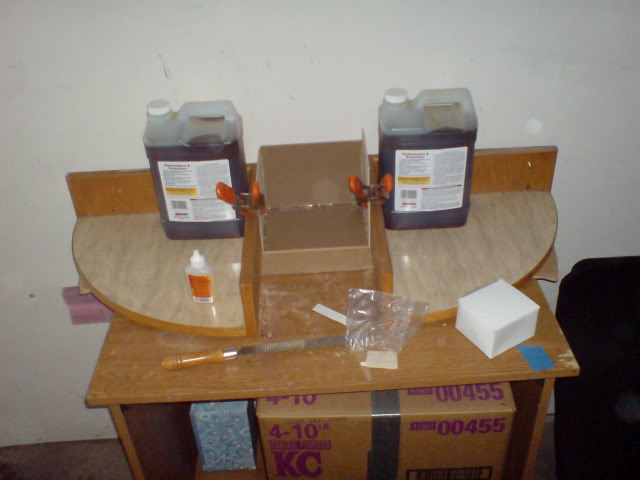
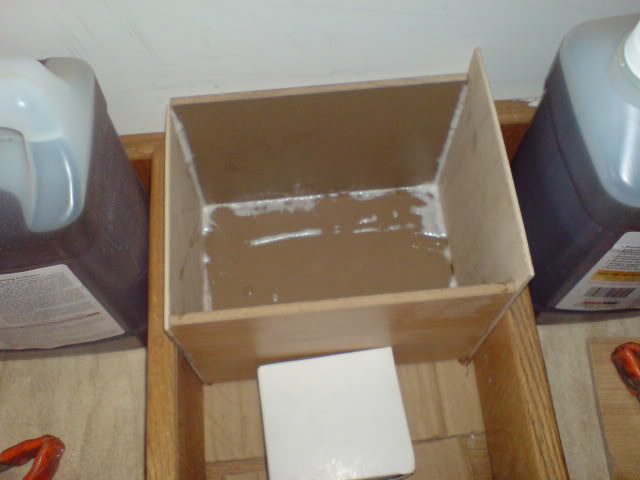
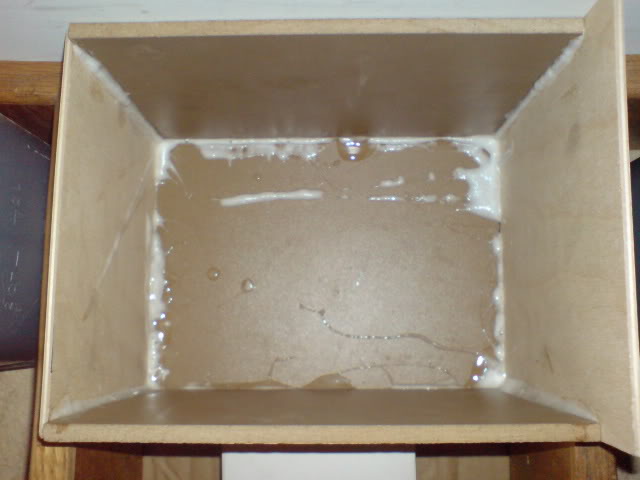
making sure the glue is tight
AND AFTER FIVE HOURS, we got a chappy wooden box")
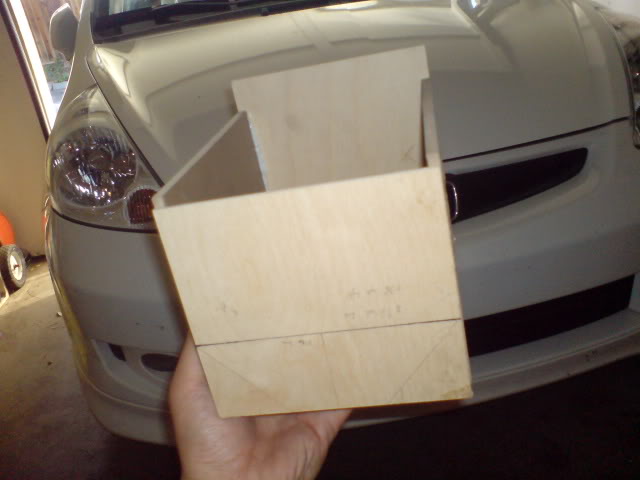
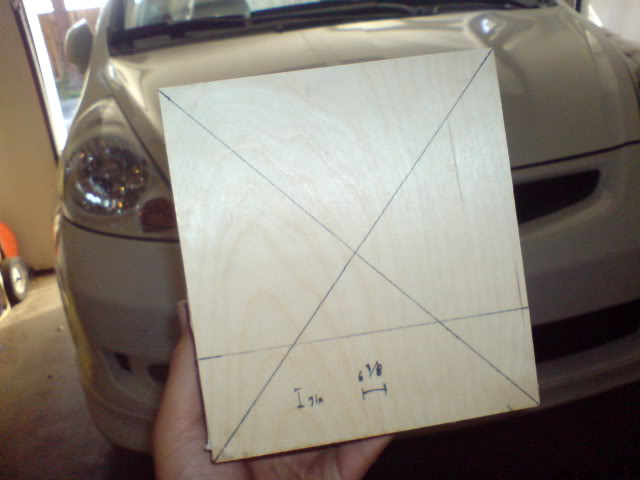
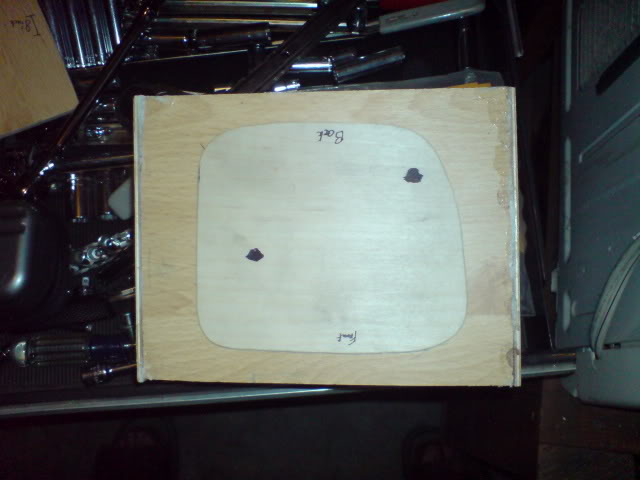
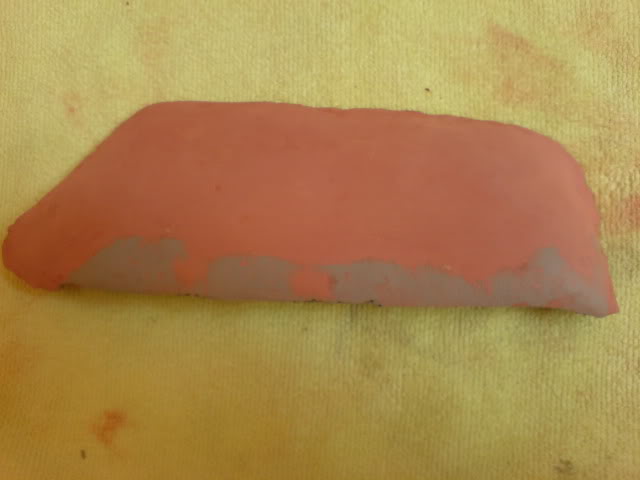
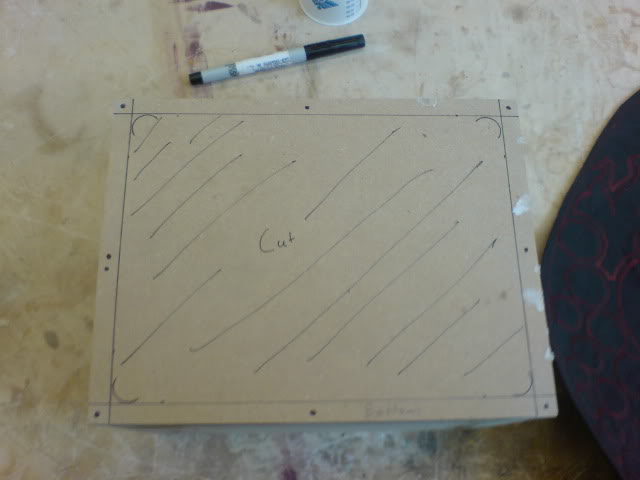
pre-marked to fit the inlet of the filter.
started to trim those wood pieces down to specs
NOTE: I need to invest in some powertools...the good all hacksaw and filer can only do so much (within reasons
)After that I started shaping and gluing down the pieces into the airbox
close up on my horrible job and cutting and gluing
MOAR support
Starting to dry
size comparison with my airbox
almost.....
making sure the glue is tight
AND AFTER FIVE HOURS, we got a chappy wooden box
pre-marked to fit the inlet of the filter.
Last edited by Slimjimx701x; May 12, 2009 at 12:50 PM.
Sorry for the slow reply, I need to reformat my computer.
Been playing around with the idea of reshaping the box....

Triming for a better design my friend help me on (will take photo soon)
centering the mockup filter (I think I misread the specs...will check again...3in backplate/5inch height)

Since I'm petty depended on the Apexi filter being in my hands, I'll hold on working on the box. So back to the scoop....
Forgot to get the more updated photos
THERE ALOT MORE OF THAT
Been playing around with the idea of reshaping the box....
Triming for a better design my friend help me on (will take photo soon)
centering the mockup filter (I think I misread the specs...will check again...3in backplate/5inch height)
Since I'm petty depended on the Apexi filter being in my hands, I'll hold on working on the box. So back to the scoop....
Forgot to get the more updated photos
THERE ALOT MORE OF THAT
Sure. Where and went you want to meet up? Just wondering do you have the size for it as well?
Thanks.
Thanks.
Updates
Starting to test fit the airbox plus filter combo....
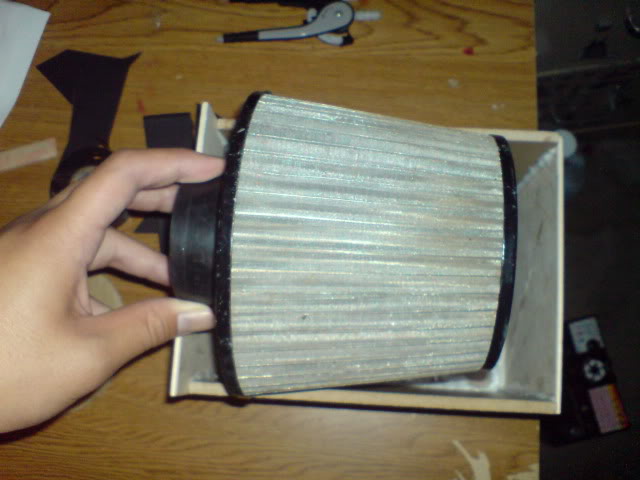
My test filter does not fit anymore
New test filter made (3 inch diameter backplate and 5 inch height)

Size comparison...from left to right. 3inch Apexi, 5inch (gut feeling that the 3inch Apexi is almost too small) and the 6.5inch test filter (if i remember )
)
3 inch filter
Now with the 5 inch filter
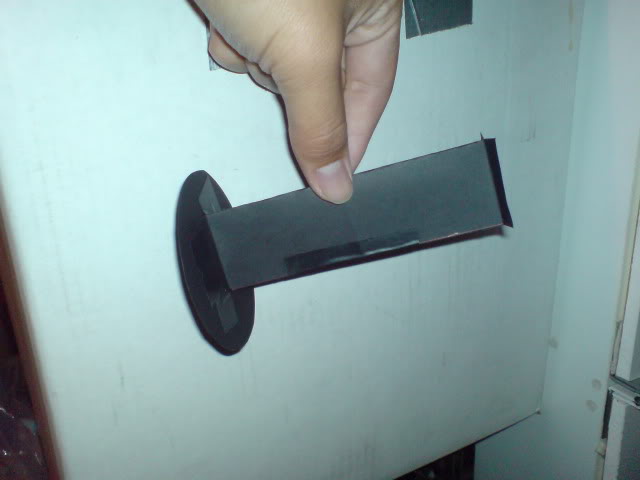
test fitting of the "battery tray adapter"
it's the same size of the battery
fits just nicely
a little shorter of than that stupid baffer of the OEM intake
about 5 inches
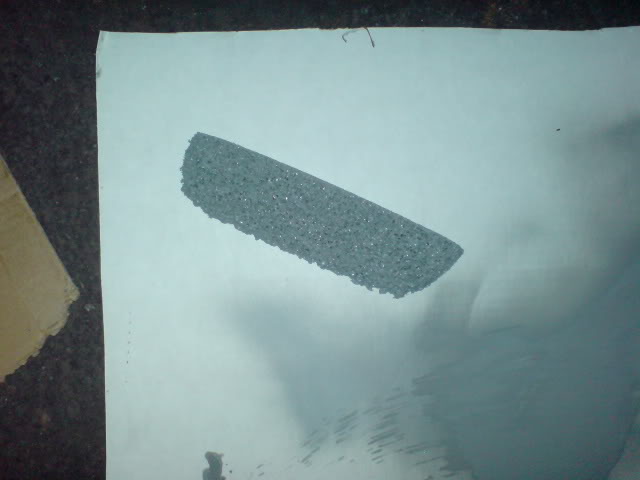
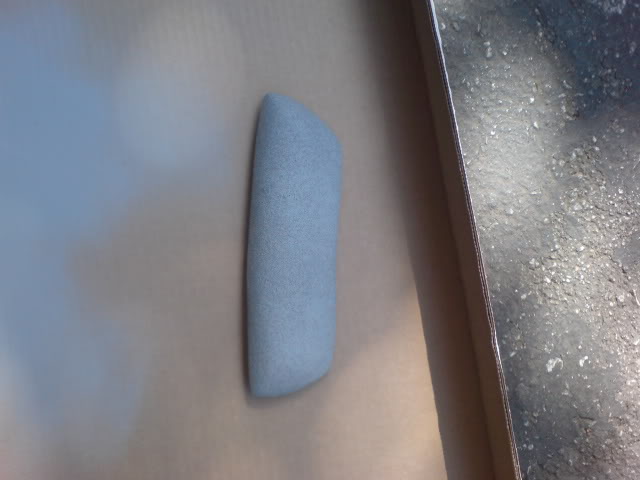
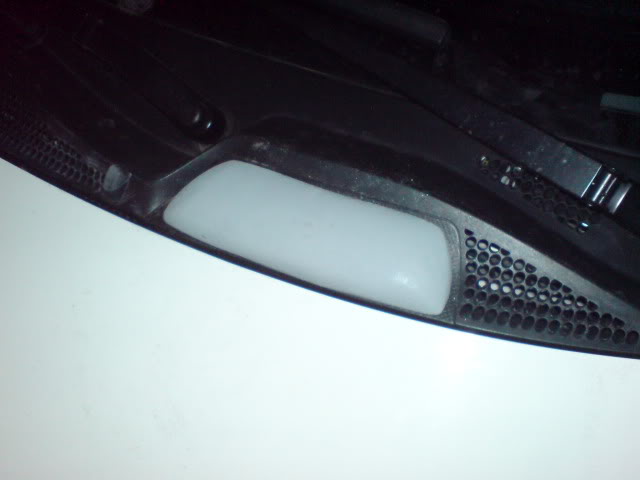
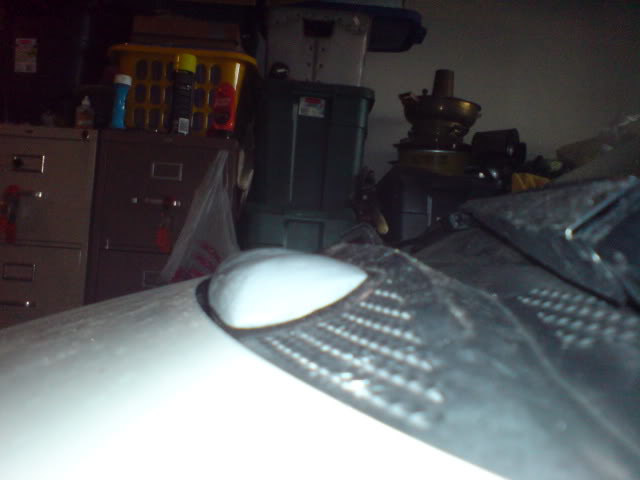
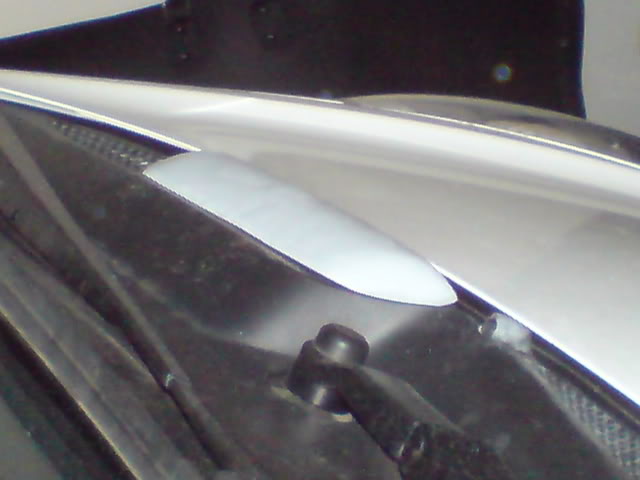
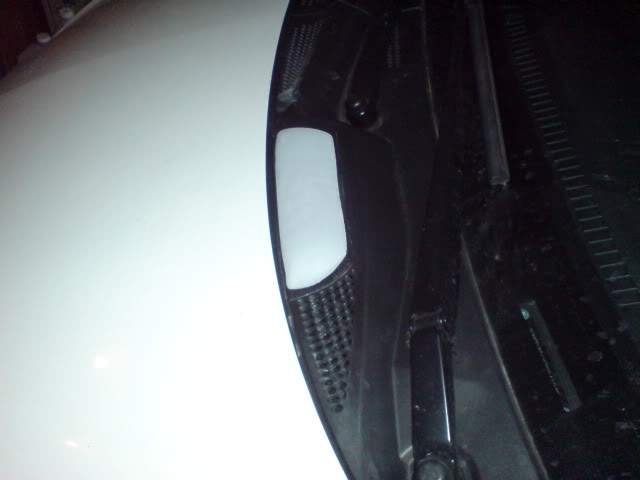
reworking of the scoop
FINALLY a nice cruve
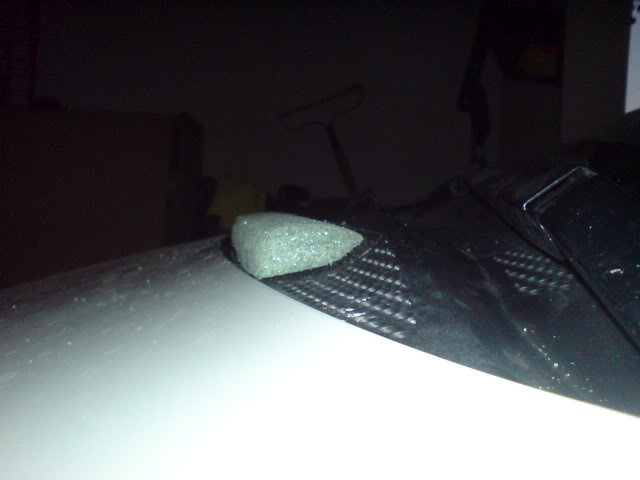
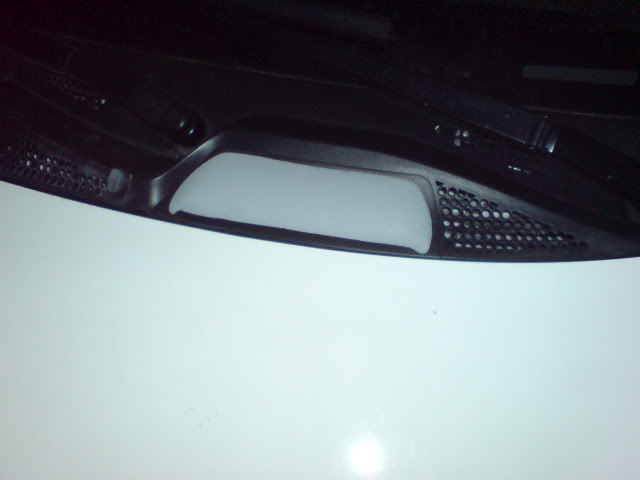
test fitting of the scoop, look just right
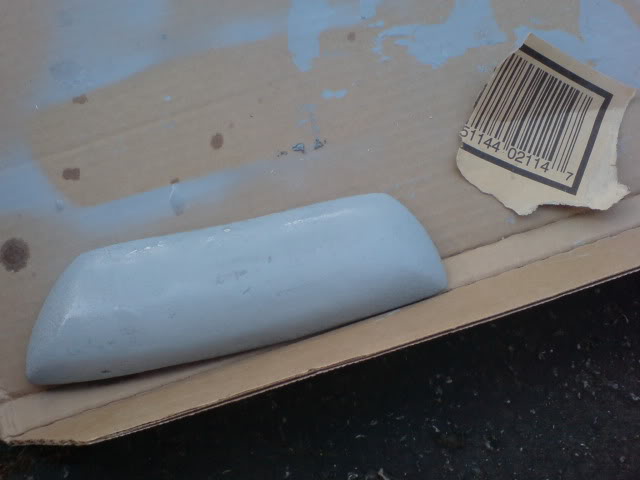
soon going to primer the scoop to make it a bit stronger so I can work the "duct" without worrying about messing up the nice cruve. Then Bondo the rest to flow better with the whole car.
Starting to test fit the airbox plus filter combo....
My test filter does not fit anymore
New test filter made (3 inch diameter backplate and 5 inch height)
Size comparison...from left to right. 3inch Apexi, 5inch (gut feeling that the 3inch Apexi is almost too small) and the 6.5inch test filter (if i remember
)3 inch filter
Now with the 5 inch filter
test fitting of the "battery tray adapter"
it's the same size of the battery
fits just nicely
a little shorter of than that stupid baffer of the OEM intake
about 5 inches
reworking of the scoop
FINALLY a nice cruve
test fitting of the scoop, look just right
soon going to primer the scoop to make it a bit stronger so I can work the "duct" without worrying about messing up the nice cruve. Then Bondo the rest to flow better with the whole car.
 , it should be easier now since I made about 4 of them by now LOL.
IMO I think my airbox look too plain... maybe if I just round out the edge and add that plate, it might look better, but we'll see.
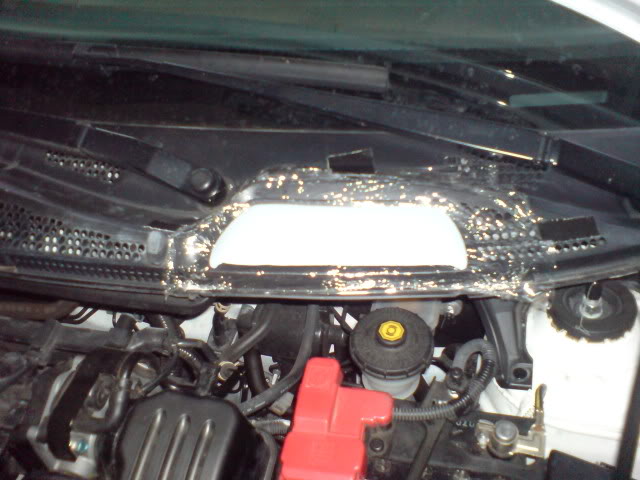
It been awhile since I updated...
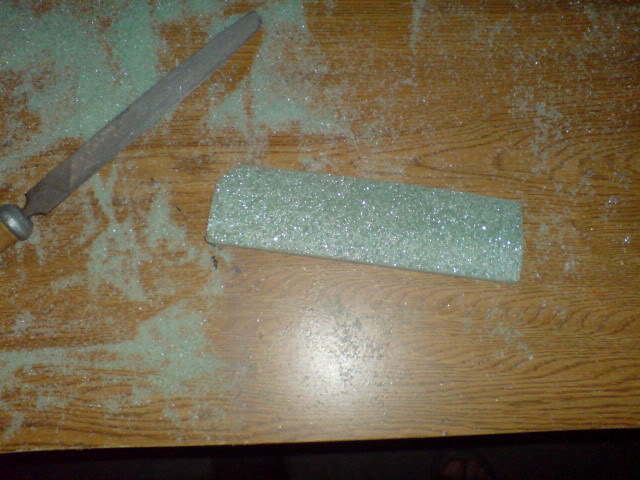
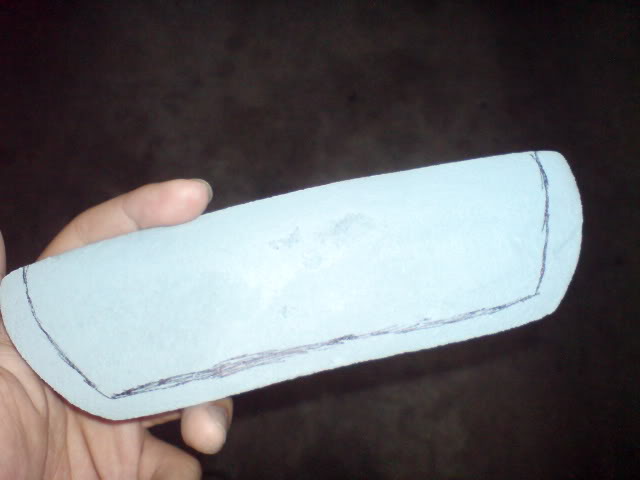
MELTED from primer...
remade with the foam from very beginning of the build
with 7layers of primer to prevent it from warping
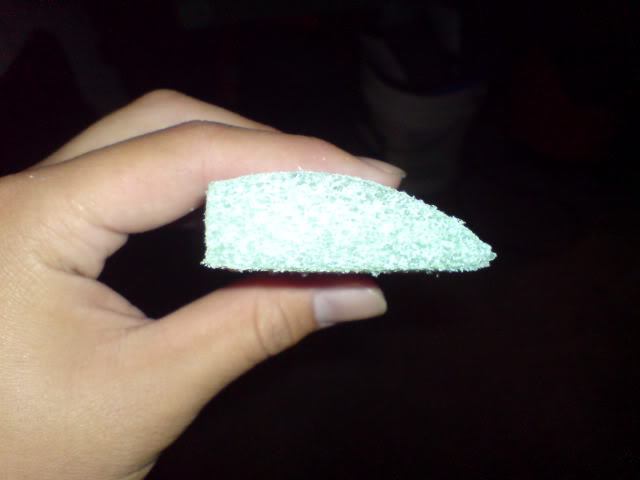
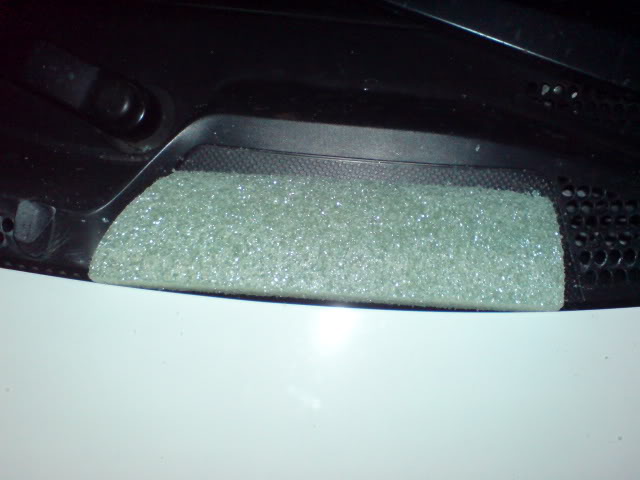
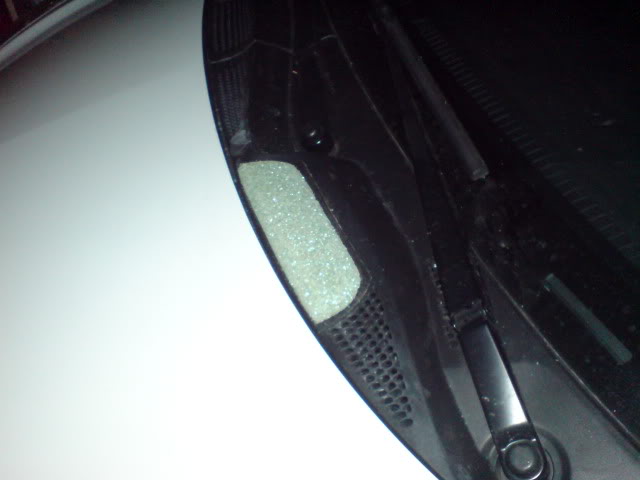
test fitting...look petty good...going to add some bondo to make the scoop more integrated with the cowl
getting ready to make the scoop itself

Sorry I forgot to take pics after "re-primer-ing"
EDIT: I forgot to mention, I ordered my Apexi filter yesterday
MELTED from primer...
remade with the foam from very beginning of the build
with 7layers of primer to prevent it from warping
test fitting...look petty good
...going to add some bondo to make the scoop more integrated with the cowlgetting ready to make the scoop itself
Sorry I forgot to take pics after "re-primer-ing"
EDIT: I forgot to mention, I ordered my Apexi filter yesterday
Last edited by Slimjimx701x; May 28, 2009 at 01:45 AM.

Updates...
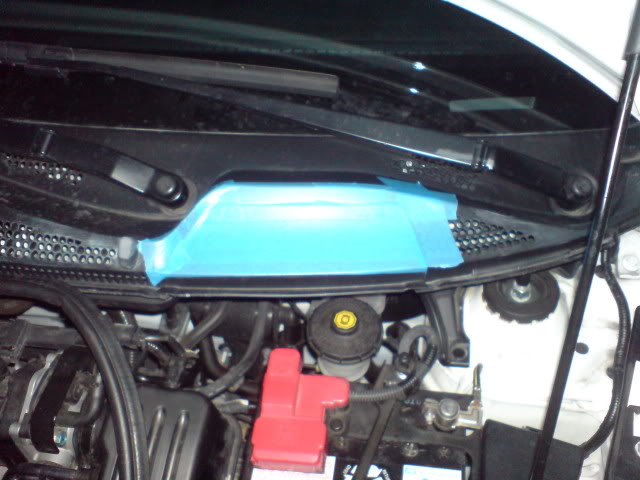
cleaned "scoop"
Tried out bondo, but made the job ALOT harder...it seems that I don't have much control on it (at least for me)

prep work, so I can still pull everything apart later....
HELL
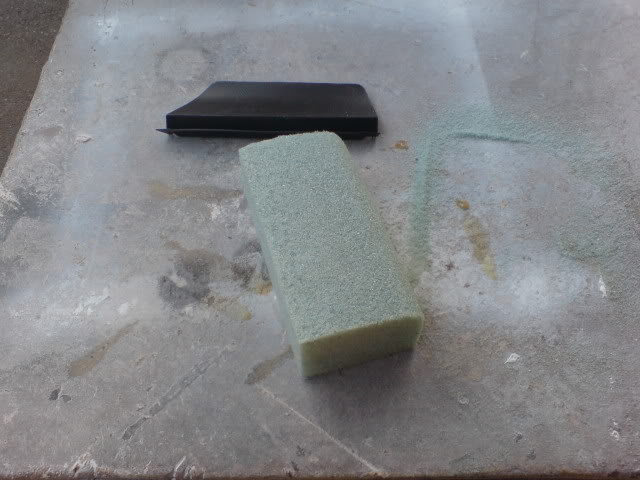
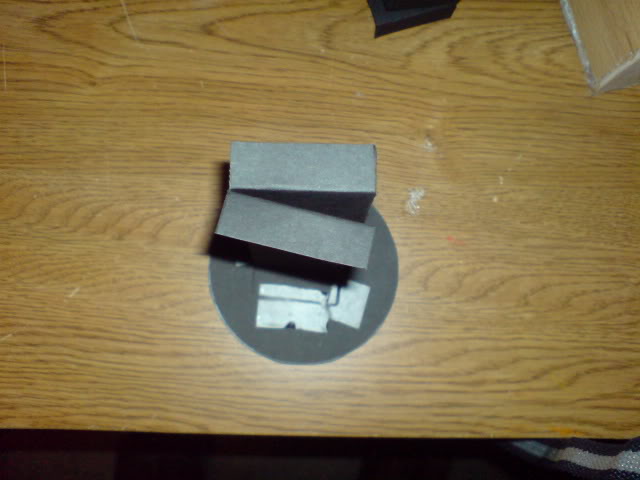
prep work for modeling clay...easier to work with
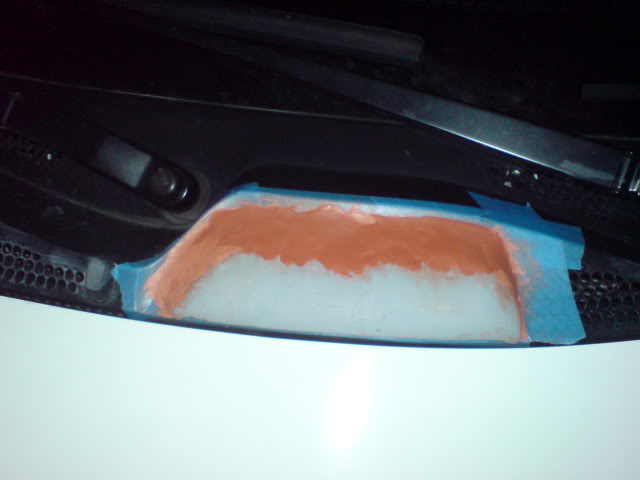
first 30mins
first hours, before I realize that I could a hair-drier
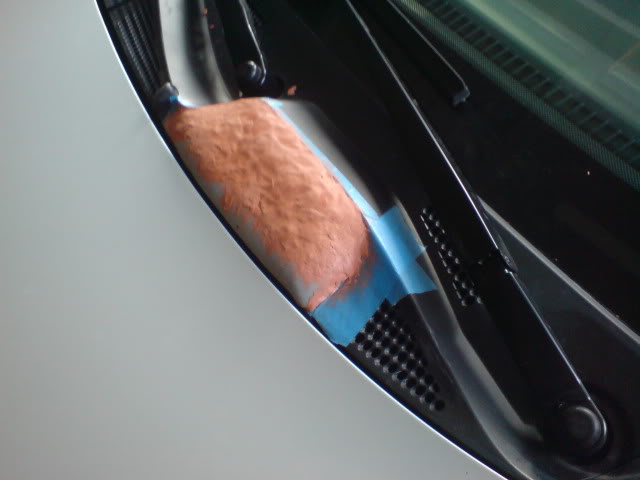
one more hour....
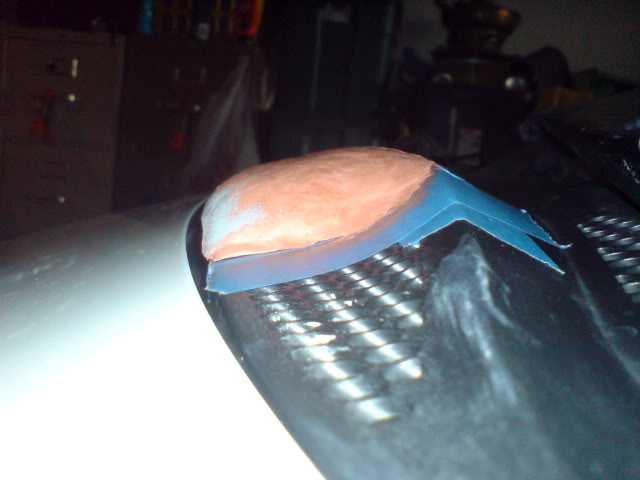
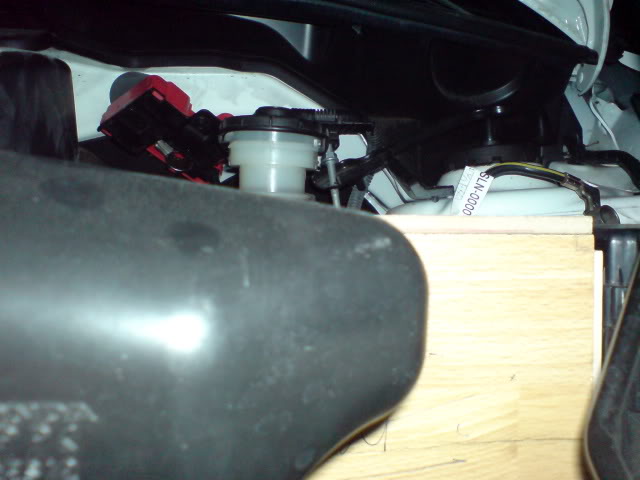
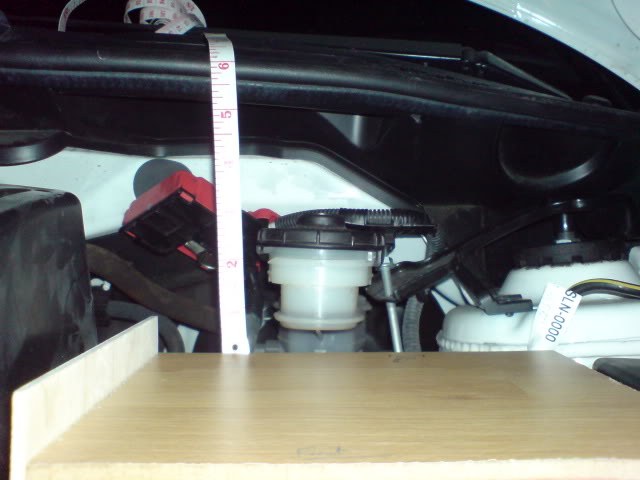
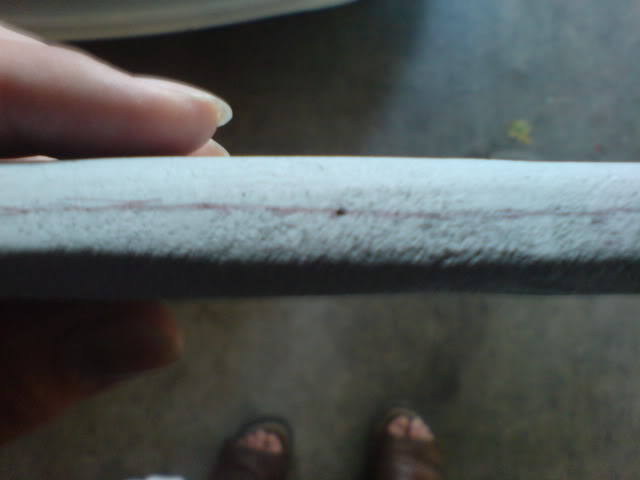
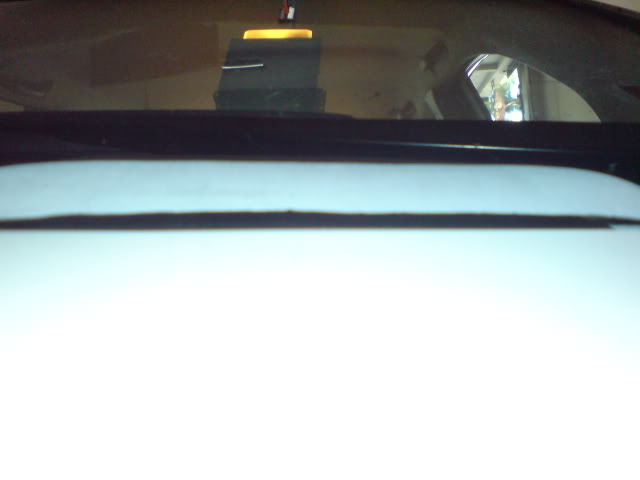
Now need sanding to smooth everything up, and open the hole up abit...the opening is just a MM below the hood....about a CM more should do it.
cleaned "scoop"
Tried out bondo, but made the job ALOT harder...it seems that I don't have much control on it (at least for me)
prep work, so I can still pull everything apart later....
HELL
prep work for modeling clay...easier to work with
first 30mins
first hours, before I realize that I could a hair-drier
one more hour....
Now need sanding to smooth everything up, and open the hole up abit...the opening is just a MM below the hood....about a CM more should do it.
It been awhile since I last update

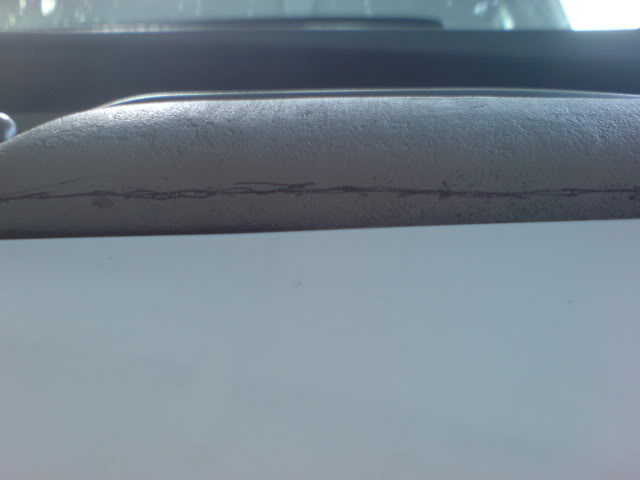
A bit more sanding...
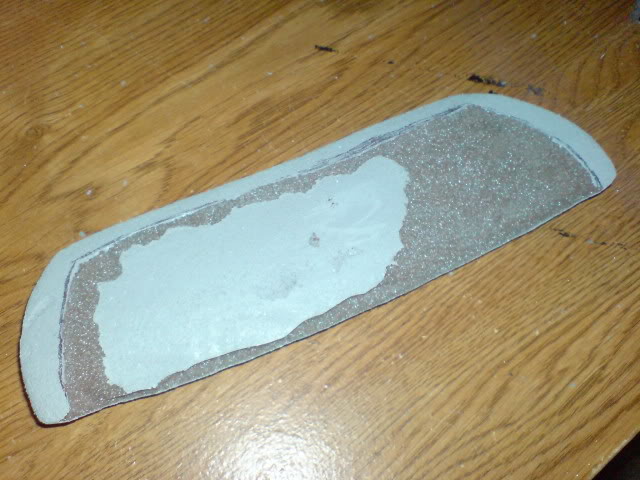
remade the box with....a little bit much?
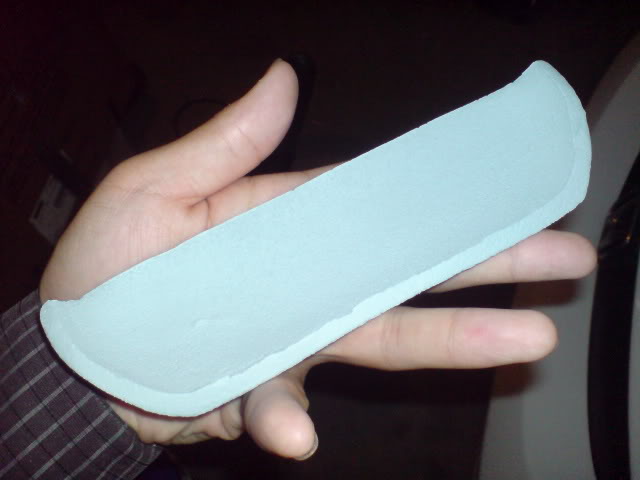
fully dry....forgot to take pics of the round edge
-It's going to be fully fiberglass....Carbon Sheet goes way above my budget
A bit more sanding...
remade the box with....a little bit much?
fully dry....forgot to take pics of the round edge
-It's going to be fully fiberglass....Carbon Sheet goes way above my budget

So I got 2x2 foot alum plate for fairly cheap, but the catch is that there this stupidly strong sticker on it.

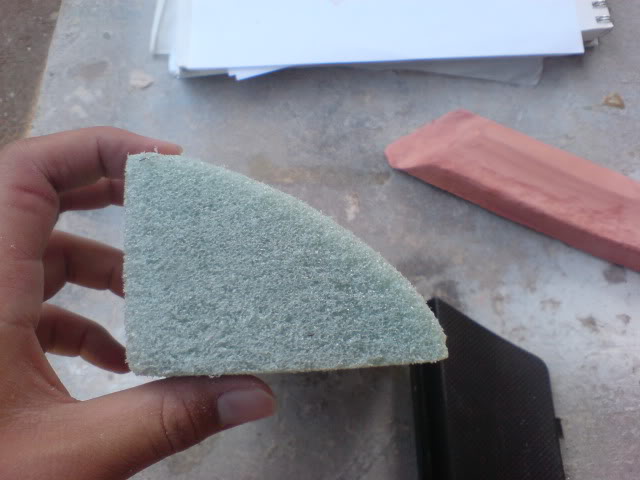
started sanding with 60gits
about 30mins
1 hr
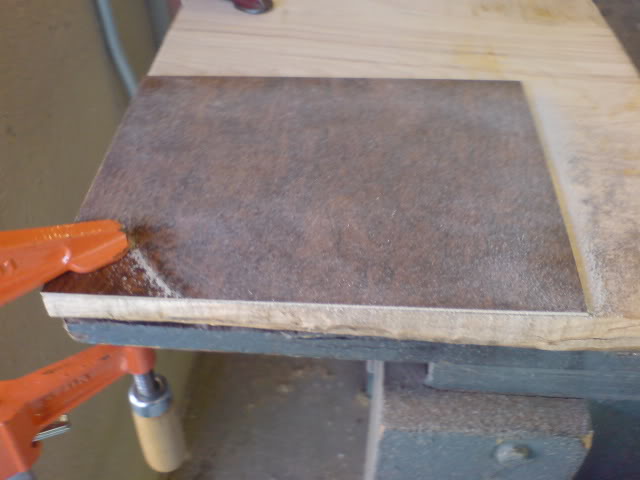
started on the 2nd one
about an 1hr in my class mate past me a can carburetor cleaner....takes just as long but the finish is nicer
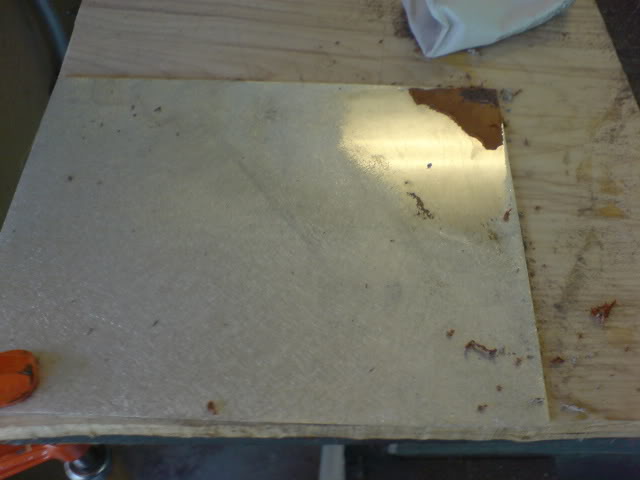
AND LOOK WHAT WE GOT HERE
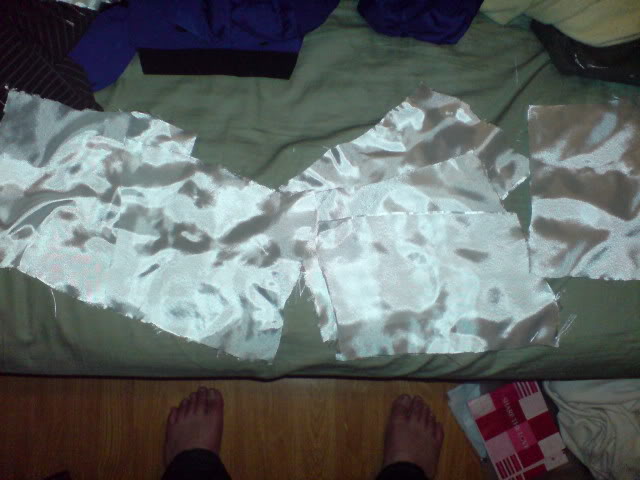
the prep work before laying fiberglass, I used the 3oz. satin weave
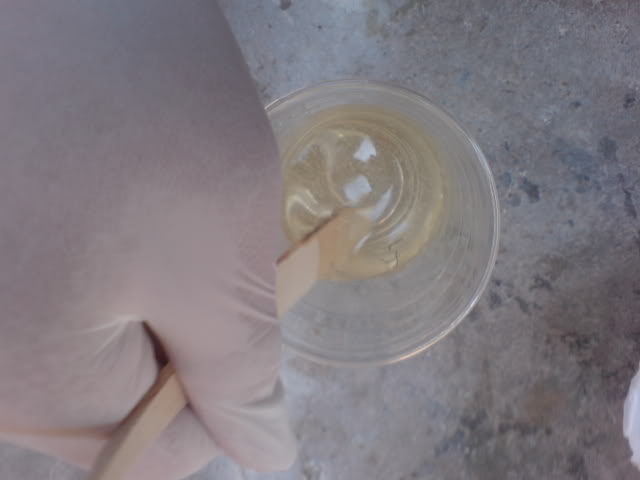
started to mixed the resin, about 30mins it started to get too hot that it melted the cup...sorry didn't took pictures
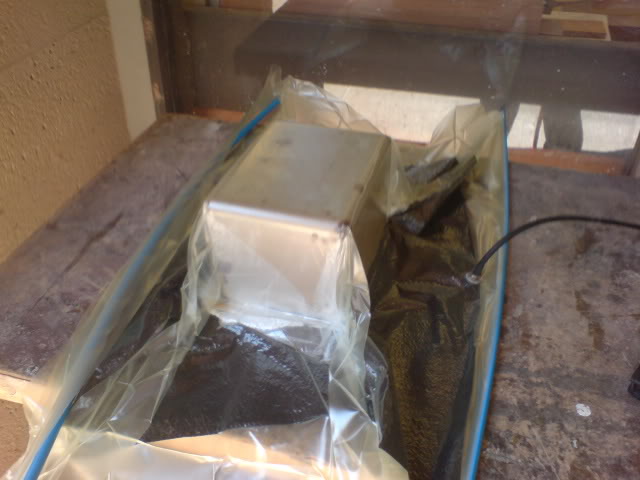
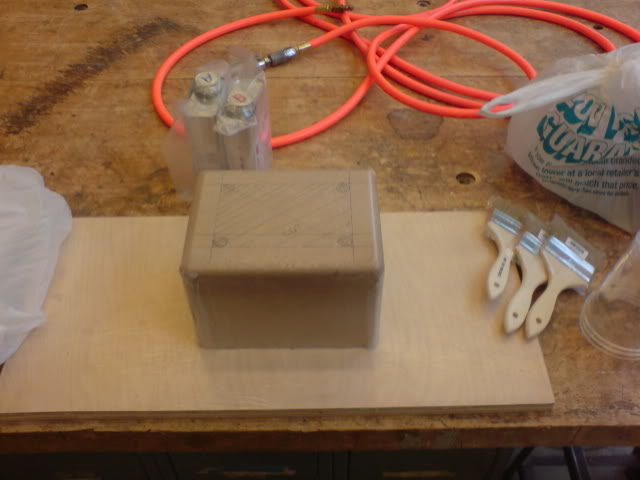
4 Layers of the fiberglass and to the vacuum bag...hopefully it would look good.....
Sidenote, I GOT TO MAKE THE SCOOP AGIAN...stupid bondo