
LED tailights, install, convert, DIYs

Member

Joined: Aug 2007
Posts: 105
From: Ohio, USA


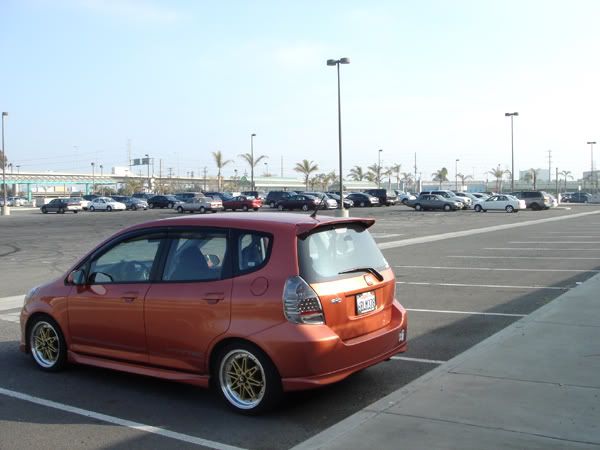
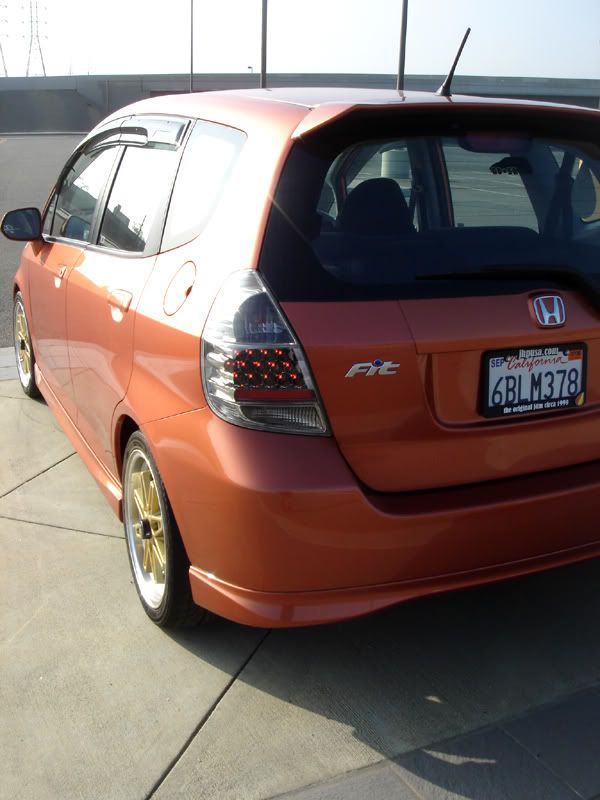
Night shots!
Last edited by kndlewis; Nov 20, 2007 at 12:13 PM.
i got those "stealth bulbs" for my front blinkers...i like the amber reflection on the rear though..
anyways, i may be getting led bulbs as well for the blinkers and reverse bulbs...thanks for the tip btw
anyways, i may be getting led bulbs as well for the blinkers and reverse bulbs...thanks for the tip btw

Member
Joined: Aug 2007
Posts: 153
From: Florida
Well after waiting a while cause my tailights were lost at the post office i finally got them in. Ill post pics beg of week being that its already dark. Anyhow the install took me about 3 hours but then again most of the time i was watching my son. I bought the n1 concept tailights and after reading just about everypost i could find on here about tailight install it was pretty easy. I did not have to take my bumper off and i didnt need to splice anything either. Like its been said if you take a couple of the clips out and unravel some tape you can get it to work just fine. I did have somewhat of an issue with my passenger side light fitment. seems a little tight on top and spacious on the bottom where it meets the bumper. all in all though its looks HOT!! I got the smoked/red on my black fit and so far its eye candy.. anywayz thanks to some of you guys here on the forum and n1 s DIY install this installation on a scale of 1 being tremendously hard and 10 being easy as hell i would say overall its about a 3.. Good Luck to you guys with doing it and Thanks again to N1 concepts definite recommendation
Member
Joined: May 2006
Posts: 331
From: Winnipeg

N1 Tails
This might be a repeat question but where are N1 concept led tails made? I was thinking of them vs jdm, as they are 100$ instead of 400$ and anything made in japan i have to pay that stupid border tax.
thanks
thanks

Member
Joined: Apr 2007
Posts: 393
From: SGV, CA
can anyone take a picture of the Jdm LED tailight's brightness when its at night just on, and one where it has the brake light on?

i want the jdm original led smoke style, but im plannign on buying some copies, probably from N1. I just want to see if its actually brighter then stock, so itll convince me in buying some, not jsut for looks.
thanks
i want the jdm original led smoke style, but im plannign on buying some copies, probably from N1. I just want to see if its actually brighter then stock, so itll convince me in buying some, not jsut for looks.
thanks

Member
Joined: May 2007
Posts: 140
From: NYC
Hey Guys,
i just tried to install some taillights on my own.
I notice the bottom screw that is below the tailight is very far up and in a narrow space under the bumper. I know some of you mentioned you can do it without taking off the bumper. I have a screw driver that can get up to that portion of the light and unscrew it but my worry is how do i screw it back in?! there is so little space your screwdrive can go in and you cannot hold the screw still to screw it in because your hand cannot go up there. It seems very difficult to screw it back in, what were your experiences with that screw?
Also, the top bolt is another one im worried about, my hand cant even fit inside the little space that we pop out to see the wires. Am i supposed to take off the entire surrounding in the trunk to get up to that top bolt? i can probably squeeze something in there and unbolt it but then im stuck with putting it back in properly because my hand cant fit. Did you guys have difficulty putting back that bolt?
i may just take it to the shop to get this installed, i dont think i know what i'm doing
Member
Joined: Aug 2007
Posts: 105
From: Ohio, USA
I notice the bottom screw that is below the tailight is very far up and in a narrow space under the bumper. I know some of you mentioned you can do it without taking off the bumper. I have a screw driver that can get up to that portion of the light and unscrew it but my worry is how do i screw it back in?! there is so little space your screwdrive can go in and you cannot hold the screw still to screw it in because your hand cannot go up there. It seems very difficult to screw it back in, what were your experiences with that screw?
Use a flashlight or a shop light to shine up there. It helps if you can see what you're doing!
Also, the top bolt is another one im worried about, my hand cant even fit inside the little space that we pop out to see the wires. Am i supposed to take off the entire surrounding in the trunk to get up to that top bolt? i can probably squeeze something in there and unbolt it but then im stuck with putting it back in properly because my hand cant fit. Did you guys have difficulty putting back that bolt?
Good Luck!
Member
Joined: Jul 2007
Posts: 1,584
From: Memphis, TN
Has anyone bought these yet? Are they manufactured by the same company as those sold by N1Concepts?


They're both $219, about double the price of the N1 lights (which are $100). That's why I'm asking if they're made by the same company.
06-07 Honda Fit/Jazz Smoked LED Tail Lights :: TAILIGHTS :: LIGHTING :: EXTERIOR :: weksos industries
They're both $219, about double the price of the N1 lights (which are $100). That's why I'm asking if they're made by the same company.
06-07 Honda Fit/Jazz Smoked LED Tail Lights :: TAILIGHTS :: LIGHTING :: EXTERIOR :: weksos industries

Member
Joined: Nov 2007
Posts: 41
From: Florida
Crap this thread is huge... I'm going to be installed some OEM JDM fogs on fit_love's Fit pretty soon and need a step-by-step how-to, if there is one, on doing these. Extending wires is easy but I need to know what to remove, how to remove it, and where to go from there. Thanks in advance! 


Did mine today. Took about 2.5 hours. Will probably do a longer writeup later, but a few thoughts:
1. Taking off the bumper is easy and makes getting the light assemblies in/out a snap. If you don't, or if you just peel the bumper back a bit, you really risk scratching up the body paint around the lights. This made things a breeze, and the bumper is only 2 phillips, 2 hex, and 2 pop-its.
2. I had to splice and solder a total of 7 wires (5 passenger, 2 driver). I was running out of light (I started at about 5:30PM thinking it was only going to take me about an hour), so I had to rush it a bit. Some of my solder connections weren't the best, and my shrink tubing didn't fit over a few of the connections, so I just electrical taped them for now.
3. I tried to just do the "shimmy" move for the reverse lights, but I'm going to redo the connections with the correct sockets. It was stupid of me not to, but I'll do it another day when I have more time (and light!).
That's about it. If I knew ahead of time what I'd be doing, it would probably take me about 1.5 hours instead of 2.5, but this is no 20-minute job. More later, but in the end, I love them, and will have pictures soon.
-Mike
1. Taking off the bumper is easy and makes getting the light assemblies in/out a snap. If you don't, or if you just peel the bumper back a bit, you really risk scratching up the body paint around the lights. This made things a breeze, and the bumper is only 2 phillips, 2 hex, and 2 pop-its.
2. I had to splice and solder a total of 7 wires (5 passenger, 2 driver). I was running out of light (I started at about 5:30PM thinking it was only going to take me about an hour), so I had to rush it a bit. Some of my solder connections weren't the best, and my shrink tubing didn't fit over a few of the connections, so I just electrical taped them for now.
3. I tried to just do the "shimmy" move for the reverse lights, but I'm going to redo the connections with the correct sockets. It was stupid of me not to, but I'll do it another day when I have more time (and light!).
That's about it. If I knew ahead of time what I'd be doing, it would probably take me about 1.5 hours instead of 2.5, but this is no 20-minute job.
More later, but in the end, I love them, and will have pictures soon. -Mike
Last edited by ghibli99; May 27, 2008 at 02:29 AM.
-Mike
Member
Joined: Dec 2006
Posts: 514
From: Troms�, Norway
Combining brakinglight and drivinglights
I have just read trough this thread because I have just received the lovely "Jazz Back Lamp - Euro Type - Black" from G-One Auto and they look like this:

They are produced by Altezza, and they arrived with two extension cords (looks like they are for the turn signal cord) and a installation manual in Chinese or Japanese (I cant read either).
I have found out how to unmont the old one: three bolts in the rear accessed through the little hole where you change the bulbs. And one screw from the bottom accessed with a long thin arm and/or a long screwdriver.
All this is no problem, I have allready tried on one side, but had to put the old one back when I discovered another problem:
My original rear lights has 4 bulbs, the new one has only spaces for 3 bulbs.
The original have brakelight (red), rear light (red), reversing light (clear) and turn signal (orange) bulbs. I also discovered that the plug to the original brakelight has 3 leads in to the plug but the other three has only two leads in to the plugs.
Maybe there is a way to combine rear and braking light into one bulb?
Do I need a spesial bulb for this? Is it that simple? Or is there other ways around this problem?

Member
Joined: Aug 2007
Posts: 105
From: Ohio, USA
If you don't want to solder, use butt splices. They look like plastic coated tubes that you put a wire in each end and crimp with your wire strippers. That would be better than wrapping and taping. No matter how tight you tape it, it will come loose over time. Butt splices are available at all the auto parts stores and Radio Shack.