
Pandahh's custom sub set-up.


Pandahh's custom sub set-up.
This isn't a DIY, it's just to show what I made with my dad 
We built a custom sub set-up in the spare tire housing (spare tire removed, though), anddd there's plexiglass, so you can see through!

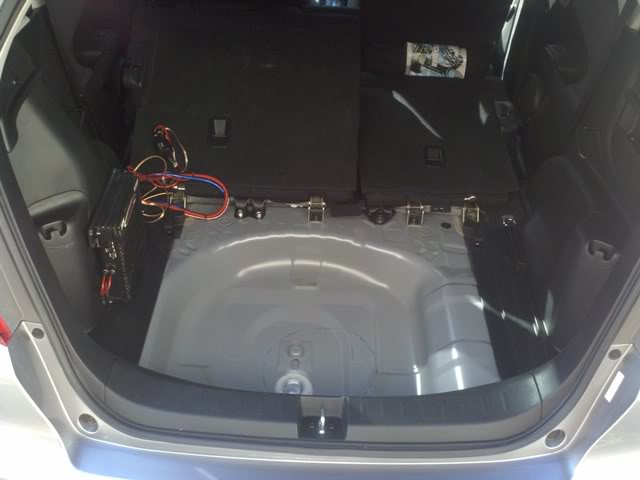
The housing for the sub is an 11" diameter plastic bucket with the bottom of it cut to fit the contours of the floor under the spare tire (if you lift the spare, you'll see that it's not a flat surface, which made things a little more difficult) then, around the plastic bucket is some wood pieces, to add strength to the housing, they're also custom cut on the bottoms to fit the contours. here's some pics so you know what I'm talking about:
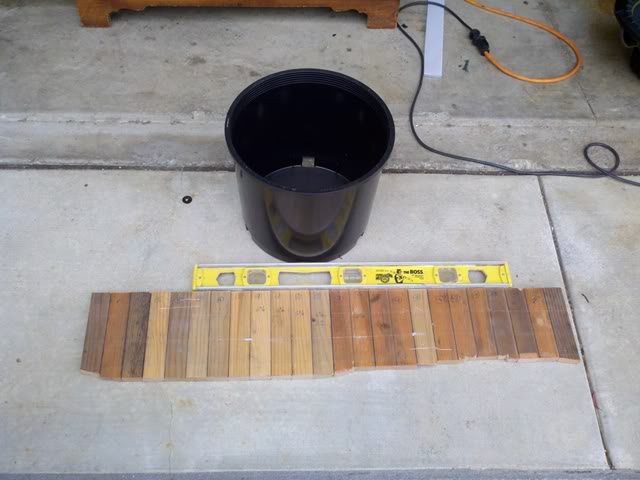
That's the wood pieces, in a straight line, with the uncut plastic bucket. The wood has tape over it, so it stays together, but is still flexible.
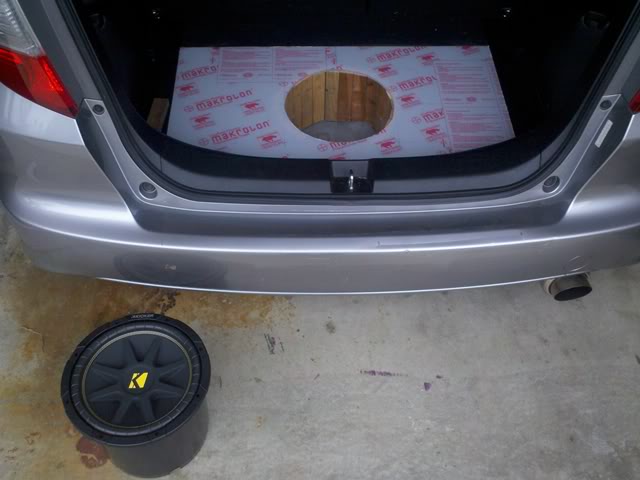
That's the plexiglass, with the protective sheet still on it. My dad cut off the lid that's covering the spare tire on the floor of the trunk, and used it as a template to cut the plexiglass. Then, he measured a hole, about 12", in the center of the glass, where the sub goes.
Then, I wrapped the wood pieces around the bucket, and drew a line on the bucket with sharpie to mark the angles of the wood pieces, then I took the wood off and I cut along the line on the bucket with an exacto knife.
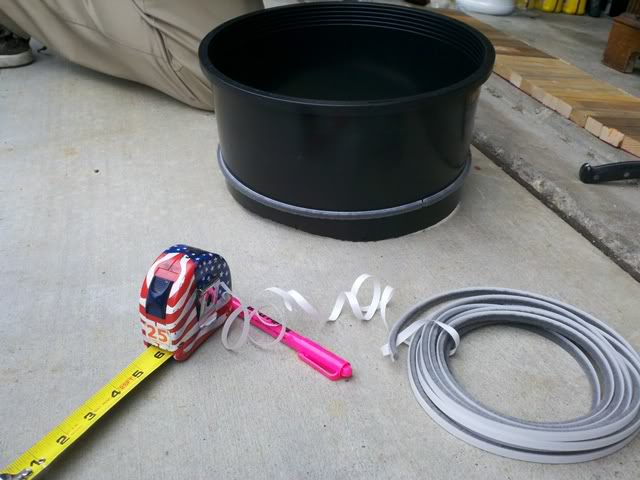
Then, the bucket looked like this, and I placed a strip of weatherstripping around it, so that the wood wouldn't vibrate up against the bucket while the bass is bumpin'.
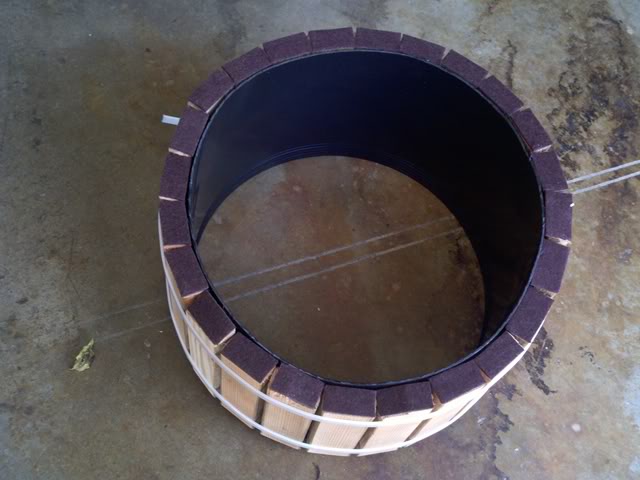
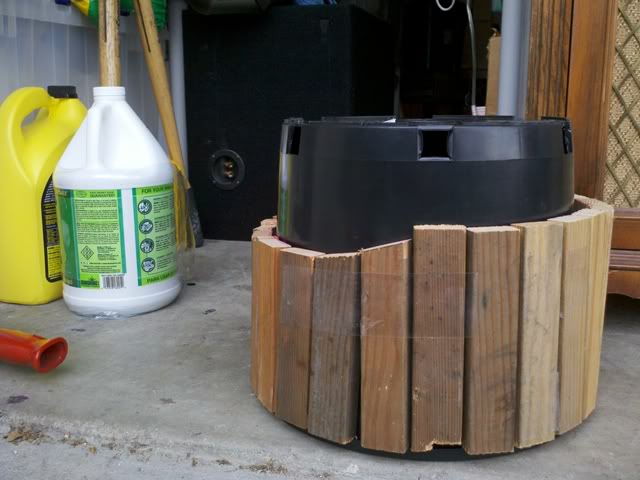
Here's the bucket with the wood around it (it's held together with 48" zip ties). Then, I got a sheet of felt, and cut individual pieces to fit on each piece of wood. this is so that the housing isn't vibrating against the metal trunk floor.
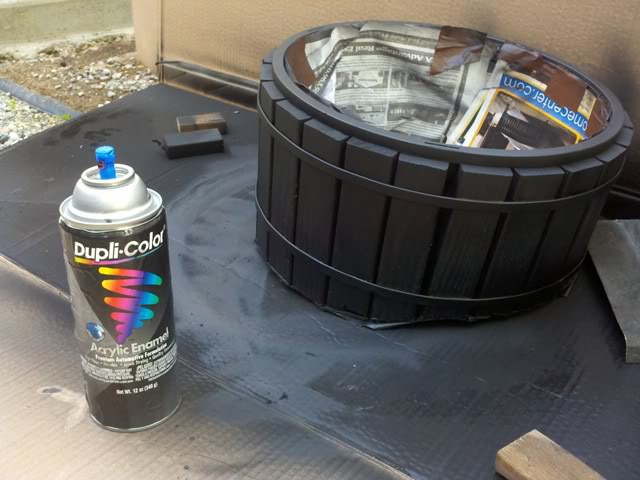
I spray painted the sub housing matte black, since it's going to be visible through the plexiglass.
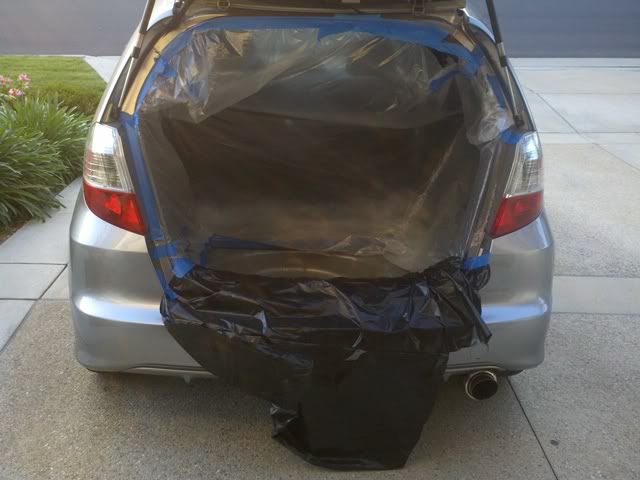
Then, I cleared out the trunk and taped plastic sheets around the entire area to prepare for spray painting the spare tire well.
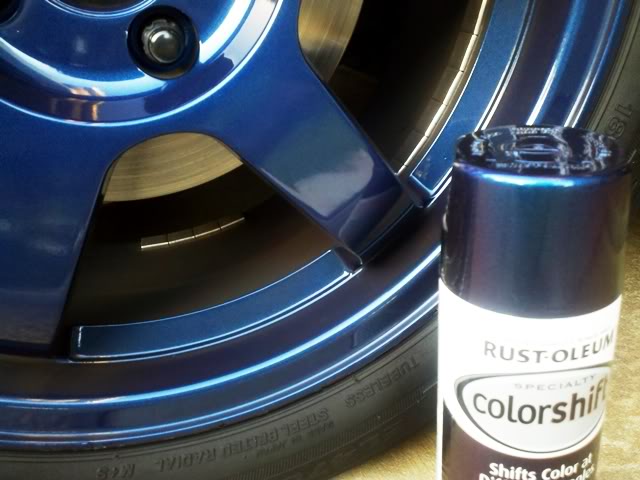
I picked this color because it matches so well with my rims

Painteddd
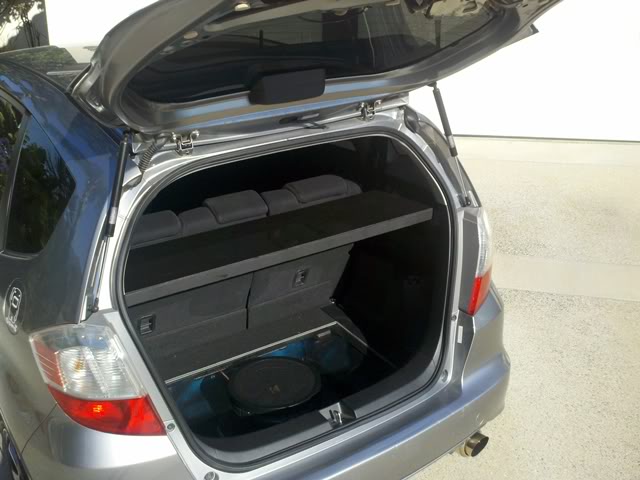
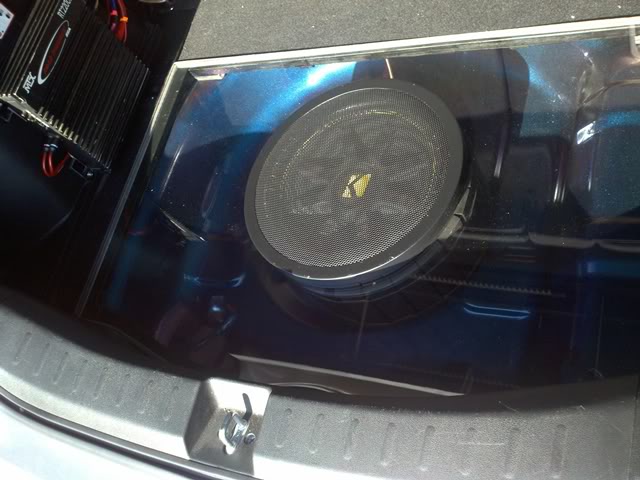
everything put in place, aaaand done!!
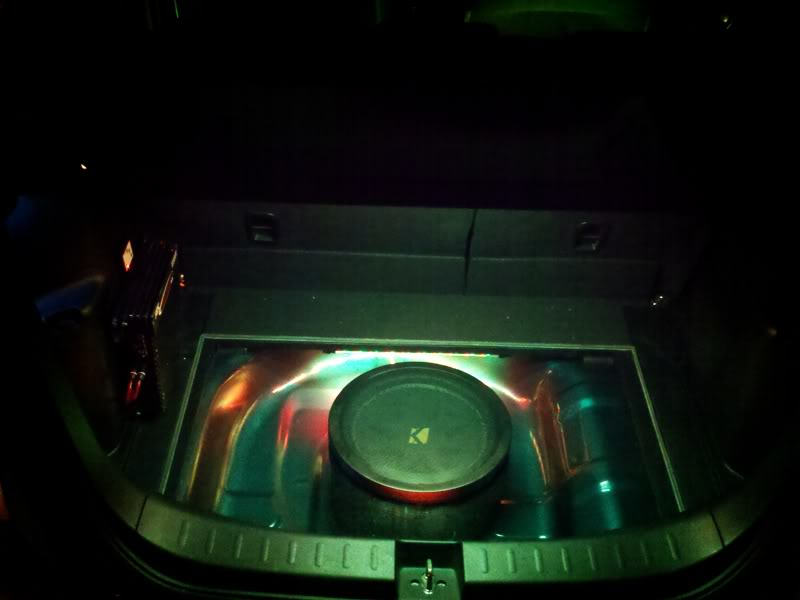
oh and some LEDs, just for fun...
We built a custom sub set-up in the spare tire housing (spare tire removed, though), anddd there's plexiglass, so you can see through!
The housing for the sub is an 11" diameter plastic bucket with the bottom of it cut to fit the contours of the floor under the spare tire (if you lift the spare, you'll see that it's not a flat surface, which made things a little more difficult) then, around the plastic bucket is some wood pieces, to add strength to the housing, they're also custom cut on the bottoms to fit the contours. here's some pics so you know what I'm talking about:
That's the wood pieces, in a straight line, with the uncut plastic bucket. The wood has tape over it, so it stays together, but is still flexible.
That's the plexiglass, with the protective sheet still on it. My dad cut off the lid that's covering the spare tire on the floor of the trunk, and used it as a template to cut the plexiglass. Then, he measured a hole, about 12", in the center of the glass, where the sub goes.
Then, I wrapped the wood pieces around the bucket, and drew a line on the bucket with sharpie to mark the angles of the wood pieces, then I took the wood off and I cut along the line on the bucket with an exacto knife.
Then, the bucket looked like this, and I placed a strip of weatherstripping around it, so that the wood wouldn't vibrate up against the bucket while the bass is bumpin'.
Here's the bucket with the wood around it (it's held together with 48" zip ties). Then, I got a sheet of felt, and cut individual pieces to fit on each piece of wood. this is so that the housing isn't vibrating against the metal trunk floor.
I spray painted the sub housing matte black, since it's going to be visible through the plexiglass.
Then, I cleared out the trunk and taped plastic sheets around the entire area to prepare for spray painting the spare tire well.
I picked this color because it matches so well with my rims
Painteddd
everything put in place, aaaand done!!
oh and some LEDs, just for fun...

that is freakin awesome!! =o
rep+
edit: i was looking at the last pic and i realize there's room to put some things there to show off as well. Being a sneakerhead, some nice kicks can go right in there lol
rep+
edit: i was looking at the last pic and i realize there's room to put some things there to show off as well. Being a sneakerhead, some nice kicks can go right in there lol
Last edited by DoYouFit?; Jun 7, 2011 at 09:44 PM.
Look pretty good. Did you sealed the bucket against the floor so there wouldn't be air leak? Is that adequate air volume for the sub? Bucket look pretty small after cutting to fit the floor. Most important, how it sound?
Nice to see your dad helping you out on the fit instead of saying no.
Nice to see your dad helping you out on the fit instead of saying no.
hella custom!!
Great install by the way Pandahh! Looks very nice
 haha I think I'll just keep it simple and not fill up the space :s
Look pretty good. Did you sealed the bucket against the floor so there wouldn't be air leak? Is that adequate air volume for the sub? Bucket look pretty small after cutting to fit the floor. Most important, how it sound?
Nice to see your dad helping you out on the fit instead of saying no.
Nice to see your dad helping you out on the fit instead of saying no.
It sounds decent. I mean, I don't get as hard of hits as I did with the full box that I had before, but I'm also still working on adjusting the set-up, so there's room for improvement. I think I'm going to switch from the Kicker sub that I have now to a JL sub. I also need to add dynamat to the floor. If those two don't improve the sound, Imma have to redo the whole box. this time with MDF wood.
haha they're not new anymore! they're all dirty and stuff!!!
ahhh it's not set up like this anymore :/ I found that compared to other sub set ups in my friend's cars, mine didn't sound so great because of the small volume. I put the sub back into a regular box and was going to cut the plexi glass to fit around the box, but it turns out I'll need a new sheet of glass for that. it's a trial and error process I guess haha. hopefully I'll have it looking pretty again soon!

Thread
Thread Starter
Forum
Replies
Last Post
carl Lutzka
Fit Interior Modifications
0
Jul 11, 2008 03:30 PM