Fitting Rain Guards
#1
Fitting Rain Guards
Hi all
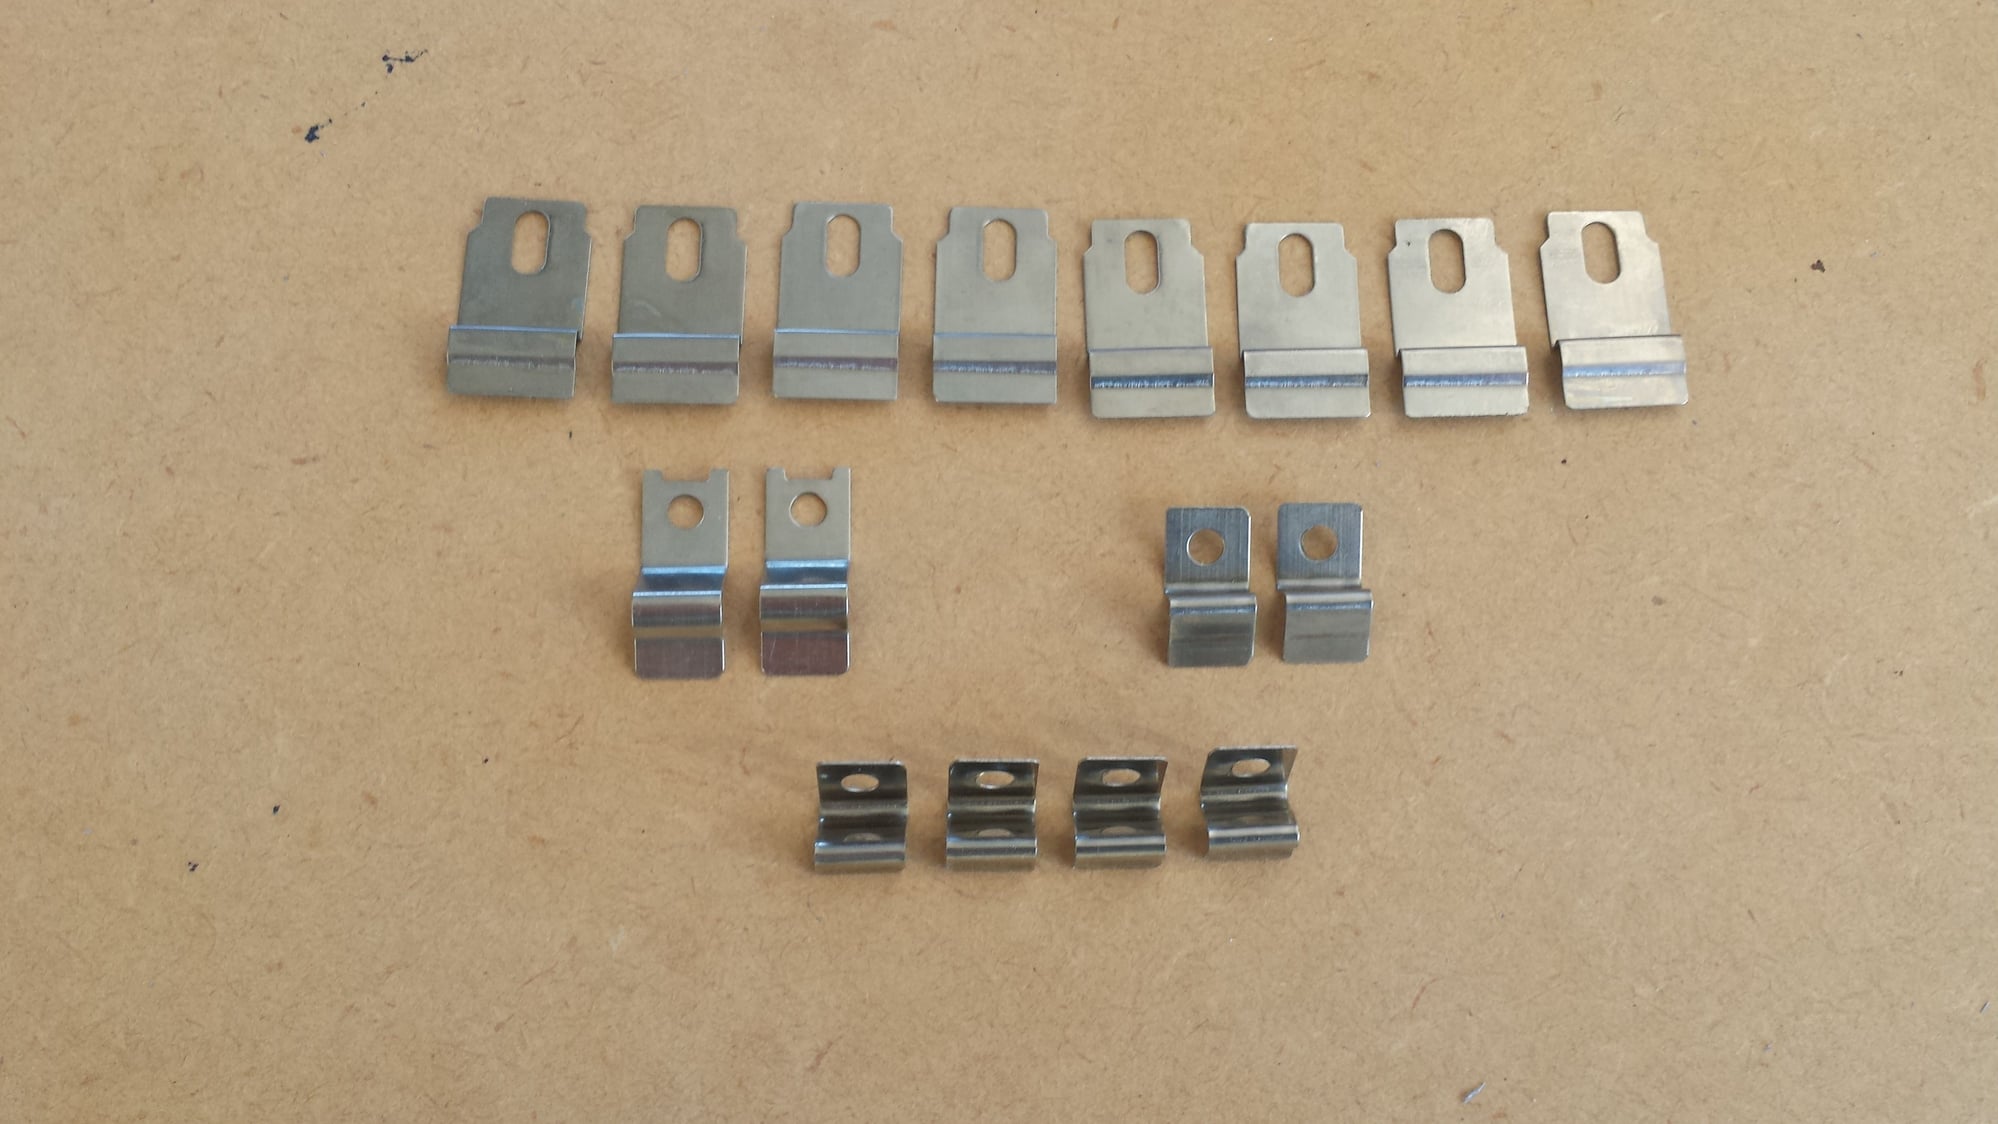
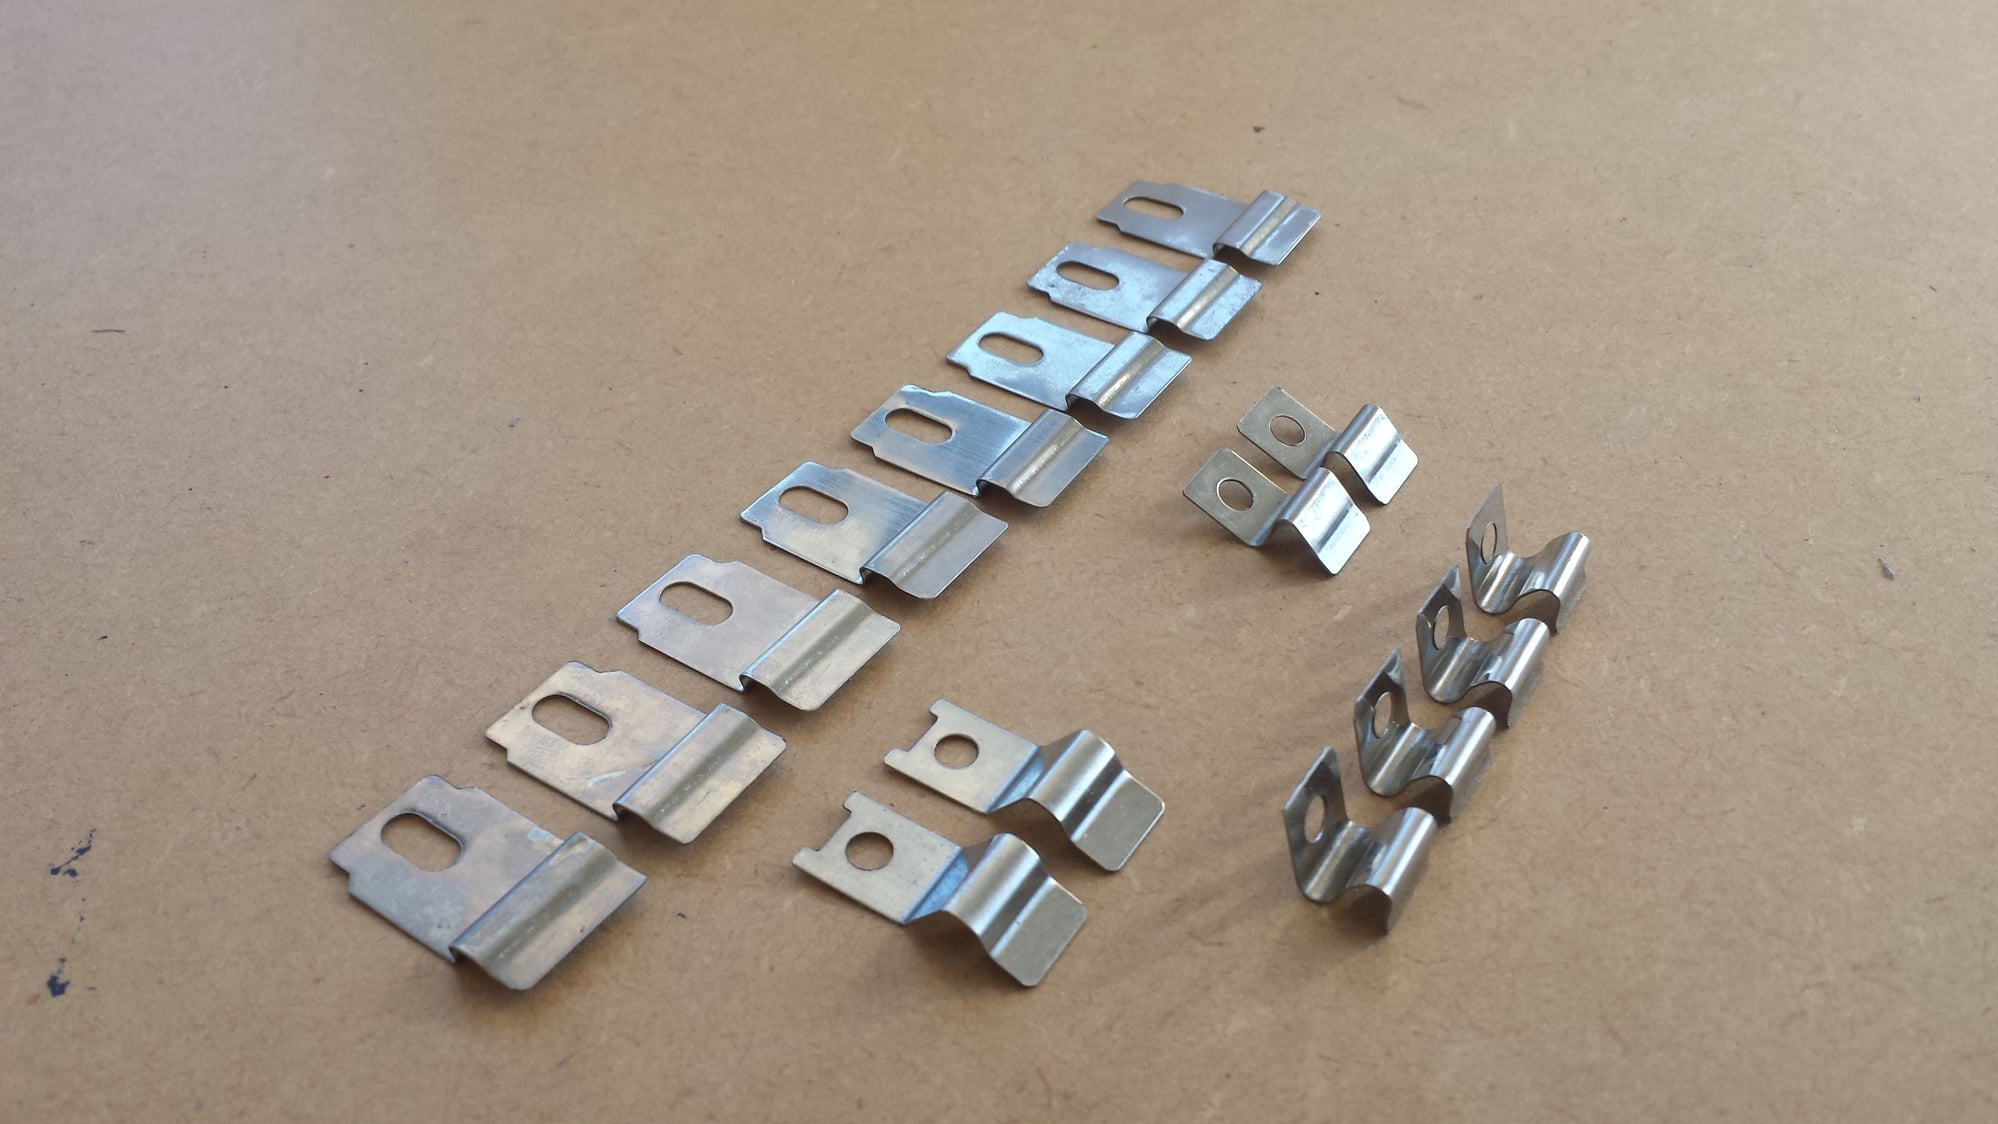
I have just bought some rain guards to fit the side windows of my Honda Jazz to stop the rain from coming in when the window is slightly open, the package comes with 4 different size brackets and shapes and I have no idea what bracket goes on what window or guard. it's very confusing!!, I have googled it on youtube but every video I've found seems to only have one set of brackets not different sizes like I have.
The instructions that came with the rain guards is very basic to say the least and not really of any help at all.
Any help would be greatly appreciated.
Cheers
Tezza

#2
What year vehicle? Did you buy OEM or aftermarket guards? Sounds like aftermarket if the brackets are different sizes. I installed OEM and they were all the same.
If you have questions that YouTube videos cannot answer, contact the manufacturer.
If you have questions that YouTube videos cannot answer, contact the manufacturer.
#3
Hi sneefy & thank's for taking the time to reply to my post it's really appreciated, I bought the rain/wind guards from TM for about $100 so maybe they are aftermarket ones!!, I contacted our local Honda NZ and they only seem to be interested in fitting them for me for another $80 which I can't really afford being on a pension although I guess that will be the outcome in the end.
The car is only 5 years old
Cheers
The car is only 5 years old
Cheers
#4
They're really not difficult. Perhaps a little fiddly. Watch the install vids. They helped me. Test fit and determine which brackets go where. I'll bet if you just figure how things line up, you can do it.
Edit: i see you said 5 years old. Then I don't know if the brackets are supposed to be different. I installed them on a GK.
Give it a shot!
Edit: i see you said 5 years old. Then I don't know if the brackets are supposed to be different. I installed them on a GK.
Give it a shot!
Last edited by sneefy; 06-27-2018 at 09:29 PM.
#7
Hi sneefy Ha-ha I love your optimism mate,that's a great idea about test fitting it without the adhesive tape I never actually thought of that!! I'll give it a go later in the week and see where that leads me!.
Thanks again
Tezza
Thanks again
Tezza
#11
get yourself a roll of painters tape........... small piece of tape at each end from the top and one in the middle....... mock the part into place......... try each bracket at each pin location....... it may not fit super flush to the guard but will be pretty close if it is the correct one....... usually after the first couple they start to make more sense.........
#12
get yourself a roll of painters tape........... small piece of tape at each end from the top and one in the middle....... mock the part into place......... try each bracket at each pin location....... it may not fit super flush to the guard but will be pretty close if it is the correct one....... usually after the first couple they start to make more sense.........
Very much appreciated guy's.
Thanks
tezza
Thread
Thread Starter
Forum
Replies
Last Post
HIMgurl
2nd Gen GE8 Specific Fit Exterior Modifications & JDM Styling Sub-Forum
1
05-09-2011 12:32 AM
SHG_Mike
Fit Exterior Modifications & JDM Styling
3
02-19-2008 10:06 AM


