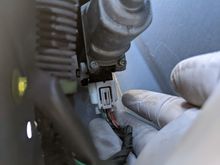
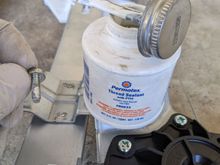
If you should decide to lubricate your assembly (the Aisin came lubed, except where the motor fits into the cable spool) I believe the recommended lubricant (for this, the whole window assembly, and any other plastic gearing nonsense) is Dow Corning Molykote 33.
I couldn't find my tube and didn't have a suitable alternative, so I just left the old goop on there. White lith always goops up too fast, as does silicone. I should probably go back and replace the motor anyways.