When you click on links to various merchants on this site and make a purchase, this can result in this site earning a commission. Affiliate programs and affiliations include, but are not limited to, the eBay Partner Network.
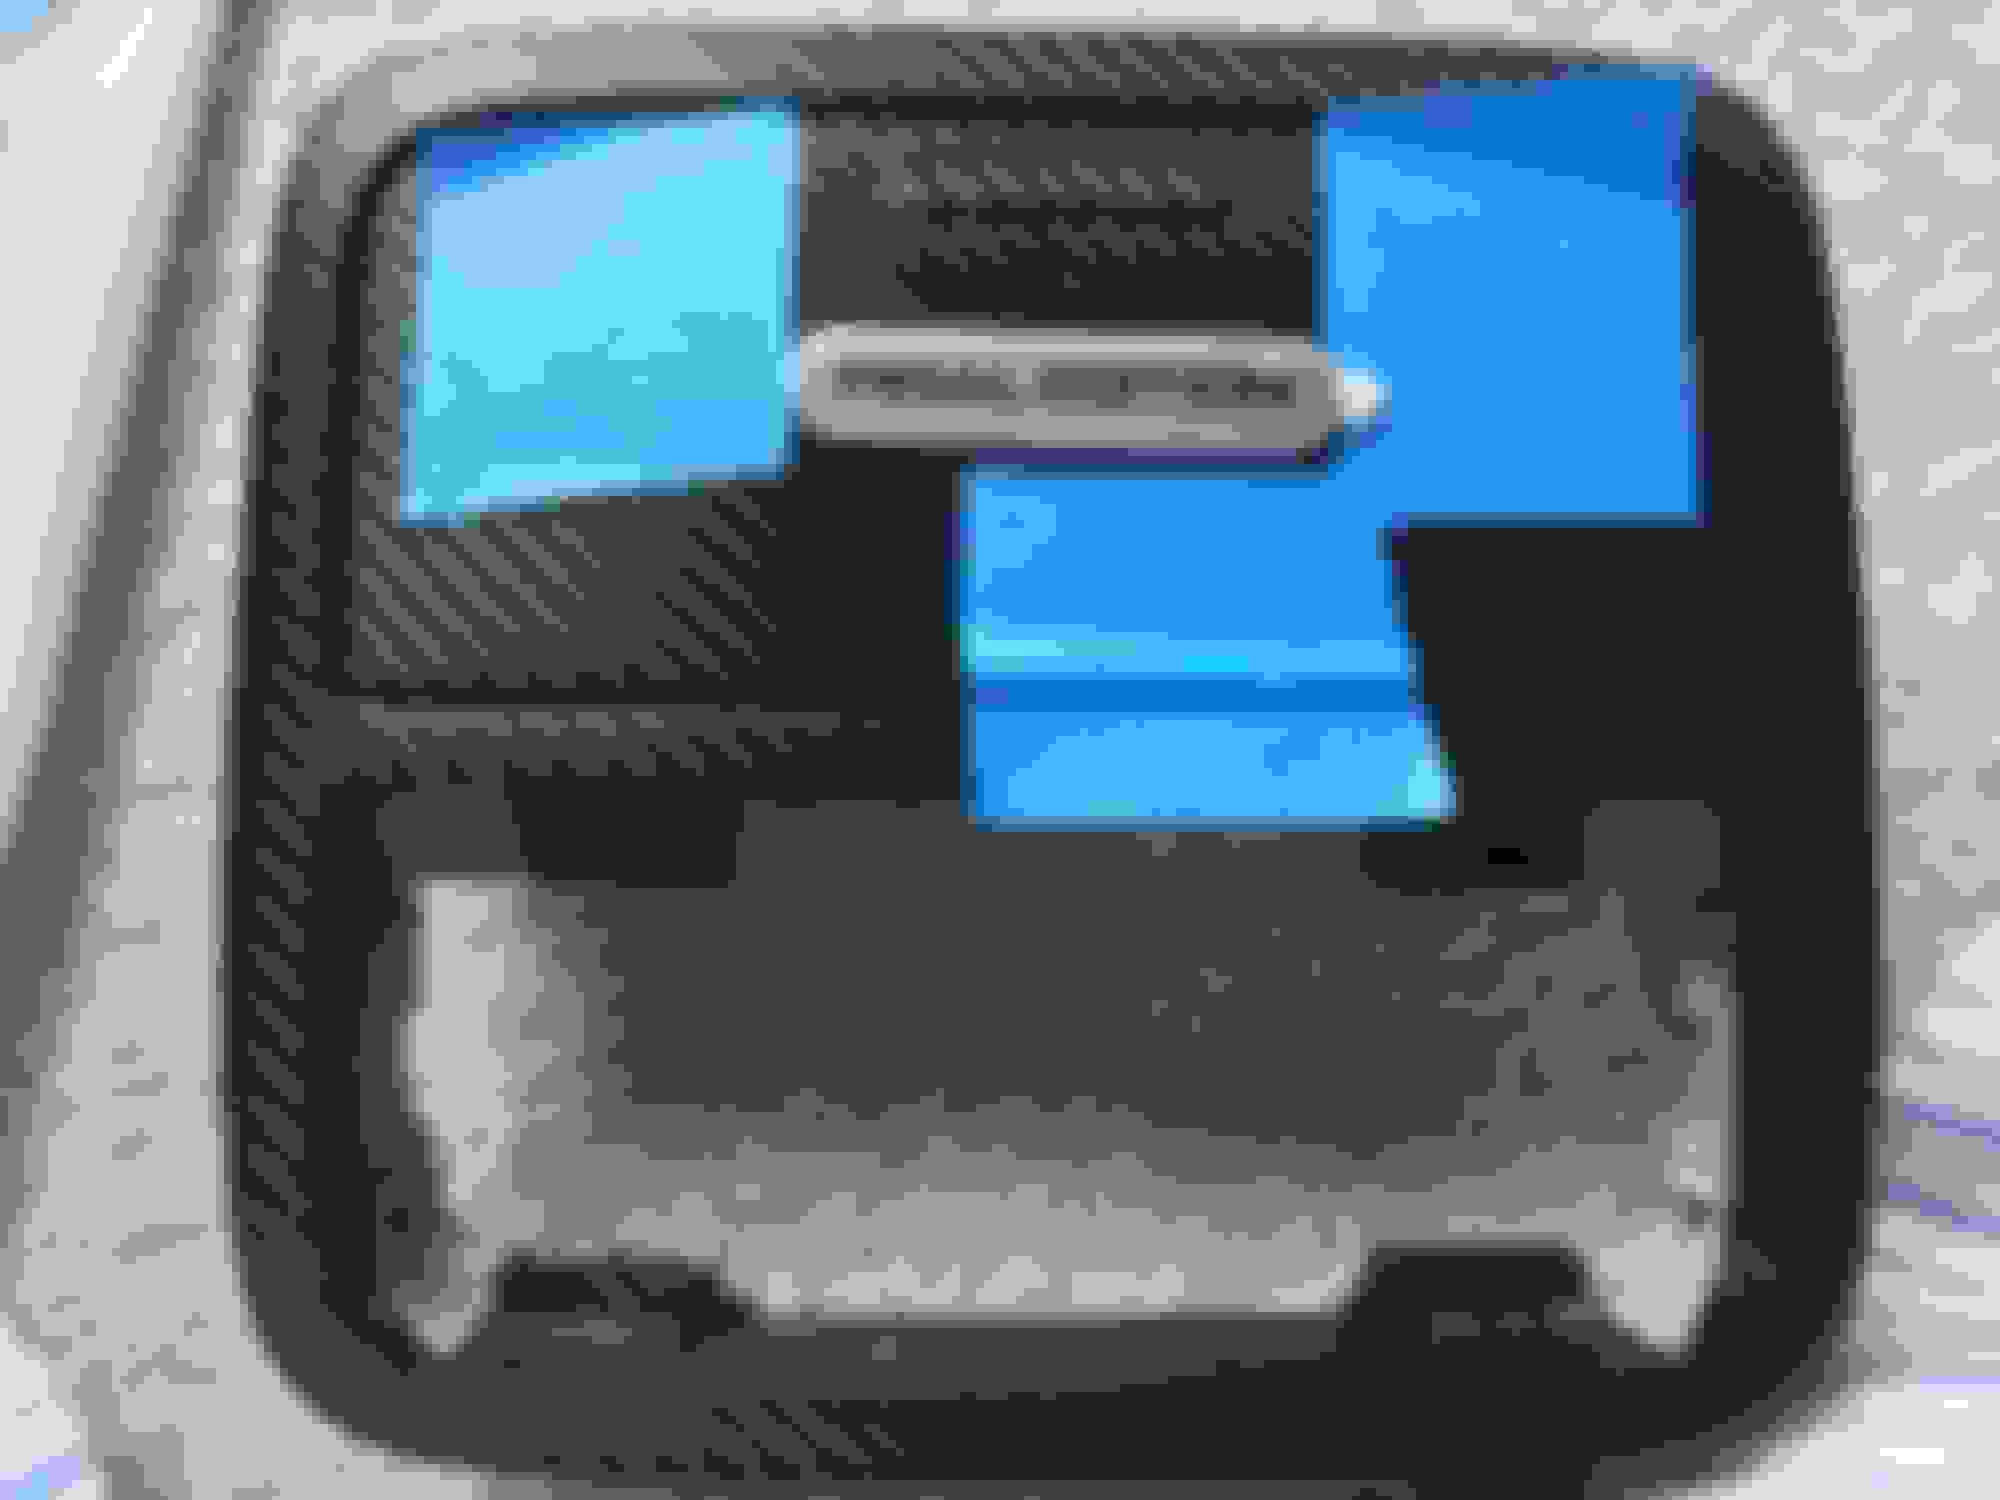
Few years ago, I upgrade my Honda Fit interior light to Acura TSX interior that have built in Home Link Garage Door Opener Module plus the sunglasses compartment.
so I already run the wiring from the built in Microphone that inside the Acura TSX Home Link module,
but I think the Mic from Sony RSX-GS9 is superior,
so I decided to tear apart the Acura TSX Home Link module and install Sony RSG-GX9 Microphone...
While doing it, I got carried away and decide to play with some painting...
so this is still work in progress because the paint need 7 days to cure...
here are some pictures from the start:
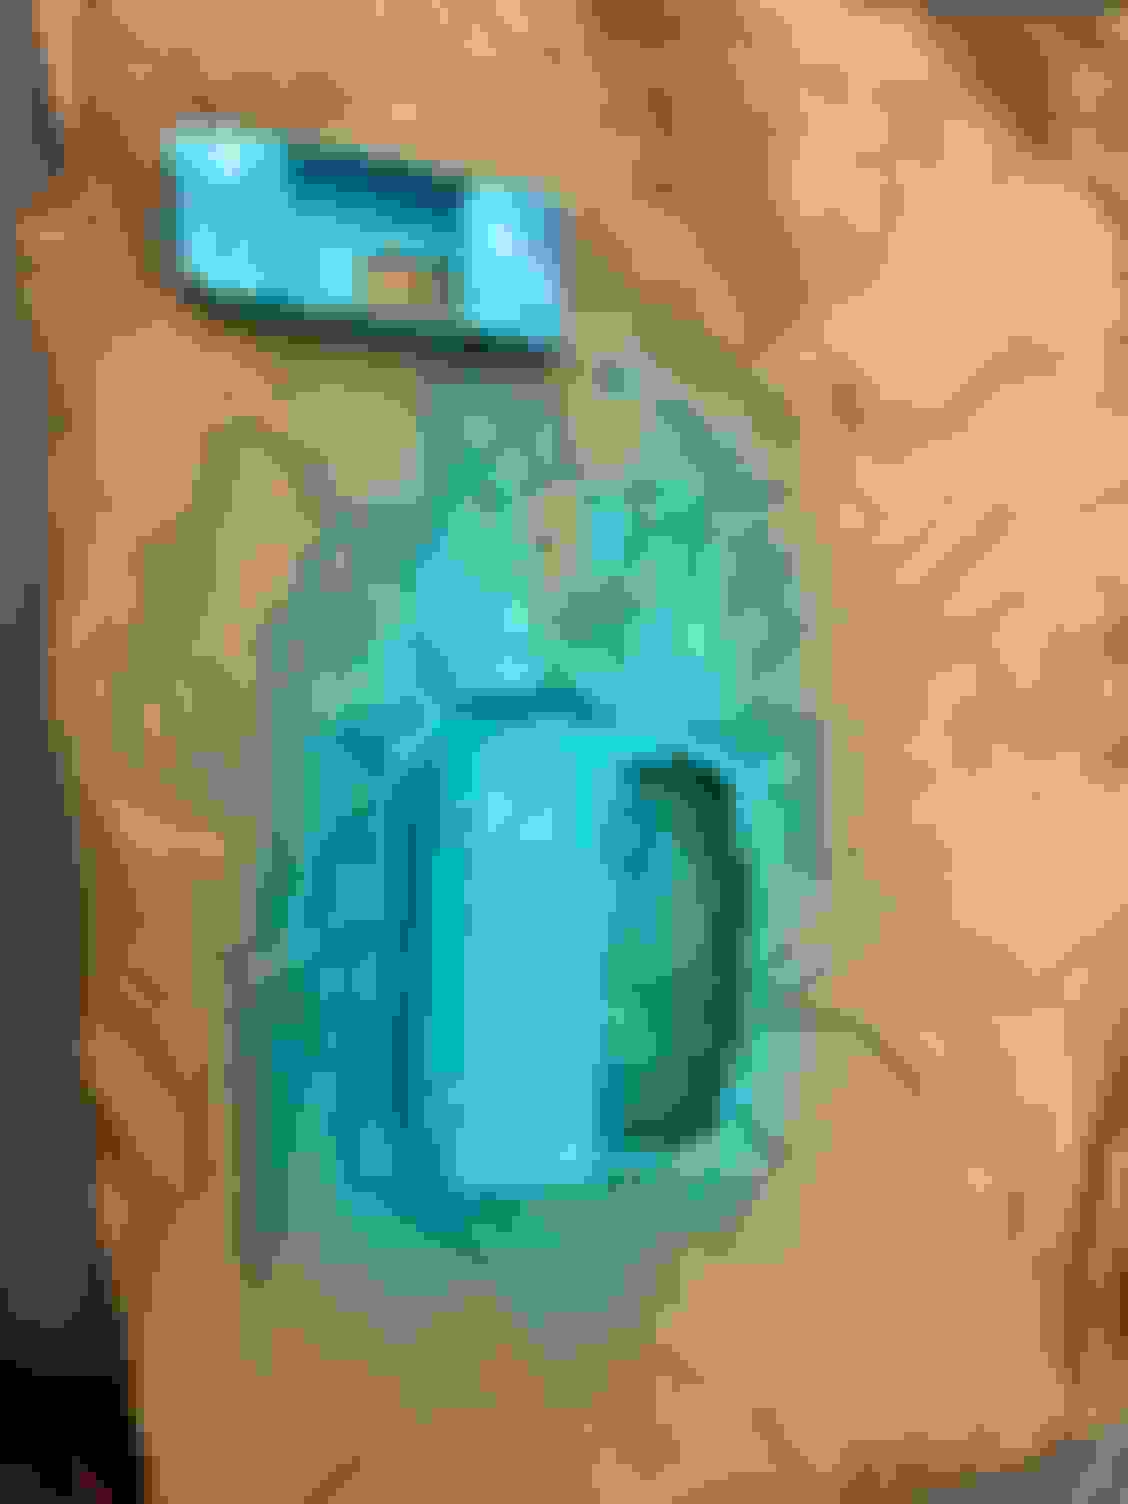
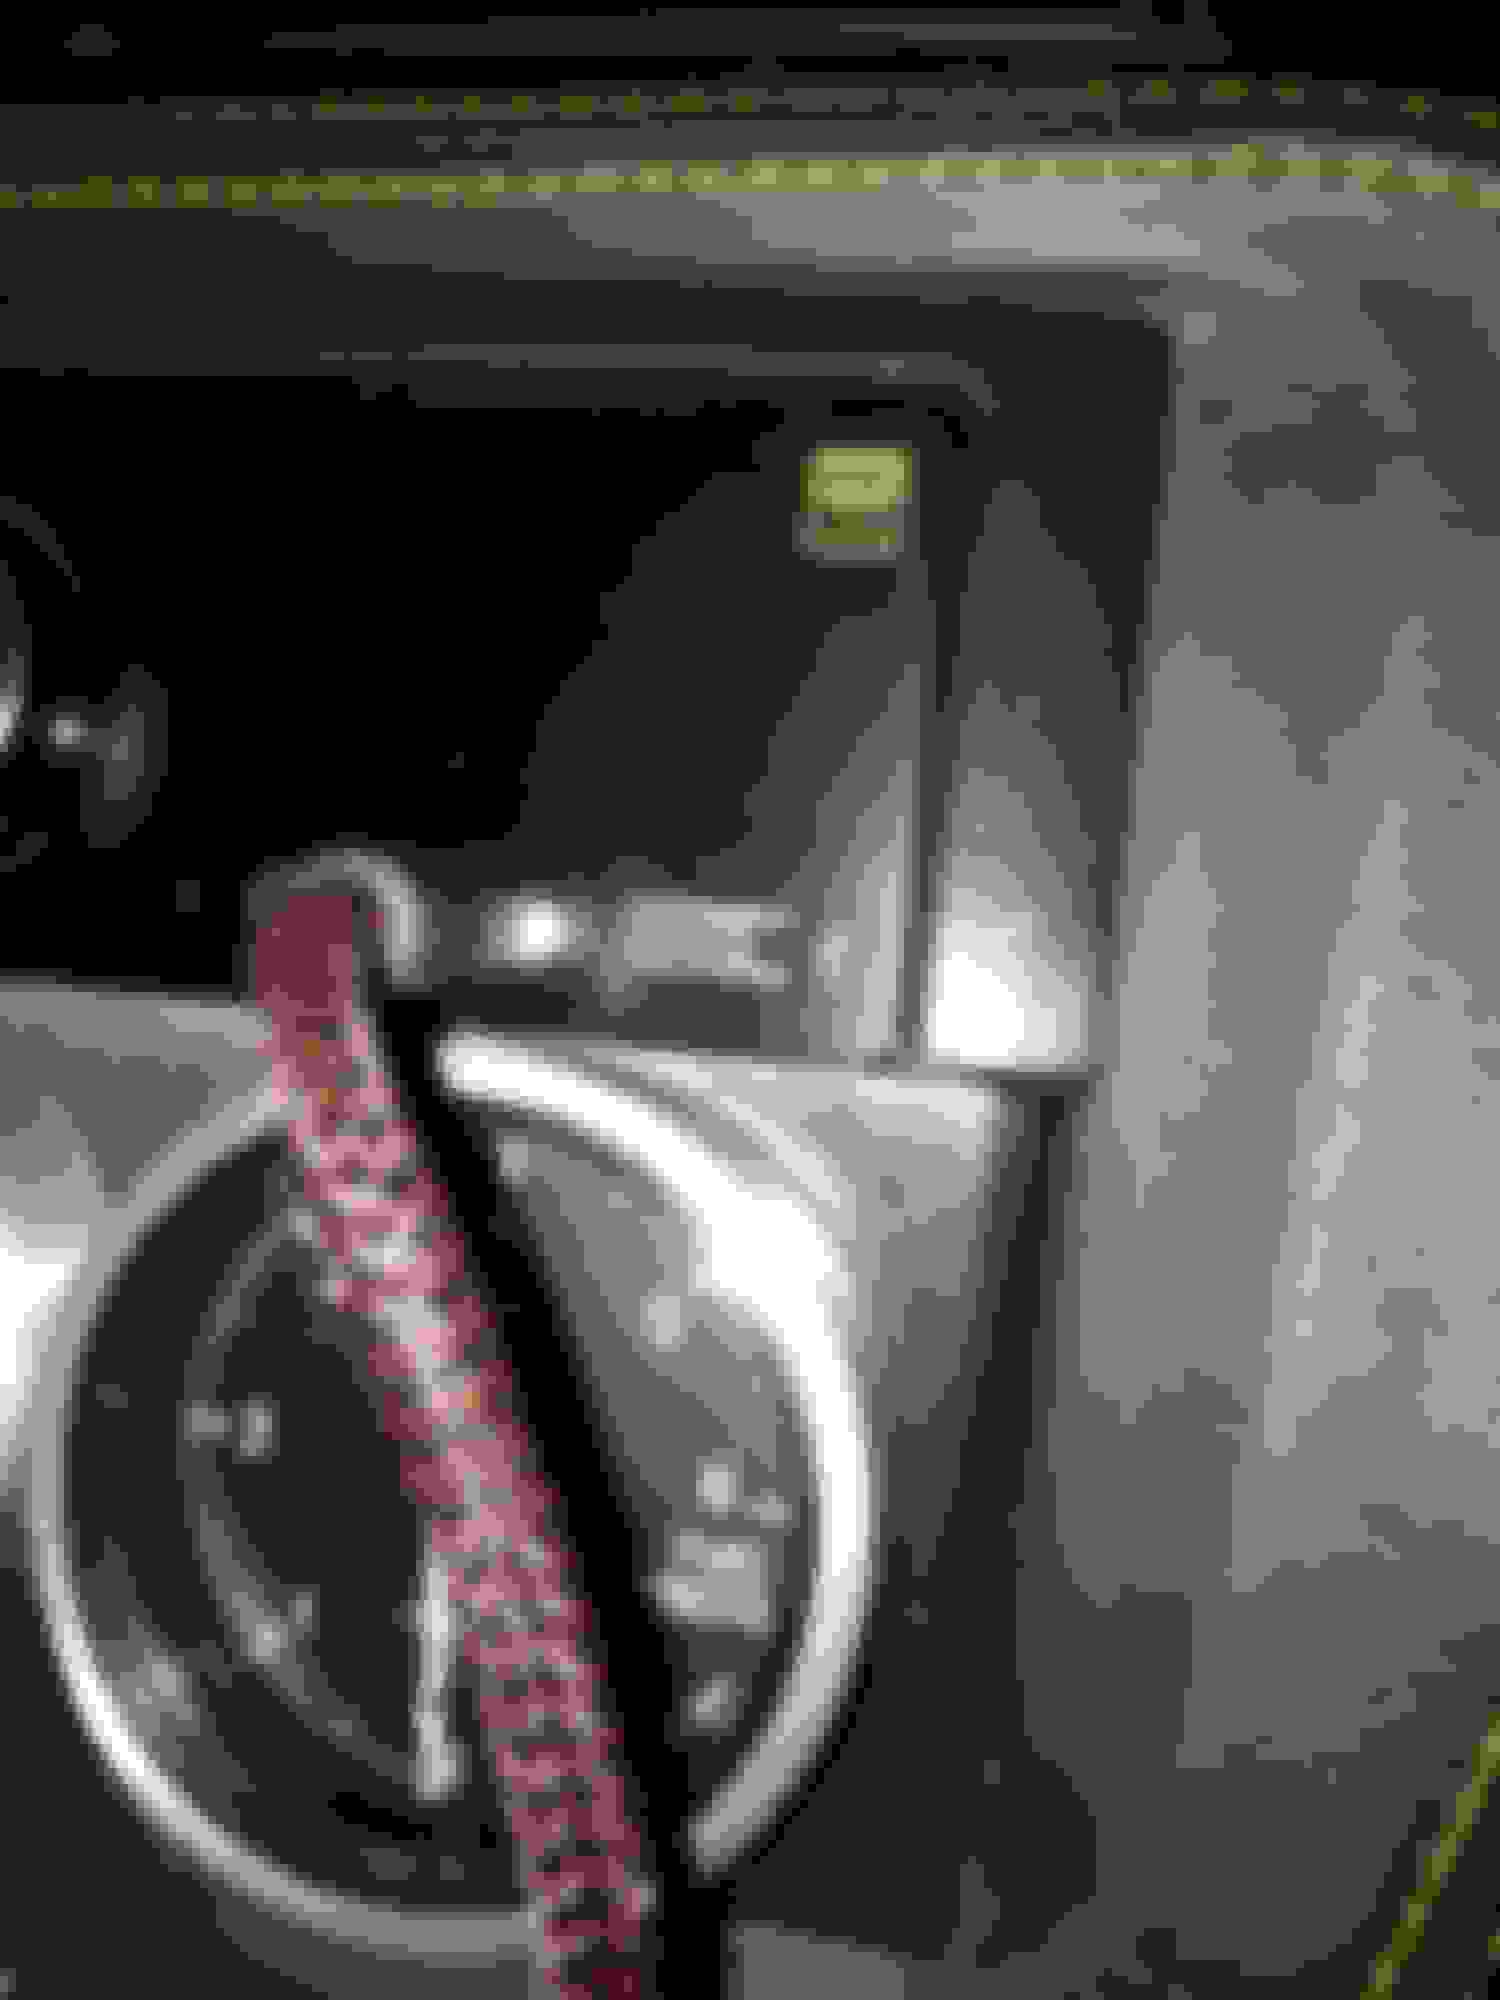
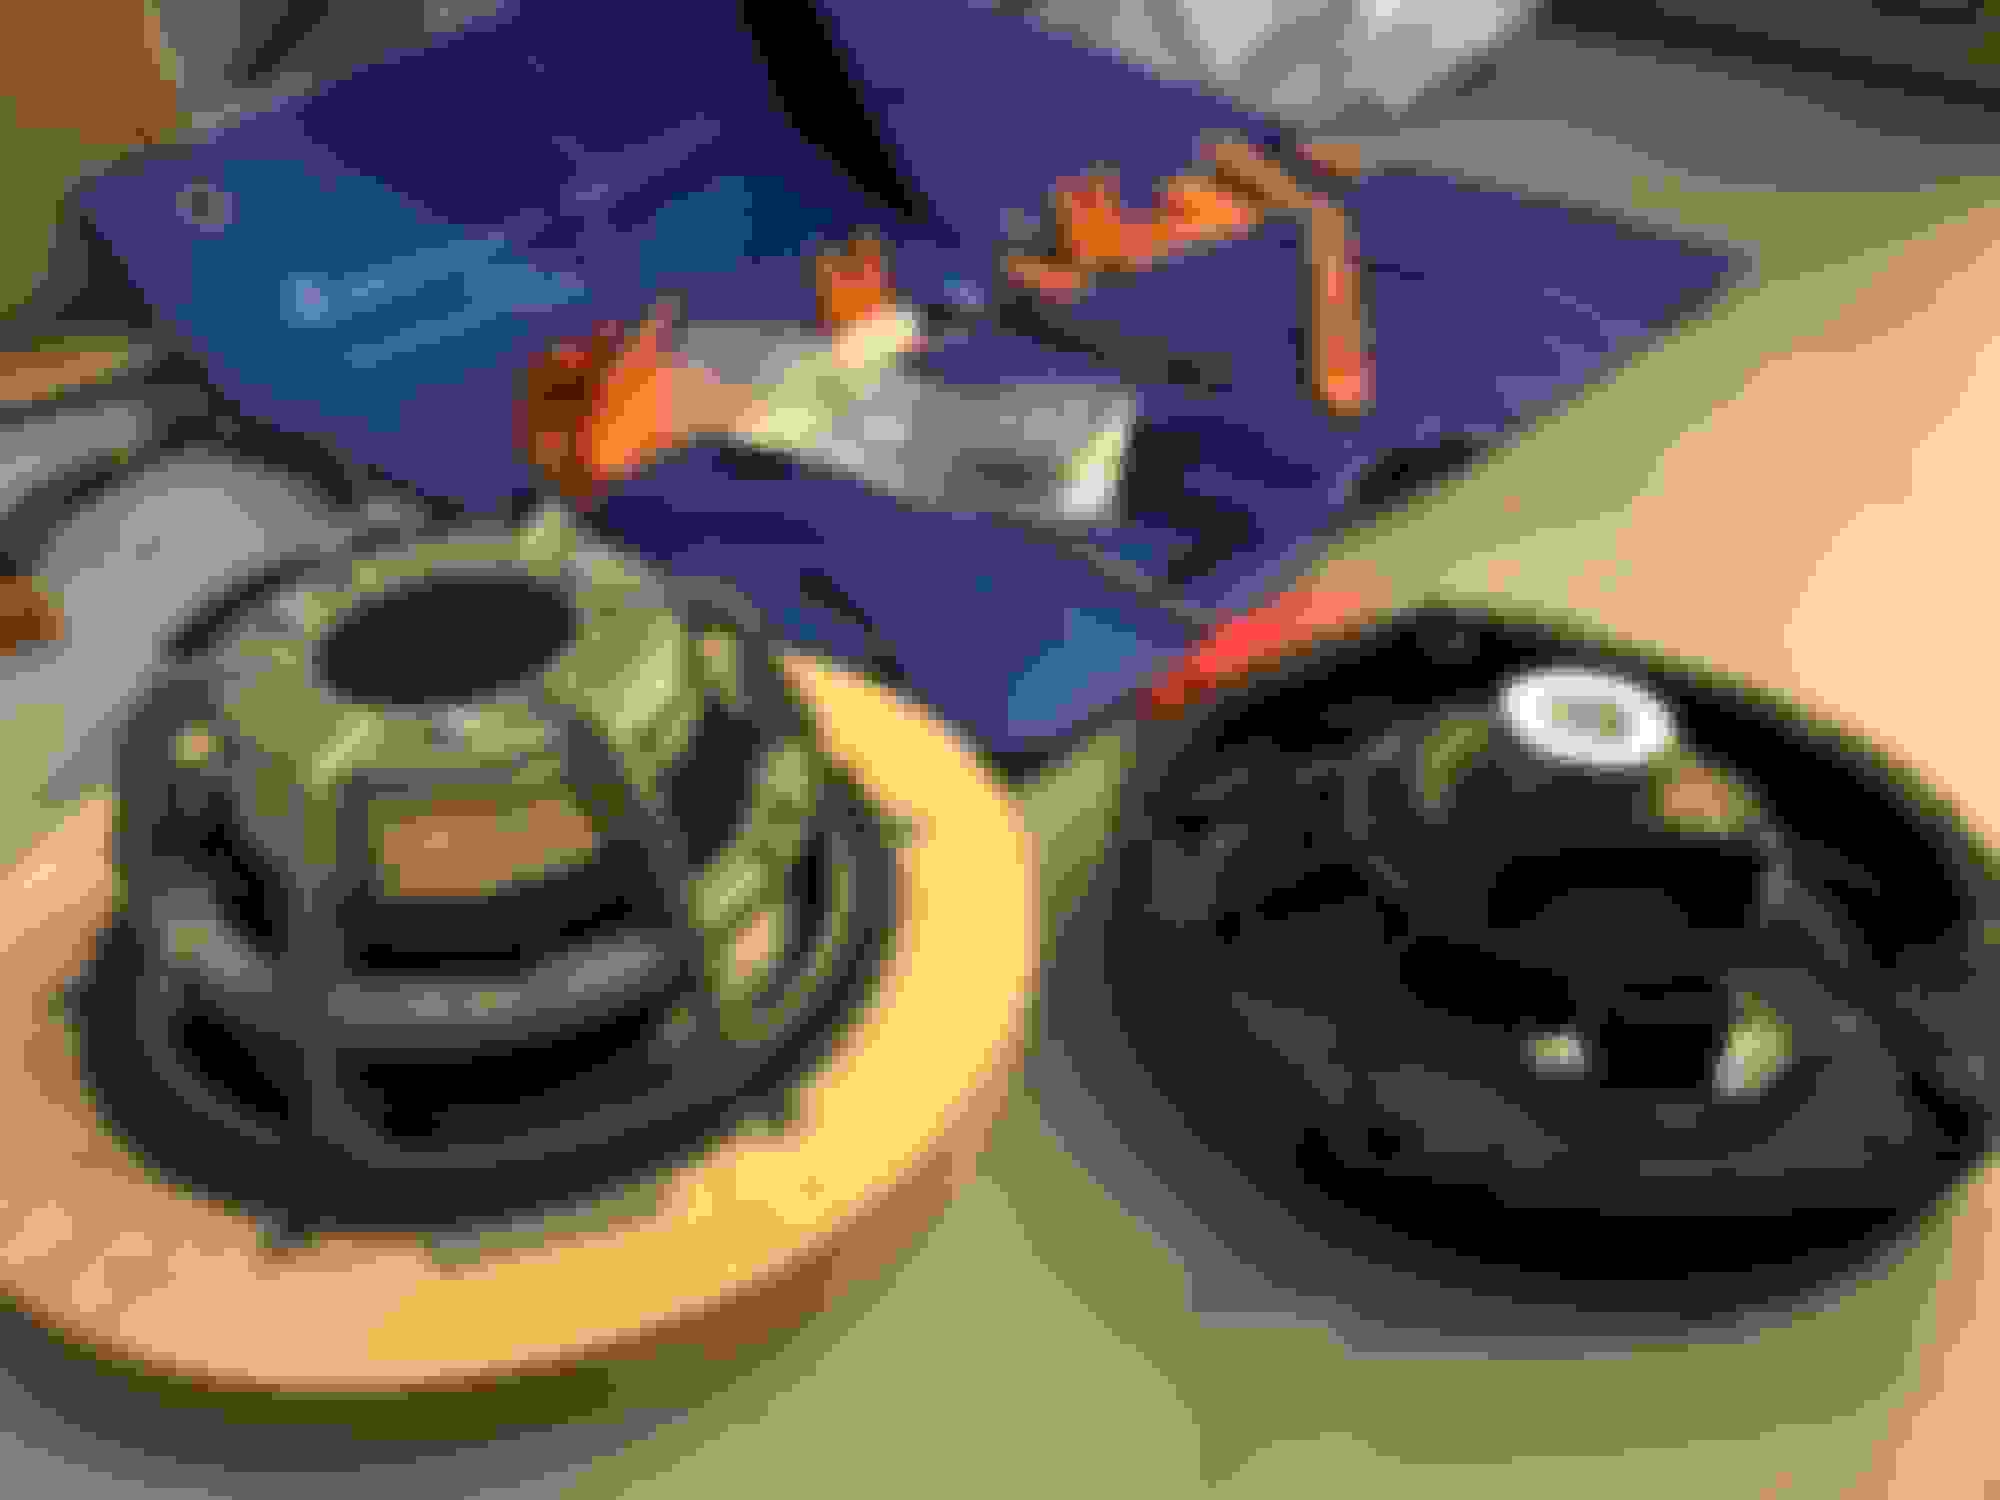
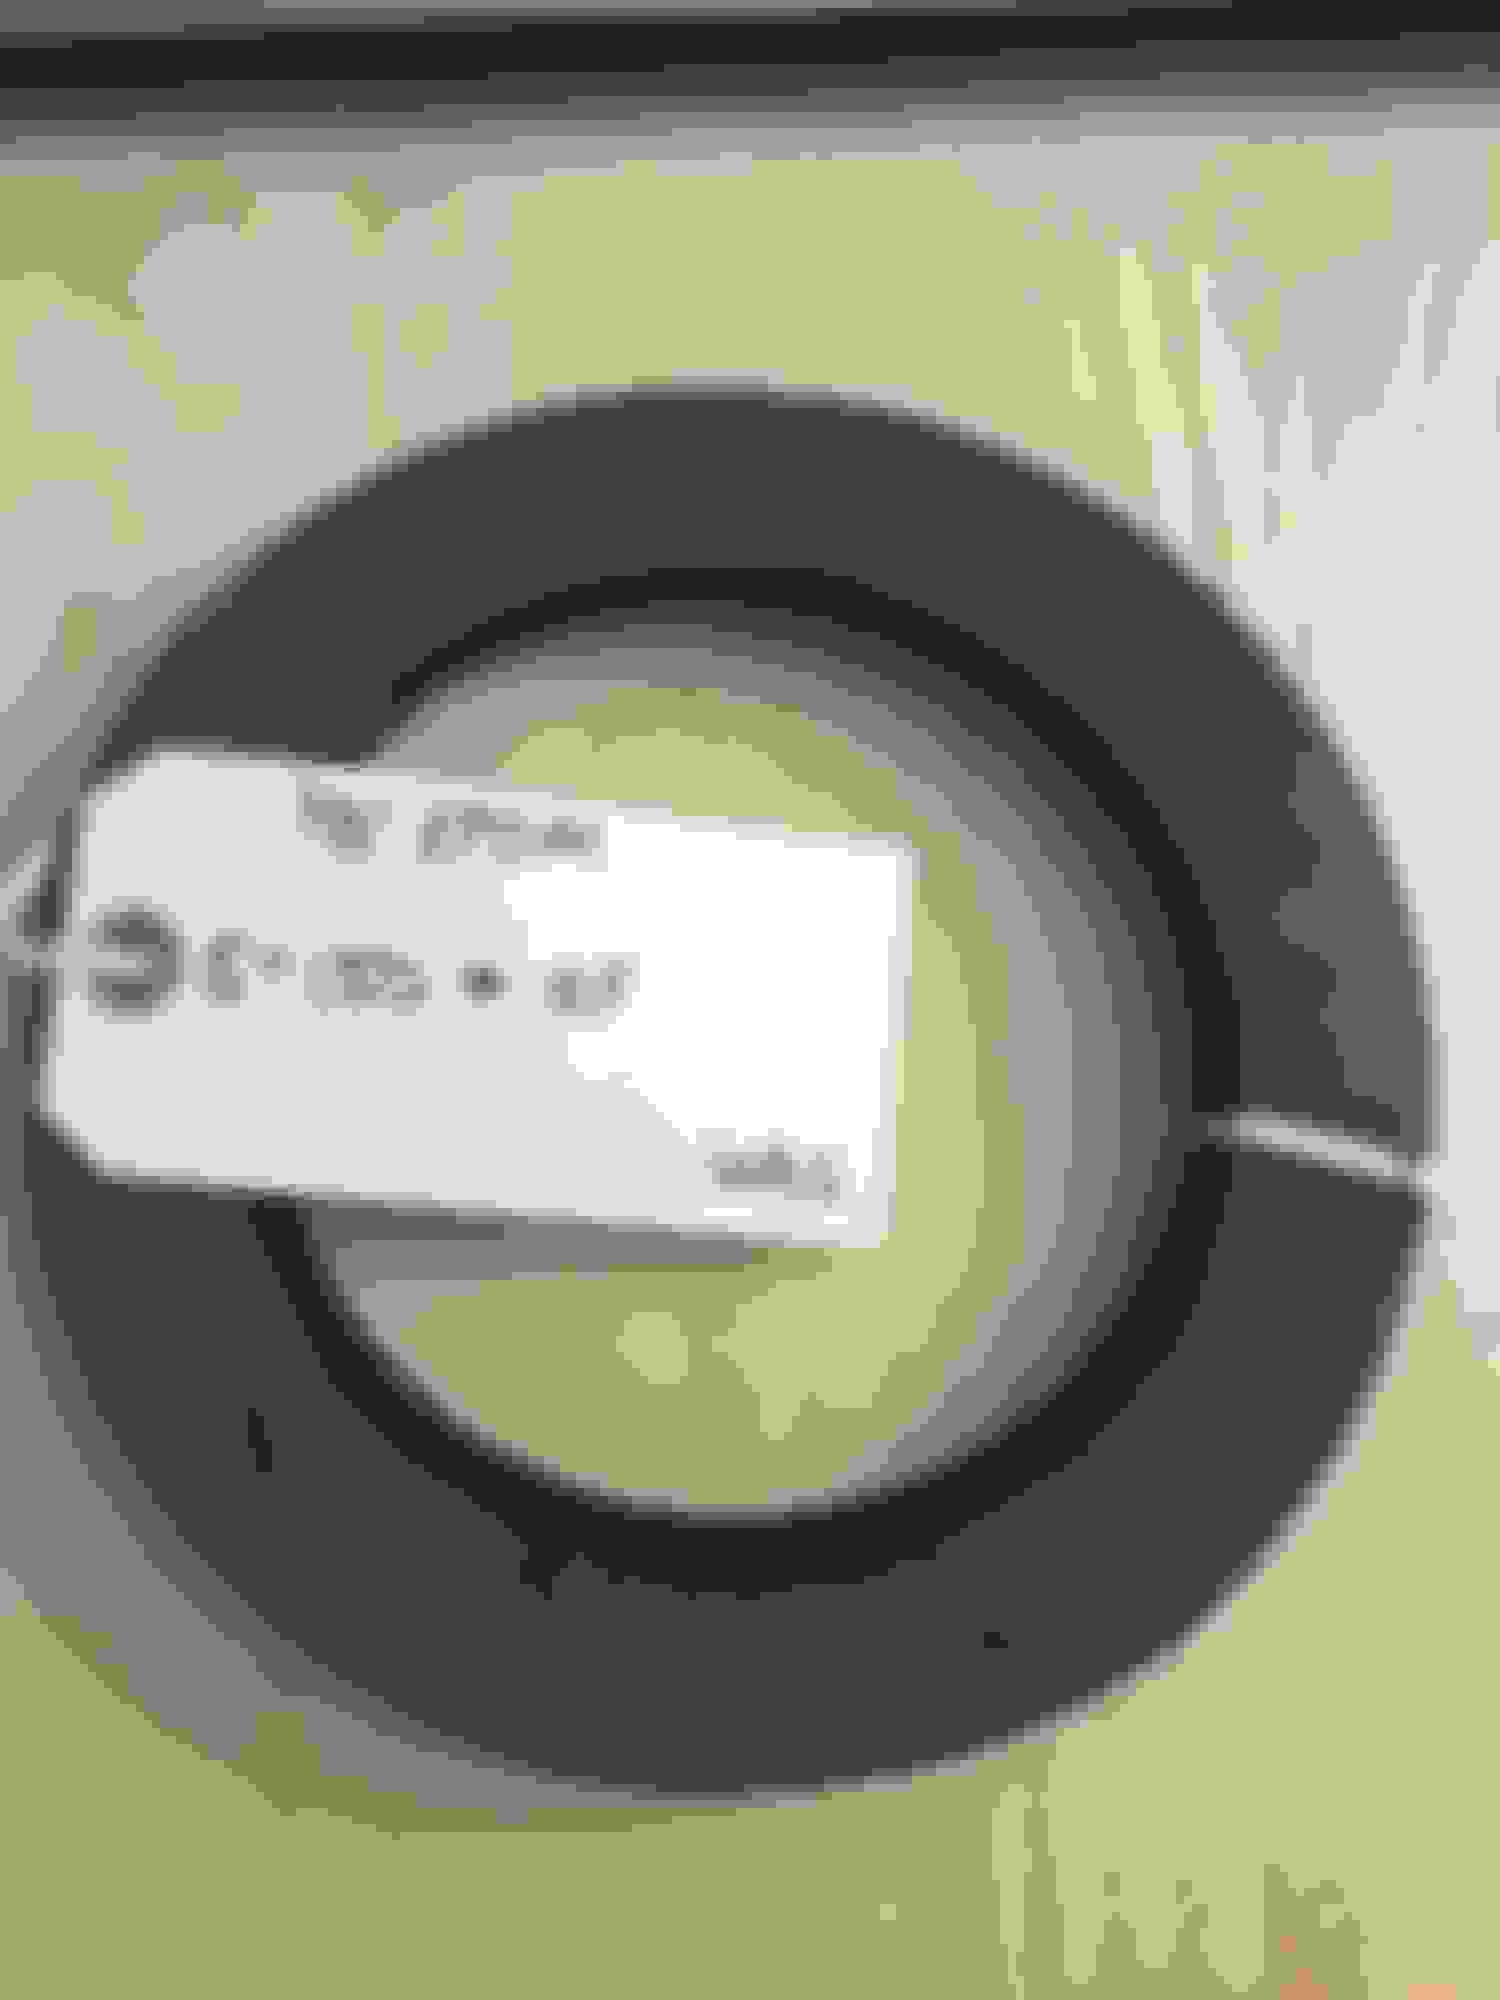
Acura TSX Interior Light:
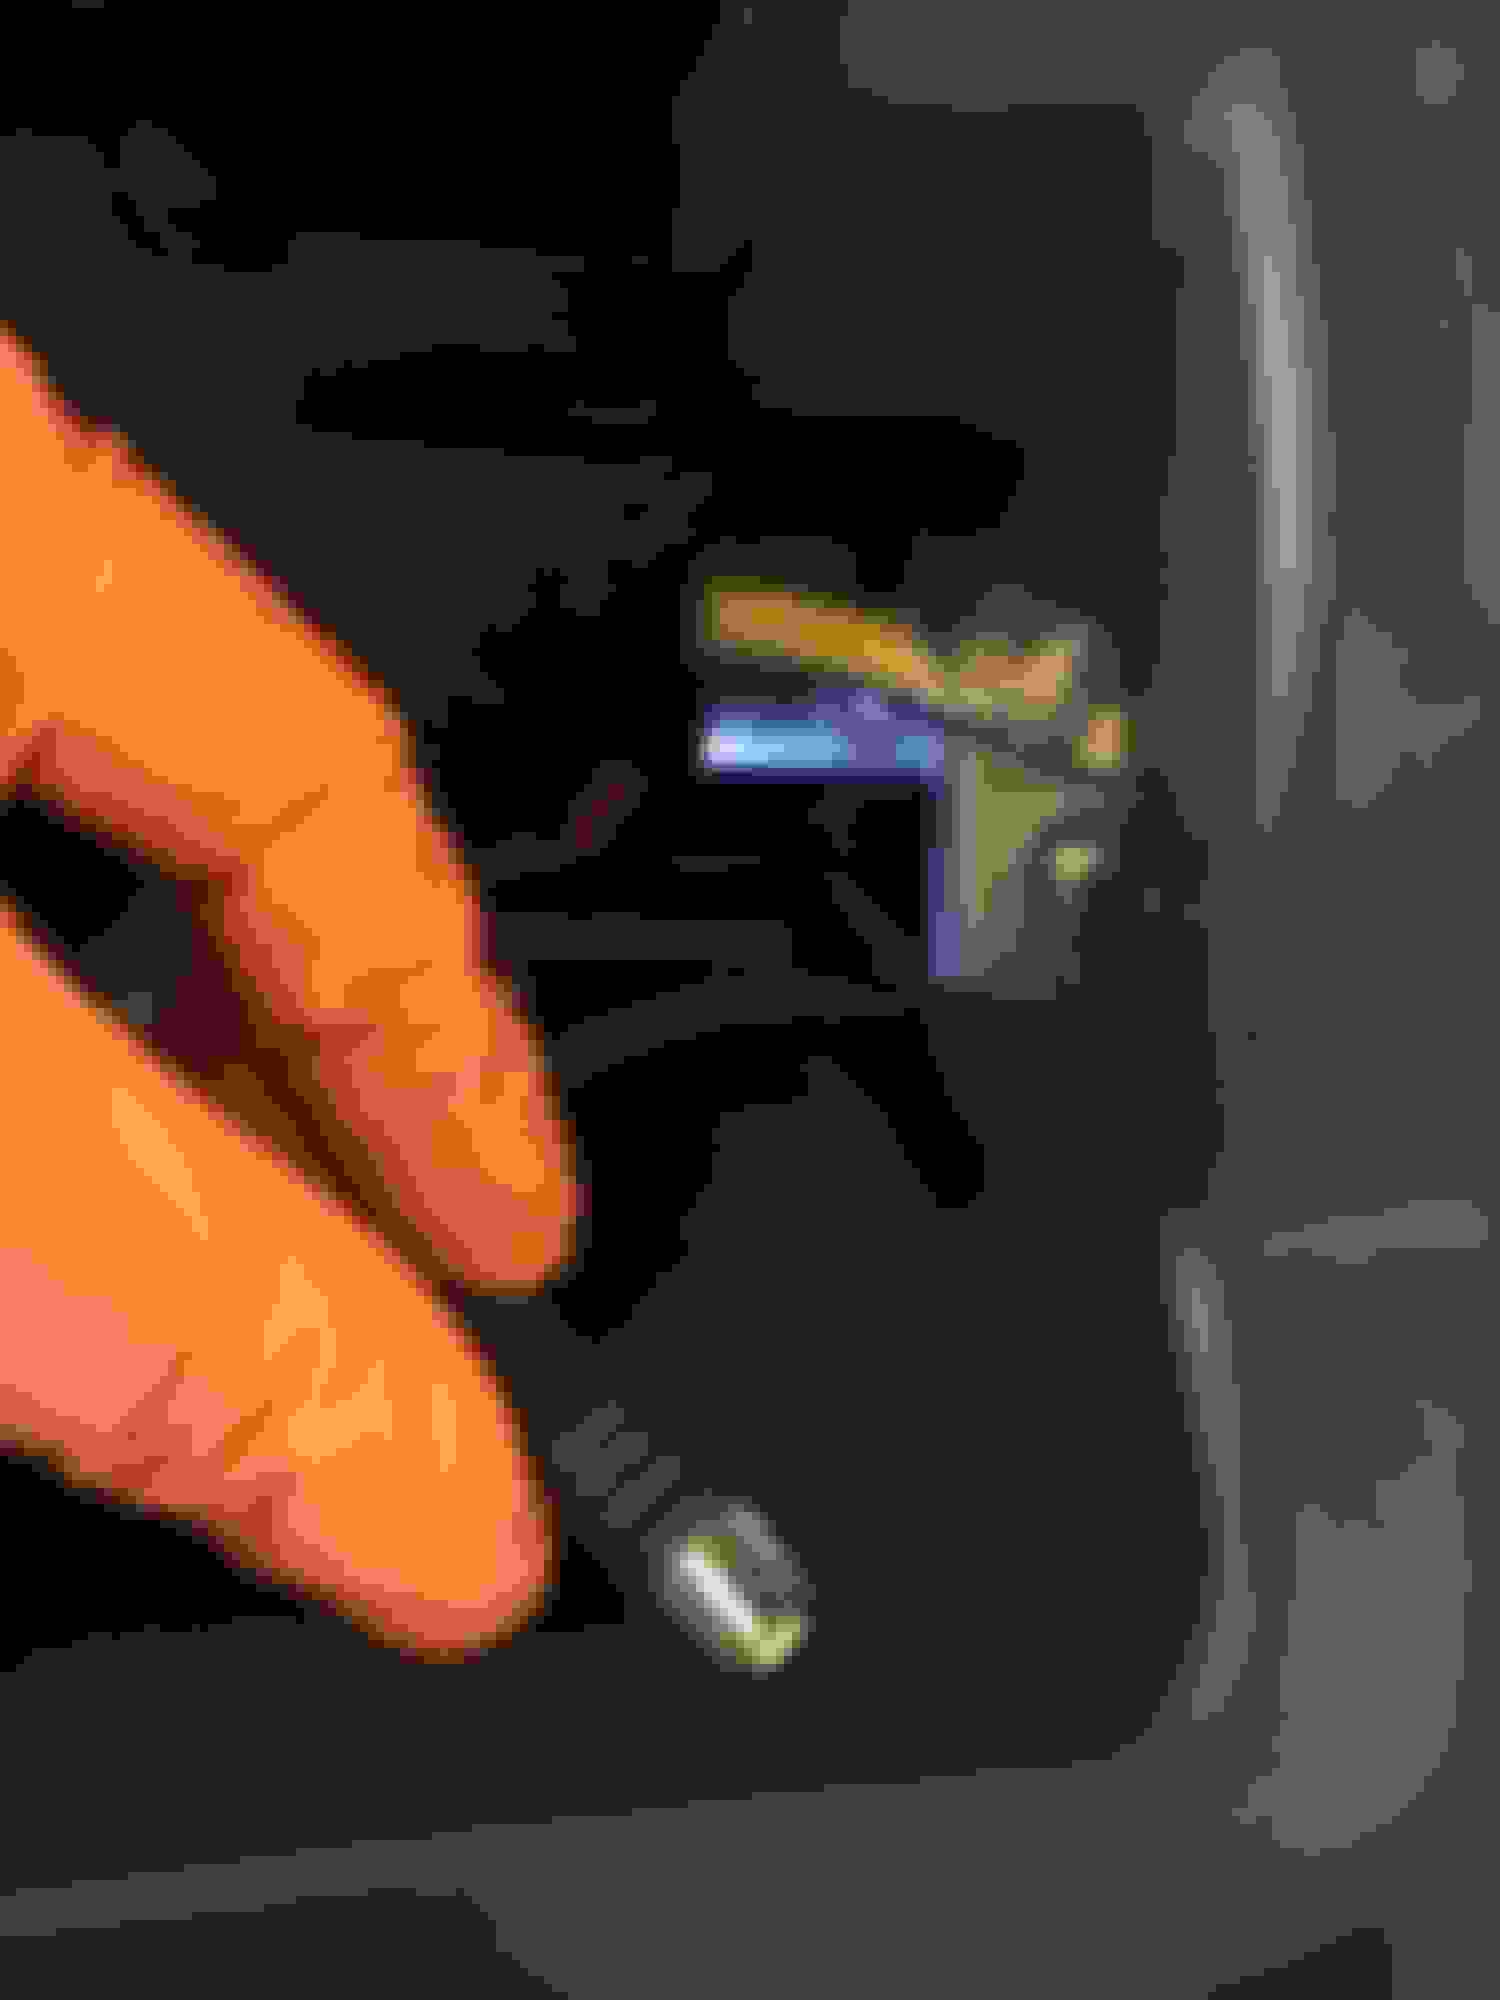
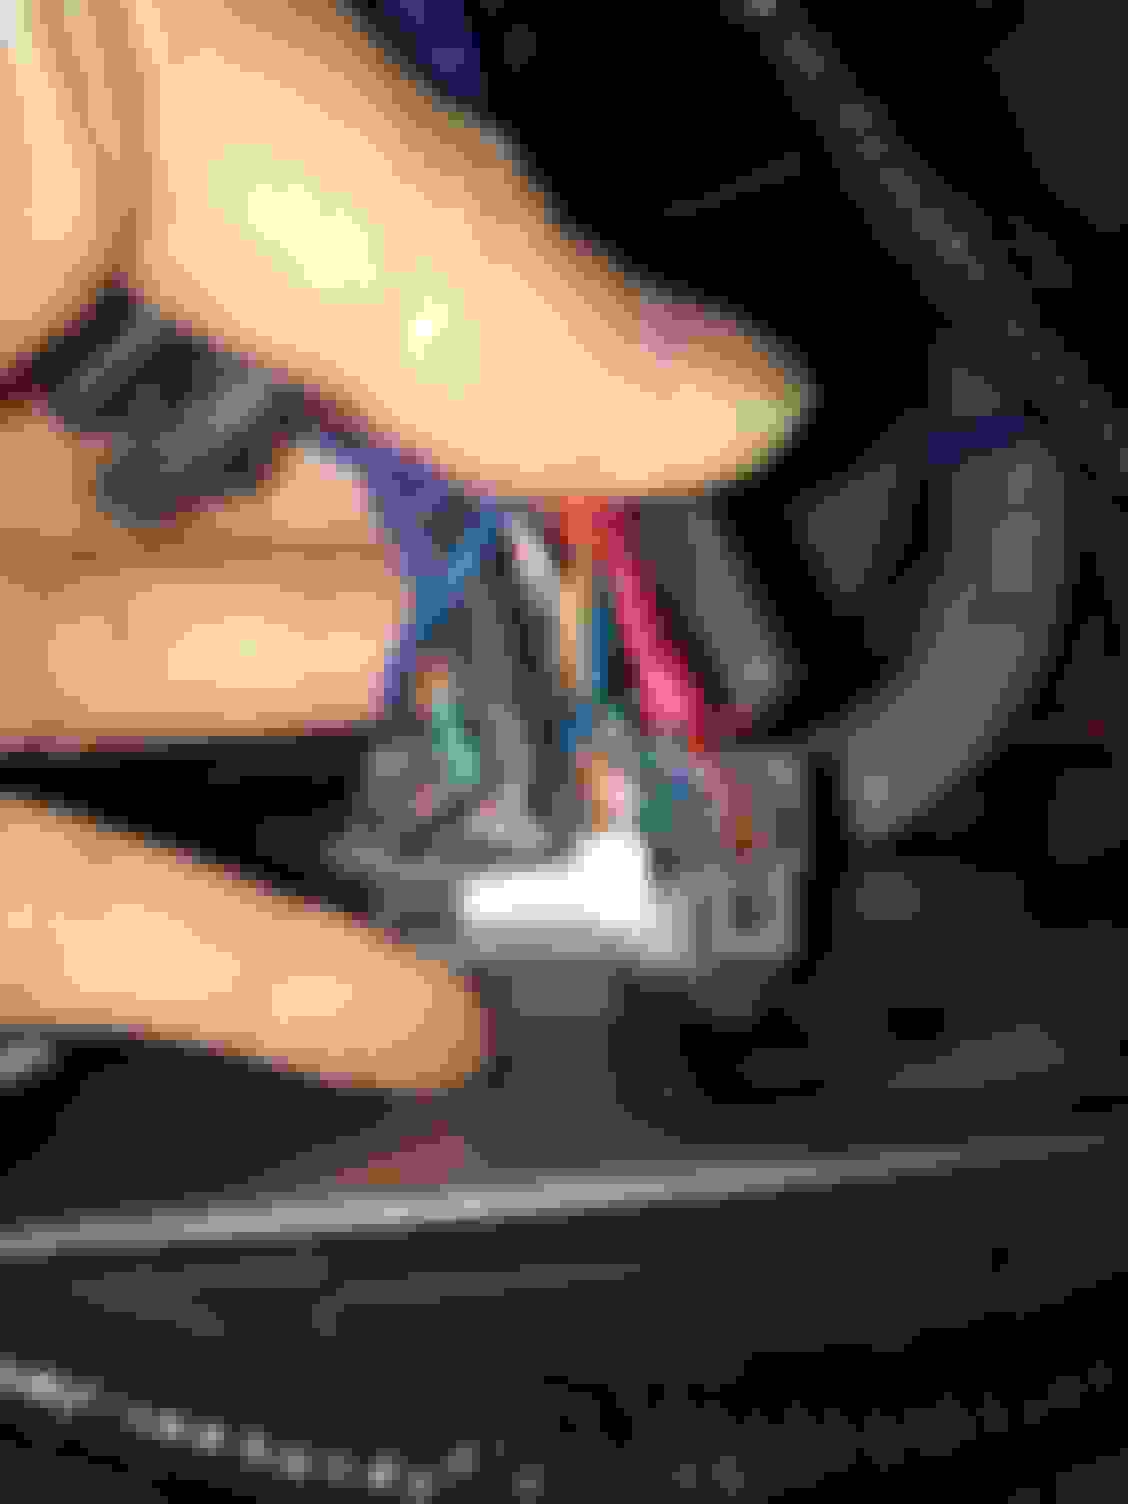
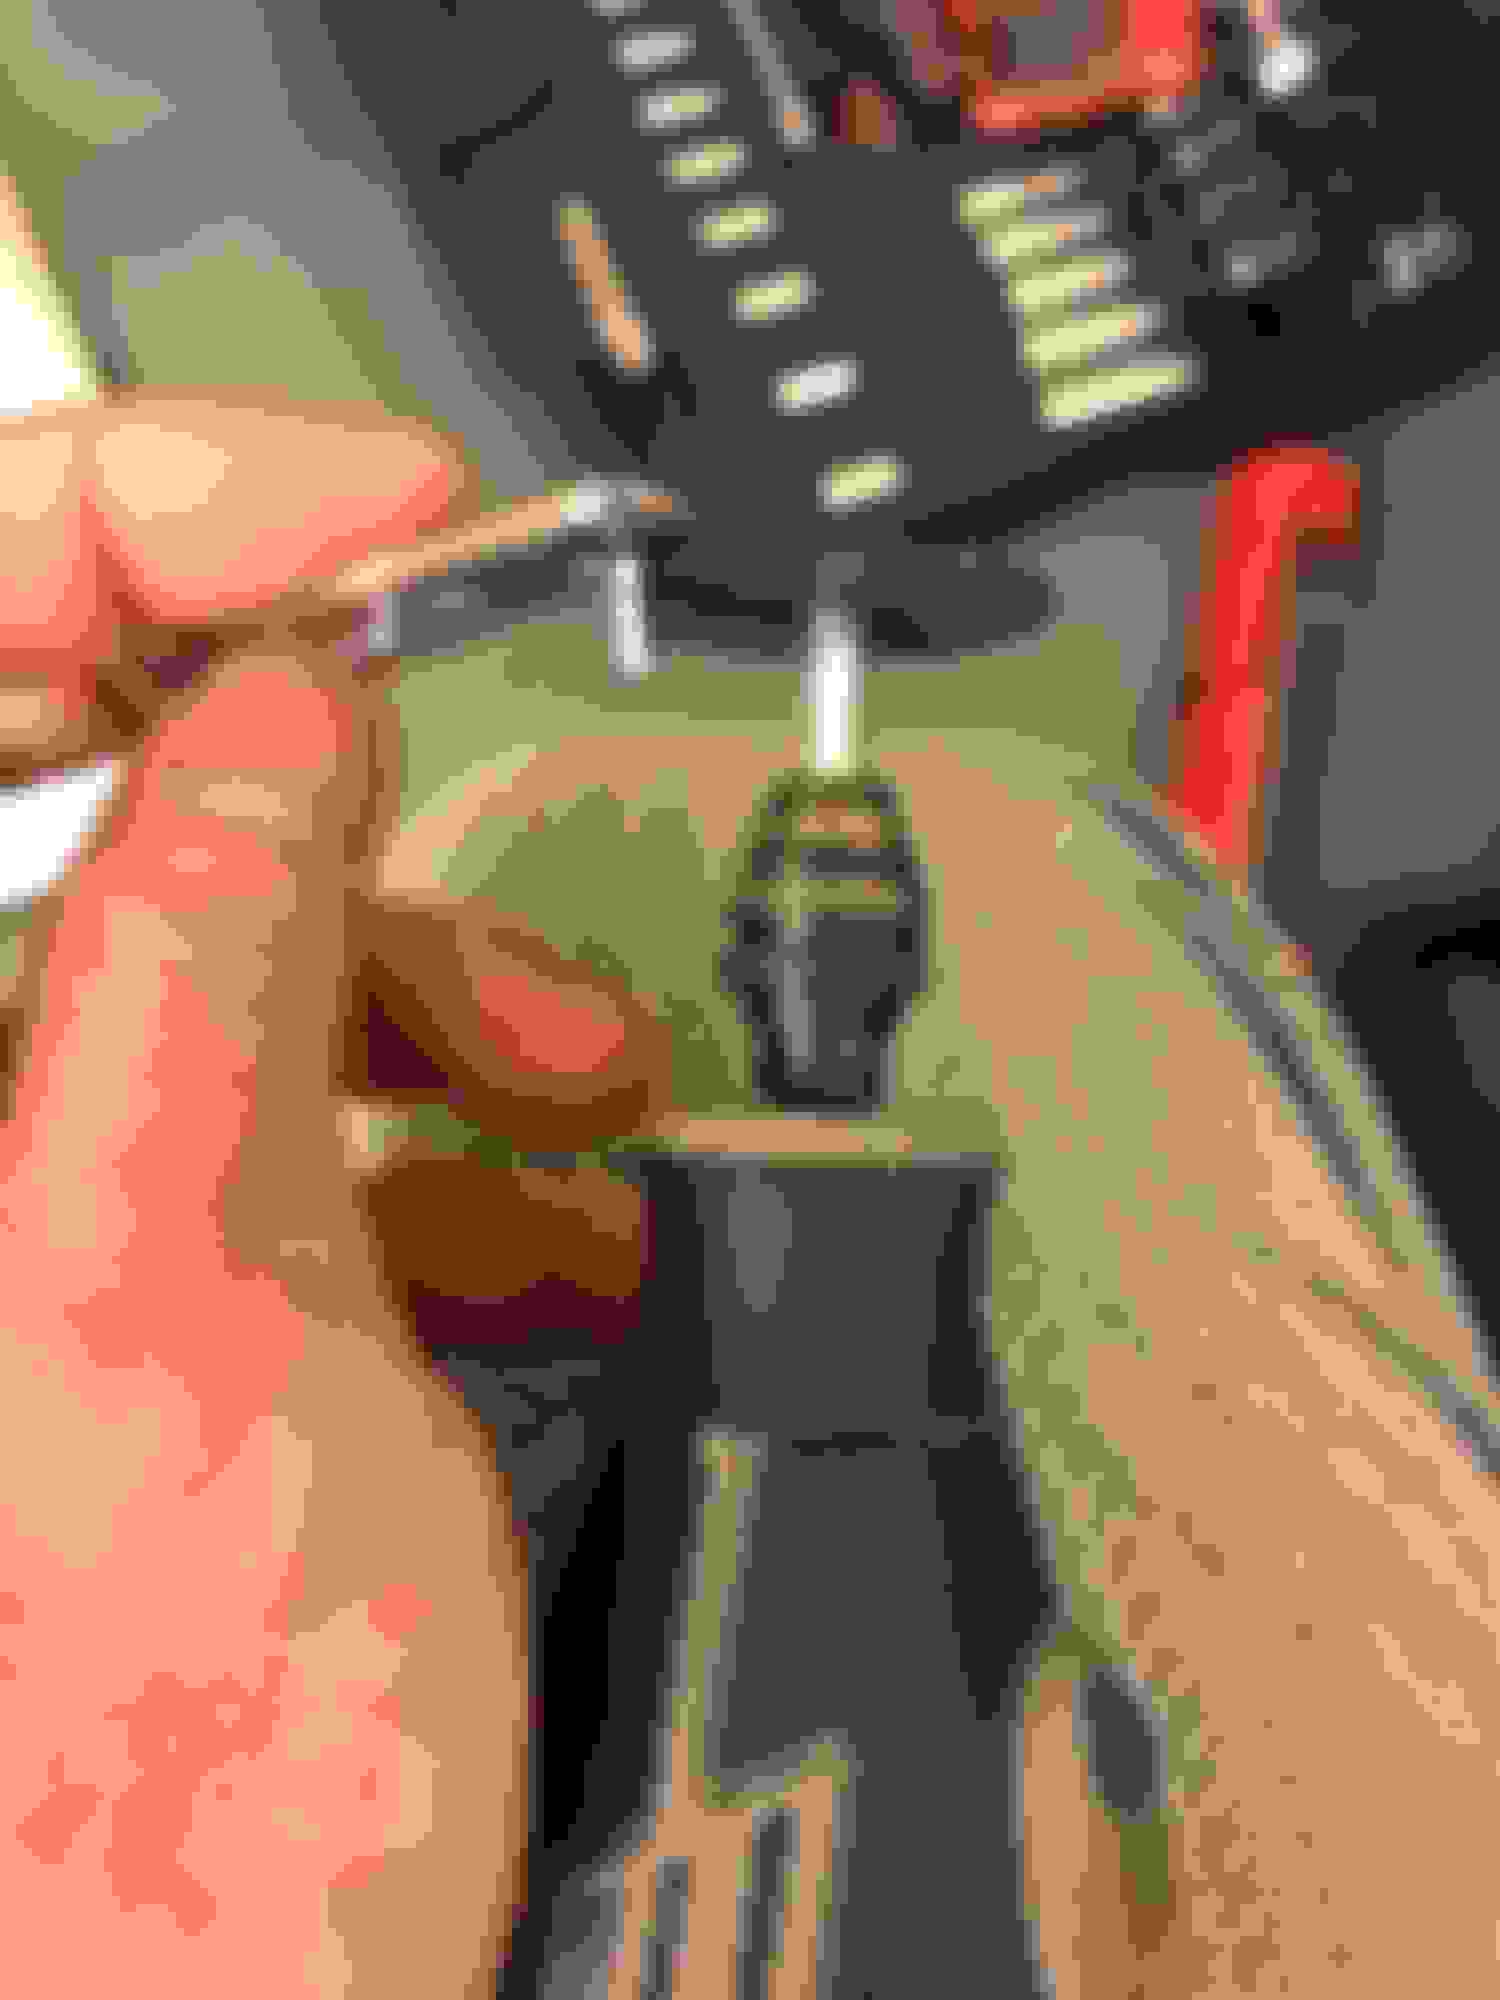
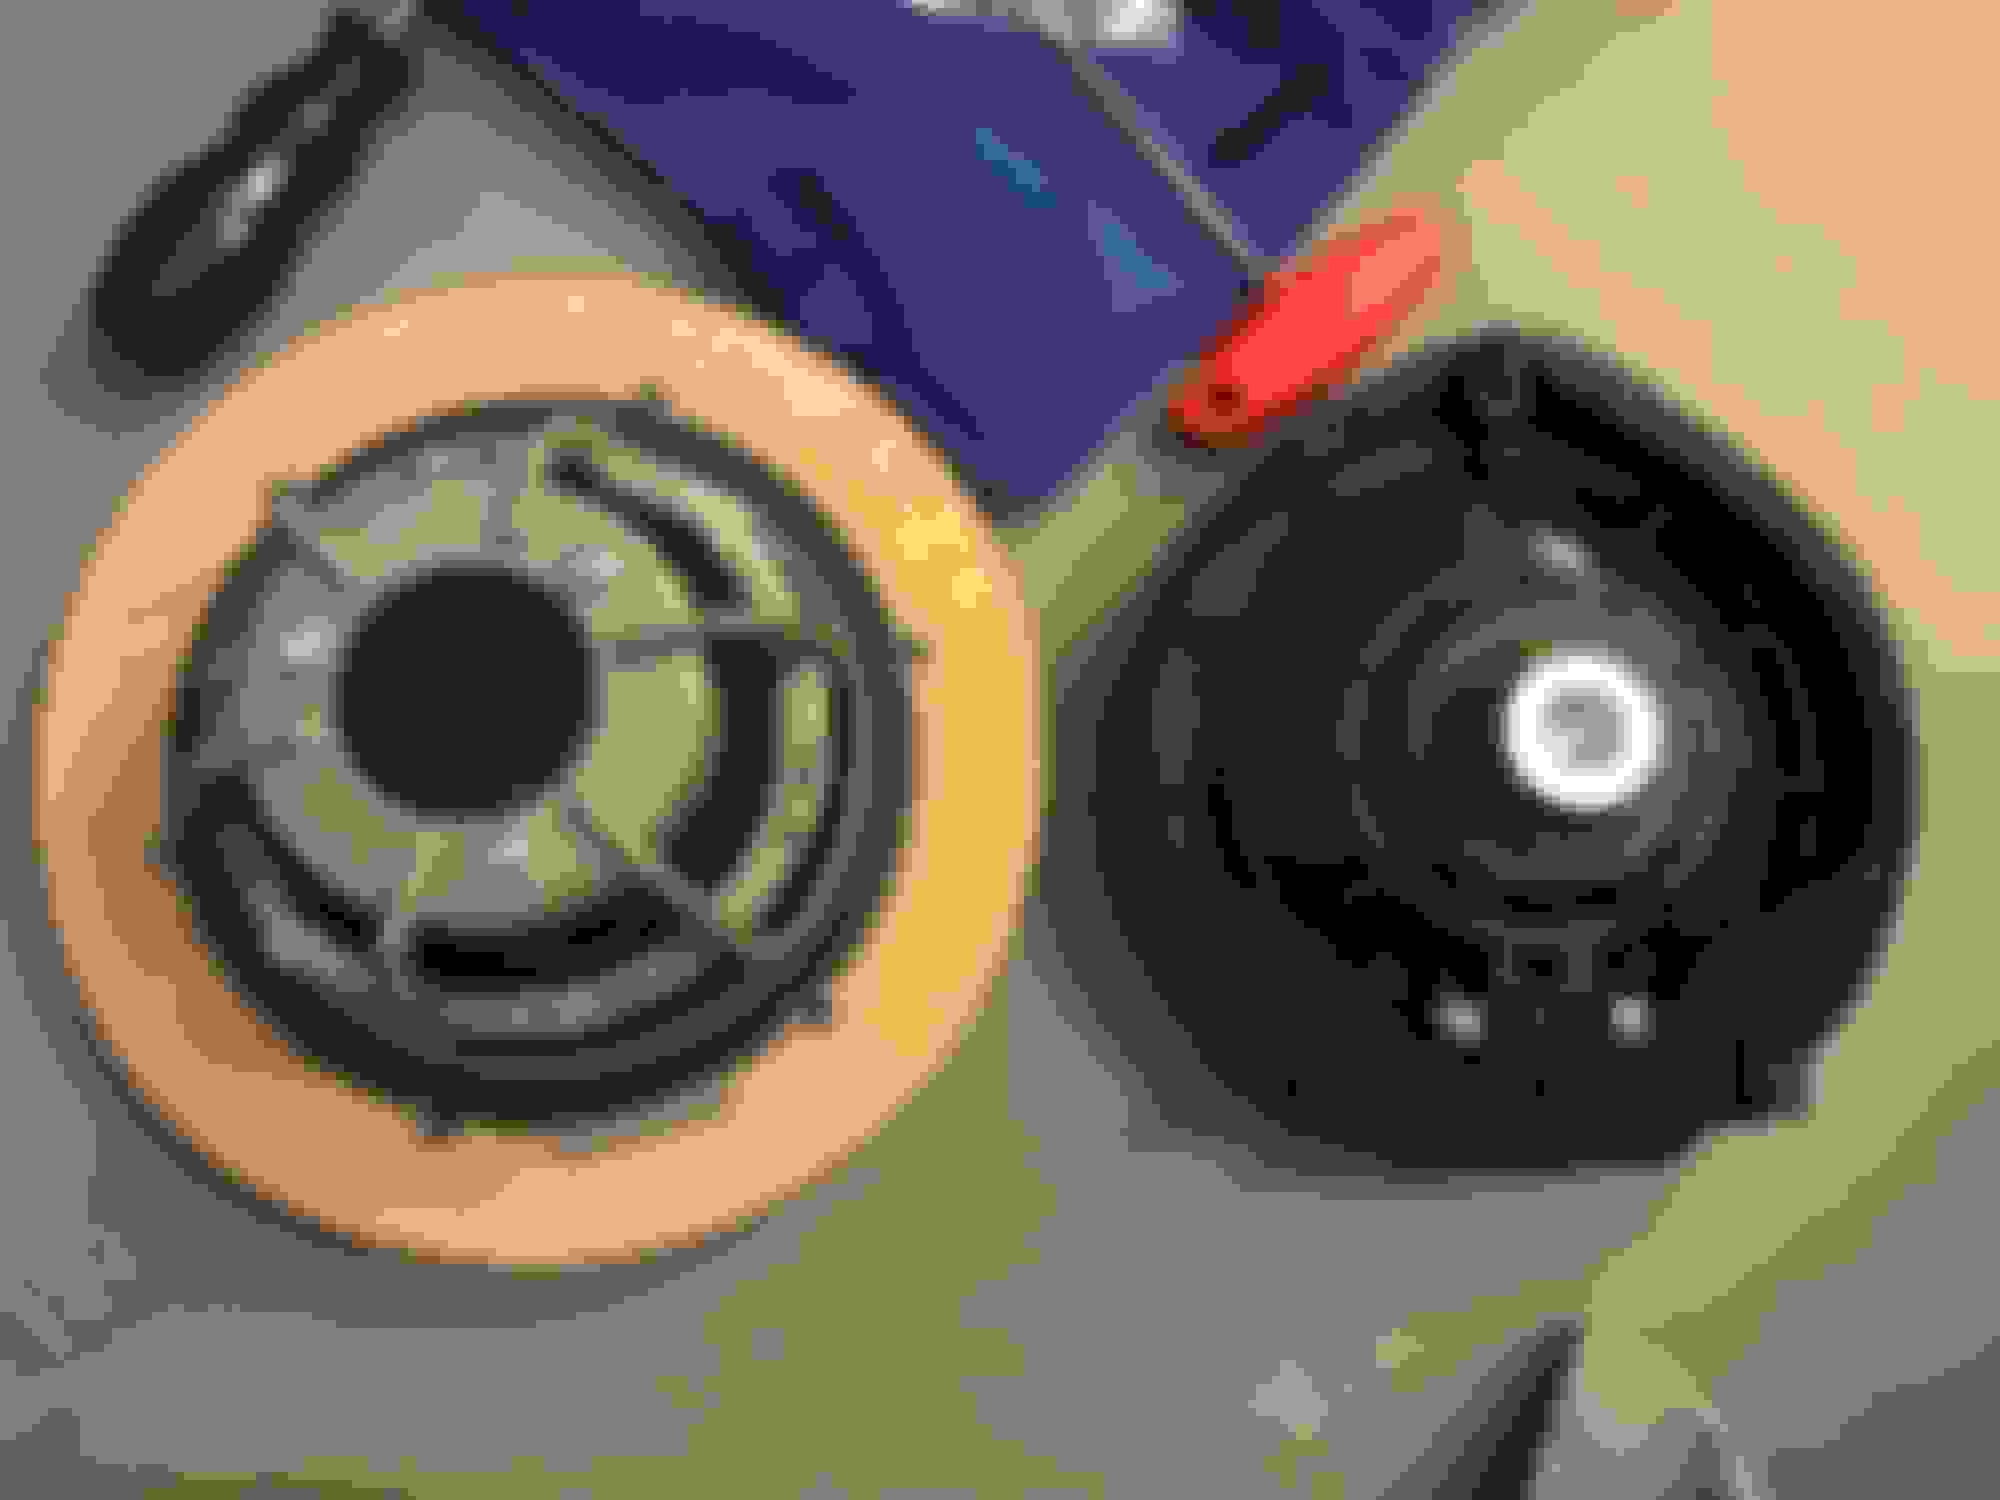
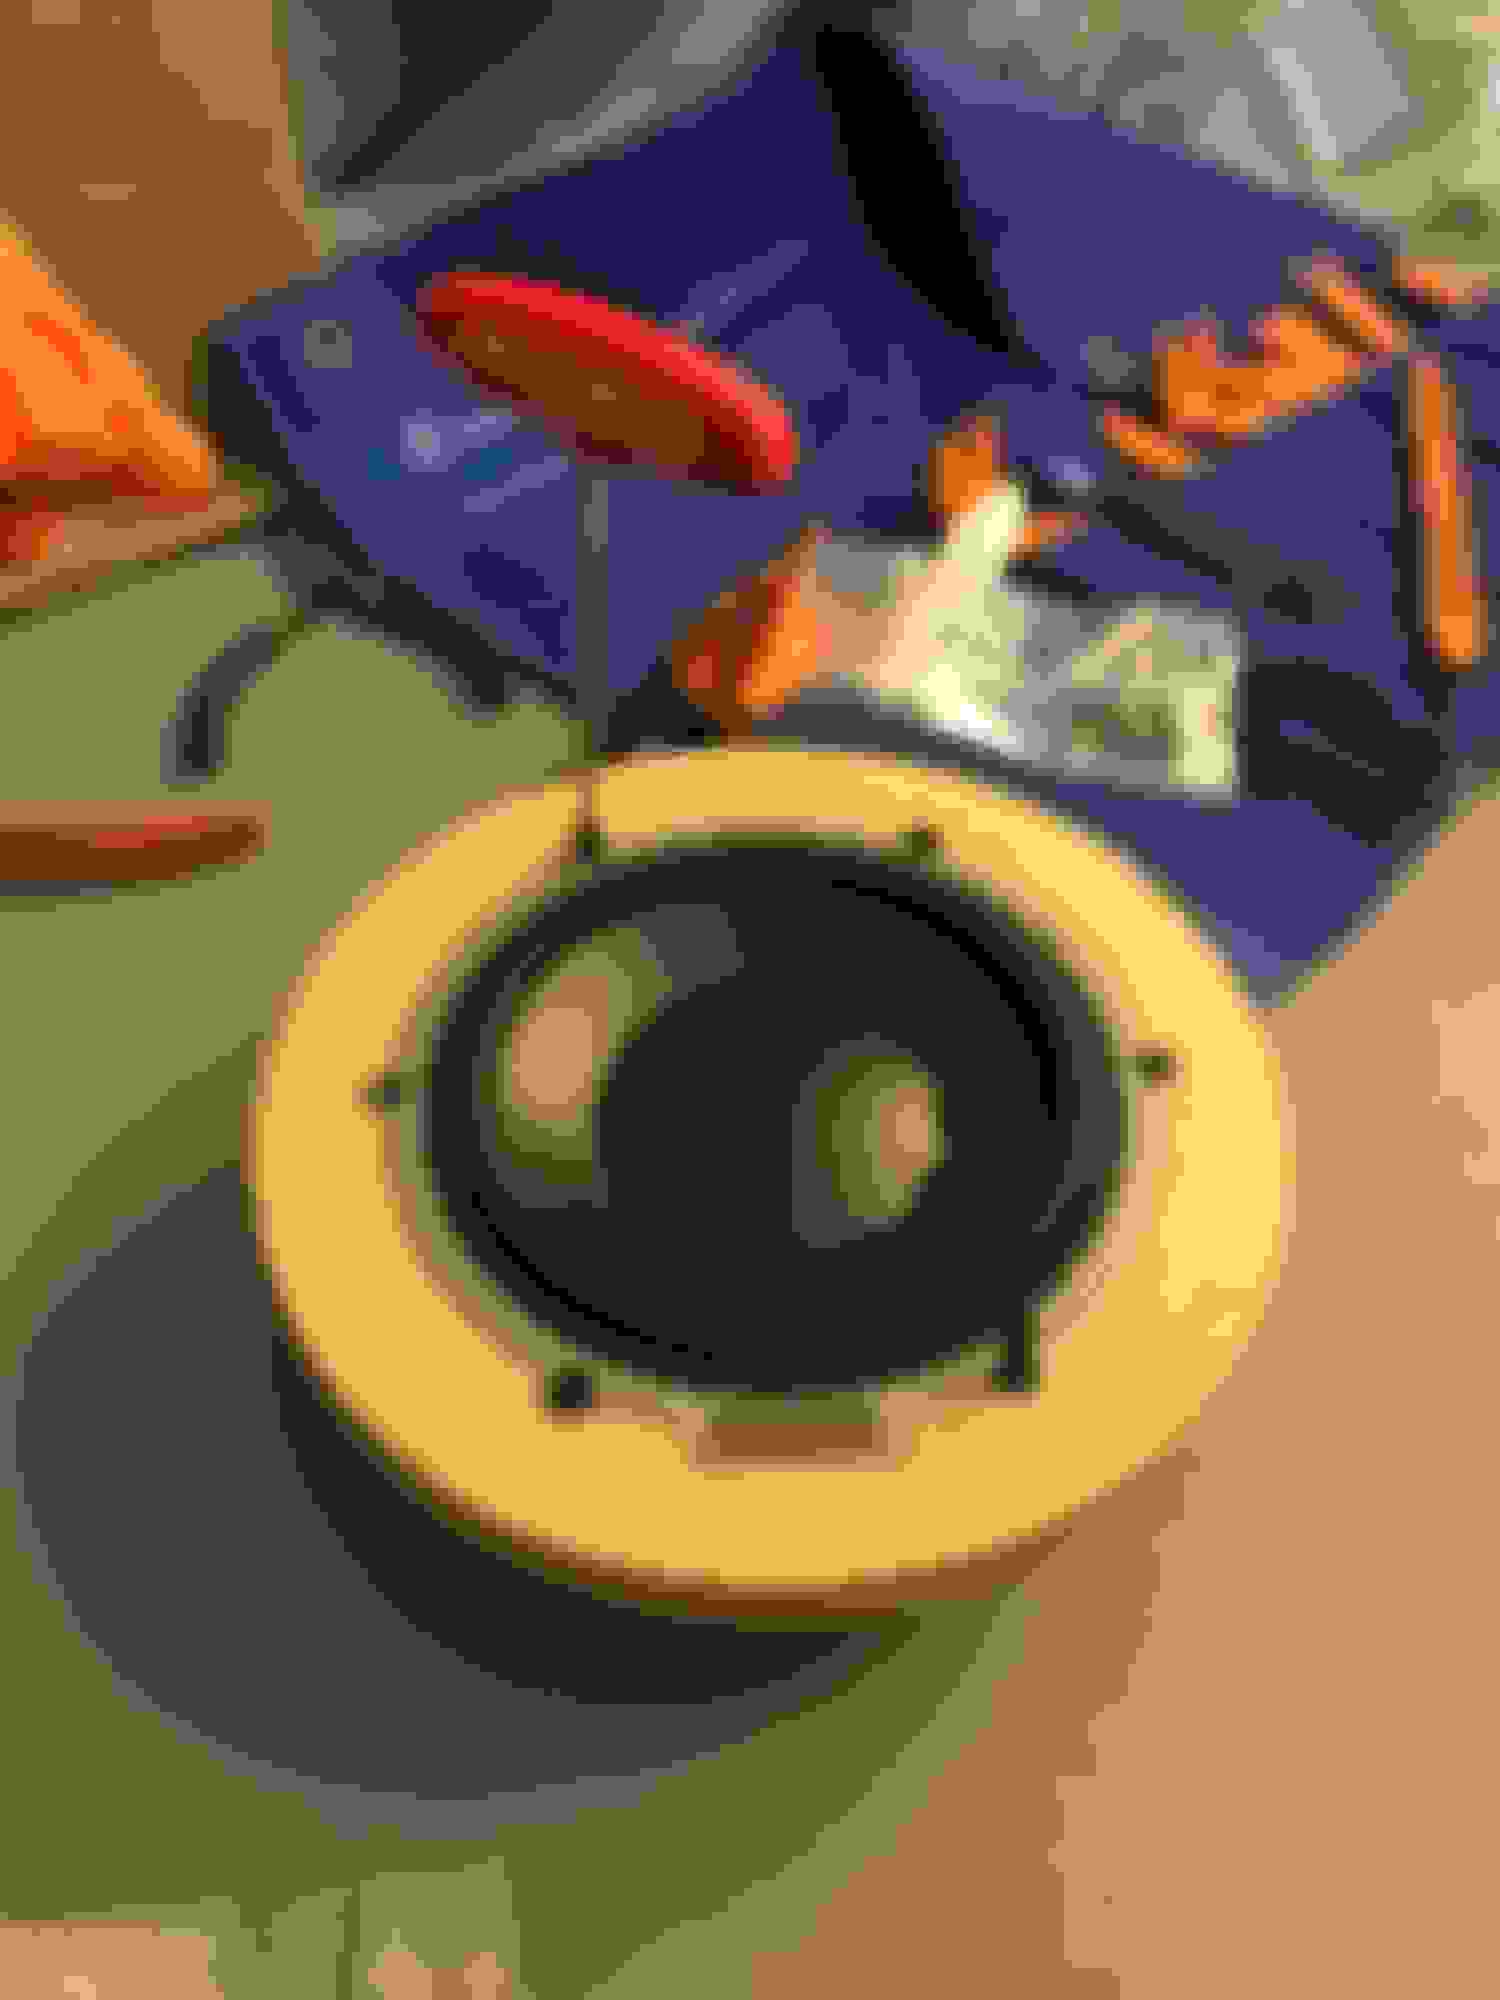
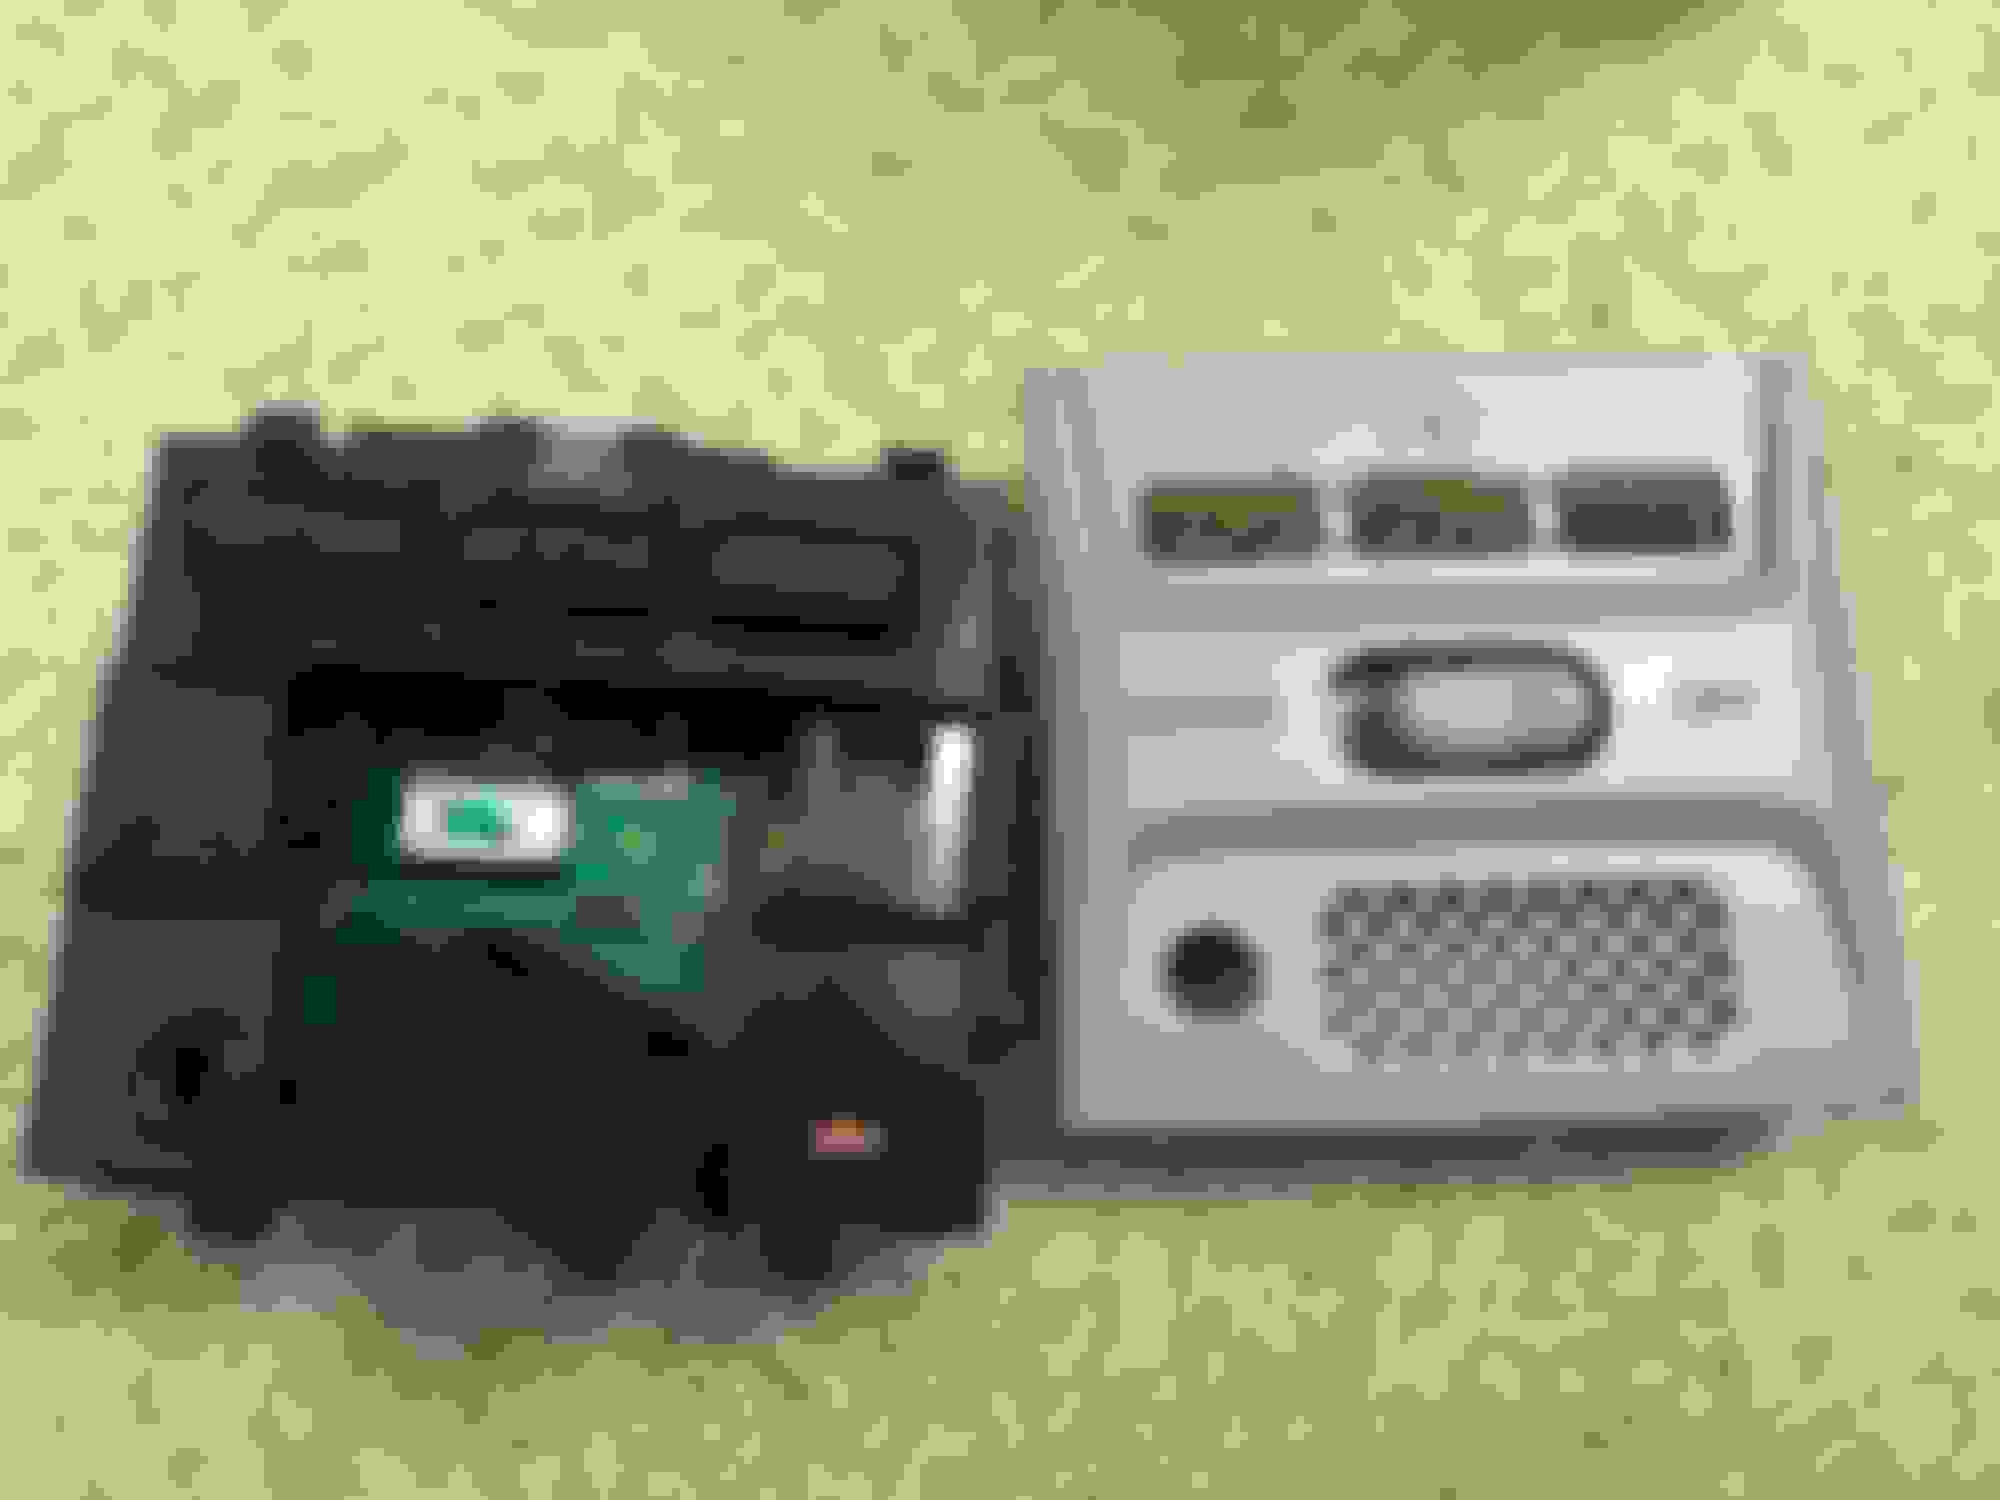
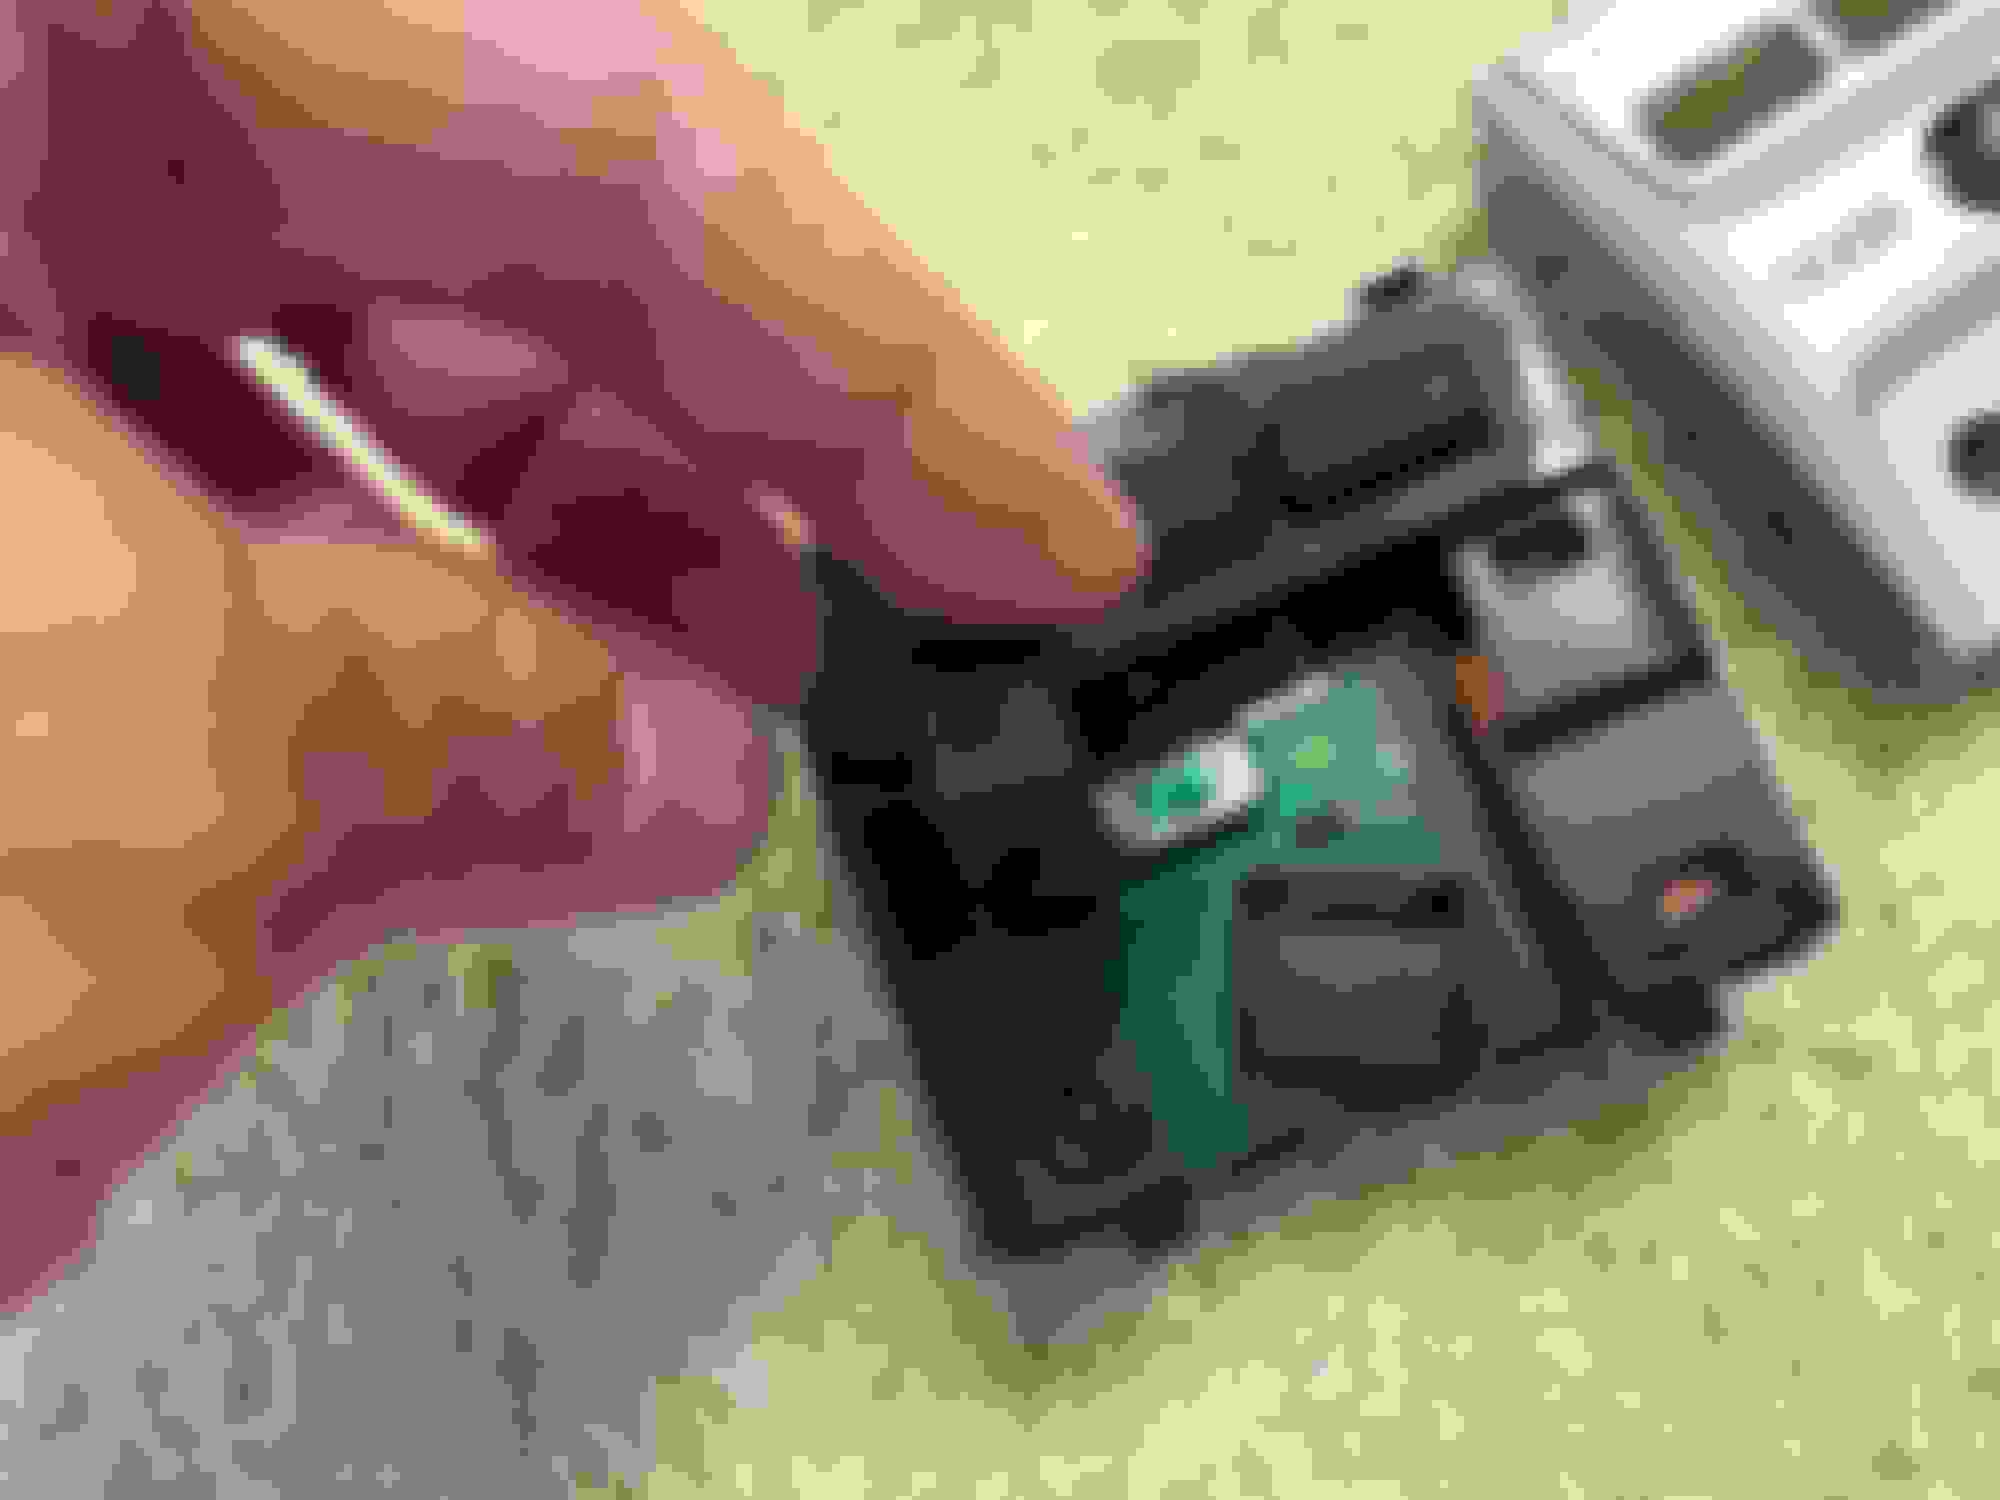
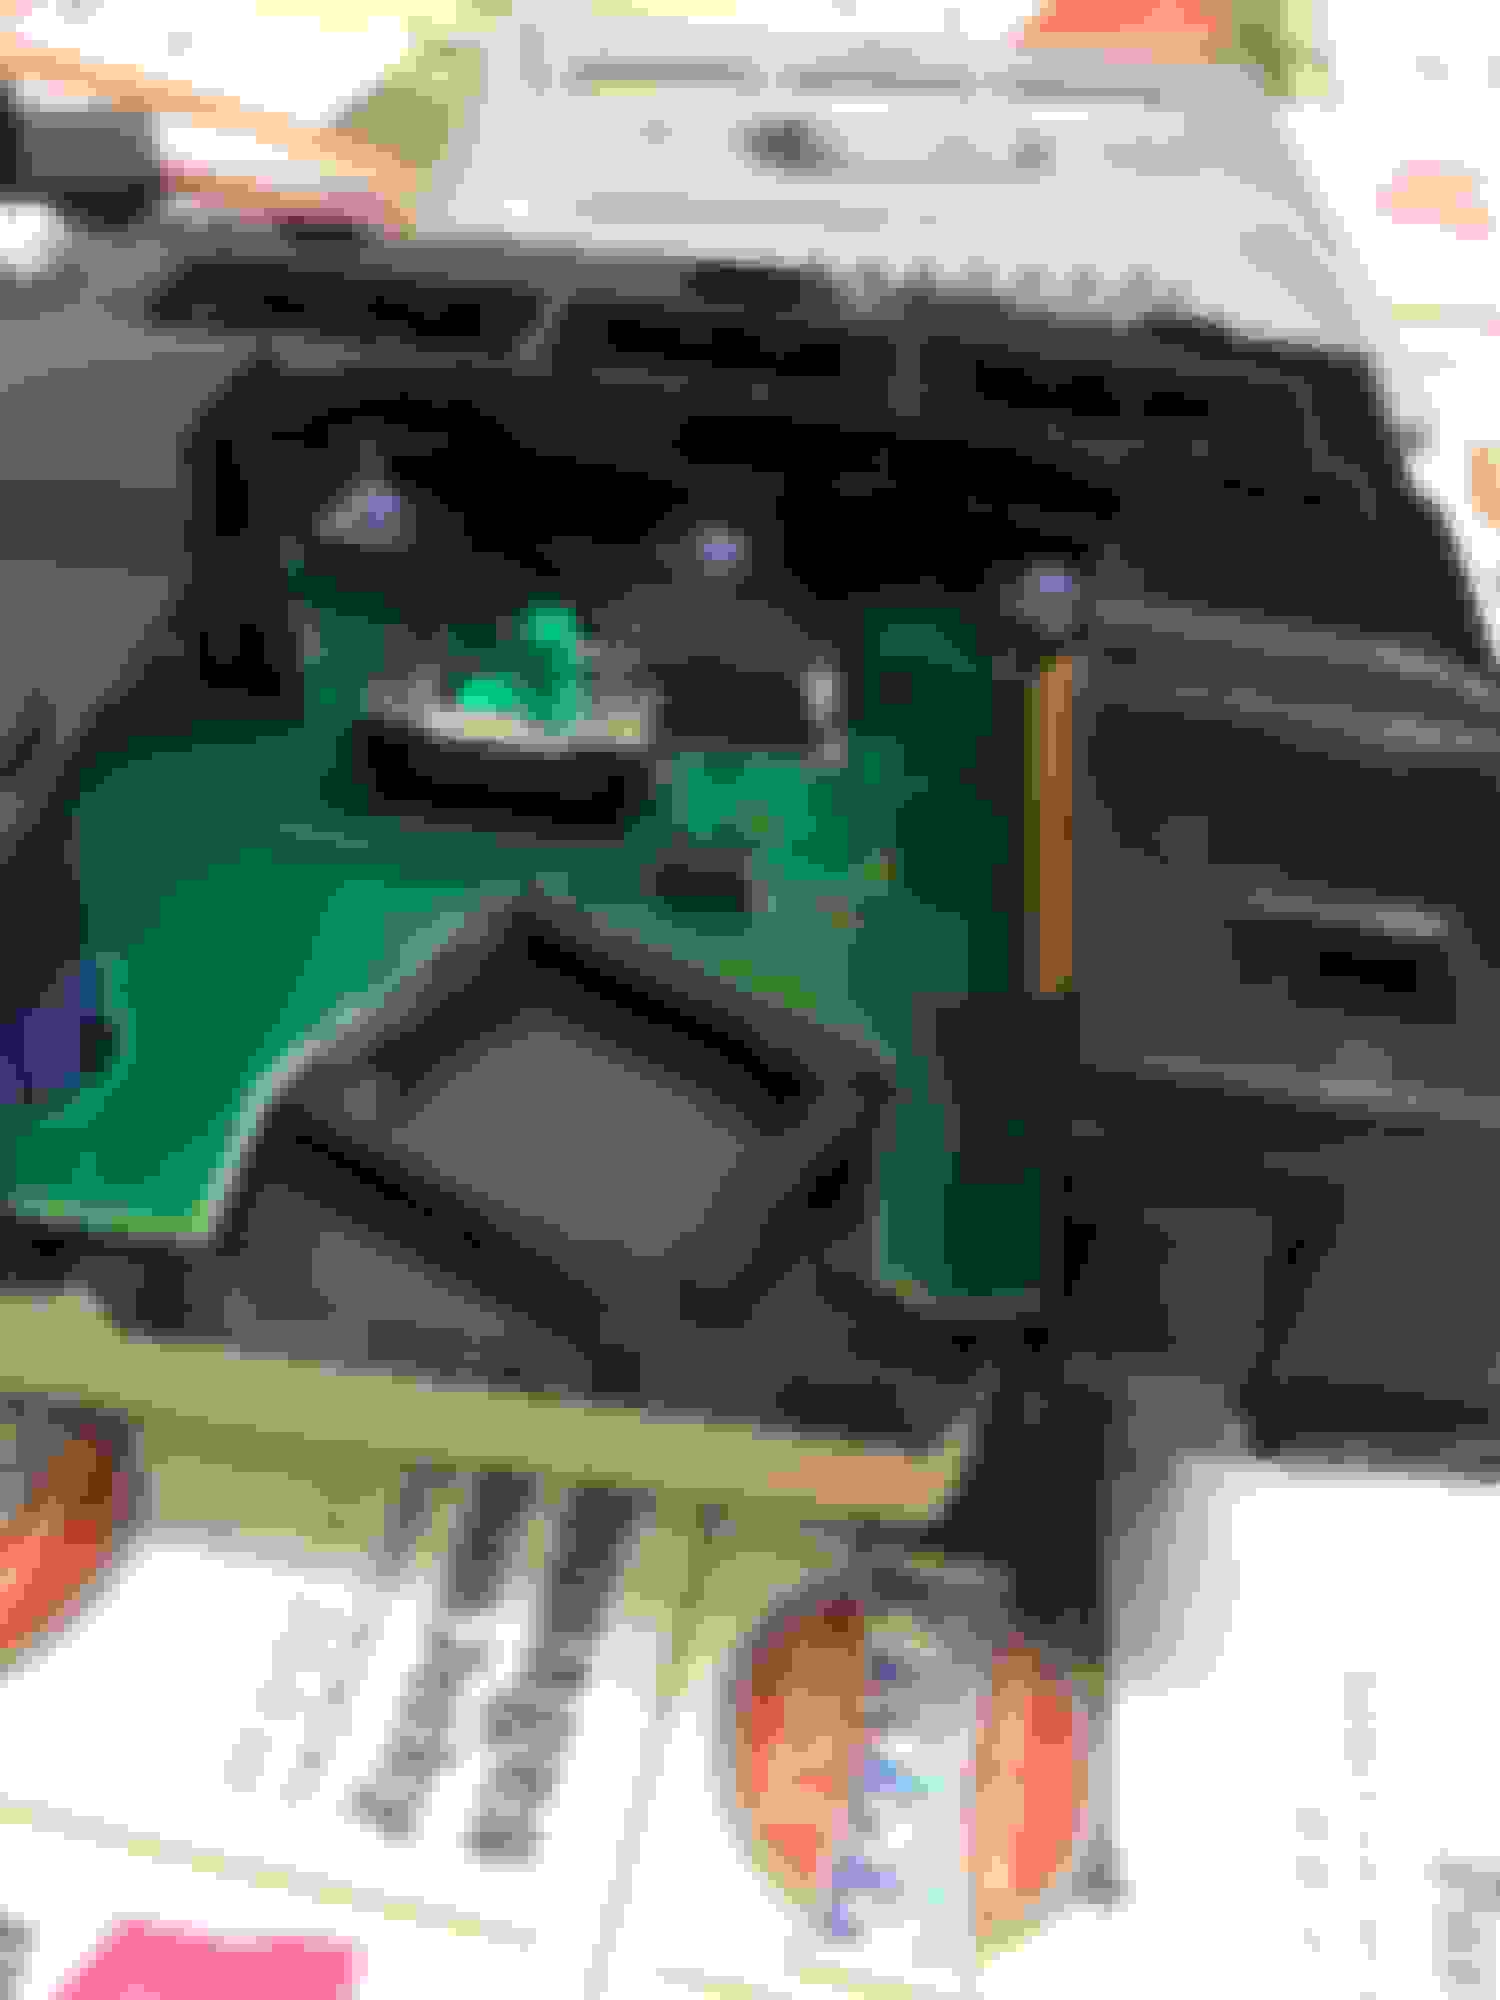
Take Apart the Home Link Module, and took out the Honda OEM Microphone:
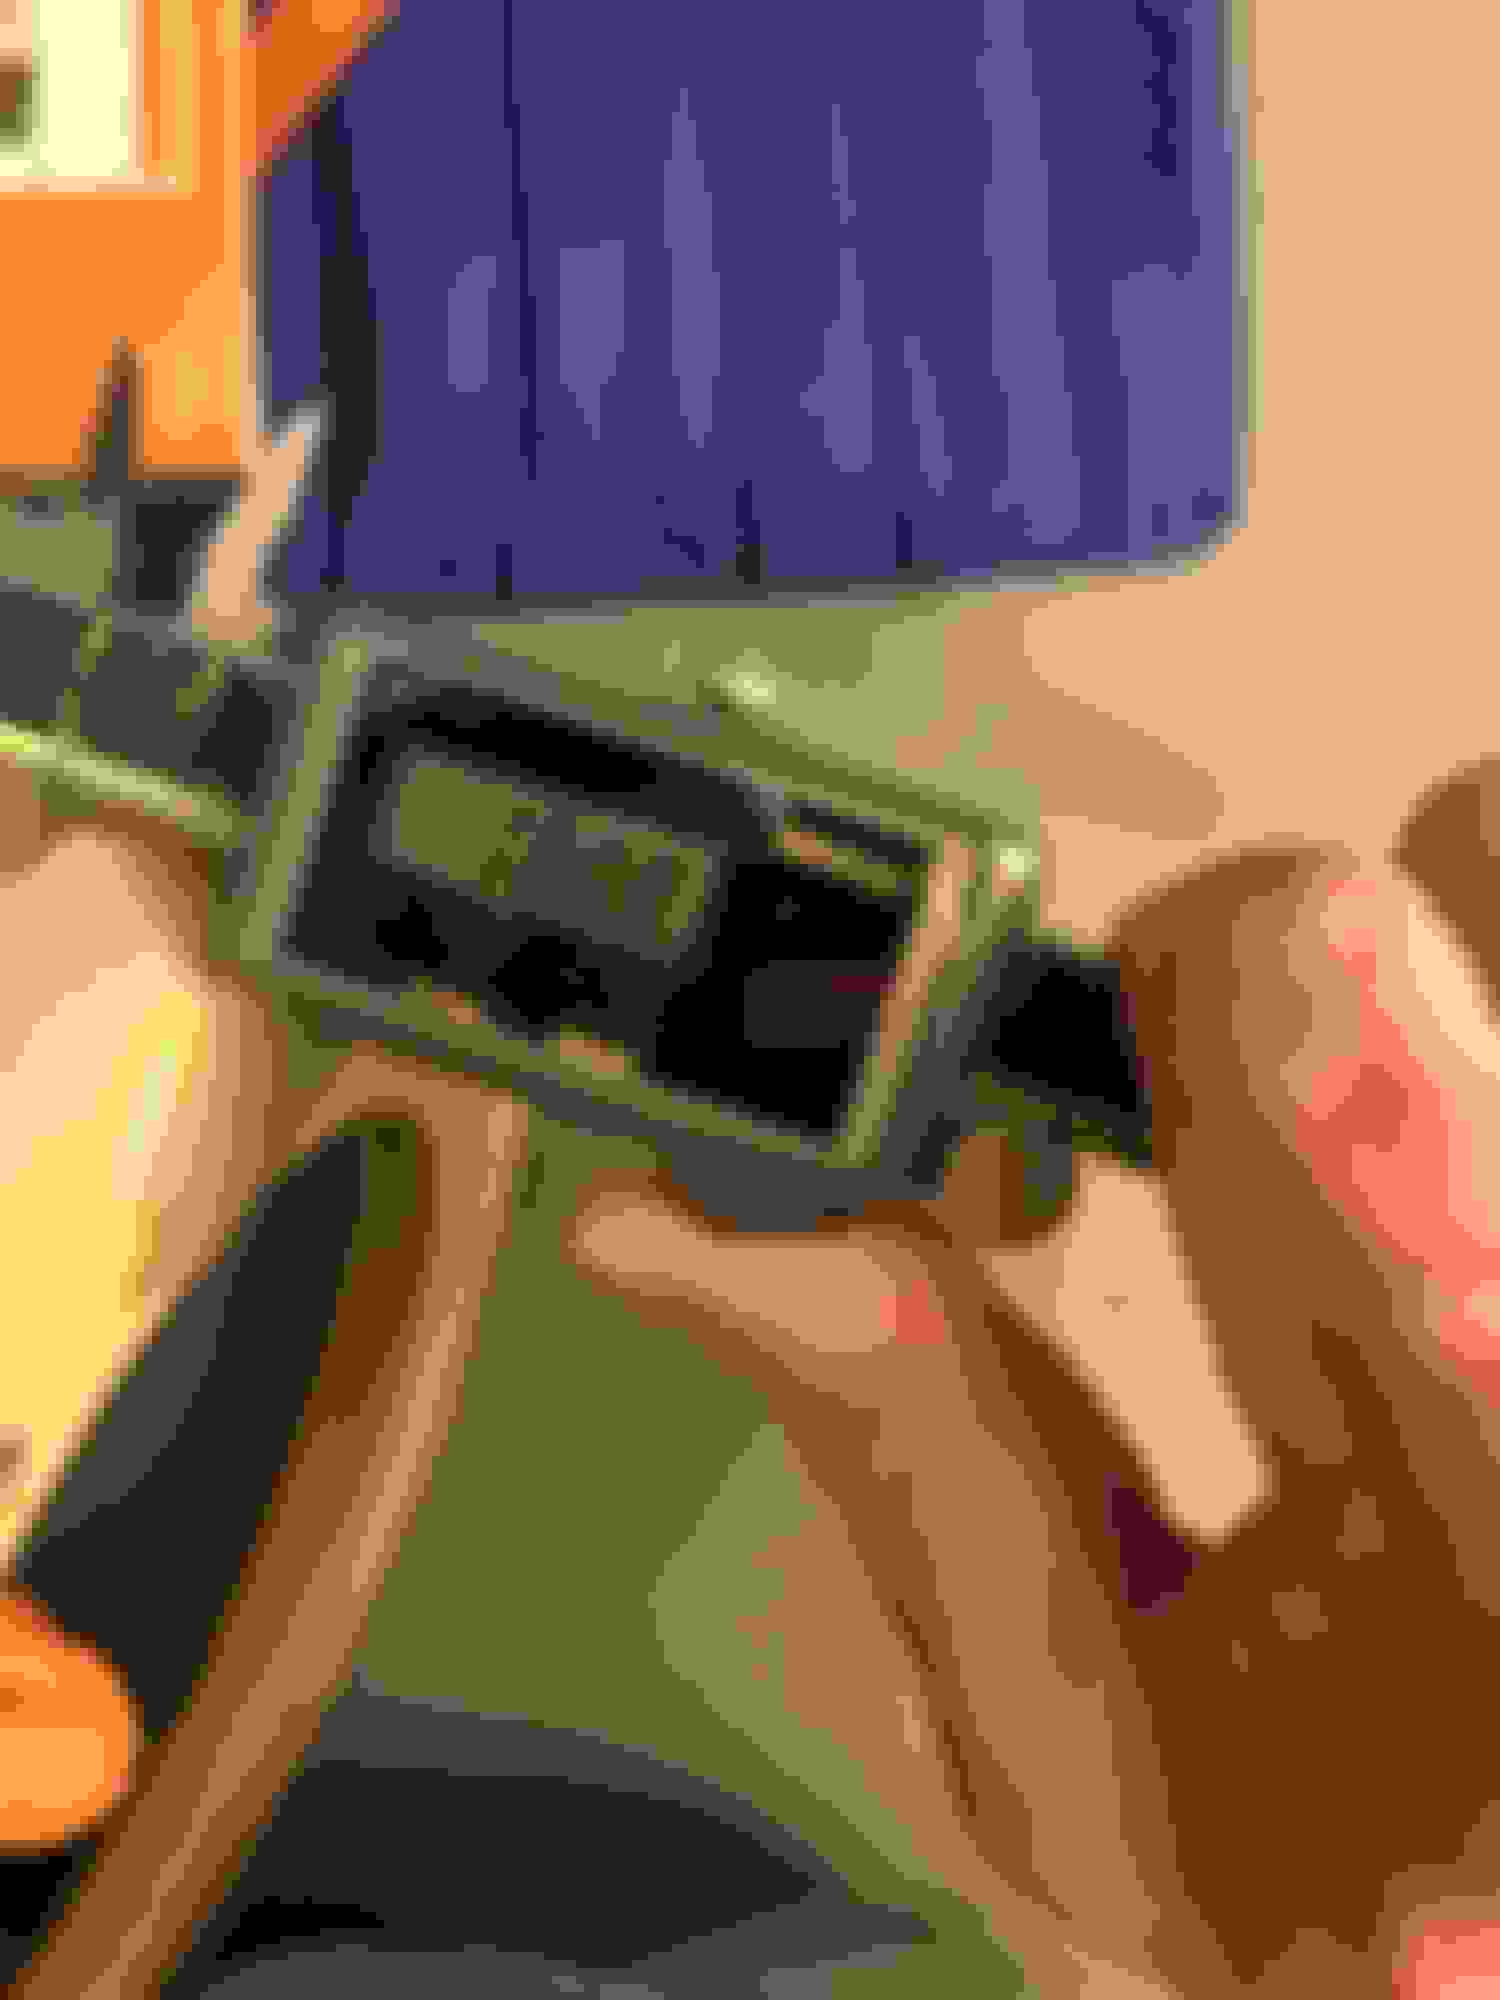
Using Dremel Cut the OEM Honda / Acura Microphone Attachement and use Epoxy to attached Sony Microphone base:
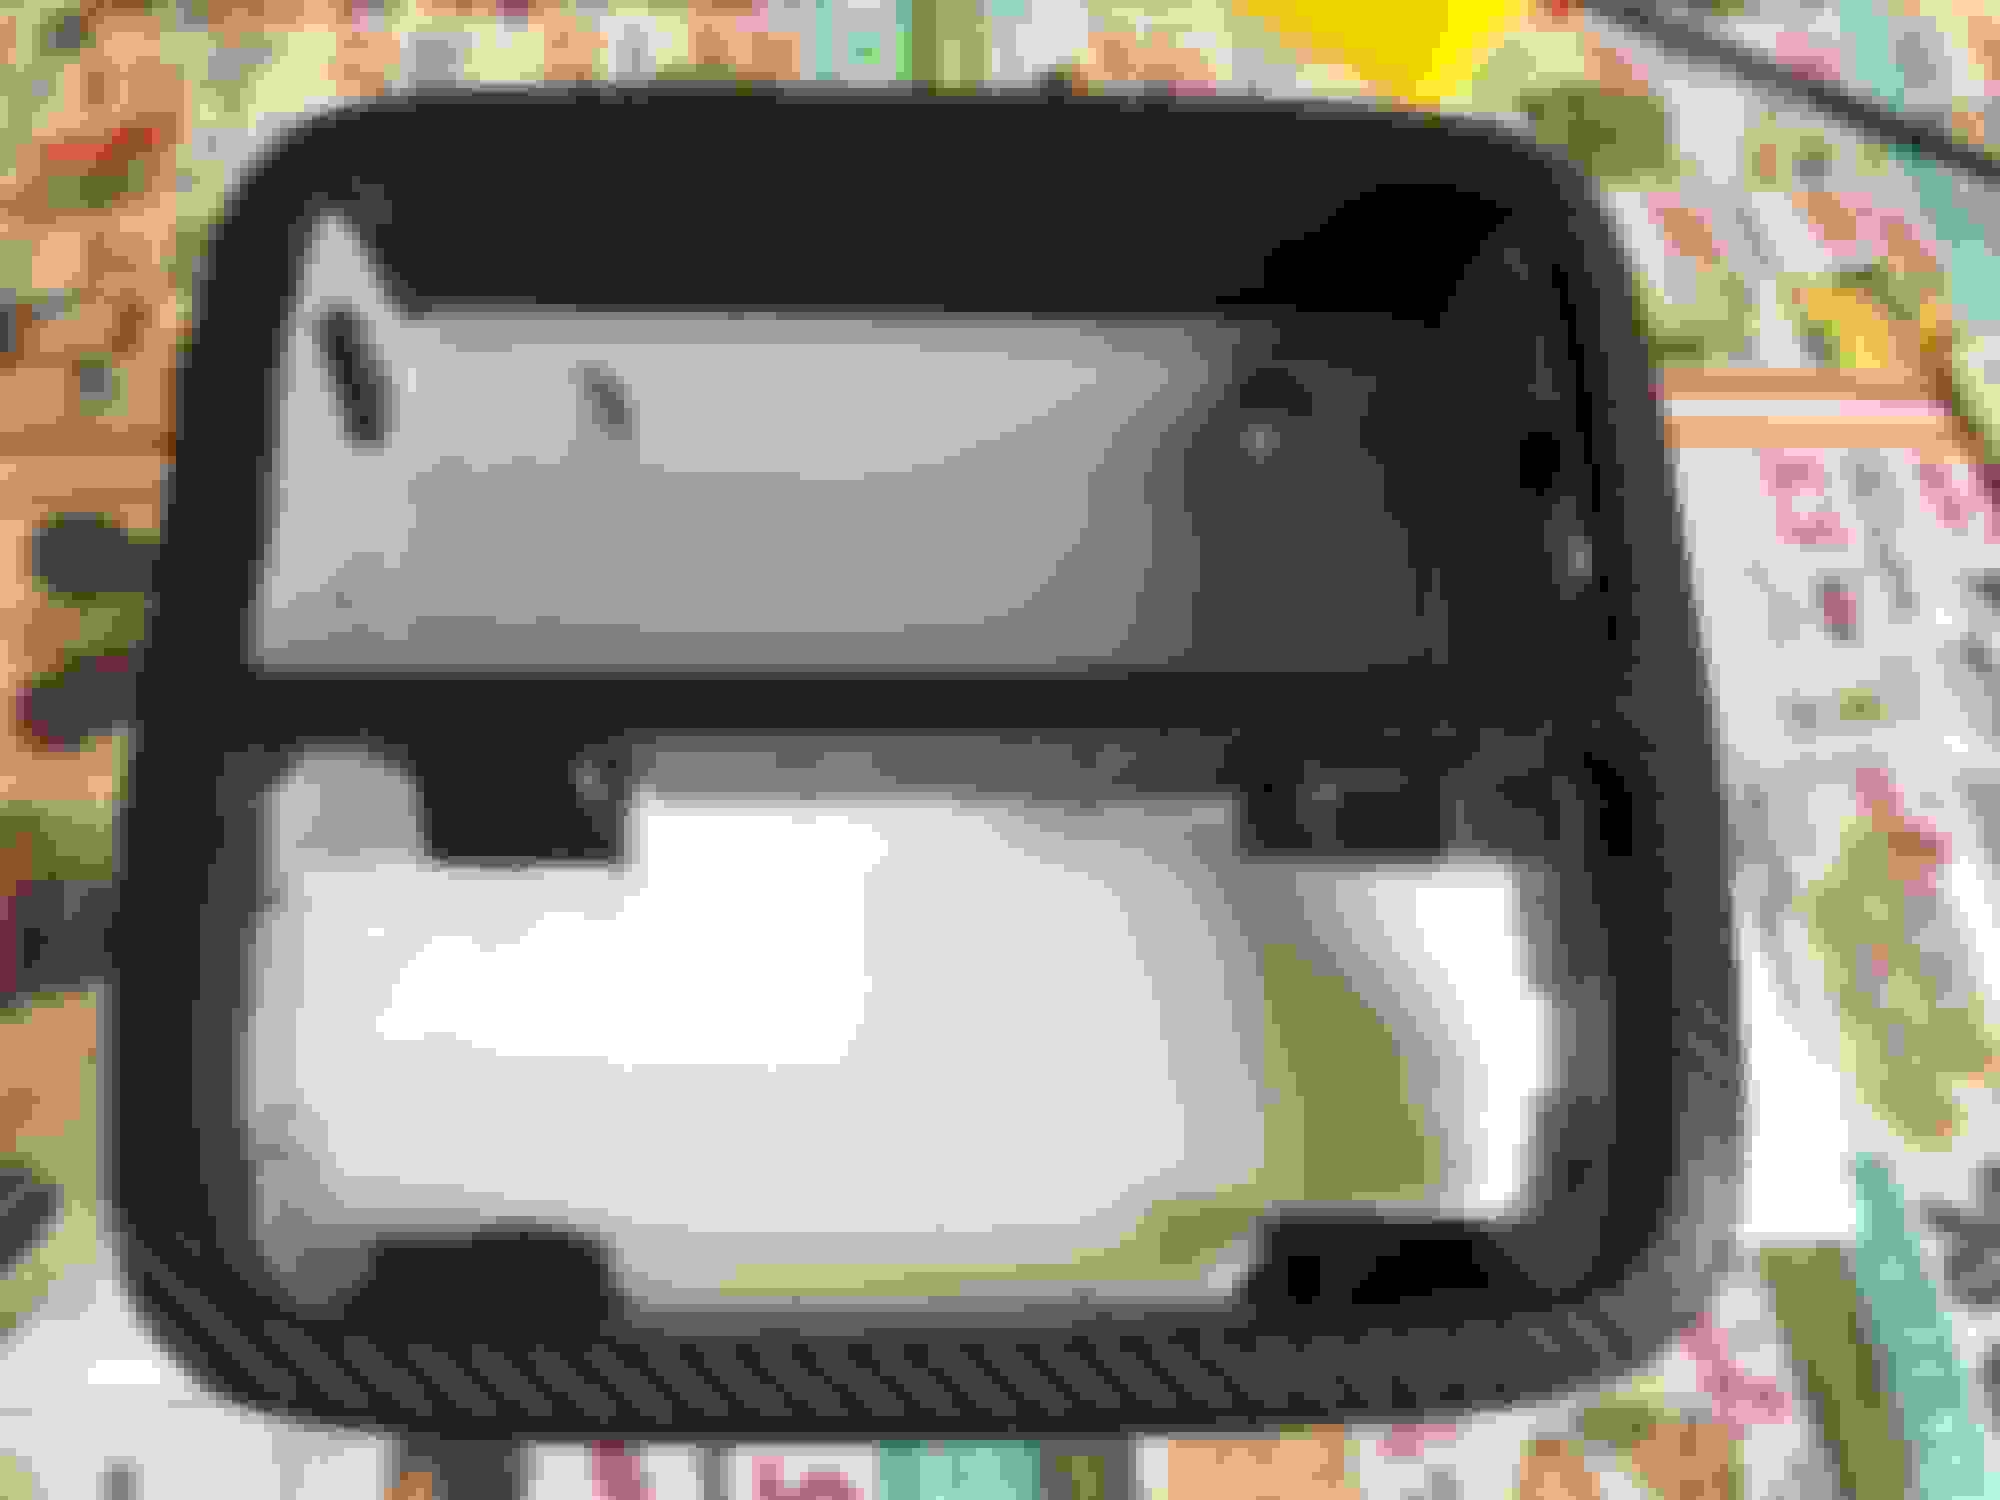
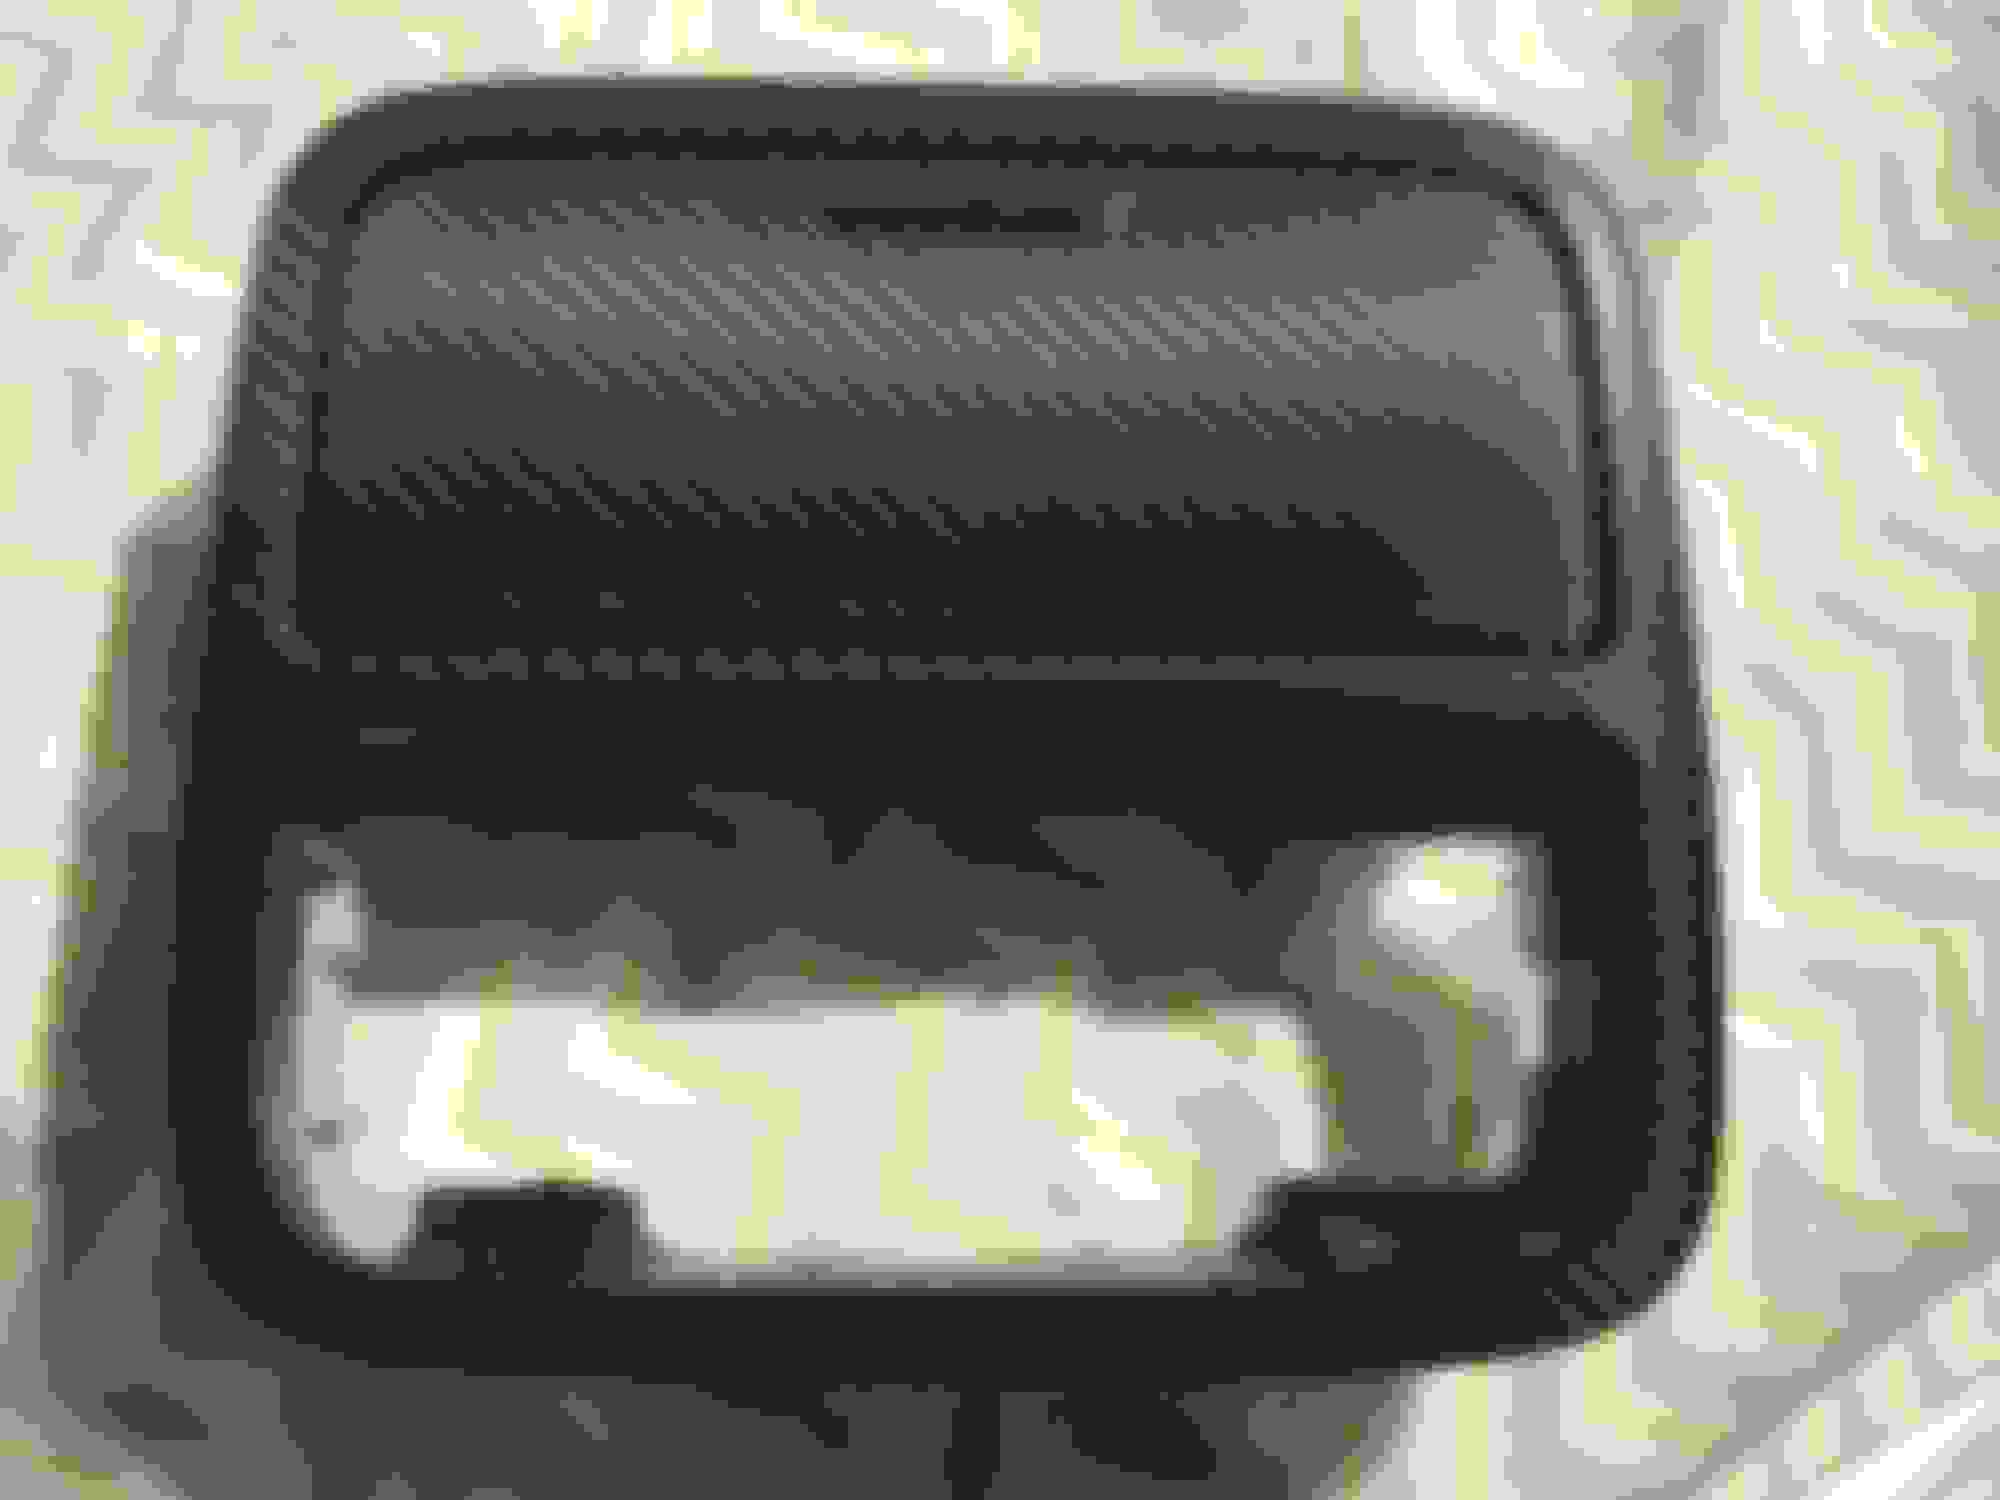
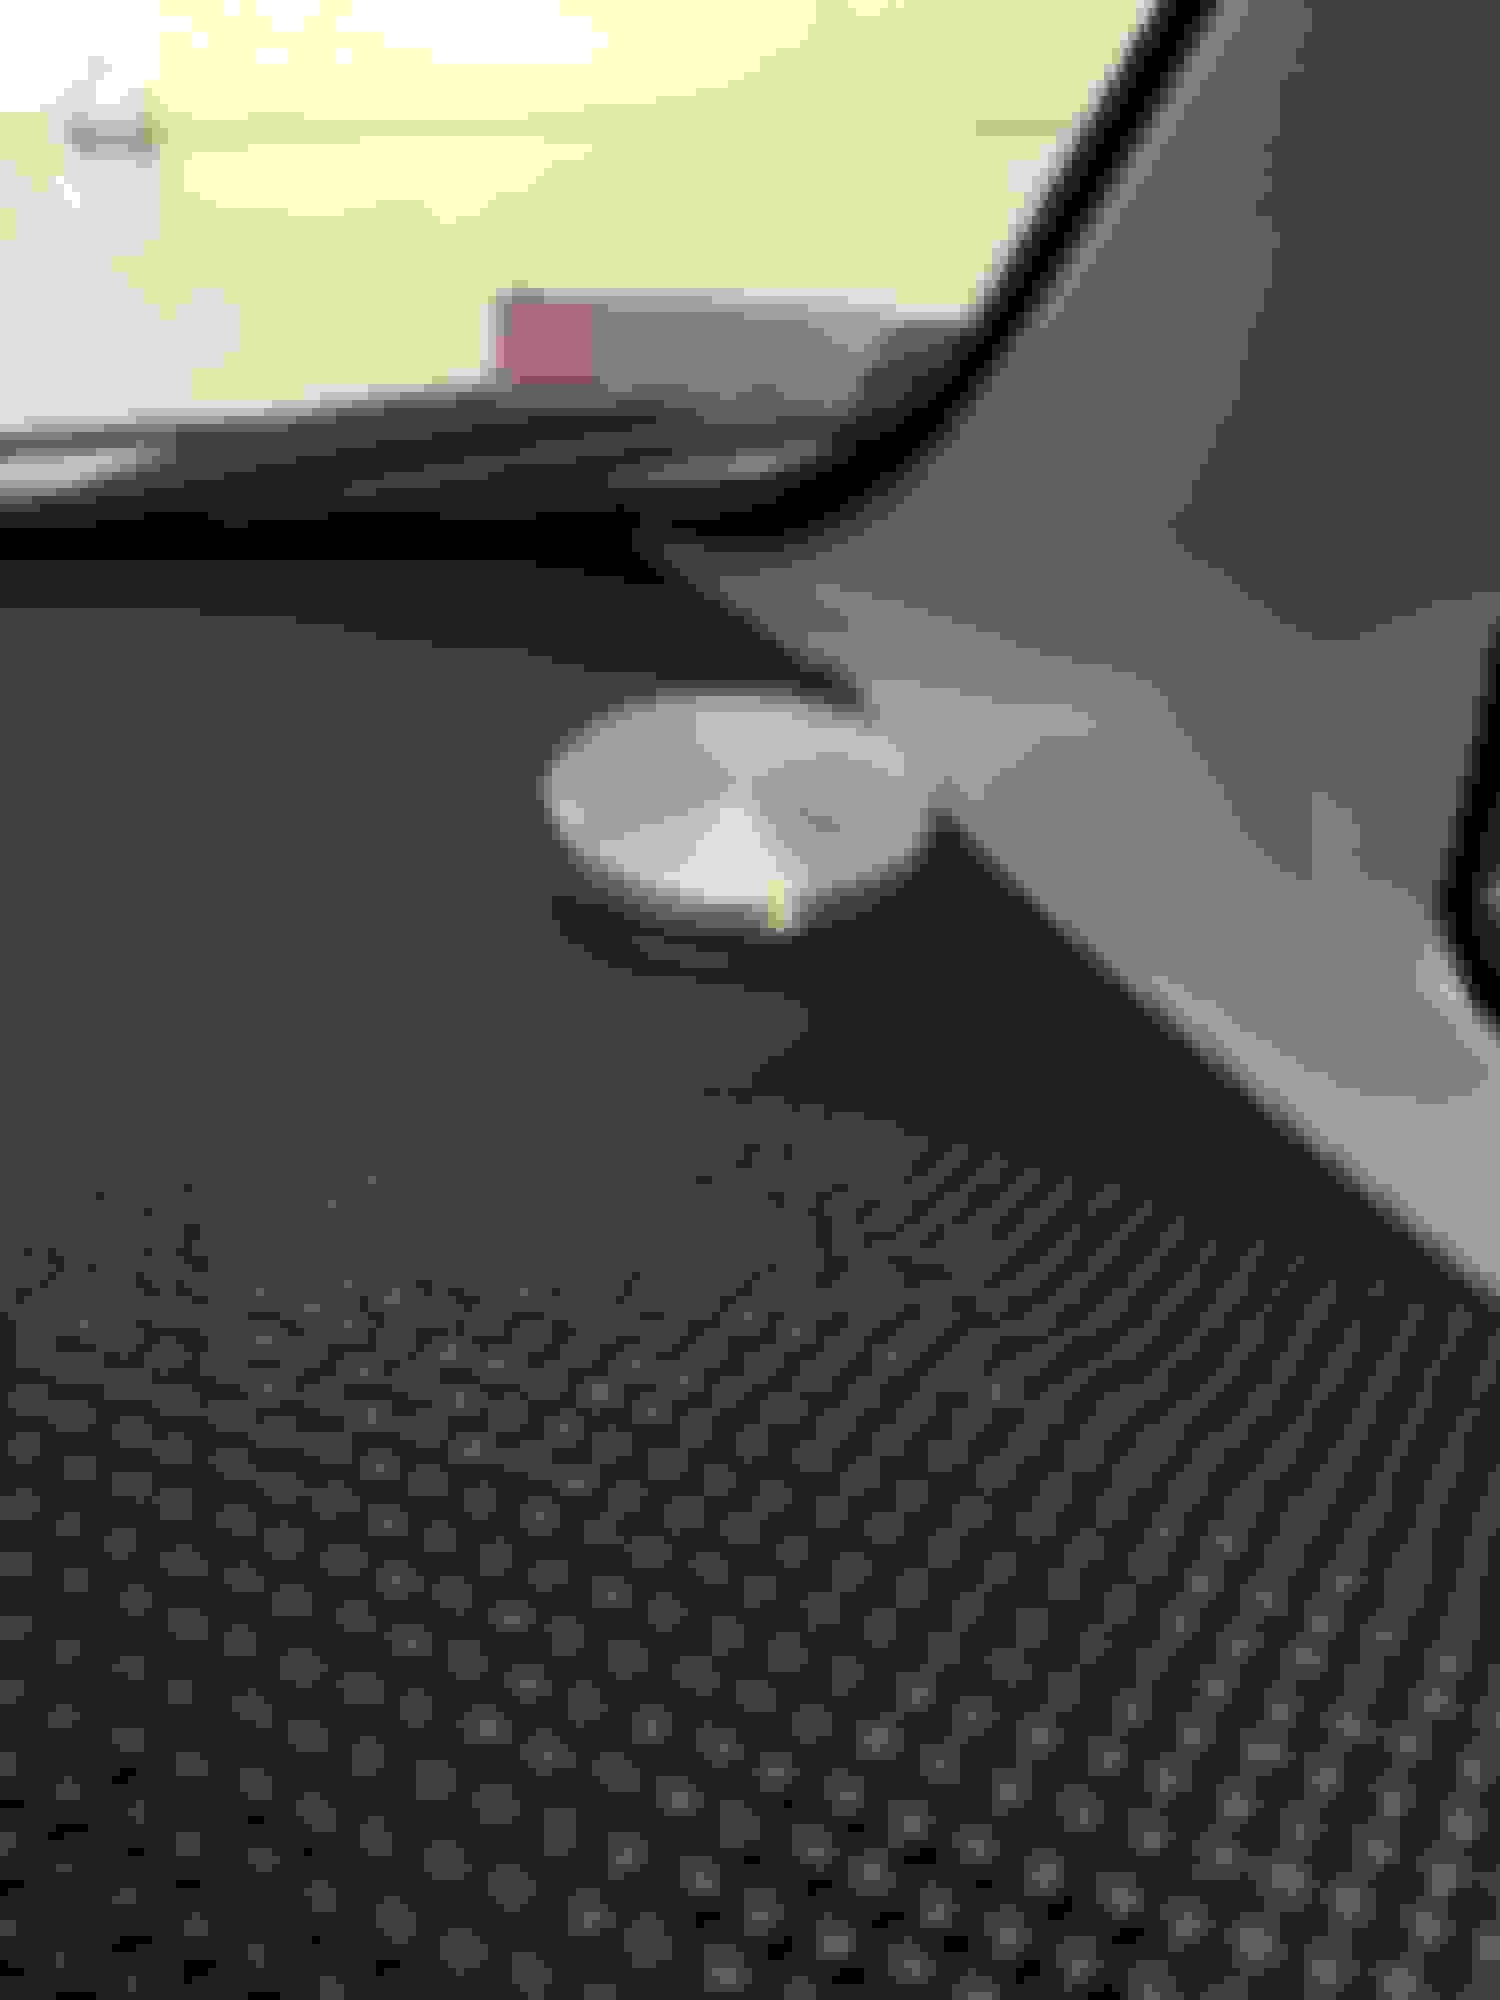
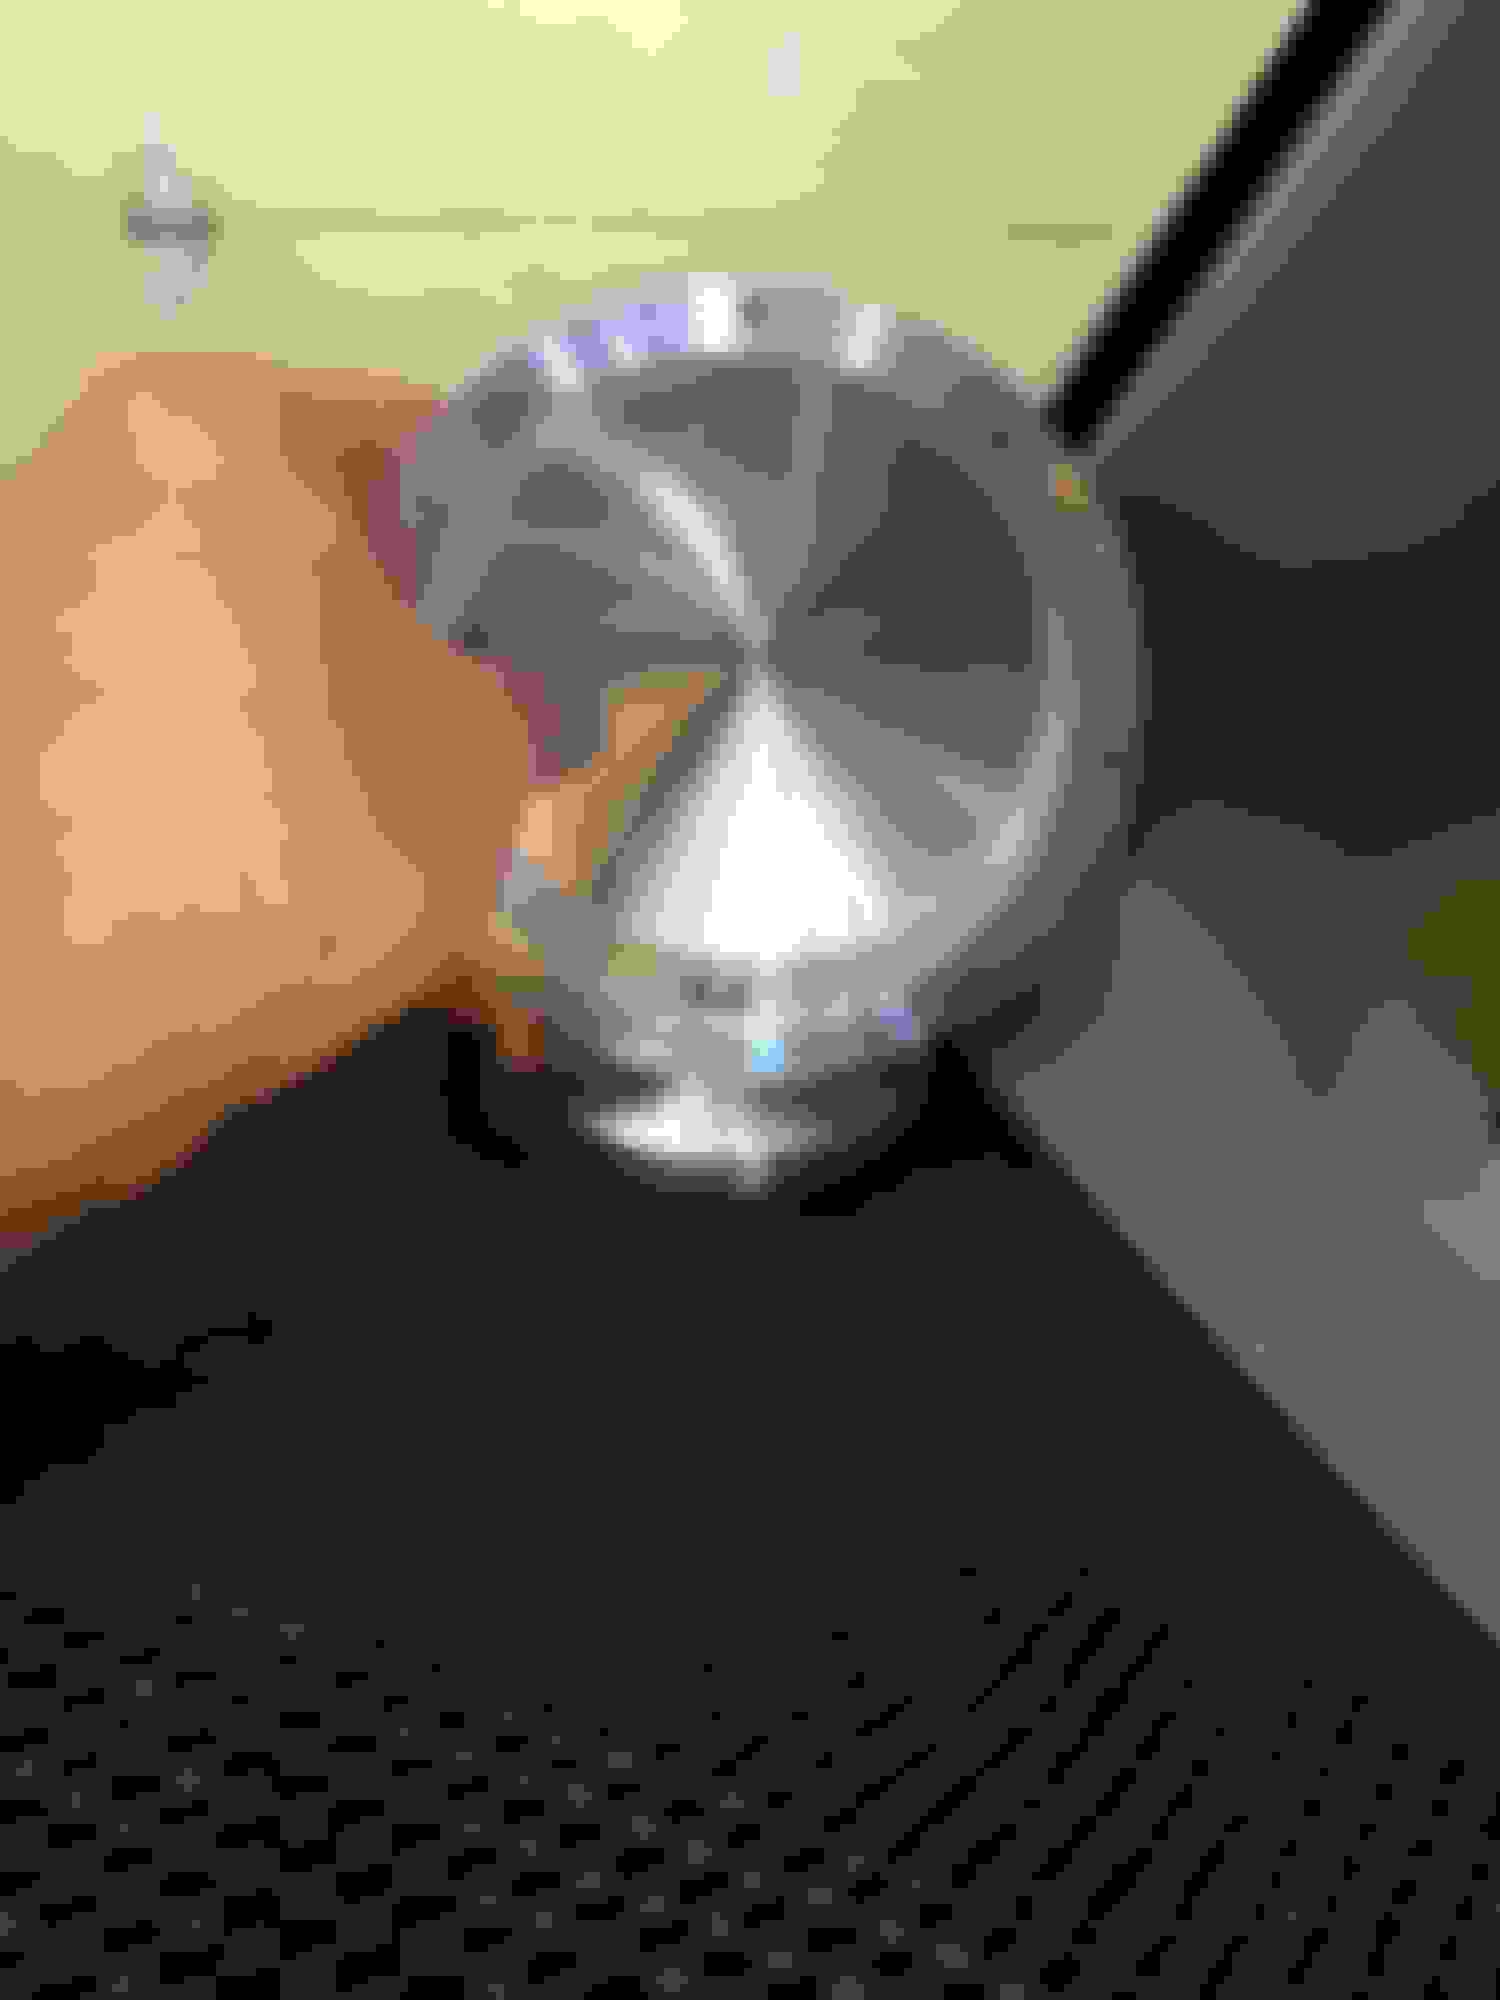
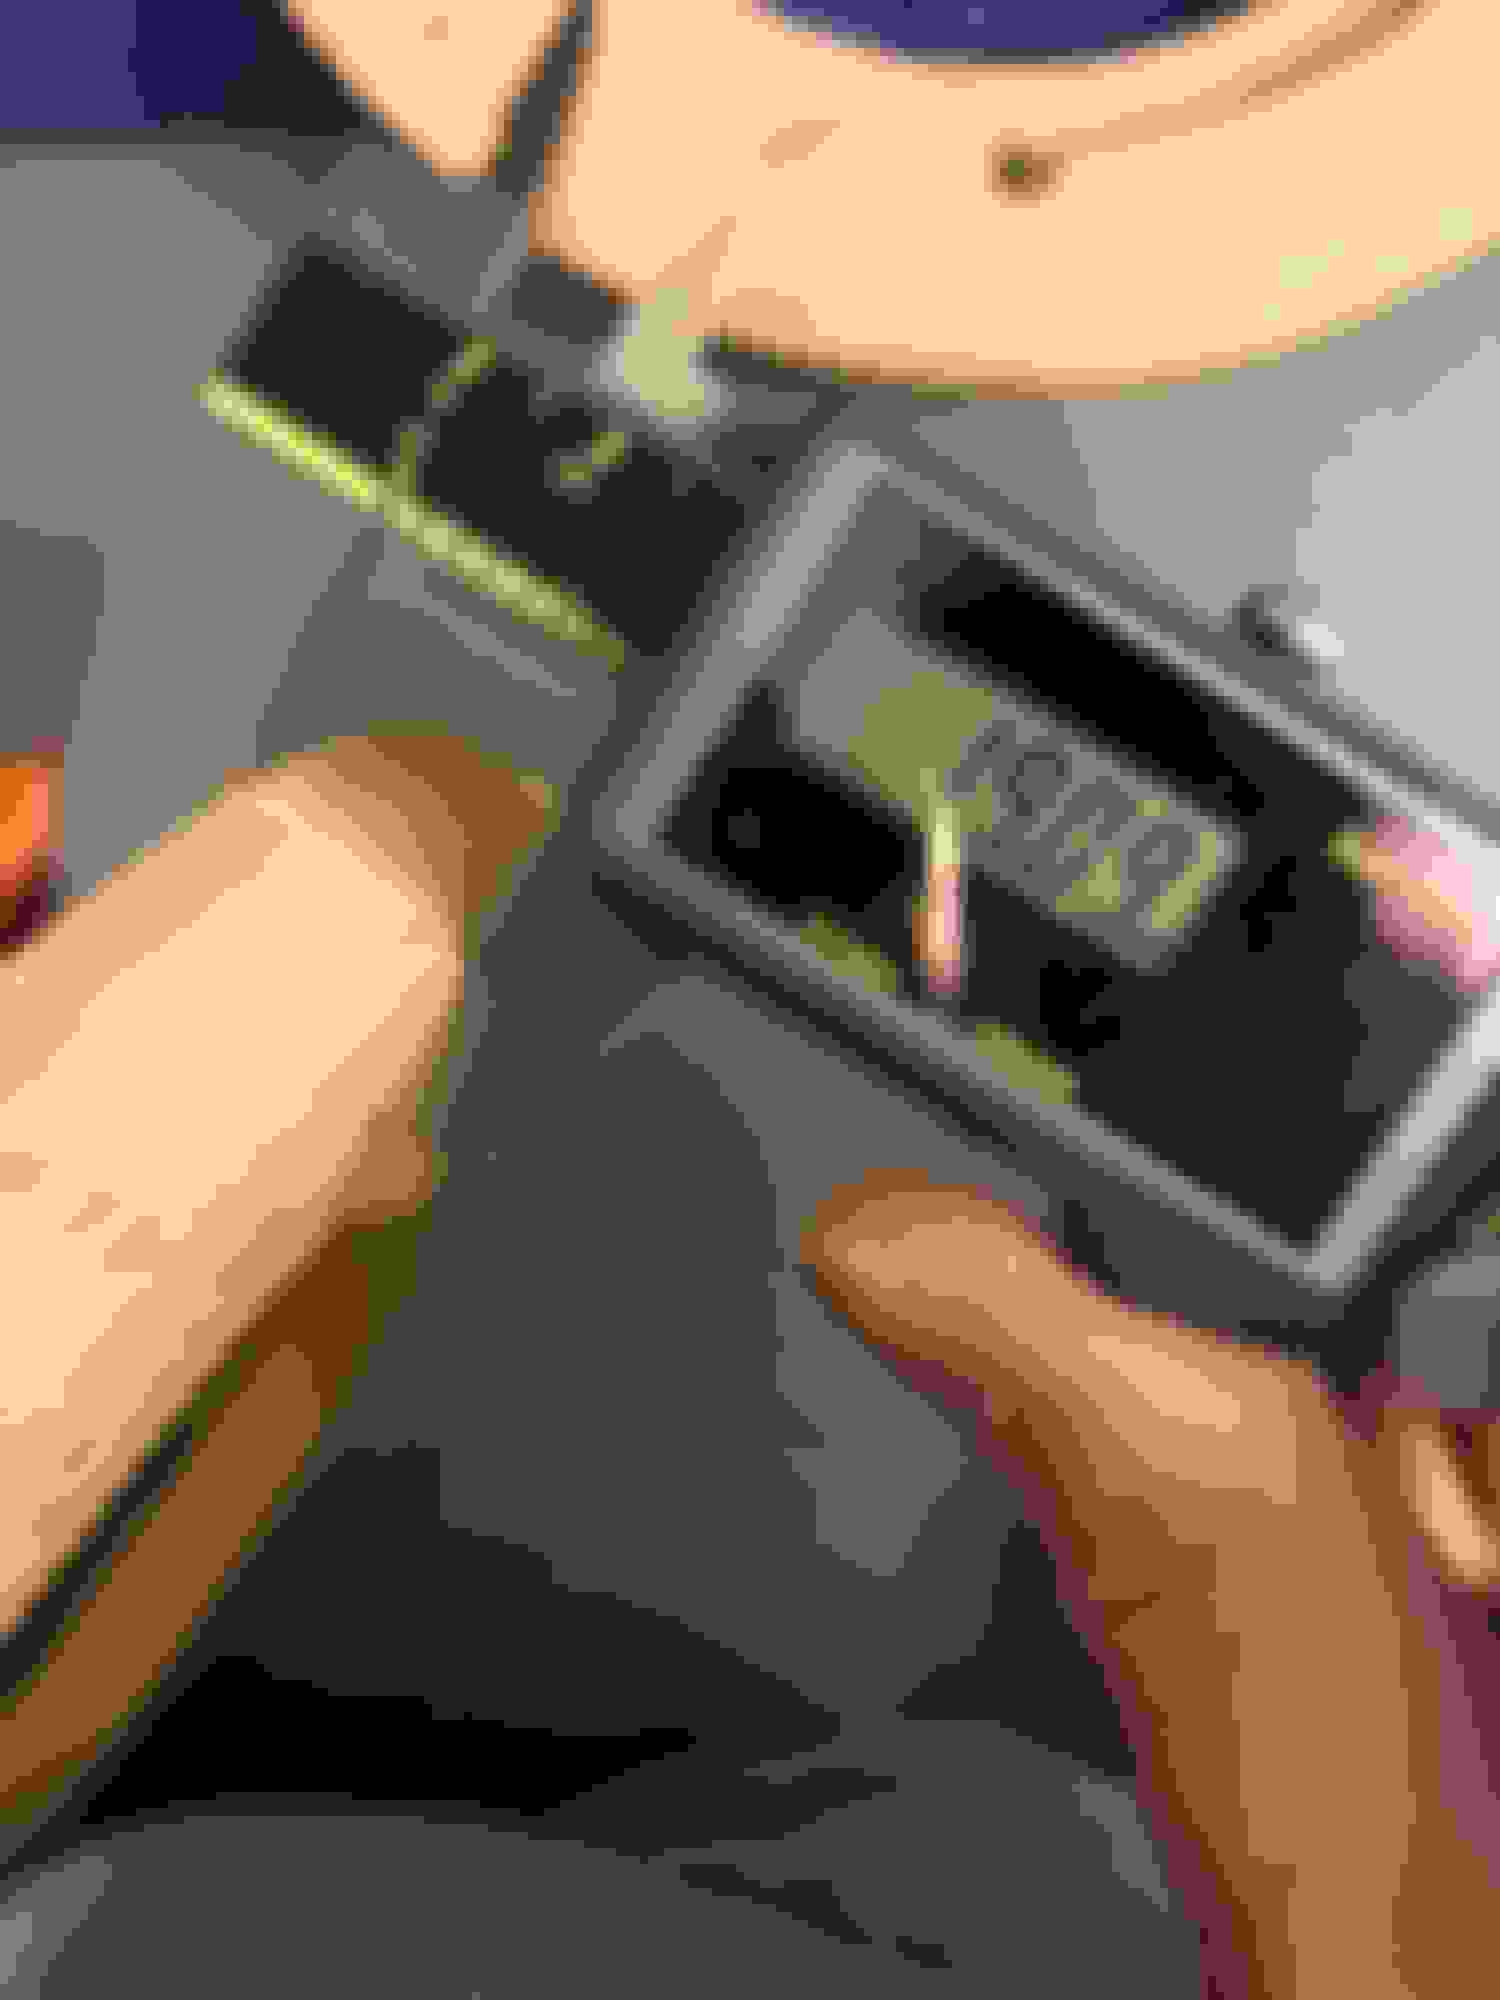
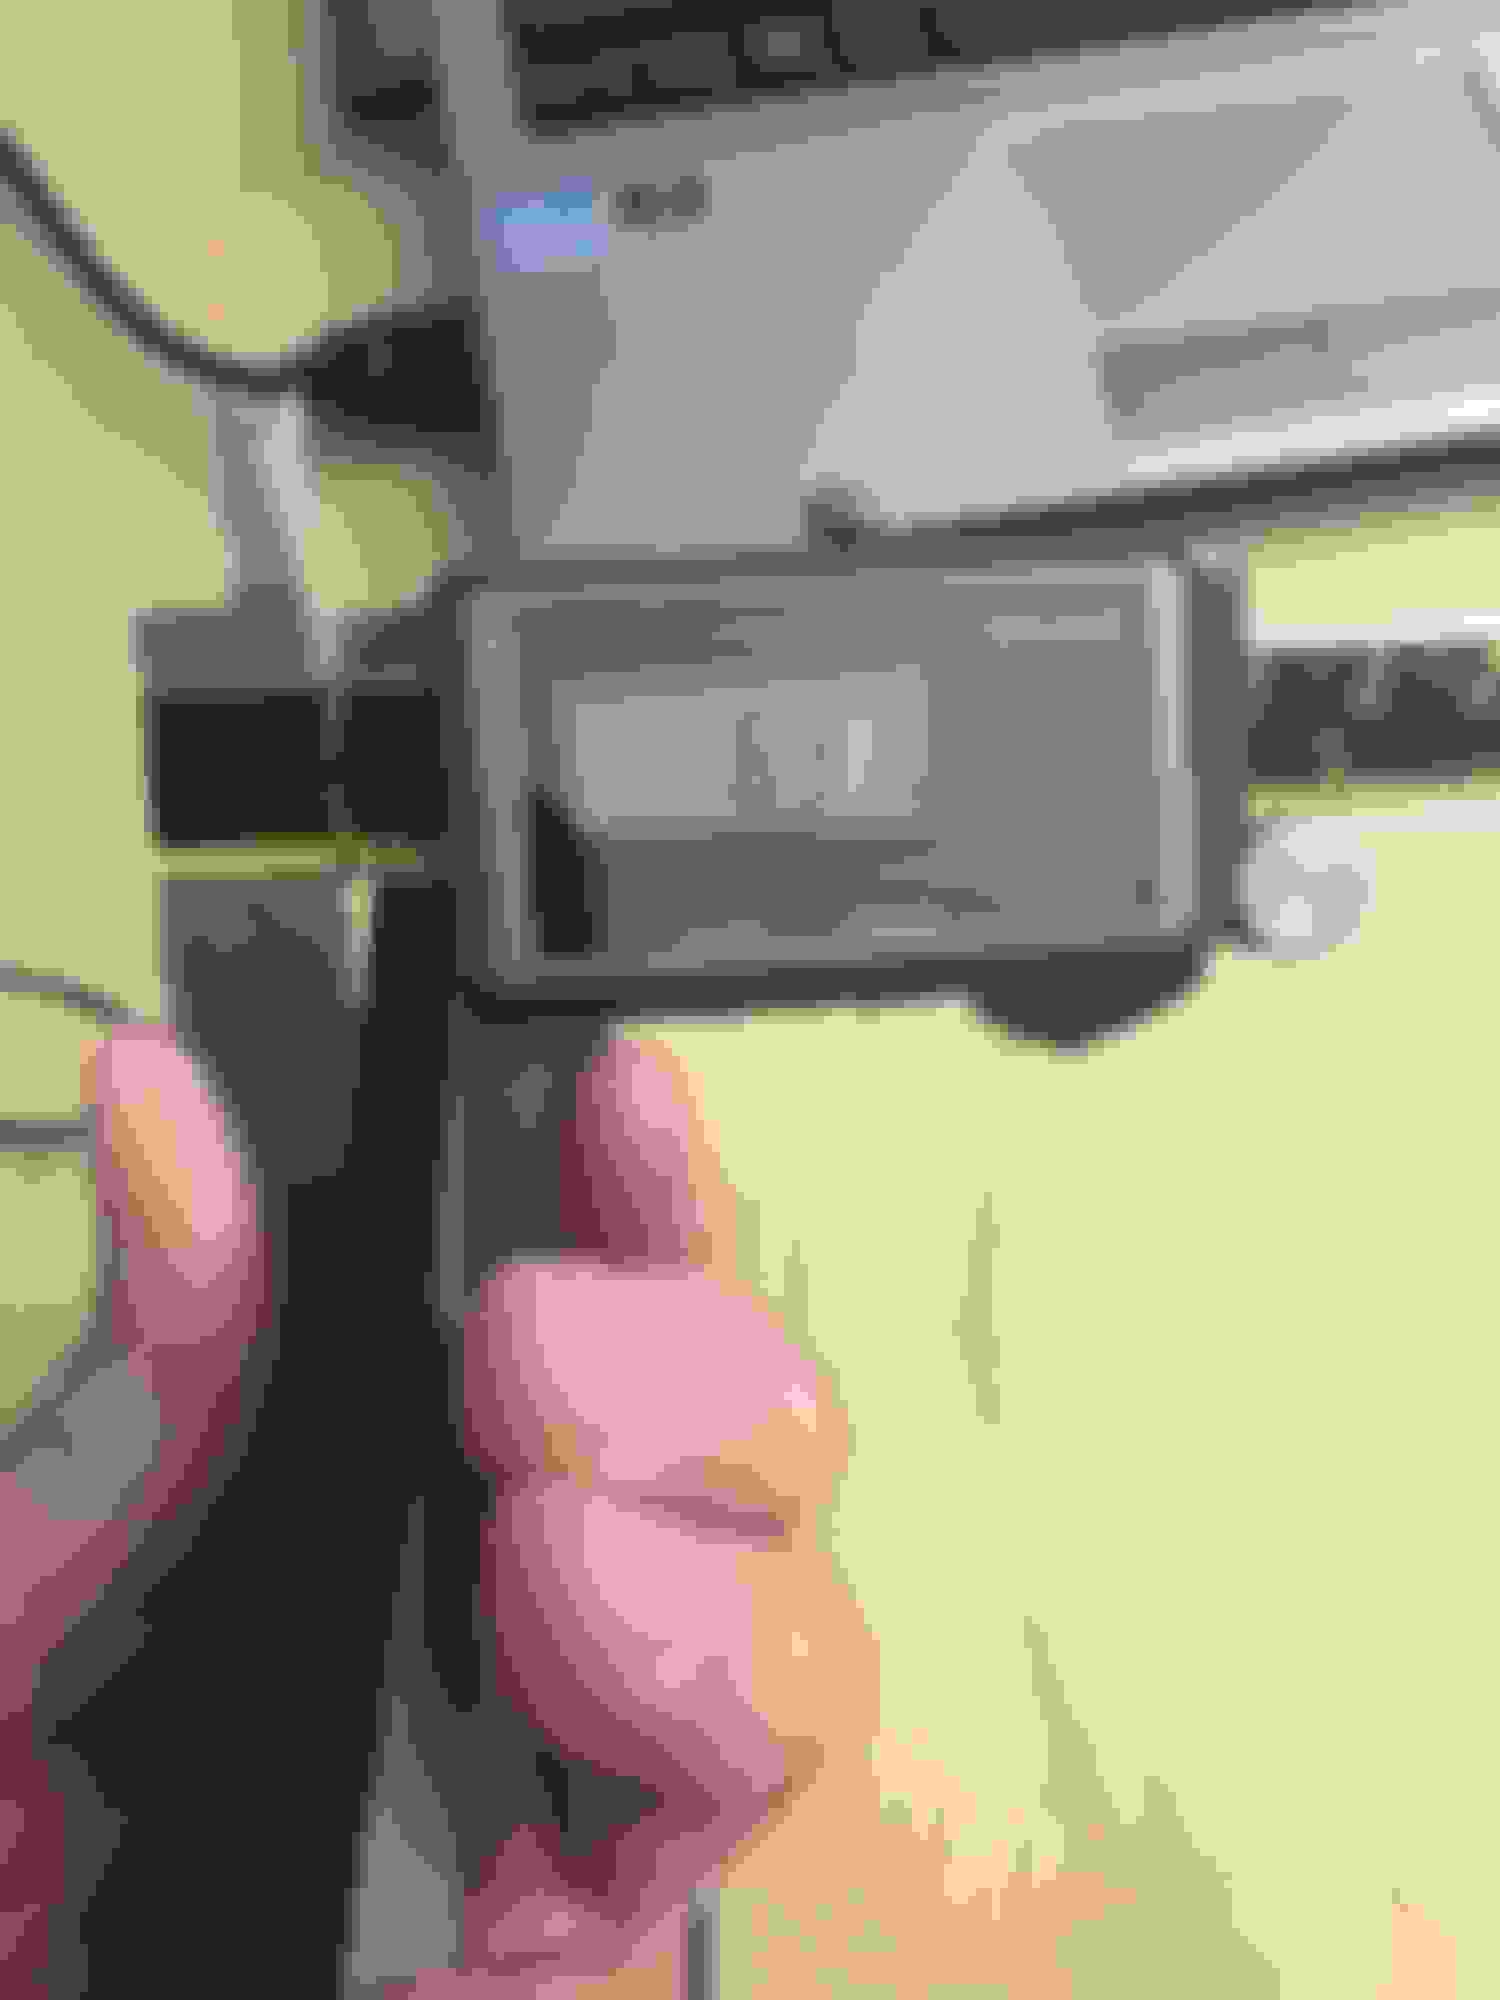
Test Fit:
Decide to play with some paints, and the rest is to be continued :
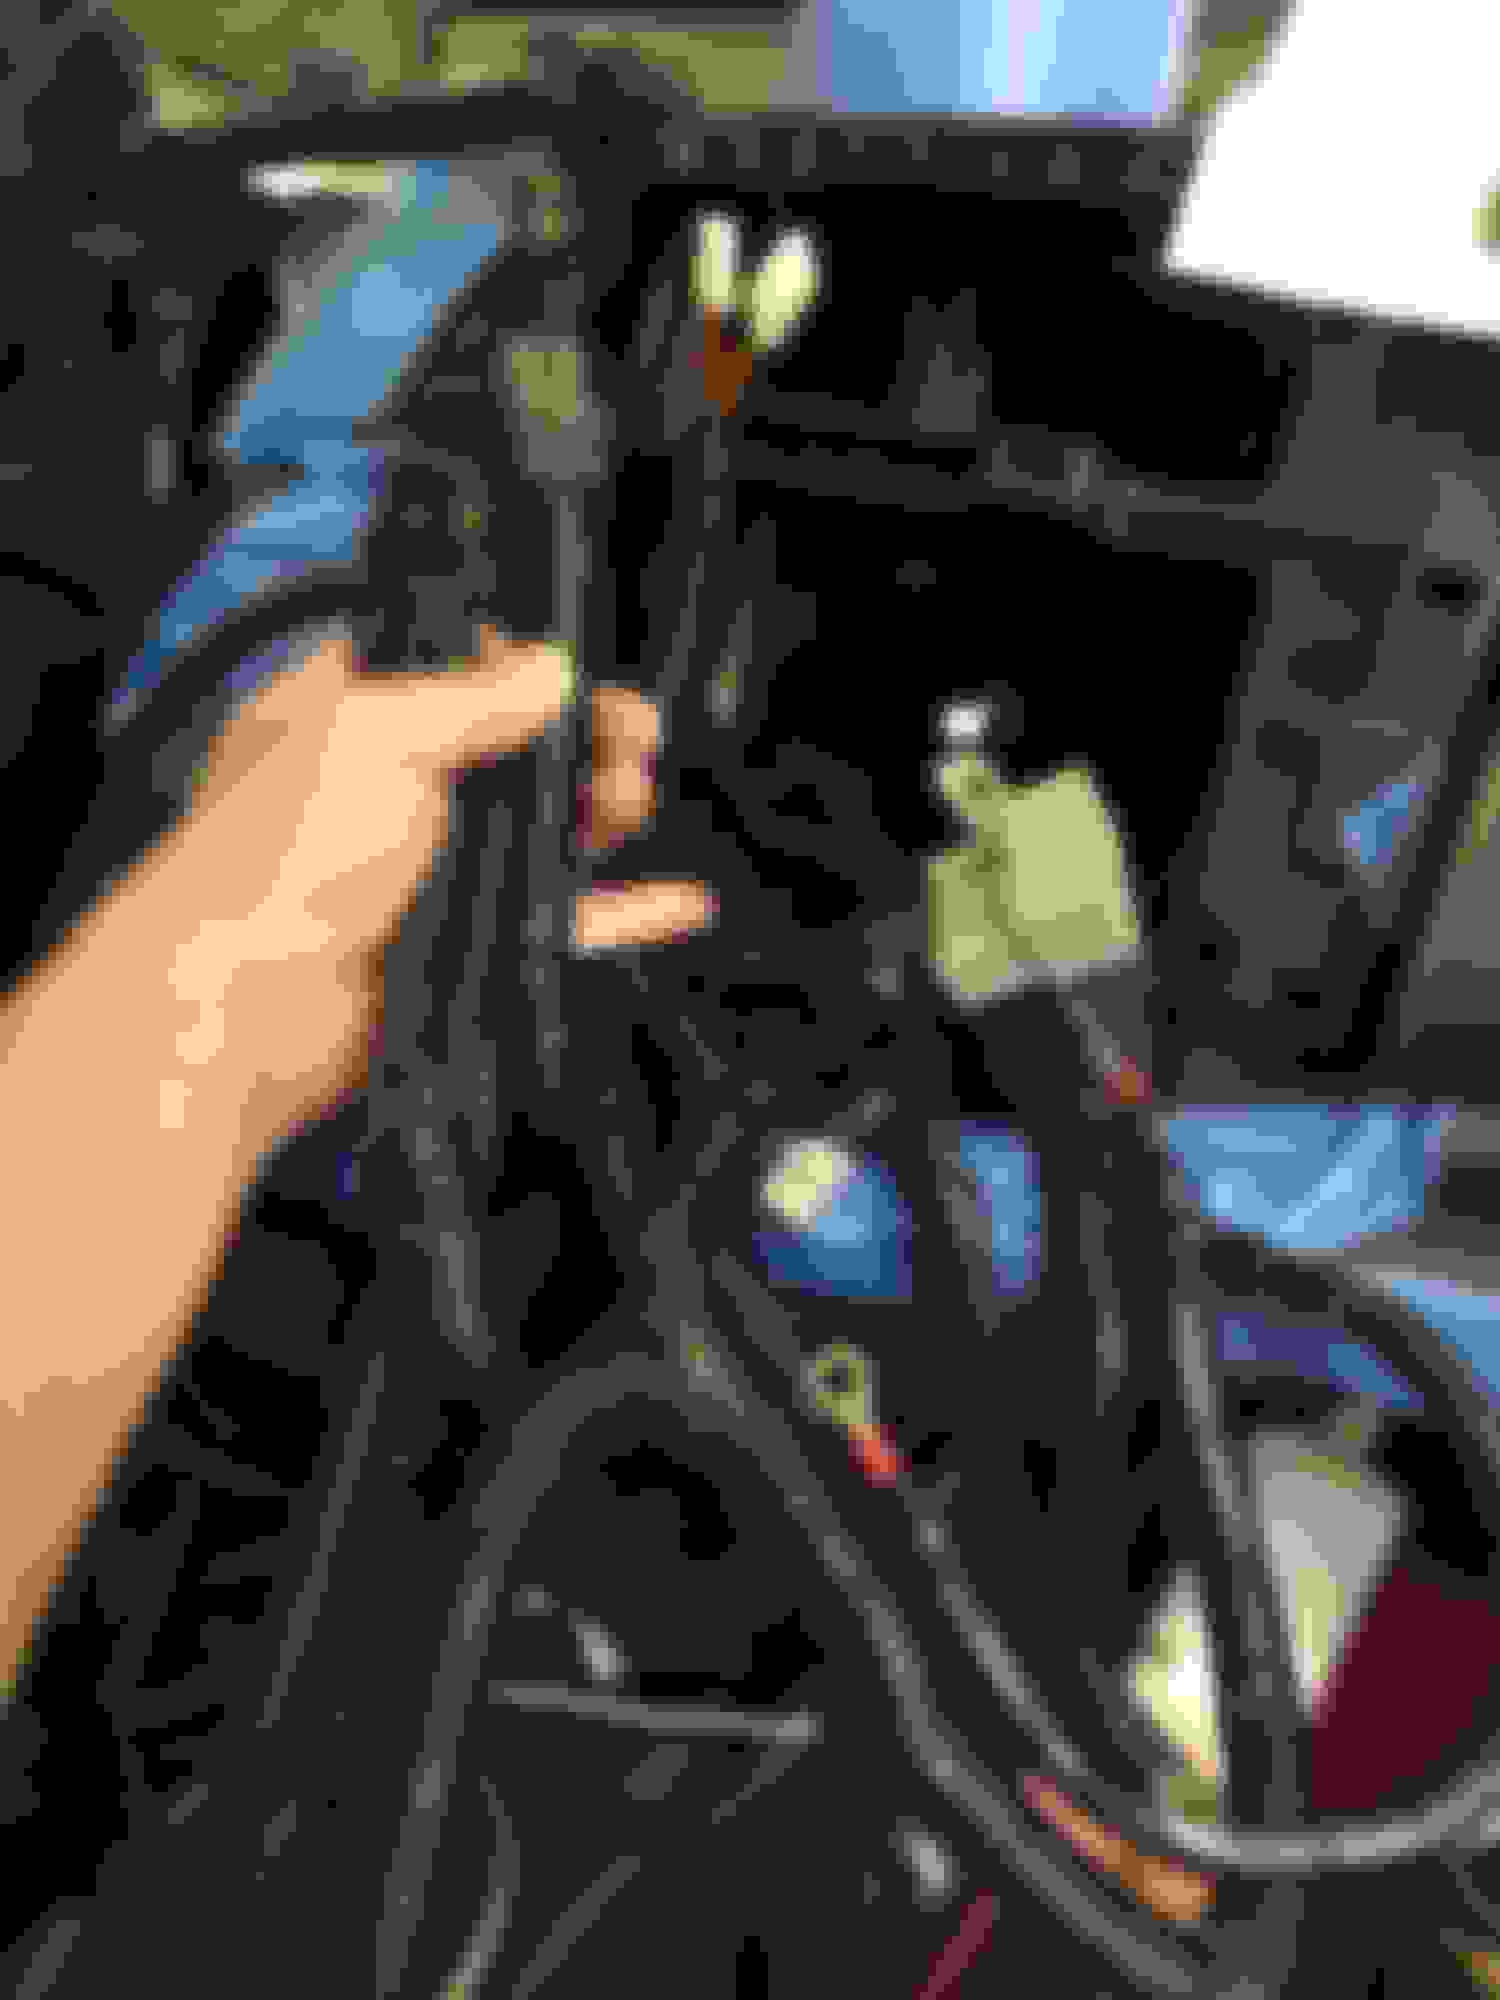
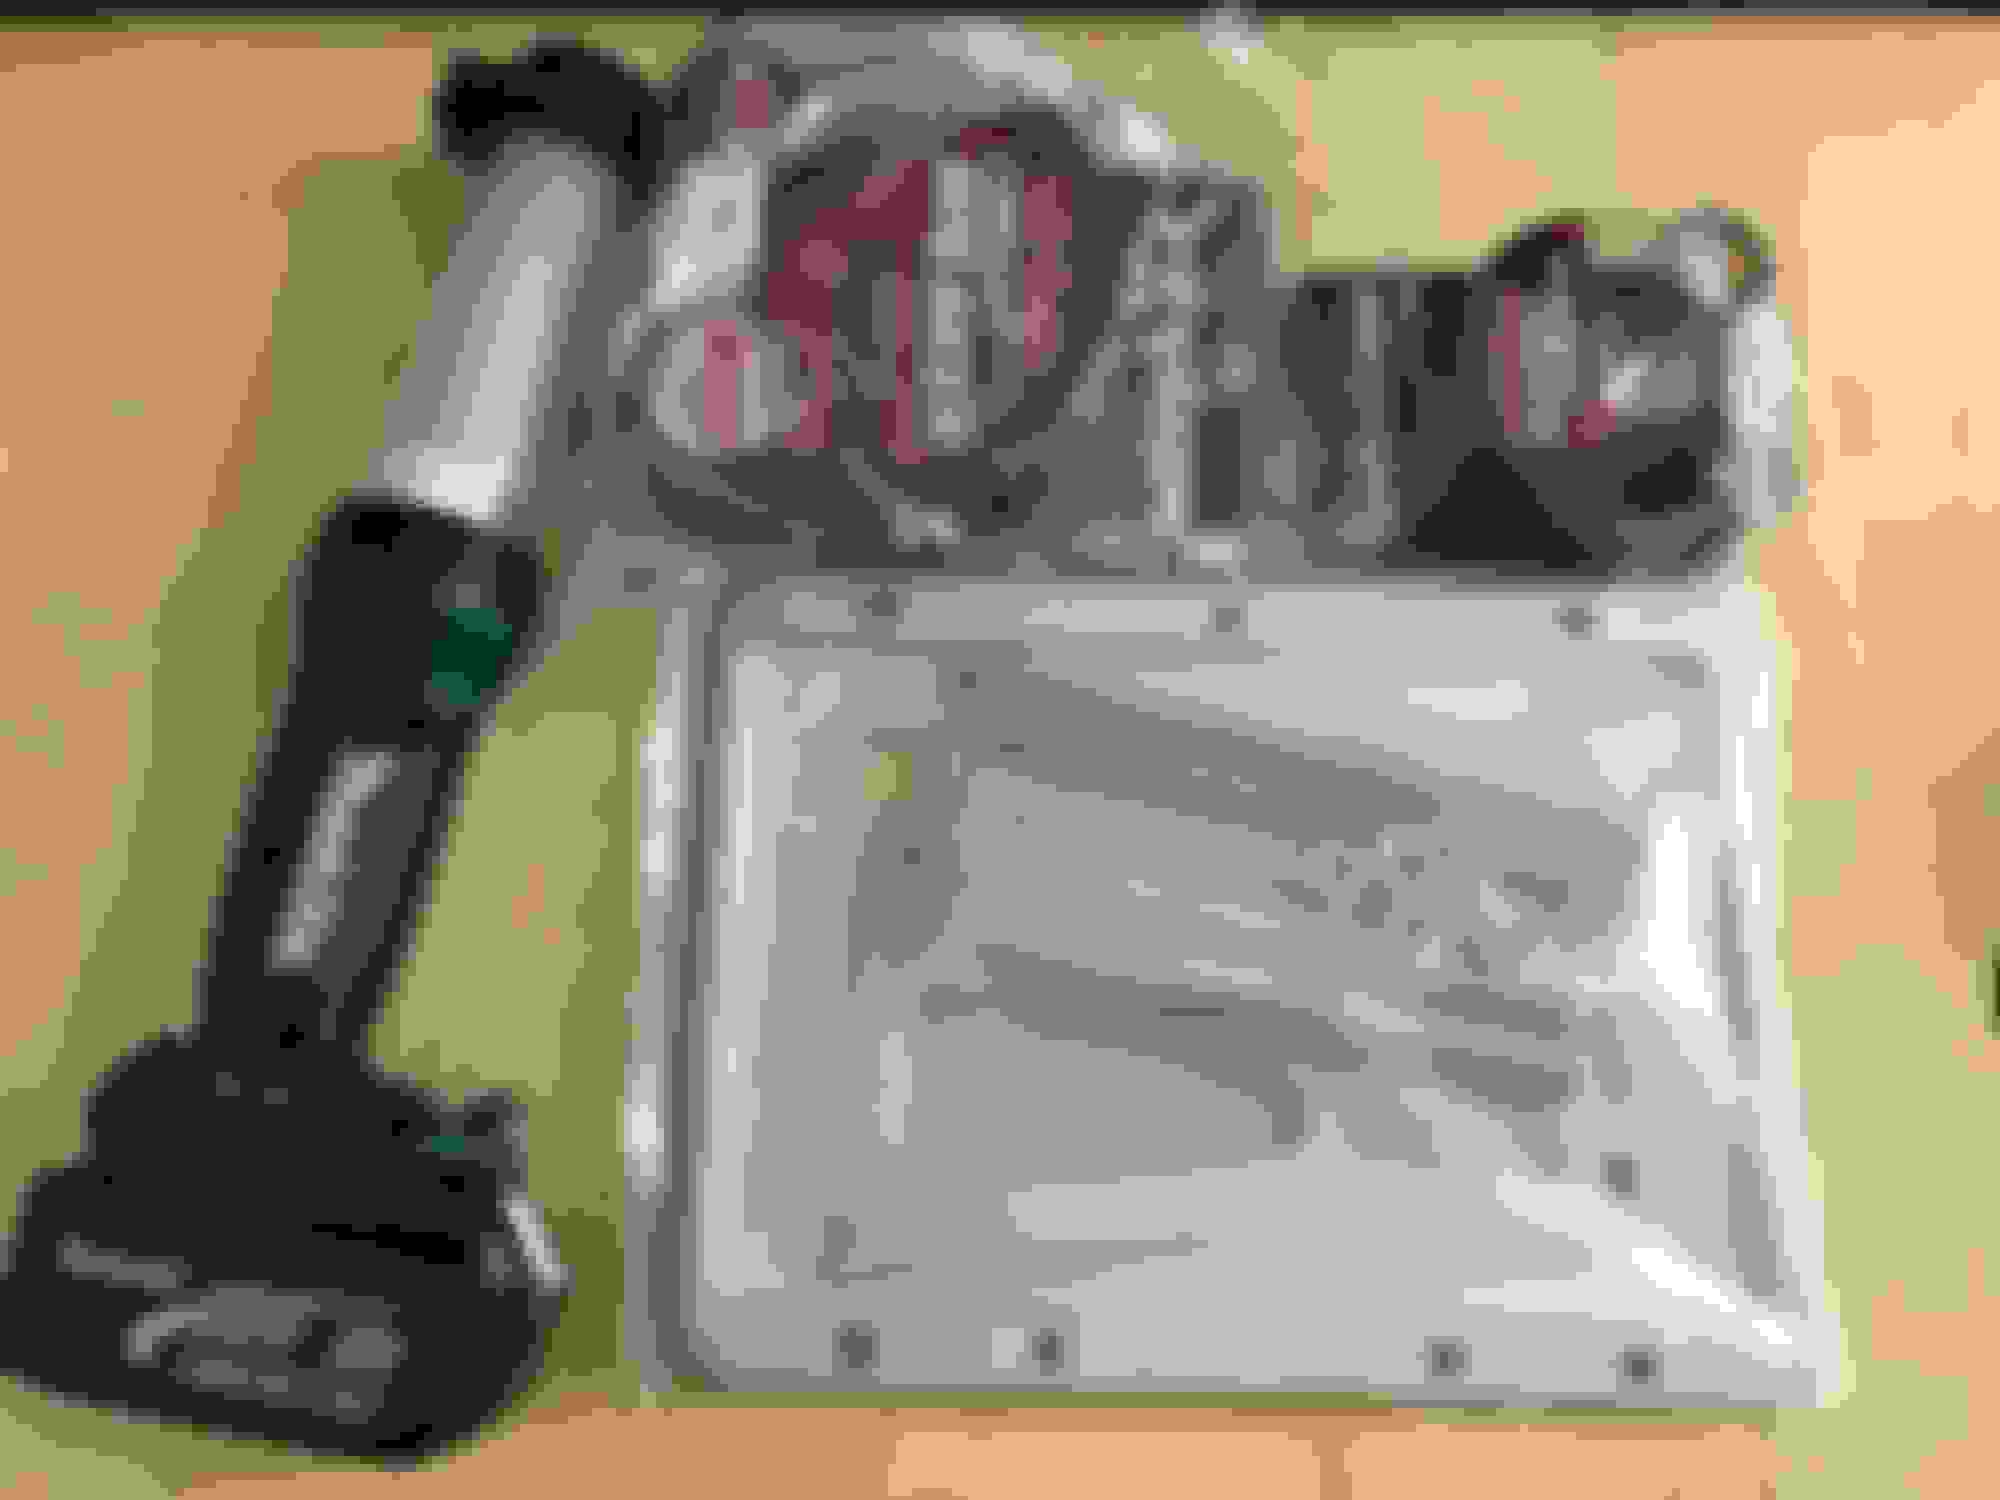
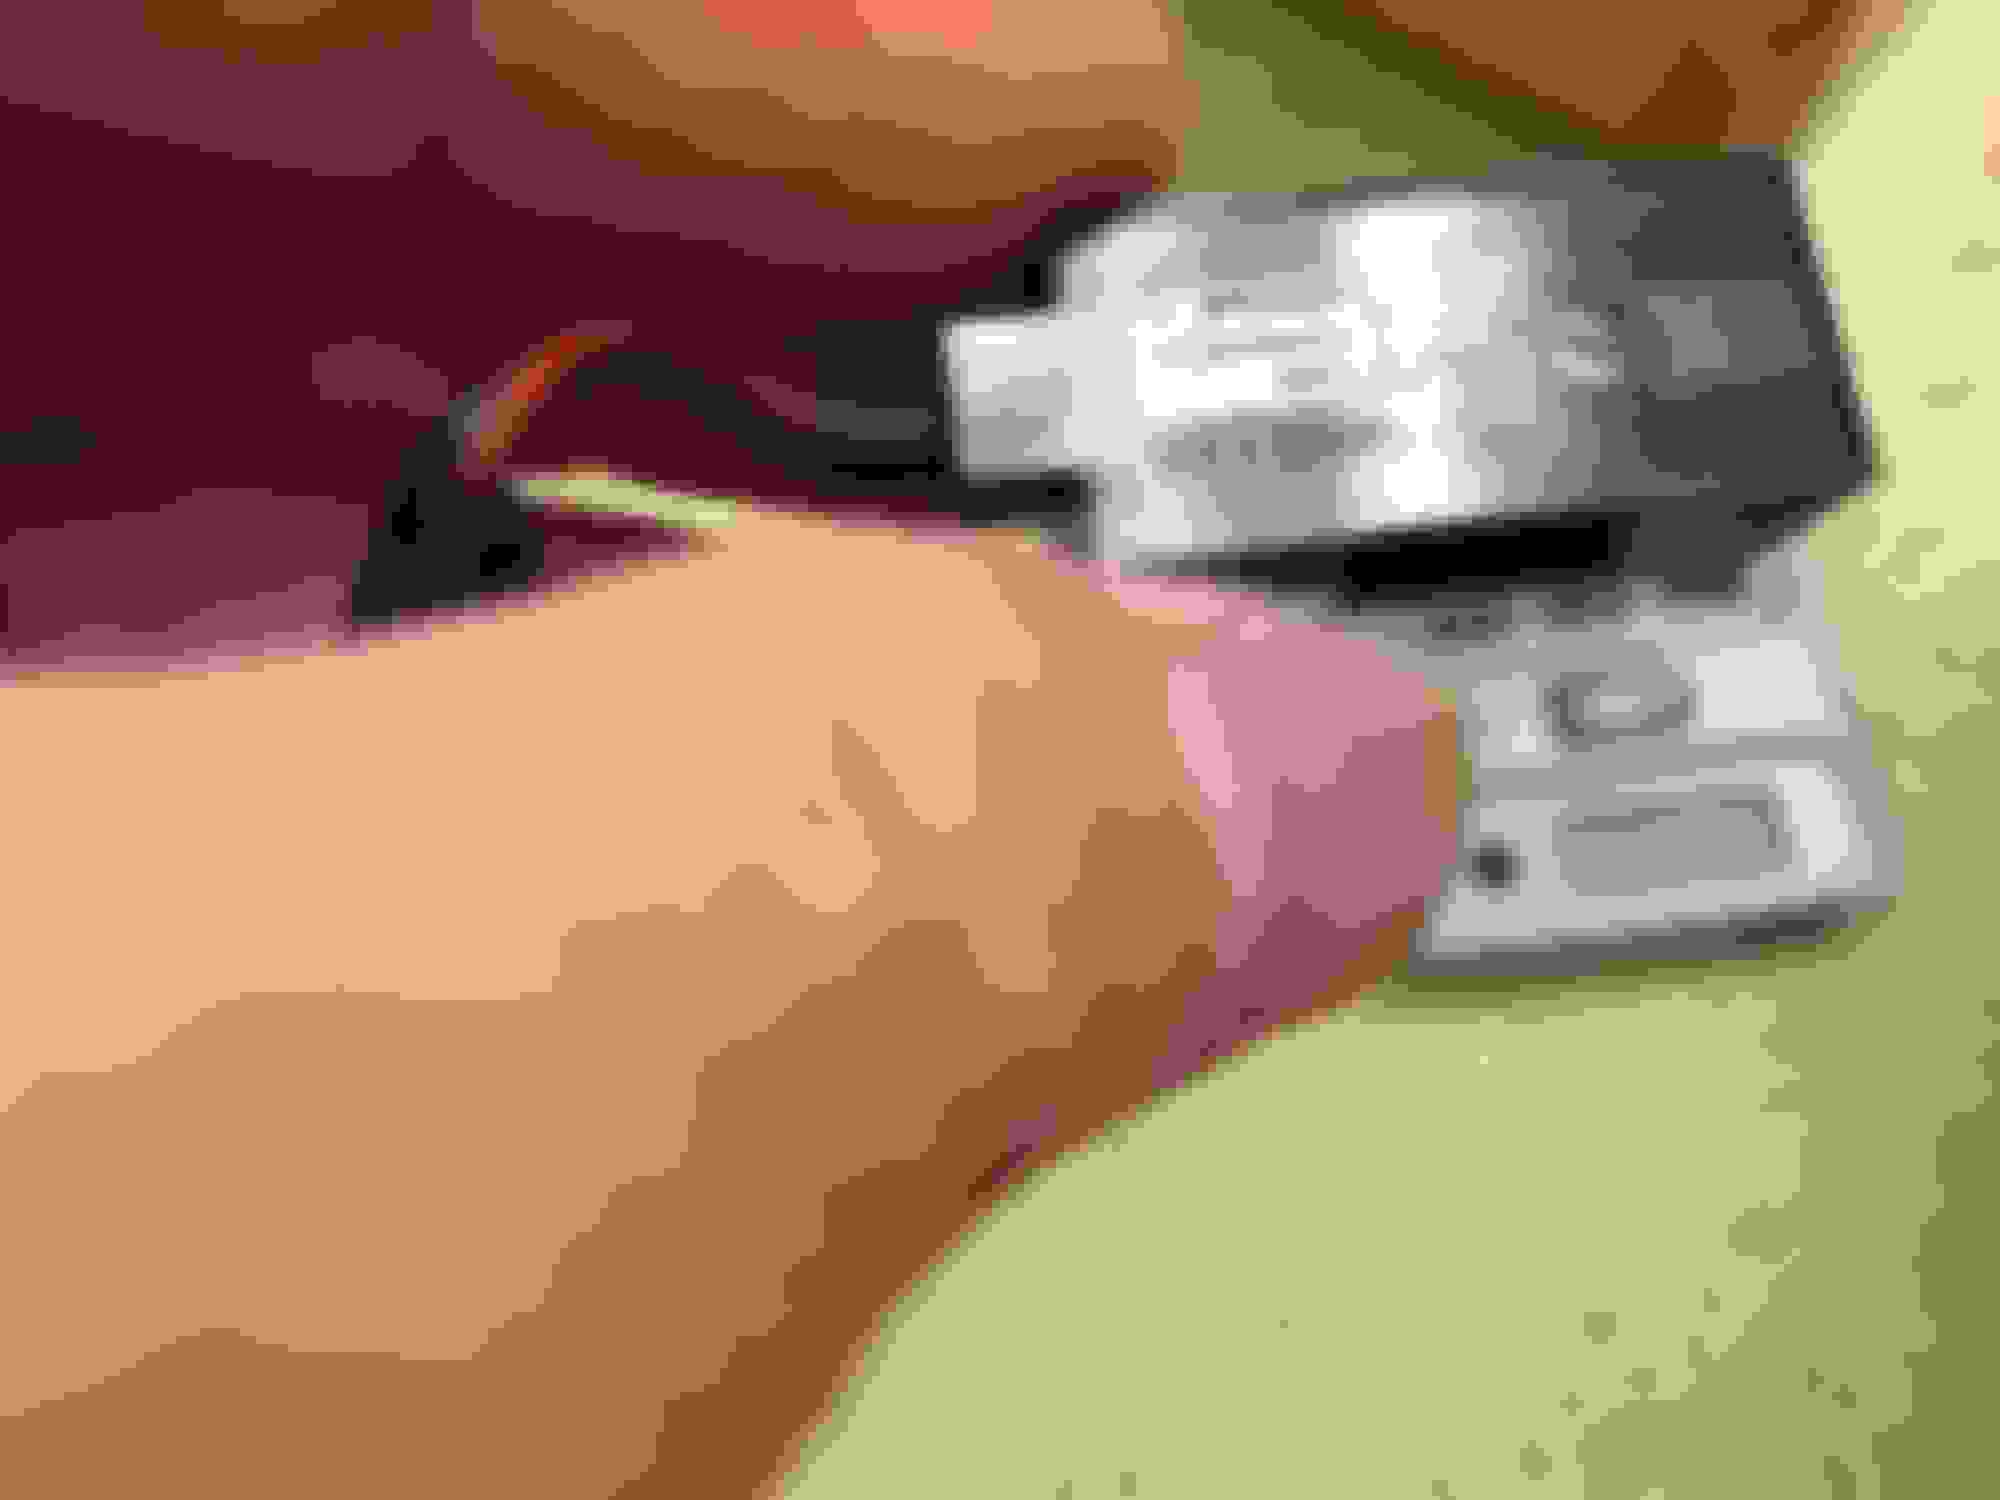
Remove the Honda OEM Factory USB terminal inside the glove box and run the
Sony RSX-GS9 Extension wire USB Terminal (connected to the Rear USB port of Sony RSX-GS9):
and
Morel Hybrid Integra 602 Coaxial arrived today for Rear Fill Speaker:
Last edited by BMW ALPINA; Sep 9, 2017 at 01:04 AM.
Need to redone the paint on the interior light/Home Link Garage Door Opener unit so have to wait another week for it to dry, then I can run the Sony RSX-GS9 Microphone wiring through it.
The "Final Edition" Emblem arrived today and put it on for mock up:
(this will match the other "Final Edition" Emblem at my carbon fiber hood:
Dynaudio Esotar2 650 Midbass ordered,
Also ordered many size of Stainless Steel Socket Metric Bolt, Nut Insert, Washer etc...
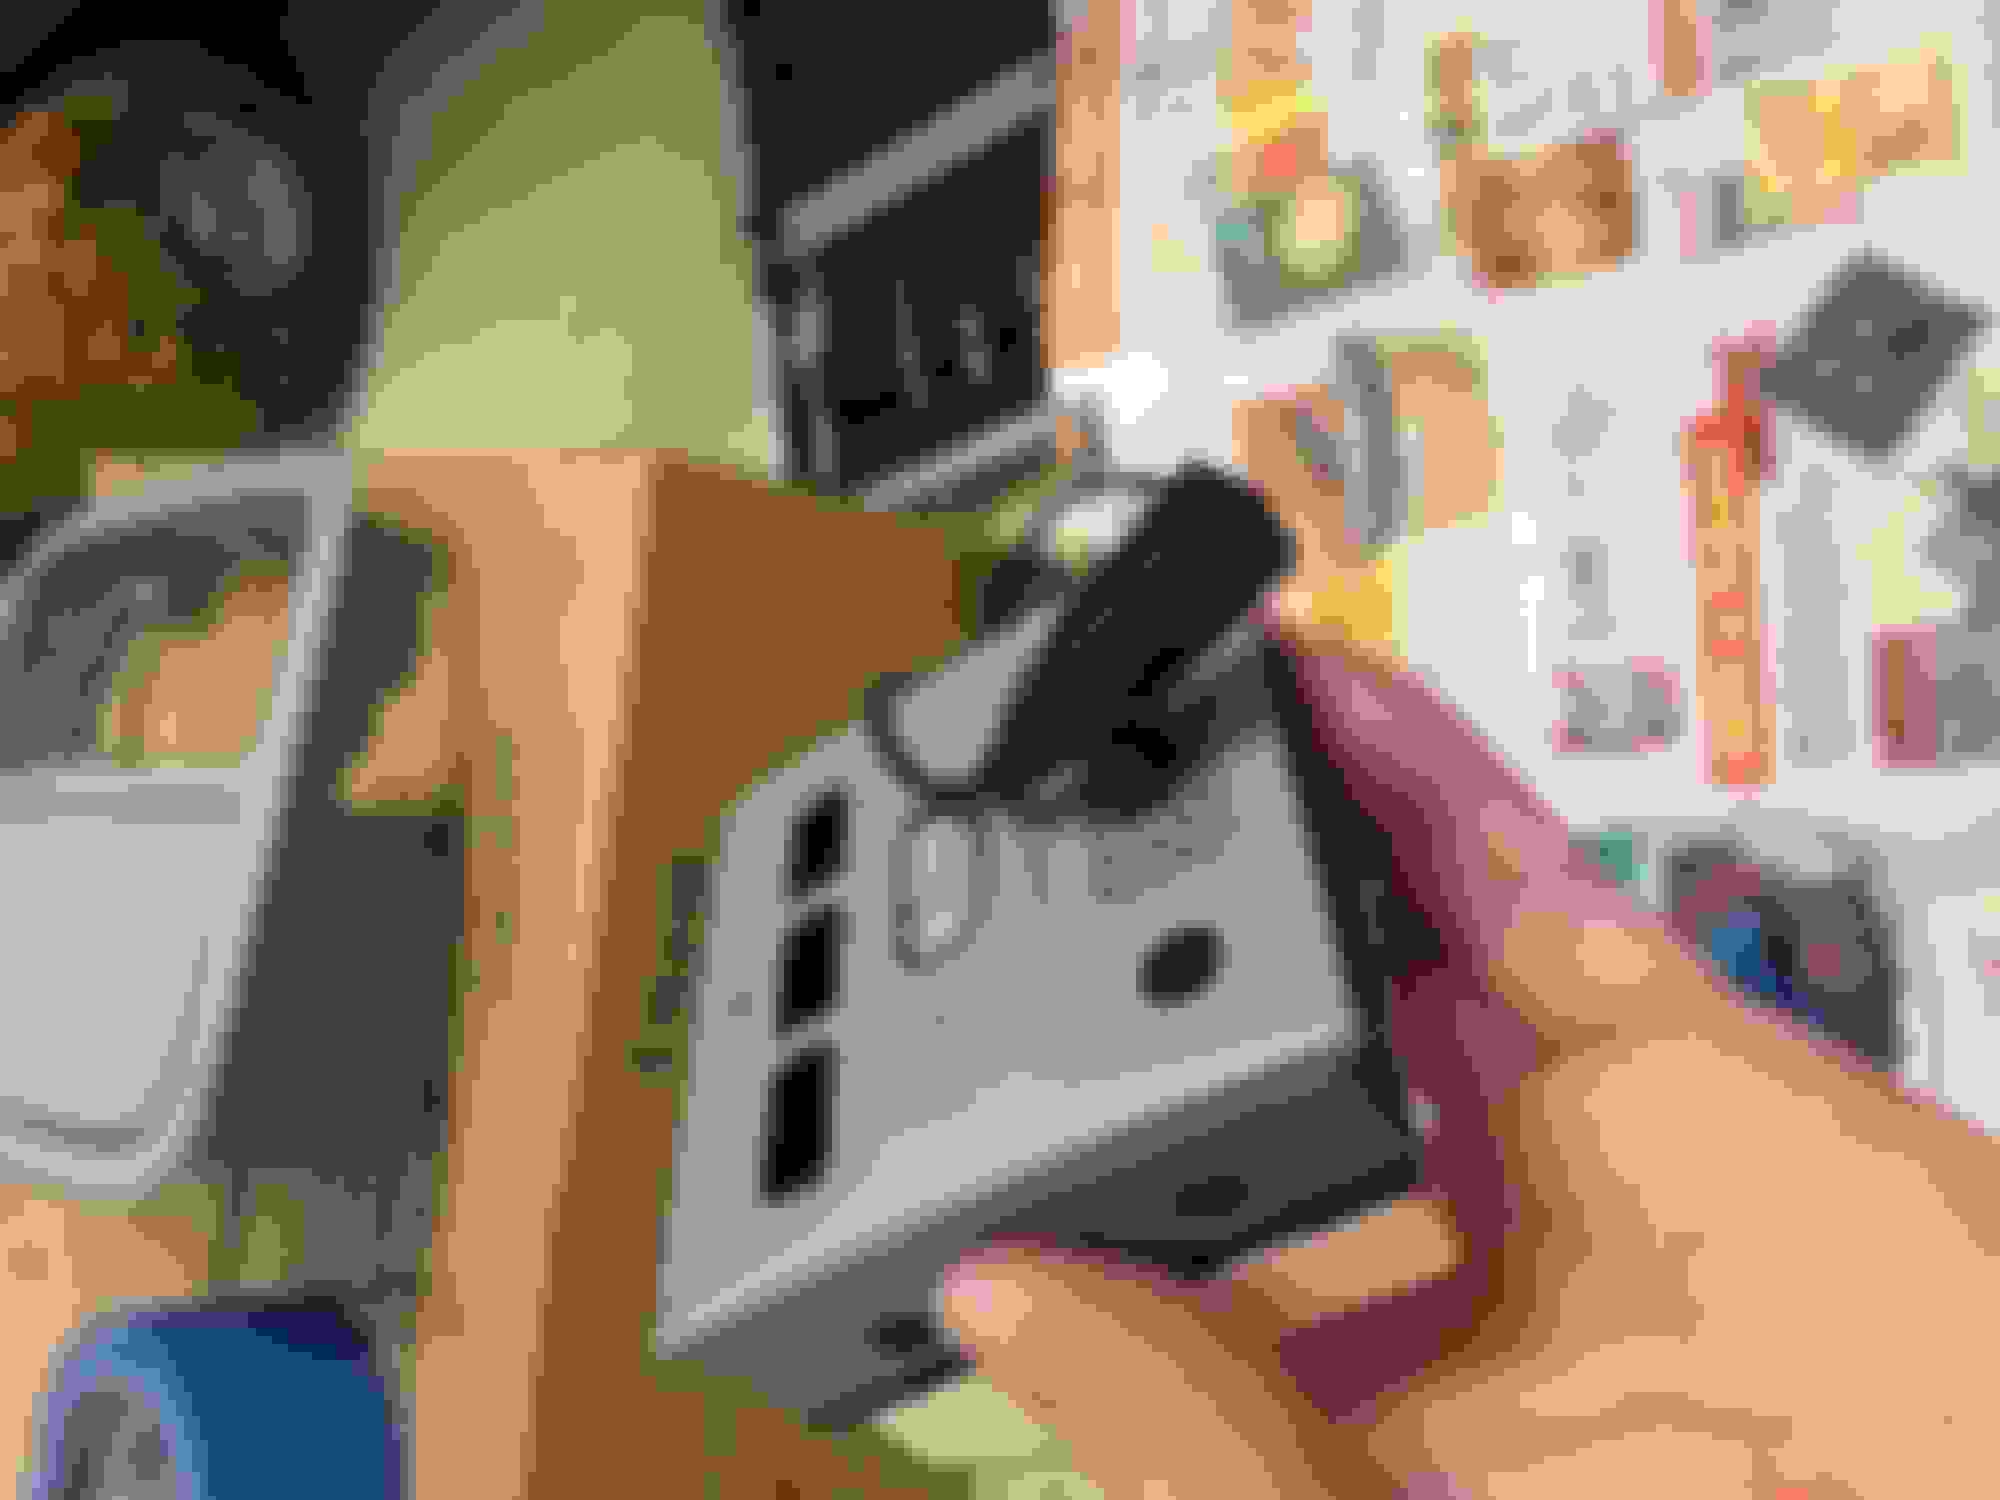
Hopefully the Weatherproof socket arrive tomorrow so I can install the head unit soon...
The Sony RSX GS-9 specifically ask for Direct connection to battery if the original fuse for the OEM head unit is only 10amperes since the Sony RSX-GS9 power supply had 15ampere fuse on it, even the wiring size of the Sony RSX-GS9 Power Supply is larger than the OEM Honda head unit wiring which I find quite strange since the Honda OEM head unit came with 4 channel amplifier...
anyway will not risk it and will connect the Sony RSX-GS9 directly to battery that is why I need the weatherproof connector so I can just unplug the socket if I need to remove the Sony RSX-GS9 for some reason...
Can't wait for more part to arrive so I move forward
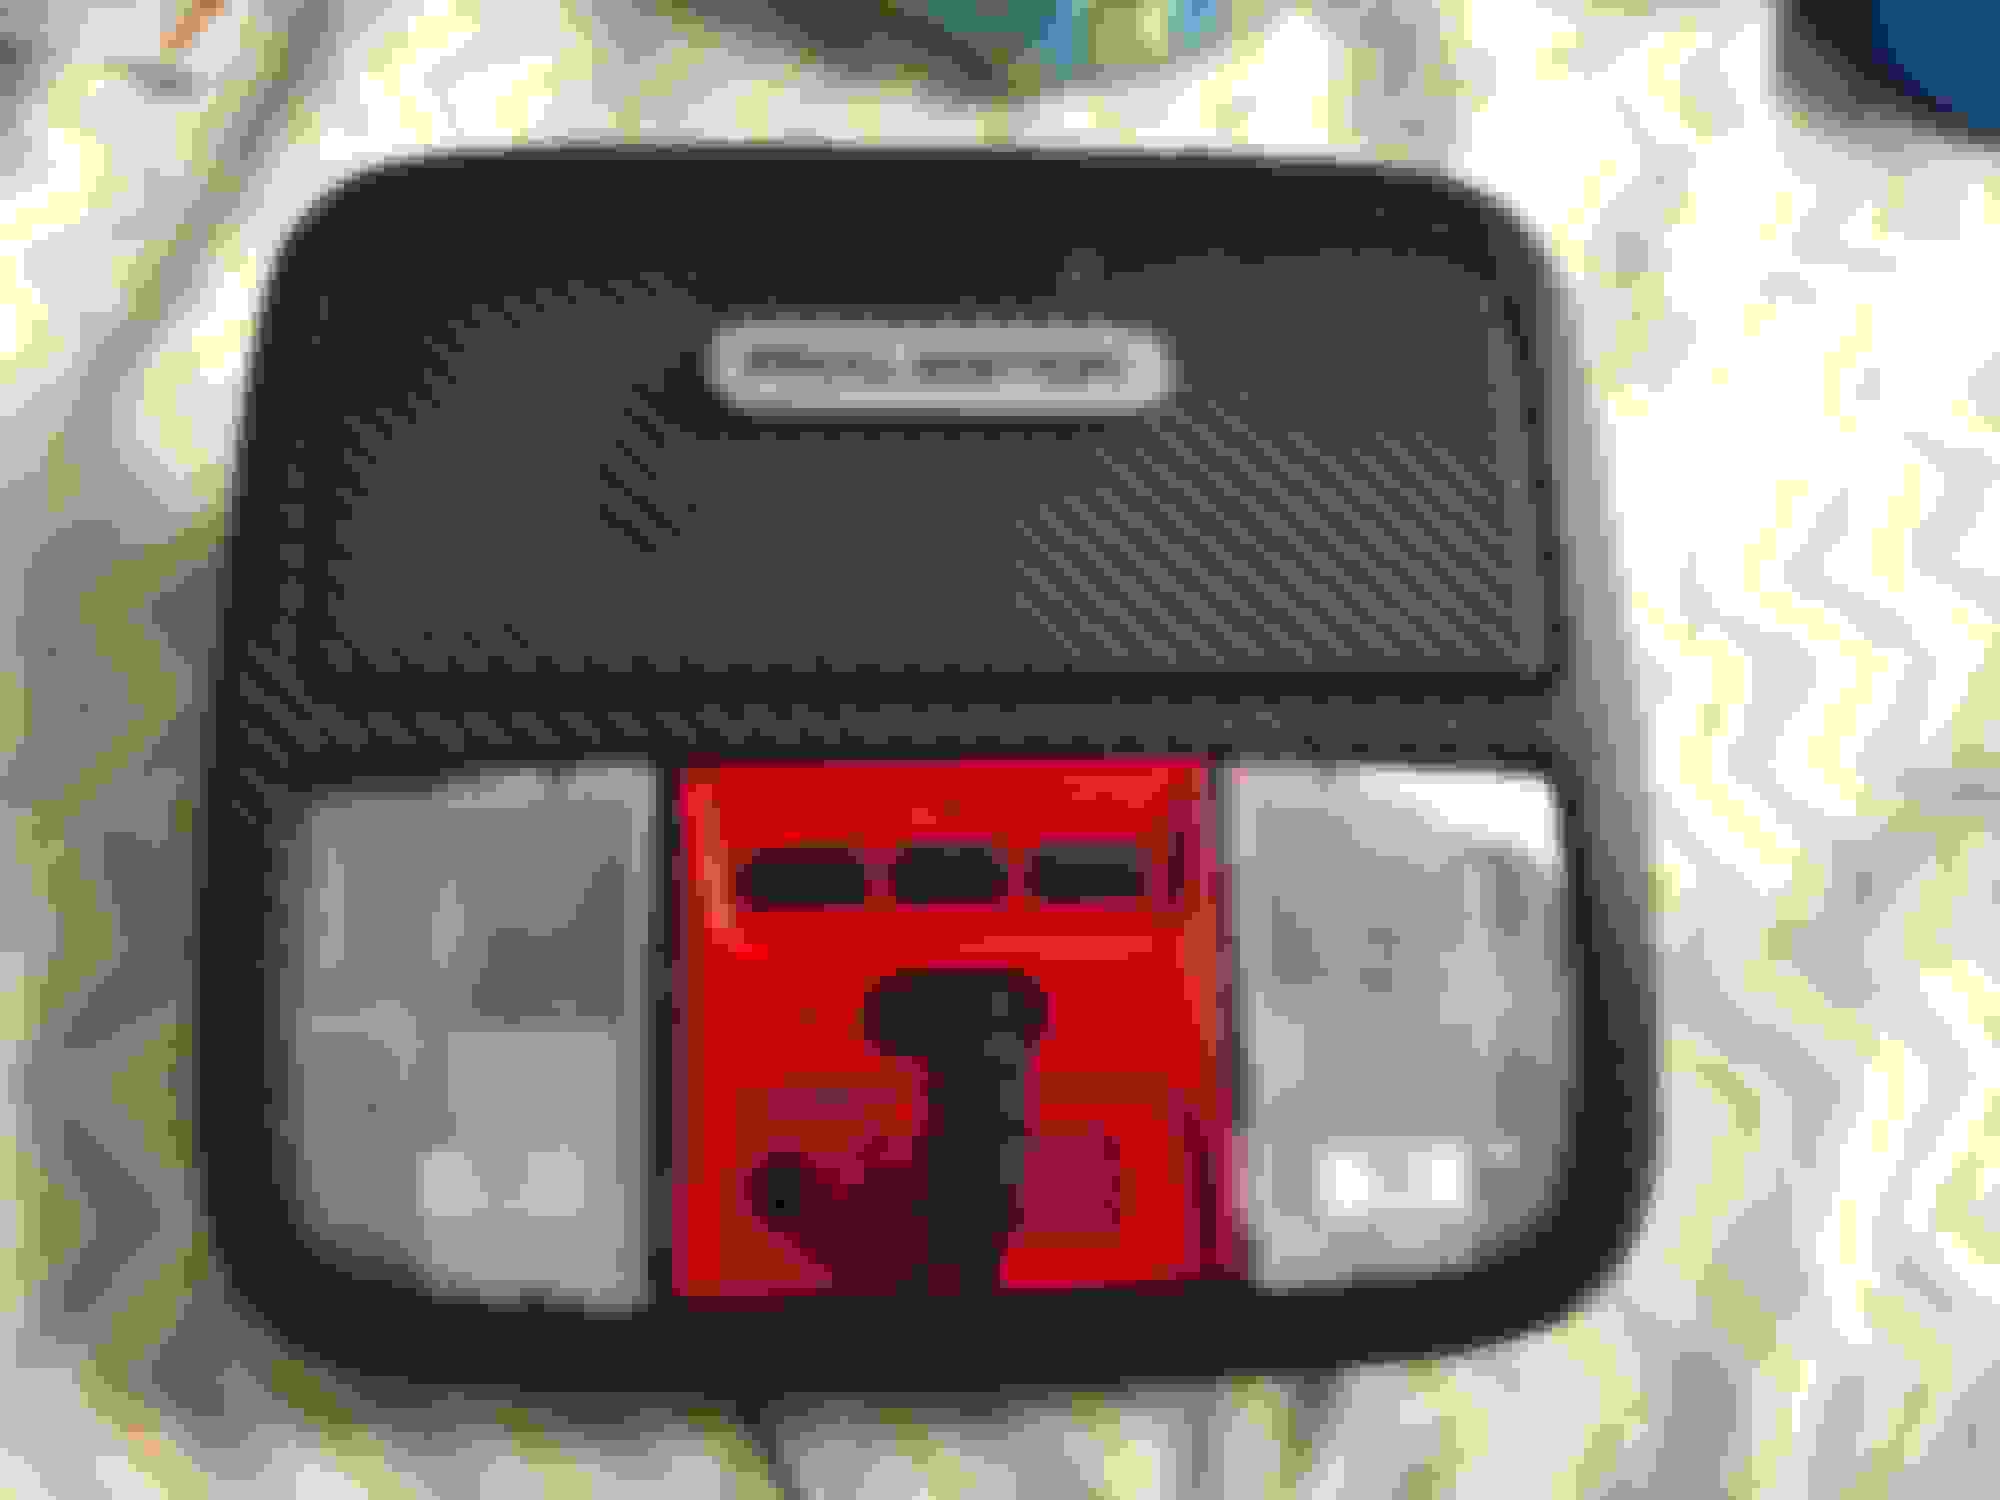
I decided to go to different direction for my Interior Light finish...
so I peel off all the blue paint using Brake Cleaner (Asetone) then wrap it with 3M Carbon Fiber Wrap and I just finished installing it...
well the HomeLink unit still painted RED...
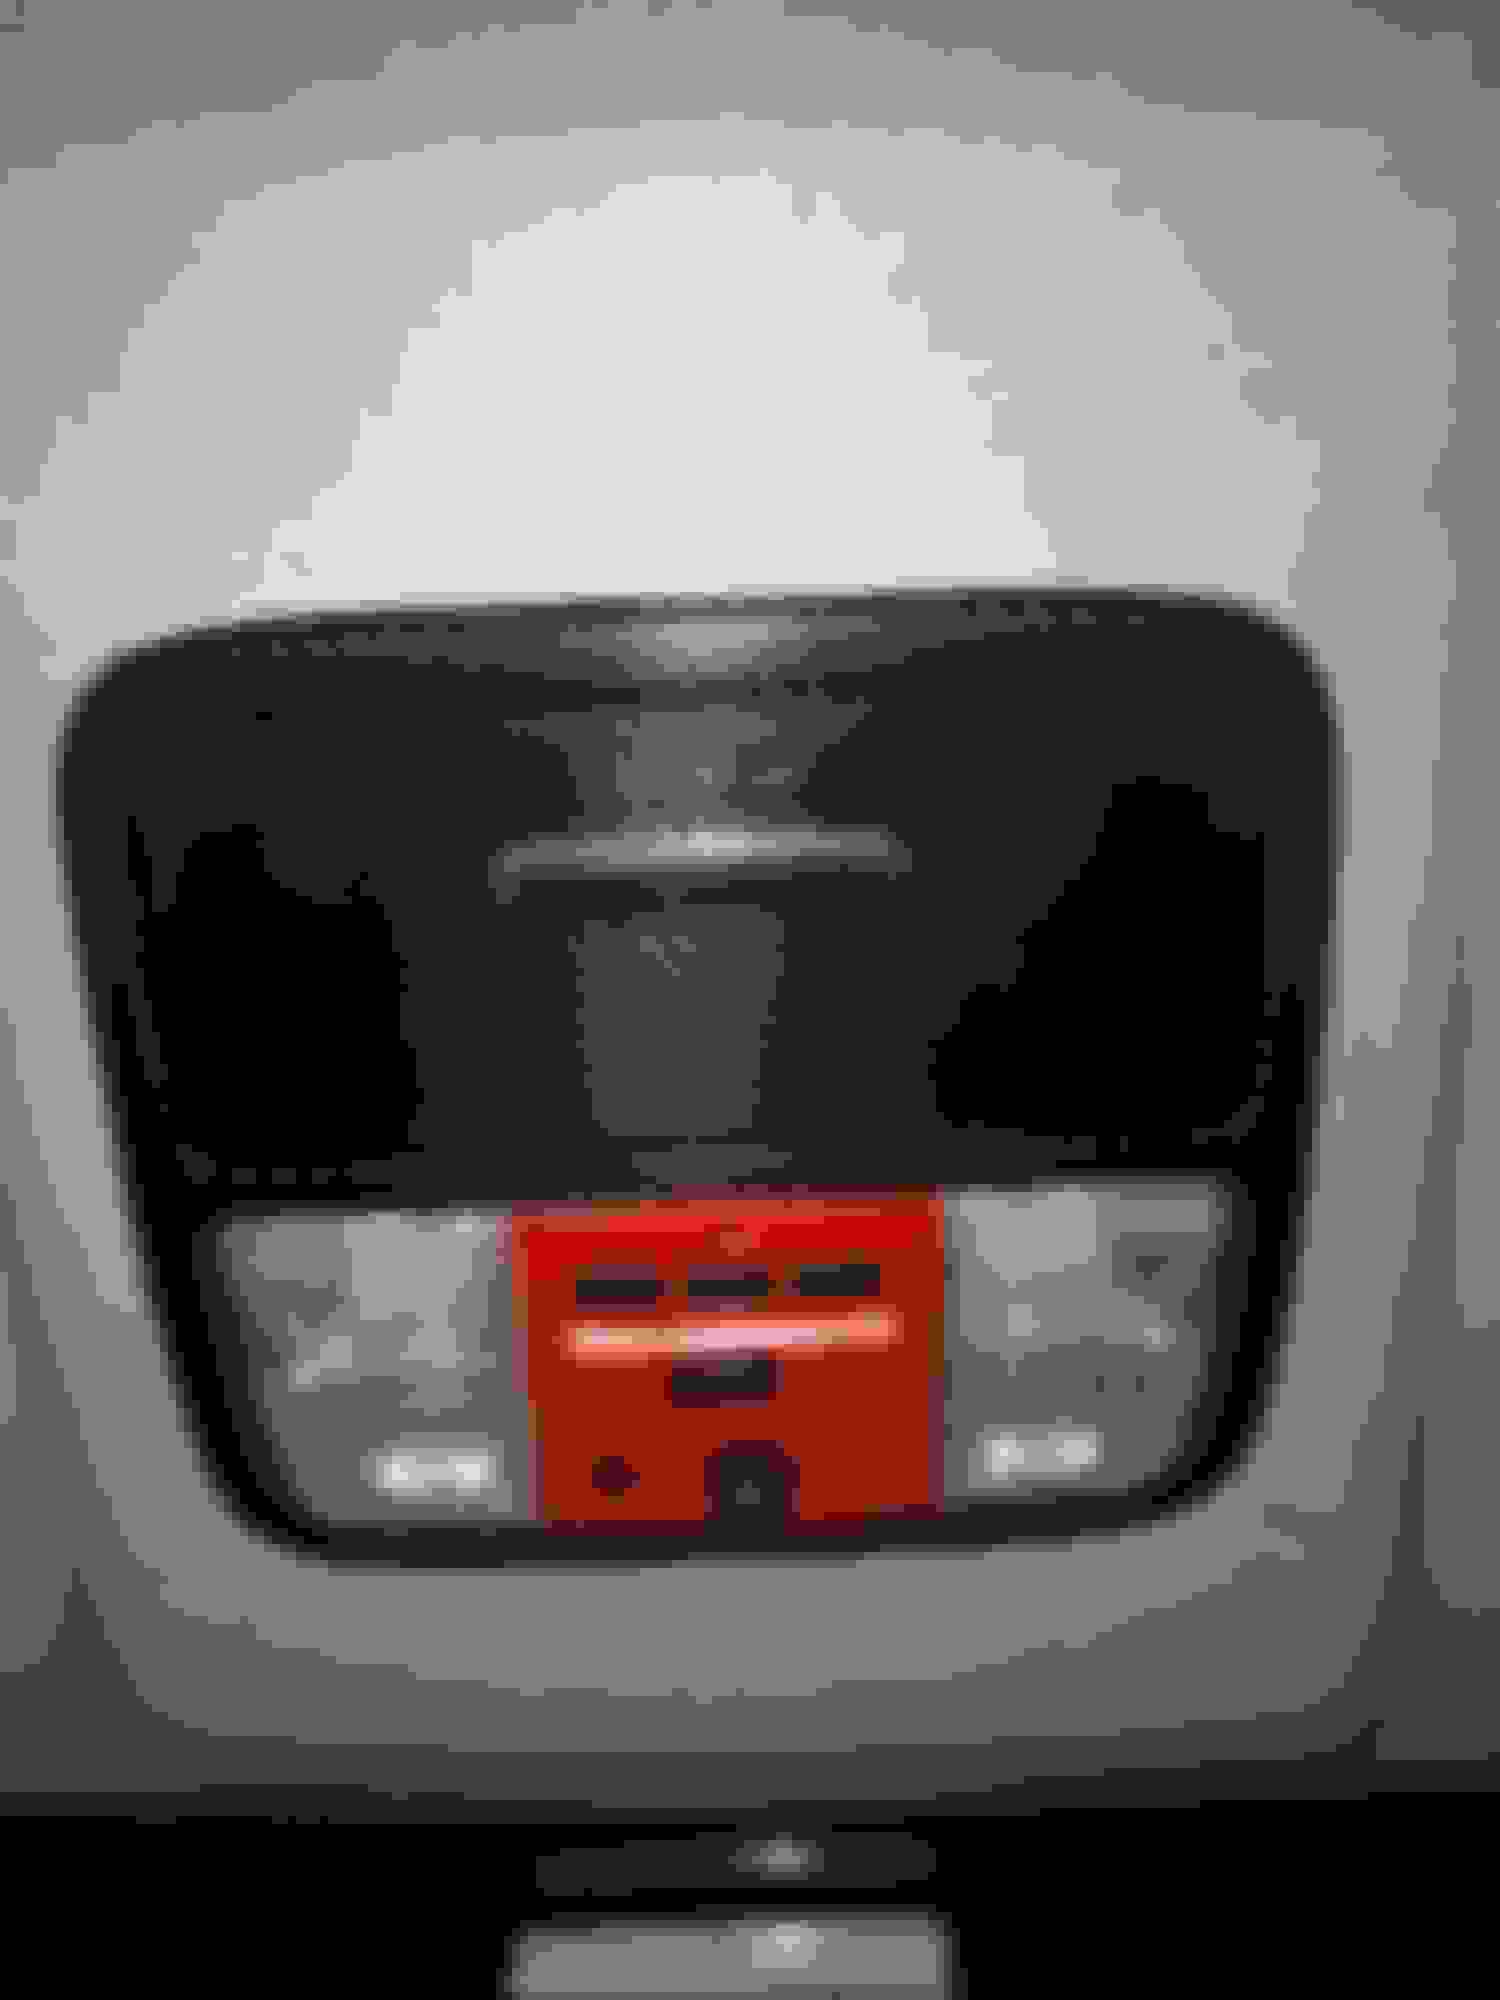
Now I finally have my functioning Garage Door Opener again after more than 2 weeks without it
The most important thing is the Sony Microphone now installed at the PERFECT location to pick up my voice during Handsfree phone function,
exactly where OEM Honda Mic use to and have clear line of sight and it's direction can be adjusted if necessary
Here are the process pictures:
and Installed:
I will start soldering the wiring for the Sony RSX-GS9 Head Unit and Defi Advance RS Gauges tonight so tomorrow I can install them on my car
I had been spending the past weeks preparing the wiring harness for the head unit.
I bought Metra Head Unit Harness Adapter (both male and female),
but I bought 2 male adapter so I can sacrifice one and get the pin inside,
since Metra Harness Adapter left the pin for the Steering Wheel Integration Empty.
So here is me dremeling one male Metra harness adapter socket to extract the pins:
Inserting the PIN extracted into the socket:
Figuring out which wire going into which pin by looking at my old note:
Then, I also need to fix the male harness that is part of the car wiring from factory. I modified (tap) using butt connector to tap into speaker wiring (long time ago) because at that time, I don't have garage so I can't solder them and have to use butt connector to tap signal for a powered sub...
I remove all those butt connector and resoldered them just to make it better. I will utilize the Honda OEM speaker for a while until I received my Dynaudio midbass, so actually I don't really need to resoldered them...
it's just that I feel like I need to make it perfect...
oh, also fix the Antenna Power Supply wiring that was tapped with butt connector too in the past:
All harness ready and protected by wire loom and 3M Super 88 tape,
so wiring looks like it came from Honda factory wiring:
Oh, I also use Hella Relay (fused too on both trigger and supply) to drive all Remote On cables, this way, I won't have to worry if the head unit Remote On signal/amp is not strong enough...
then I find a good place to securely bolt the relay to the M5 screw that hold the trim inside the dashboard
and.......
The Dynaudio Emblem arrives from Germany, even before the Dynaudio Esotar2 650 MidBass arrived
I am going to install this Dynaudio Emblem on the Head Unit Trim and also on the Honda Factory Door Grill
but if I need to modified the door grill, I also already order Dynaudio MW-162 Grill
need to modified with Dremel so it can be double tape to the Head Unit Trim:
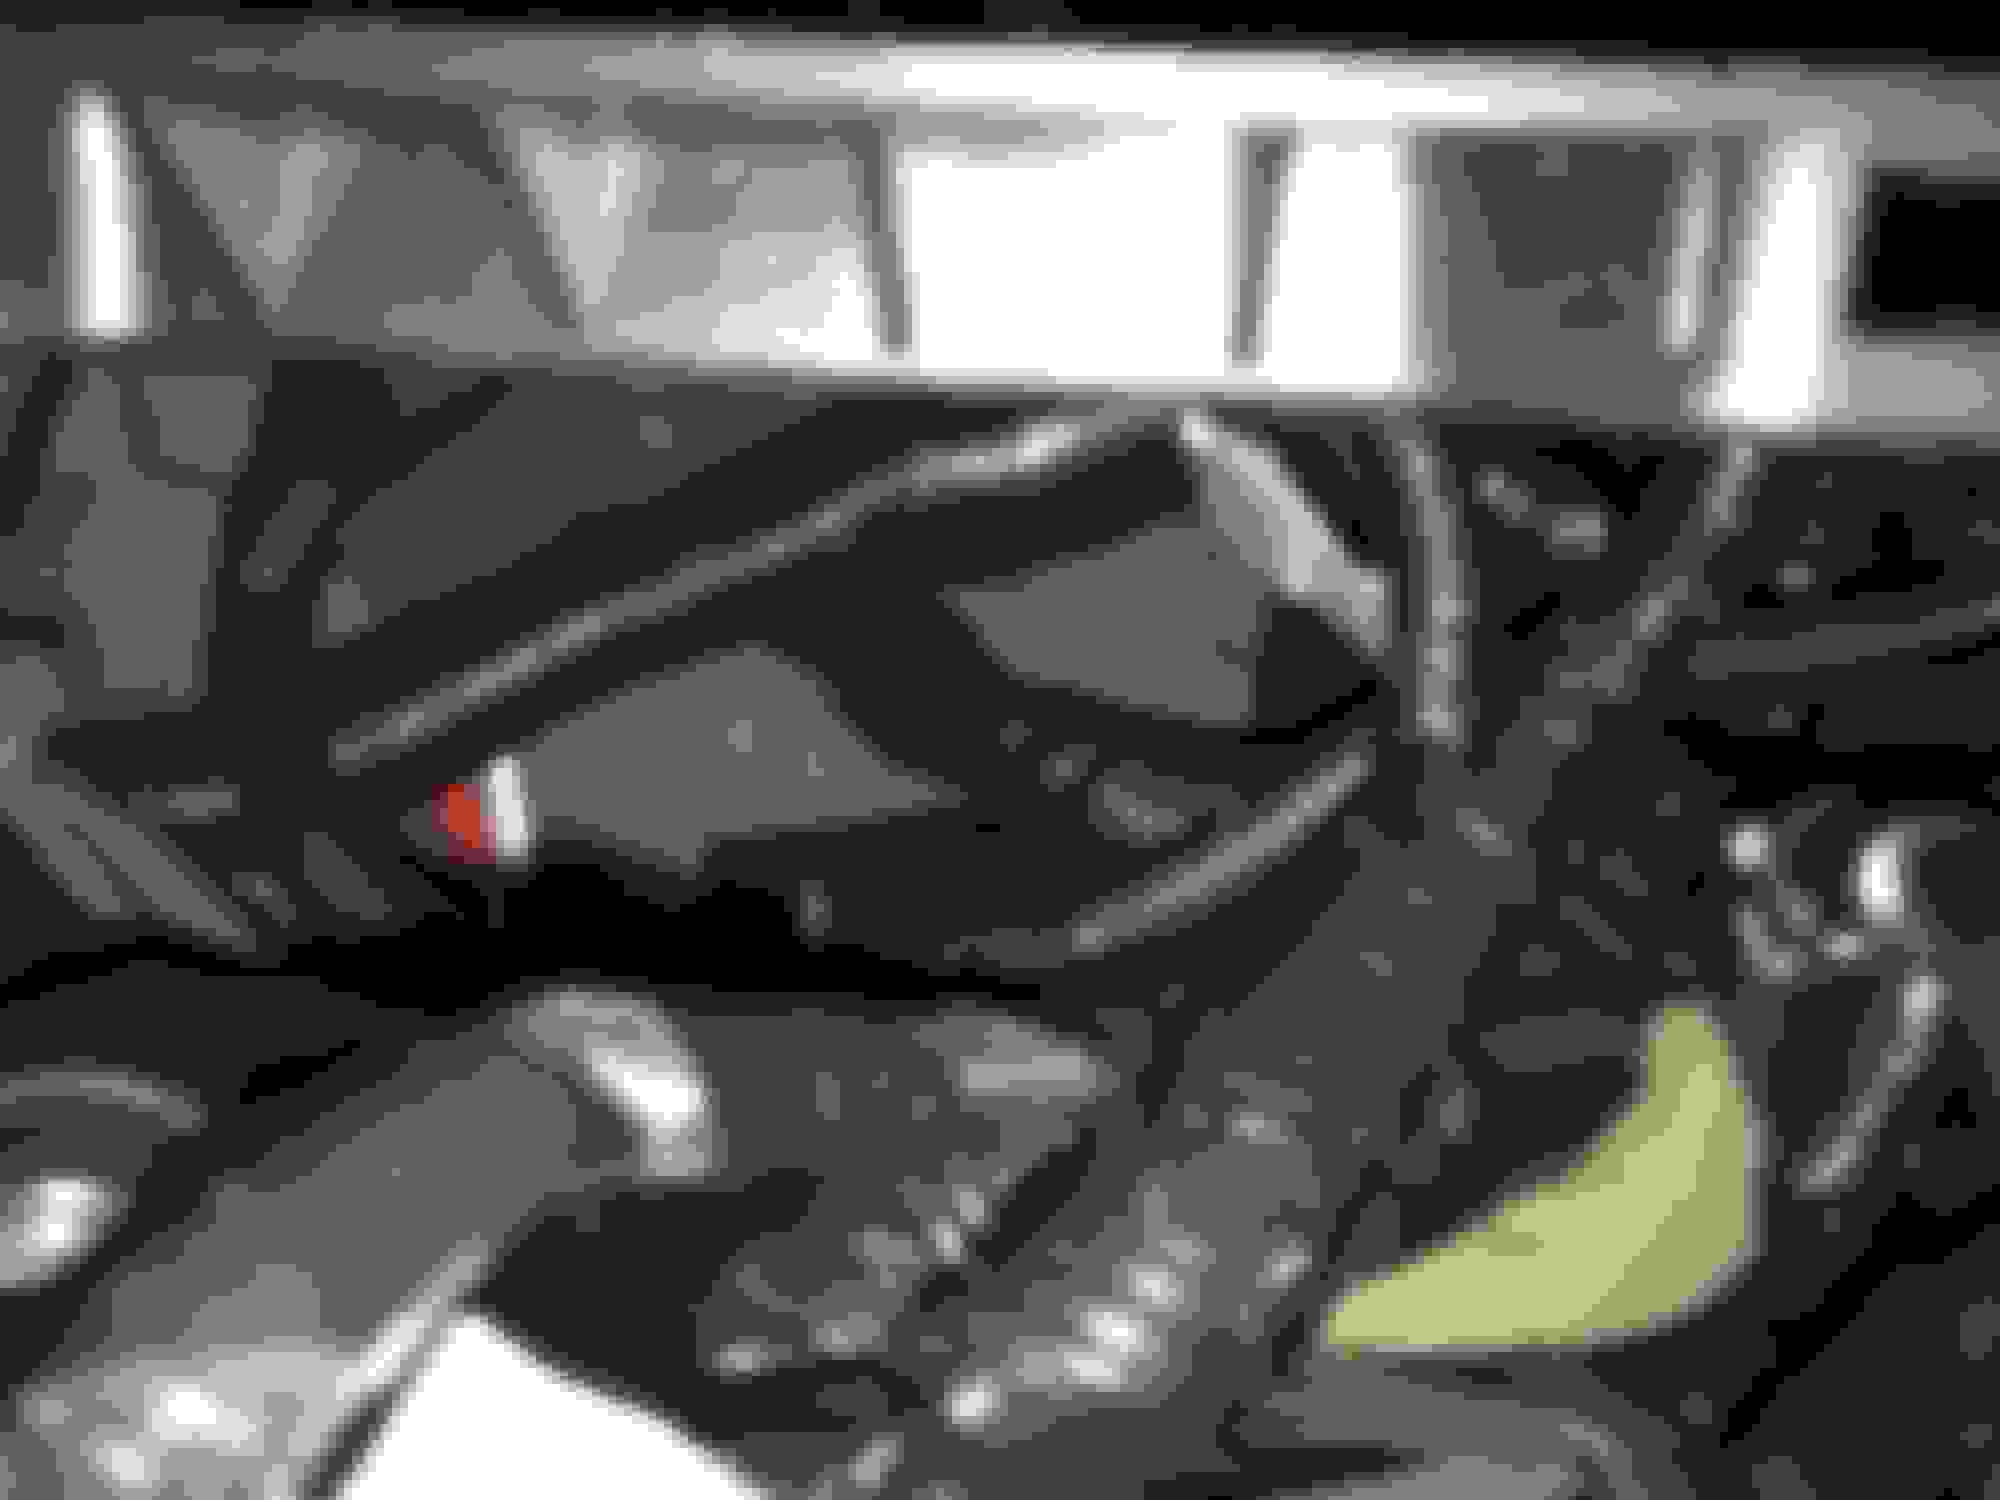
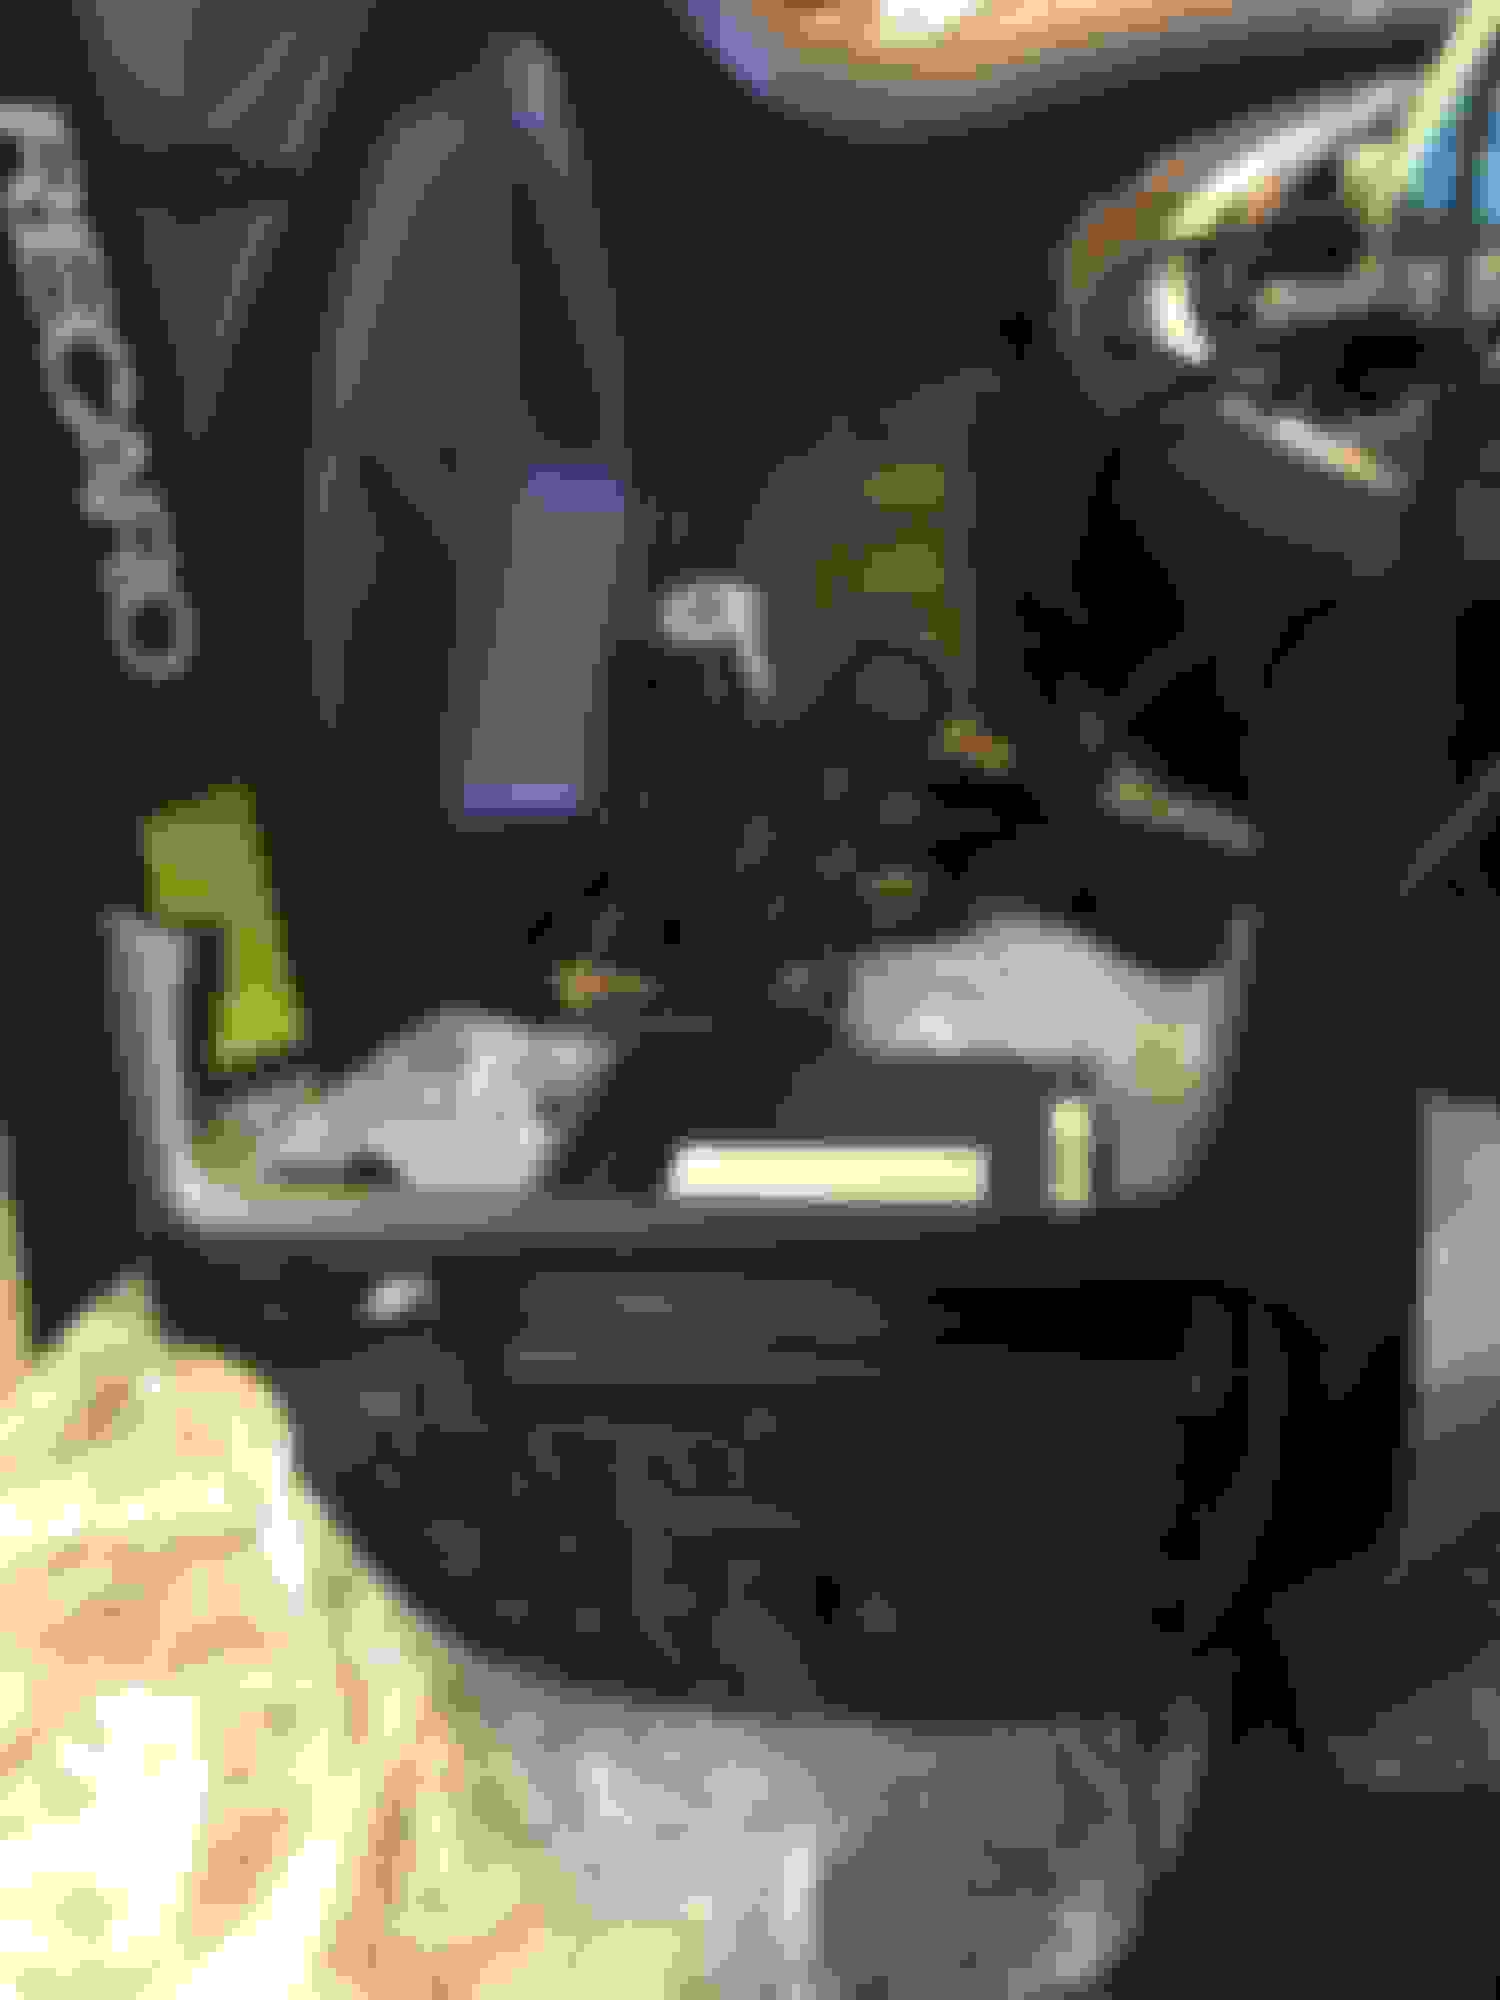
All wiring connected to Sony Head RSX-GS9,
on first picture, you can see all the wiring/plug including Audio Quest Golden Gate's RCA... they are nice RCA... (I also protect them with wire loom)
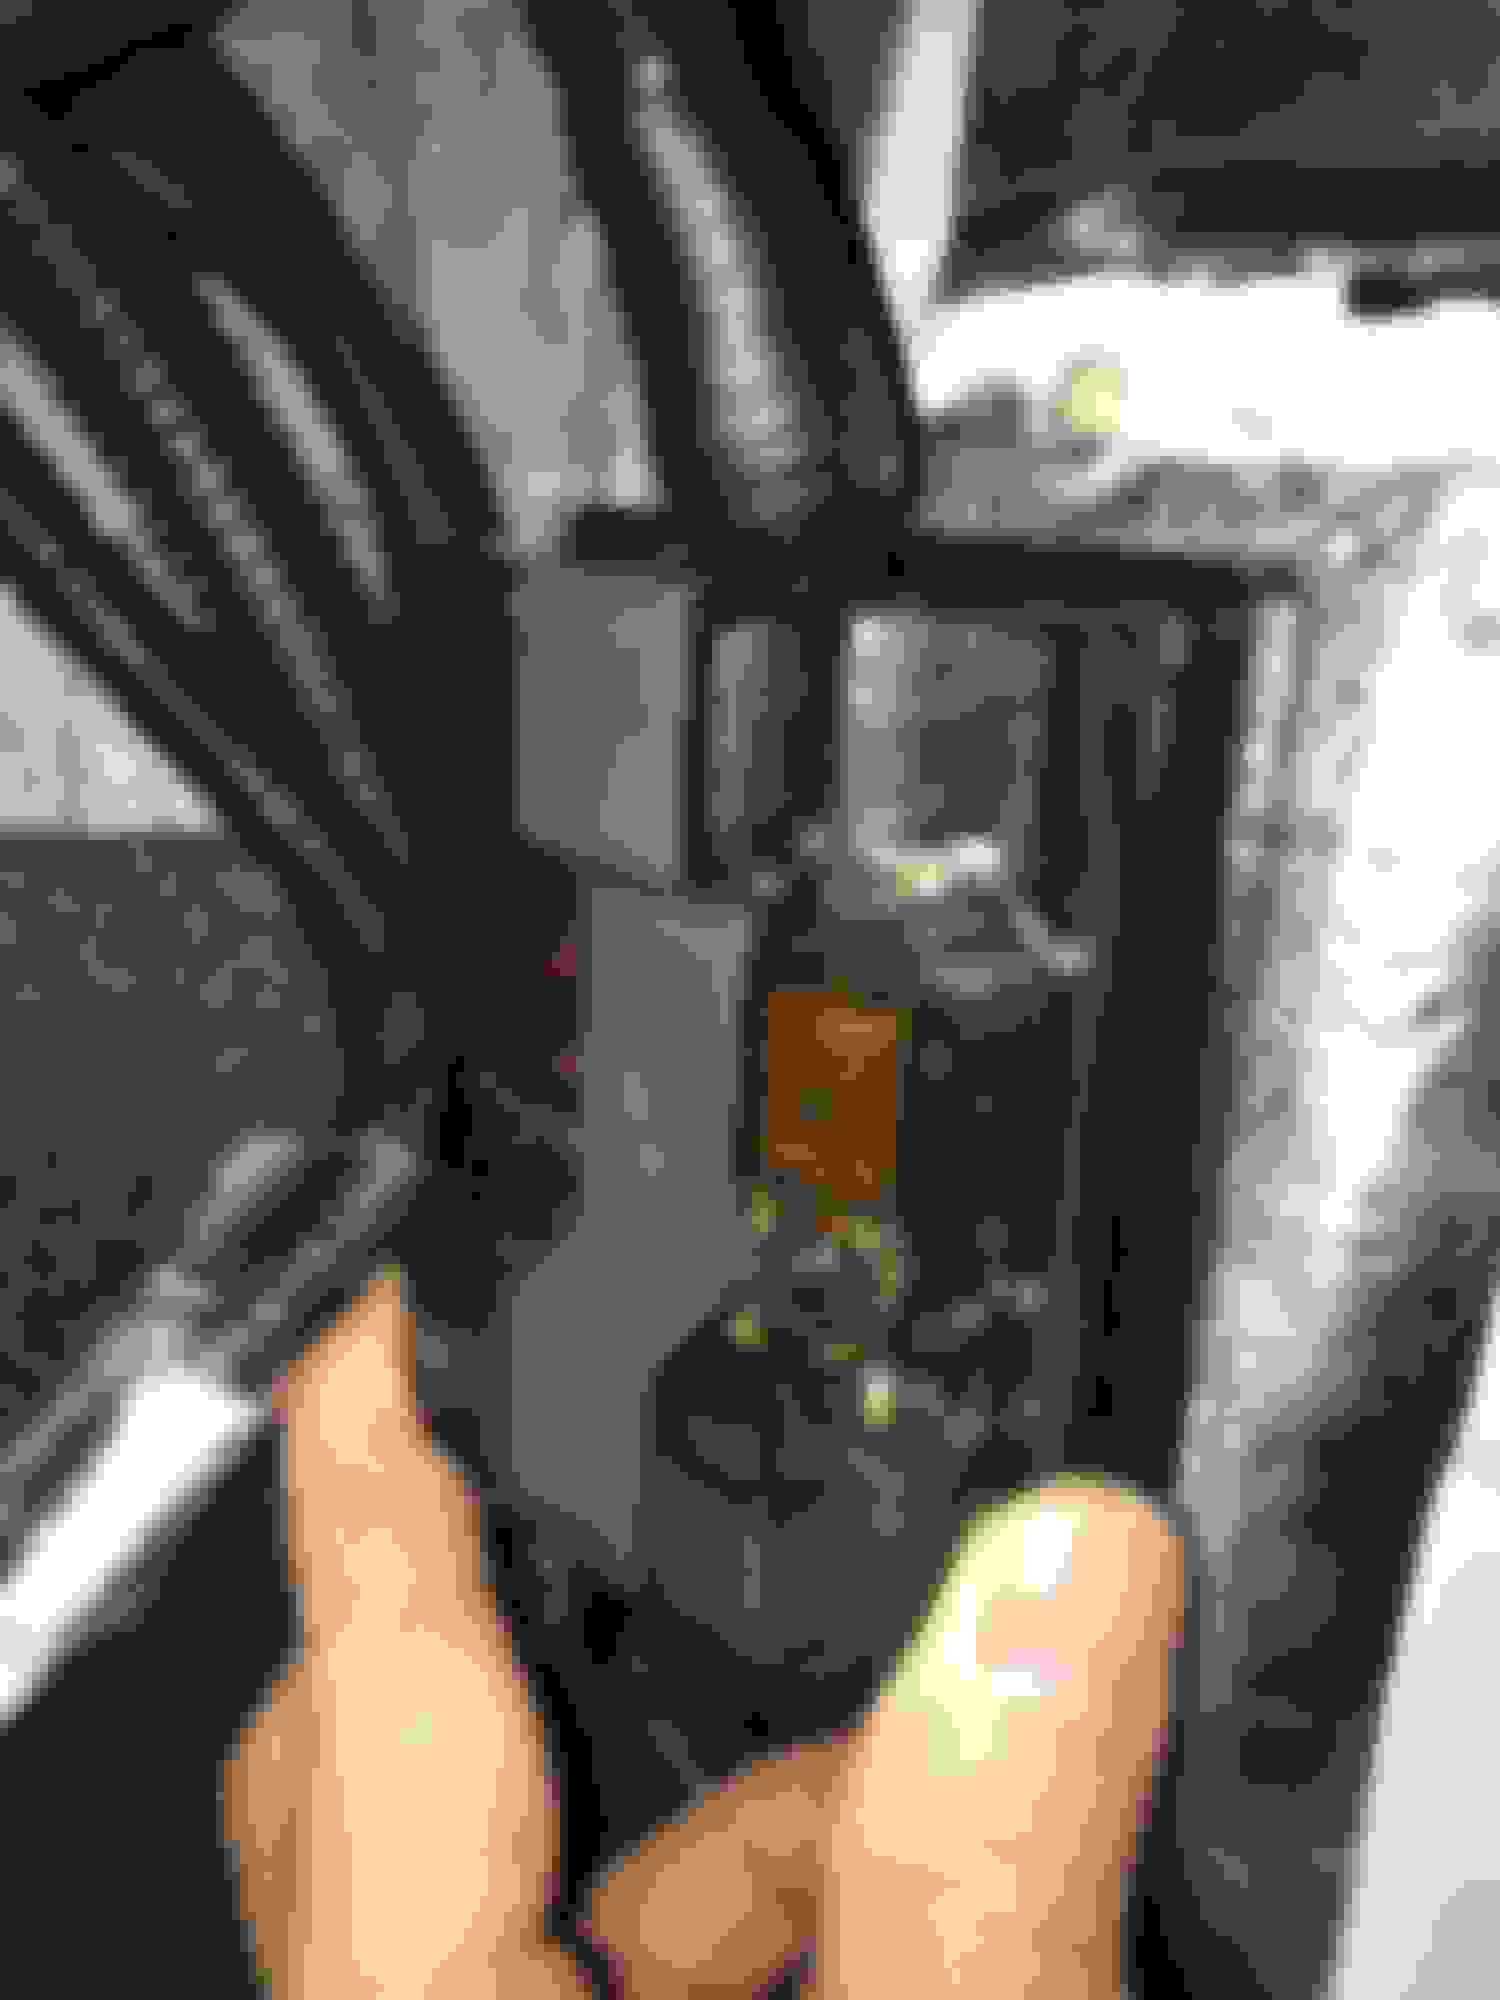
on second picture you can see how I also put lots of foam padding inside the
hole for head unit and you can also see the large power supply feeding
the Sony RSX-GS9:
Install everything to dashboard,
turn out because the leather were thick, it make the safety screw position
move forward about 5mm so I need to take out everything and enlarge
the hole on the Honda bracket so I can get the M5 bolt goes through
and screwed to hold the whole head unit bracket.
I also change the bolt from regular phillips/8mm hex bolt to M5 stainless steel SOCKET bolt.
then install the Dynaudio Emblem to make it look like it came from factory
with Dynaudio system :
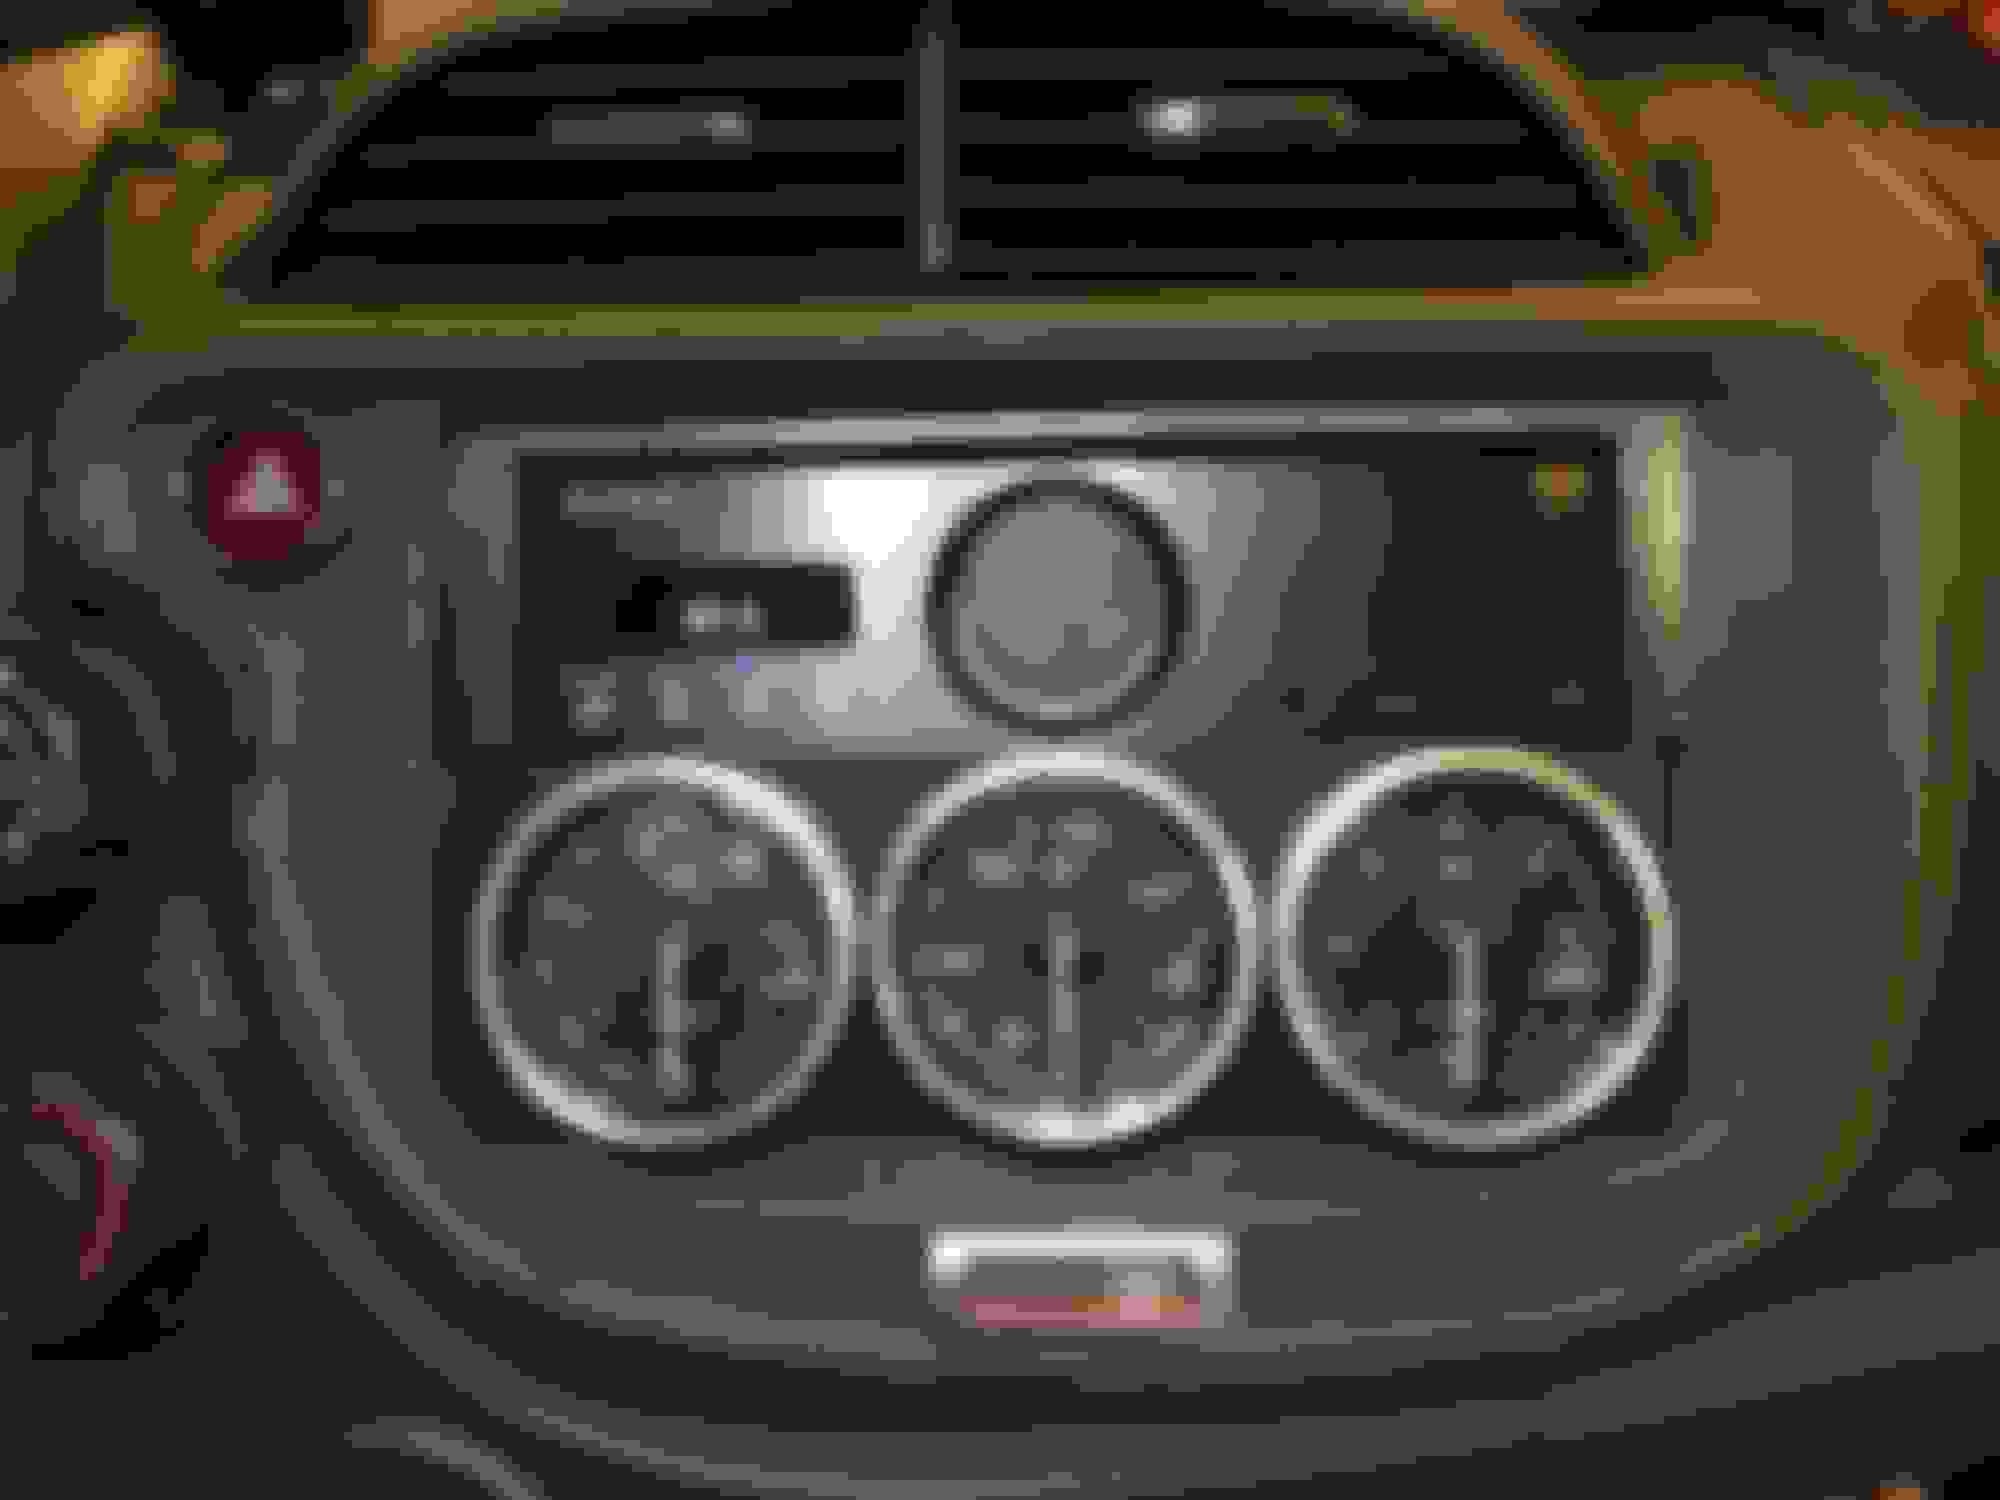
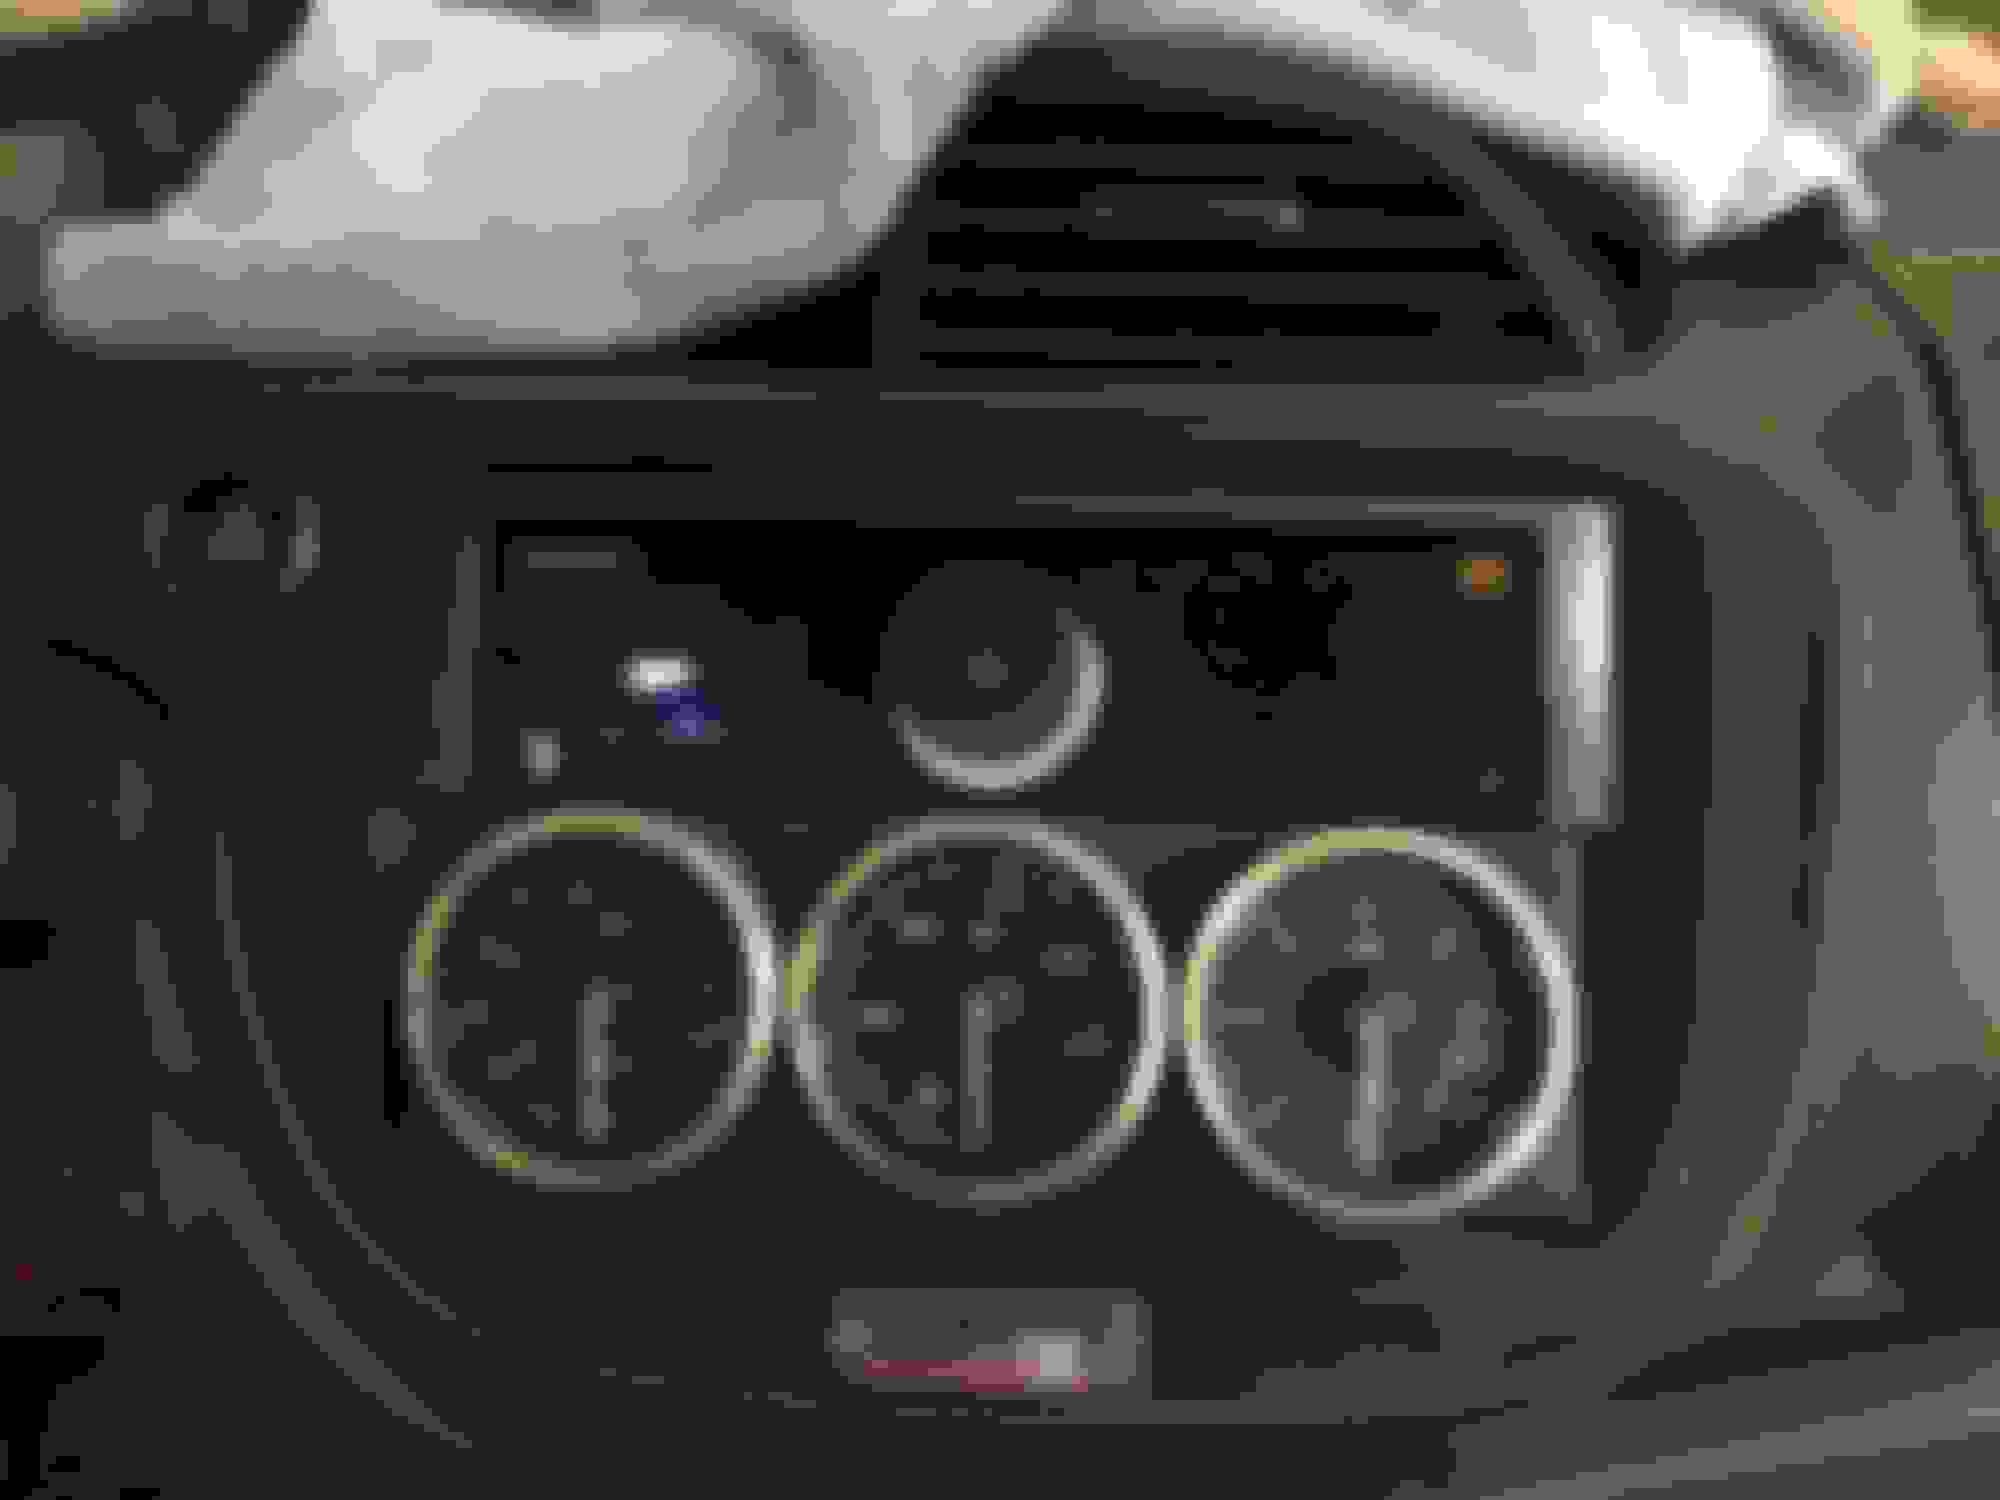
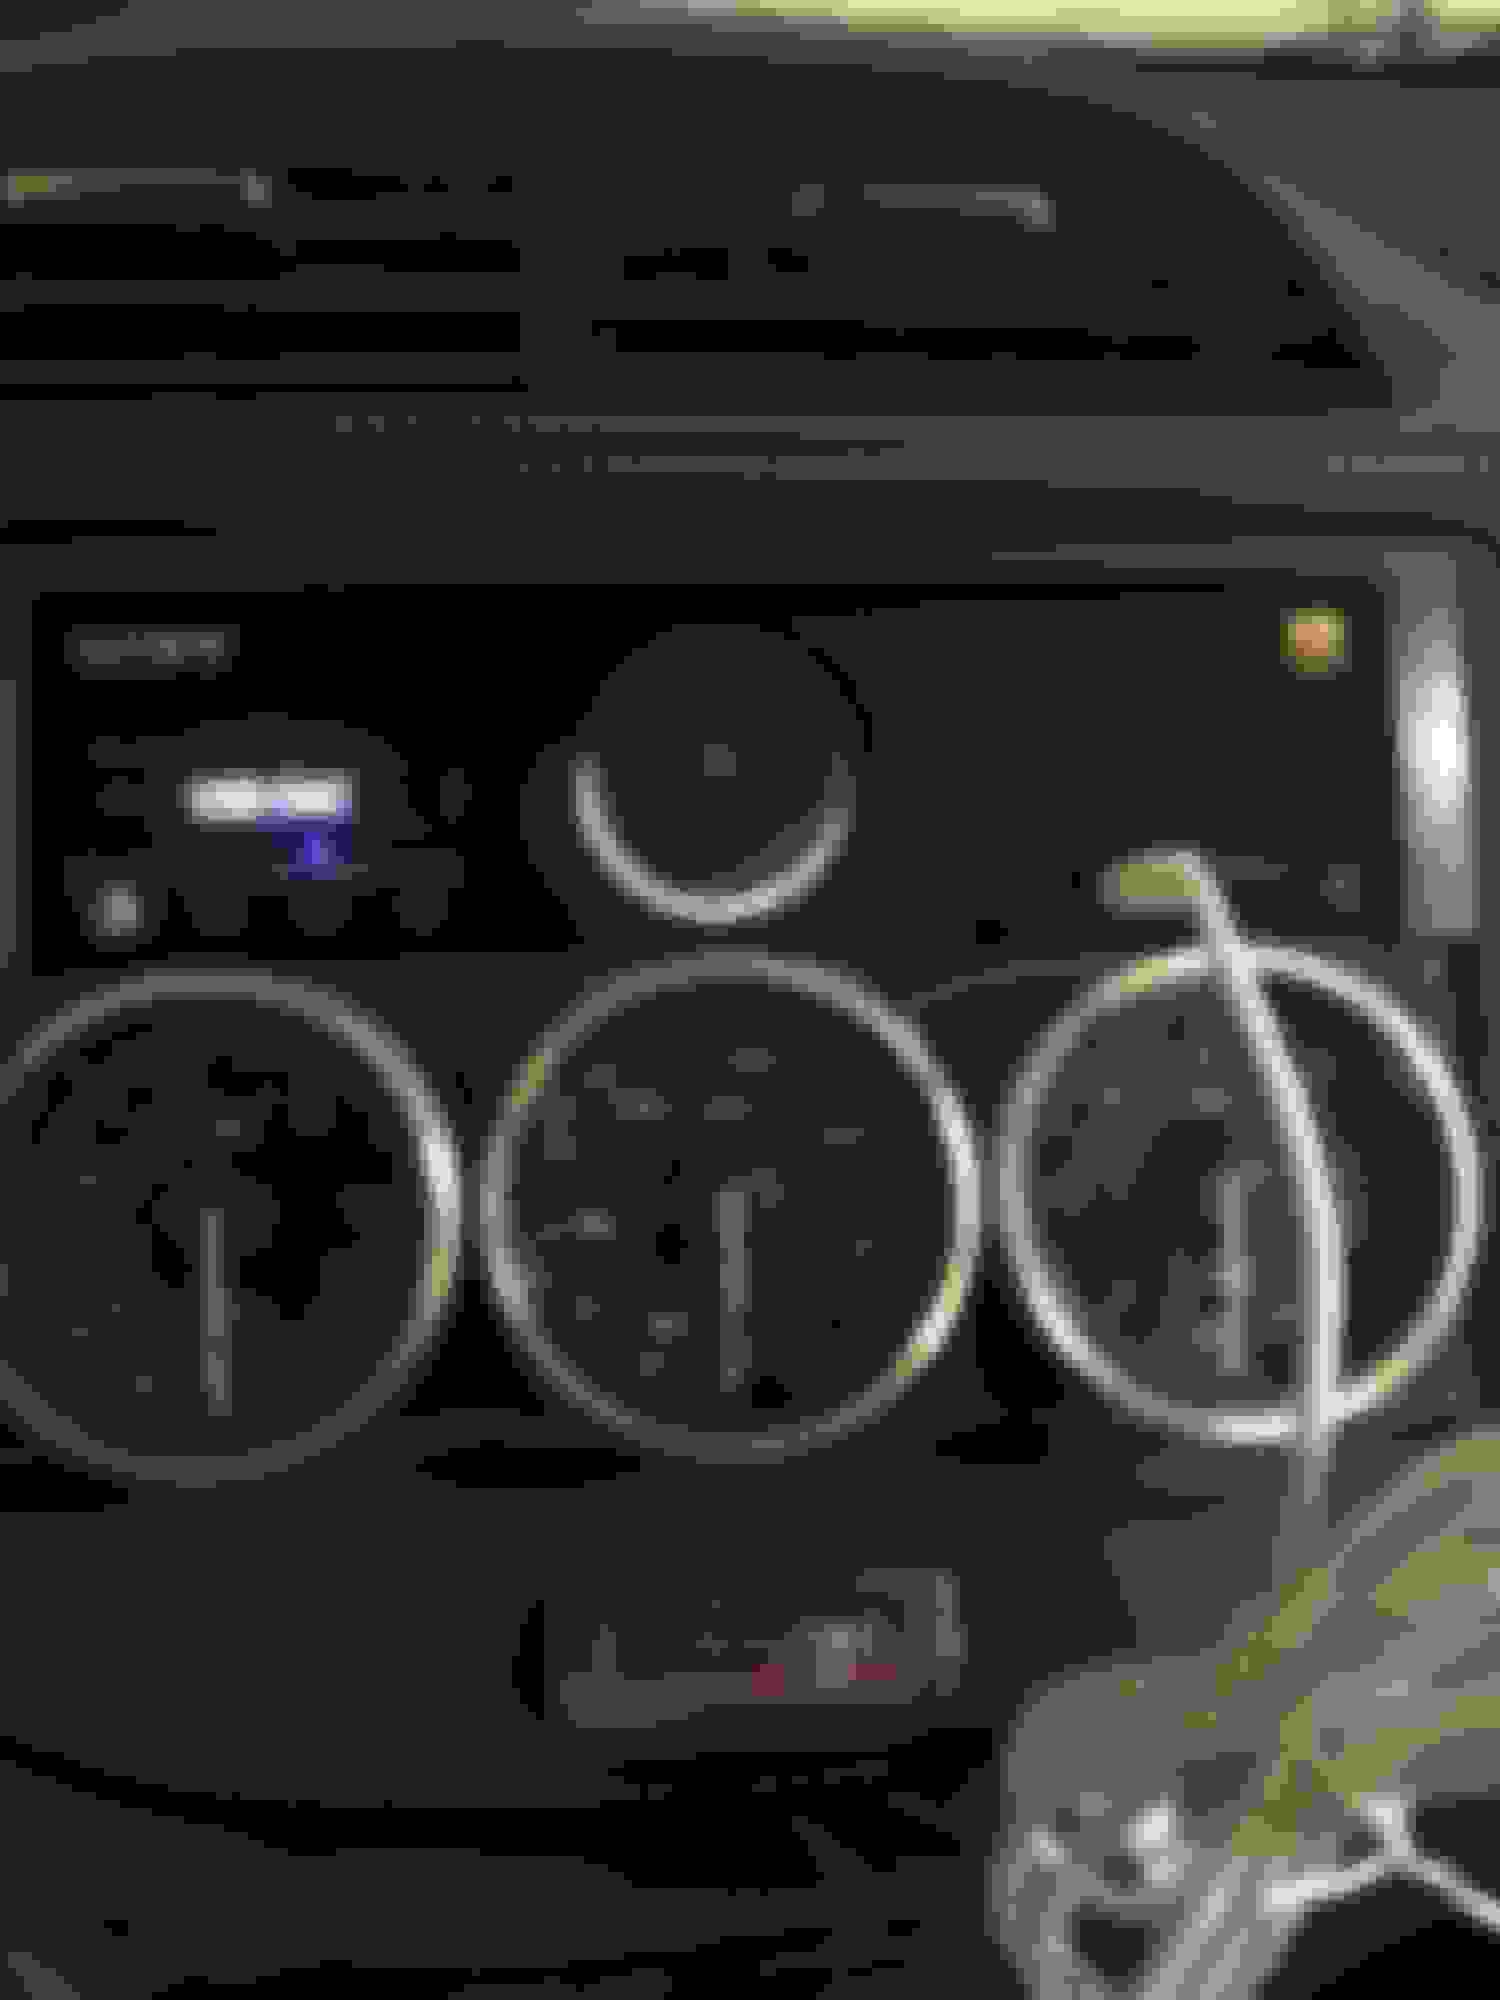
Then turn on the Defi Gauges to test function and programming of the gauges Peak/Warn value (I love how they light up )
I test with Green backlighting for Advance RS gauges :
But I like the soft white backlighting better:
So Soft white it is:
Now, I am going to use the rest of the weekend to install the 12v supply
from battery to the Sony RSX-GS9 and also put the OEM Honda Heat Unit in the trunk to function as Power Amp for now until I buy Zapco Z-150.6LX.
Last edited by BMW ALPINA; Sep 23, 2017 at 04:46 PM.
Today I am doing the wiring for the 12V from Battery to Sony RSX-GS9 Power Supply and to the Remote One RELAY Circuit Power In,
I use dedicated 4AWG line directly from Battery (I also have a second 4AWG line already prepared for the Zapco Z-150.6LX later).
The dedicated 4AWG line for the Sony RSX-GS9 will also power the stereo Under seat subwoofer later that is why I need to prepare from now with Fuse/Distribution Block.
I choose EFX Fuse Distribution Block again, and located on the kick panel below the dashboard (under A Pillar):
Then I test by powering on the Sony RSX-GS9 for the first time
Everything is good, but no sound of course because I do not have the
Zapco Z-150.6LX yet...
So I use the Front Channel Output from Sony RSX-GS9, run the RCA to the rear,
then use converter from RCA to mini stereo jack and I plug it in to
Stock Honda Fit Head Unit AUX input which accept mini stereo jack.
Then I use the rear 4AWG line dedicated for the Zapco Z-150.6LX to power the stock Honda Fit Head Unit, and use remote power on output
from Sony RSX-GS9 to ACC input on the Honda Fit Head Unit,
this way that Honda Fit stock Head Unit will turn on and turn off following Sony RSX-GS9
I then connect the Honda Fit Stock Head Unit Speaker Output back to
Stock Front Speaker...
Later I will put this Honda Fit OEM Head Unit in the trunk of course and not at rear seat,
this way, I can listen to music again.
As soon as my Dynaudio Esotar2 650 Mid-Bass arrived, I will change
the front channel with Dynaudio Esotar2 2 way system using Morel Hybrid Integra 602 Passive Xover.
Then only after I bought the Zapco Z-150.6LX will I change again and go full active for front channel, and install the Morel Hybrid Integra 602 system for rear speaker...
anyway,... I decide to turn on everything and use my iPhone Bluetooth as the source...
Immediately, I can hear the difference... it is really night and day...
All this time, I always use a cheap bluetooth module to my iPhone as source music connected to the Honda Stock Head Unit Aux In...
It's been a long long time since I have a sound system this nice...
and this is still with stock Head Unit and Stock speaker...
This past 10 years had been very hard for me...
and to be able to listen to a very nice sounding sound system again
It literally bring smoke in my eyes...
I am very happy and emotional now...
but it's true that as long as you don't give up, you will get there somehow
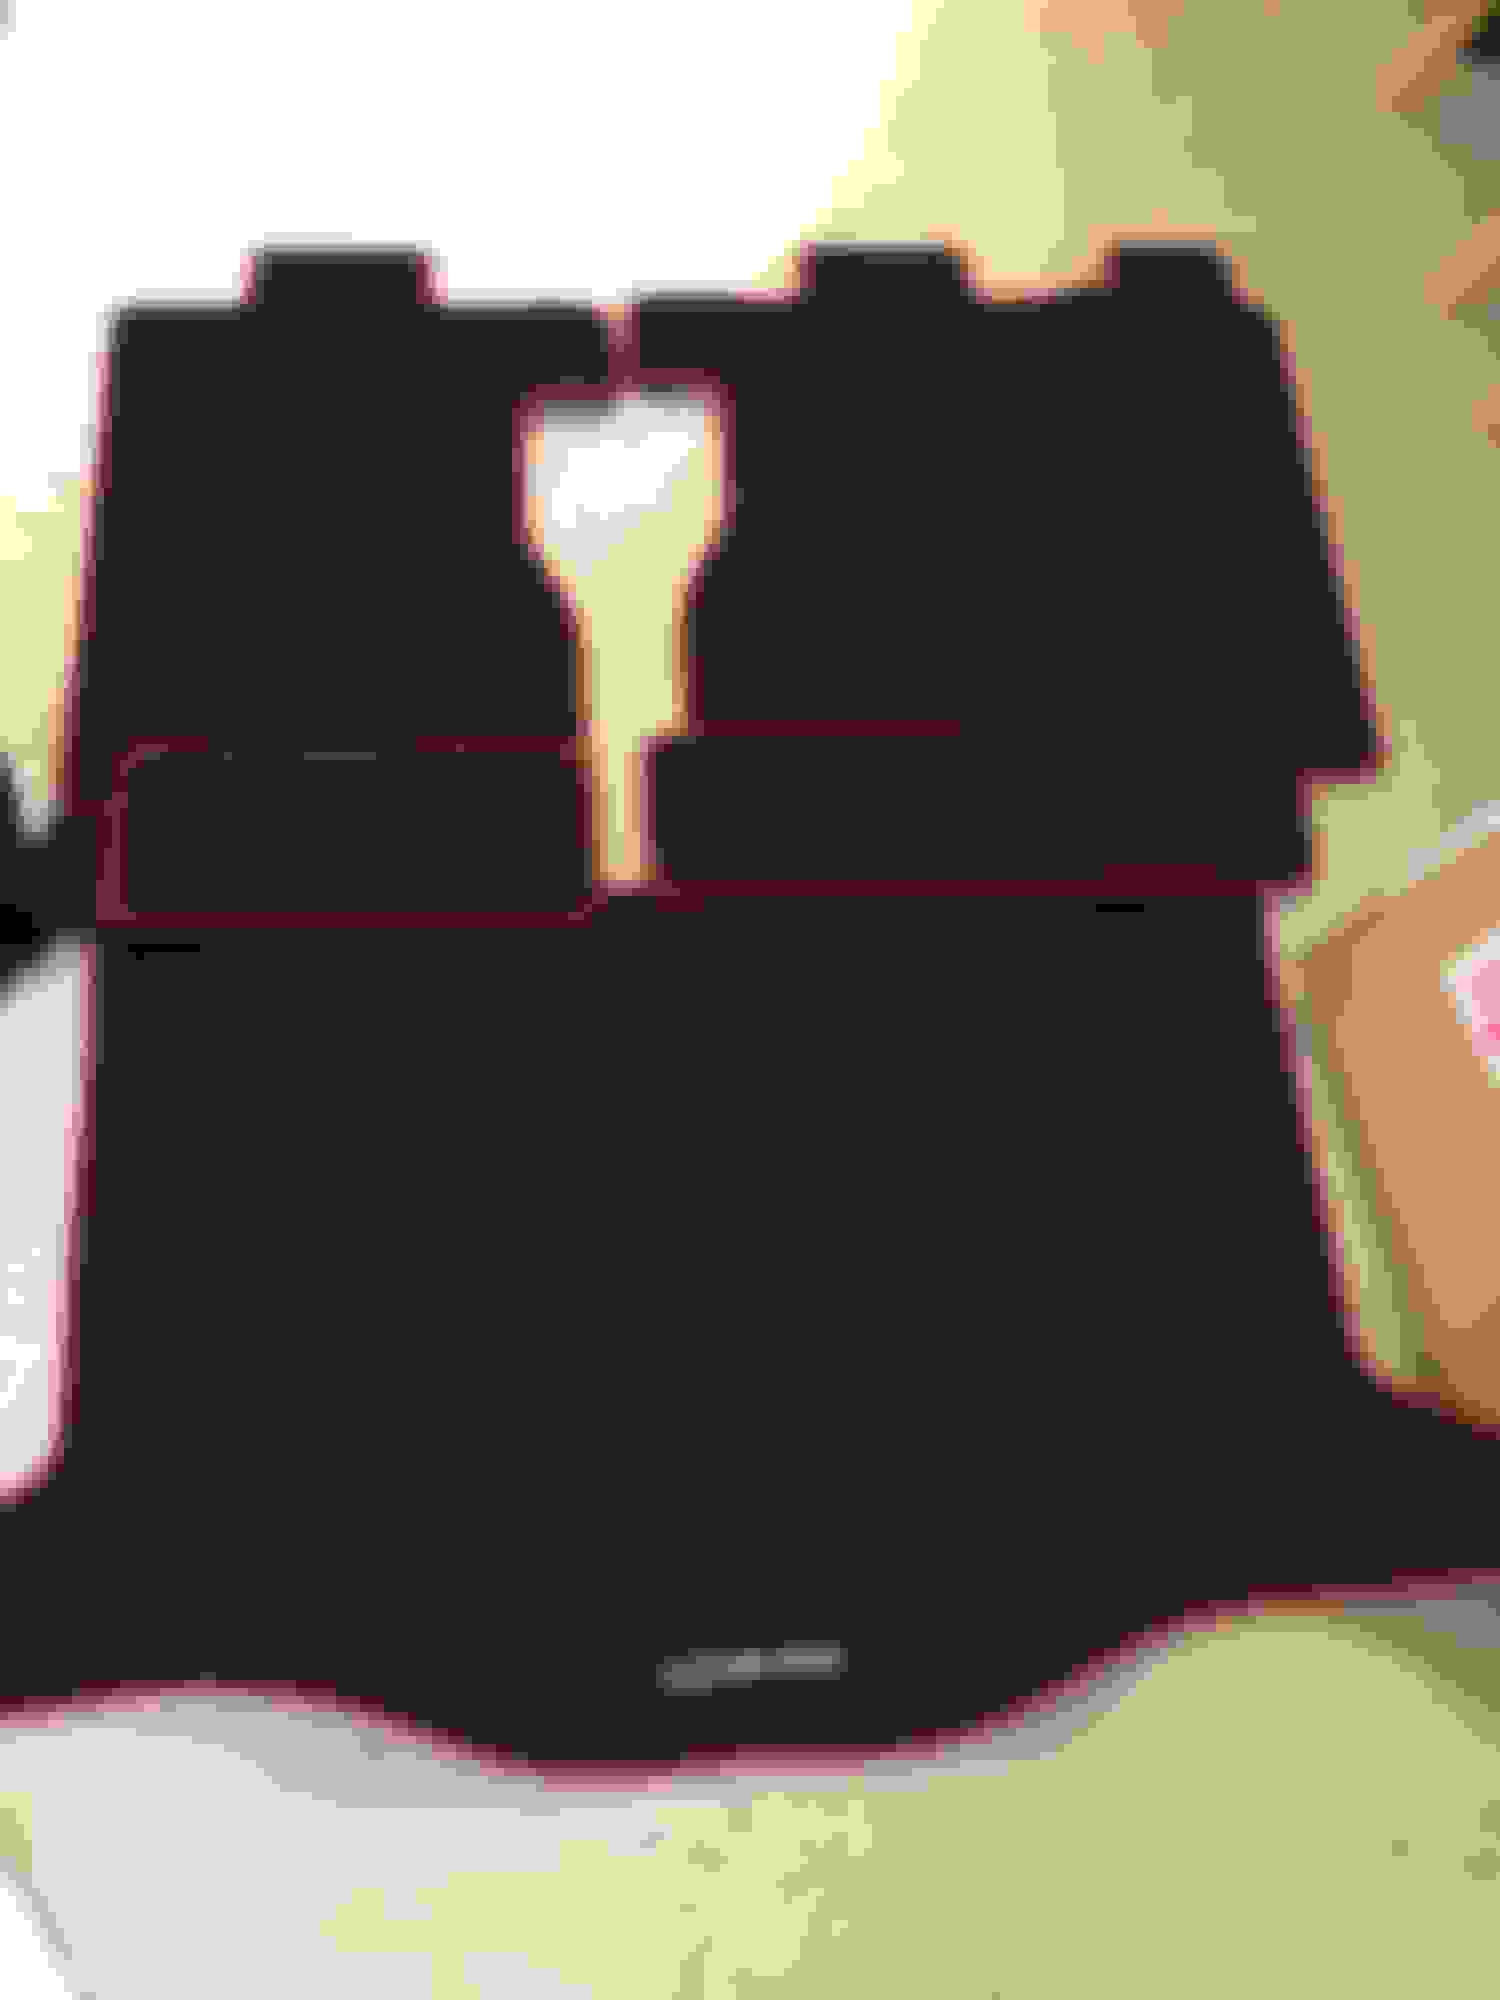
Mugen Fit Sports Luggage Mat Kit for Honda Fit GK arrives today,
I already have the GE Version,
but this GK Version now came with extra mats to cover the back of rear seat,
it even have 2 more smaller mats to cover the trunk floor extension...
I am going to have an amp rack bolted to the back of the rear seat,
and since I am not good with carpet upholstery to cover the amp rack (too lazy to learn ),
I try to figure out a way to cover not only the amp rack but also the power wiring, signal (RCA) wiring etc for the amp...
so I see this Mugen Fit Sports Luggage Mat Kit for Honda Fit GK and I decide
to use those extra mats covering the back of rear seat to cover my amp rack
I also check and the Zapco Z-150.6LX is in back order (the latest version with the Gold RCA and Metal Gain Potentiometer)...
so I need to wait a bit before I can order the last piece of equipment needed which is this power amp...
One of the best feature of Sony RSX-GS9 is of course the Sabre ES9018S digital-to-analog converter (DAC), which only accessible via the Micro USB port (USB-DAC input).
I had bought many type of Micro USB to Lightning adapter from Amazon,
but NONE of them works... the Sony RSX-GS9 show "no device" and the Apple iPhone don't even get any charging...
Thanks to the information I received from fellow member at diymobileaudio forum:
a. Karanbhatia
b. benny
This adapter had 2 connector at the bottom, one is lightning connector input that function as CHARGER Input to Charge the iPhone/iPad and also CHARGE the ADAPTER itself, yes the Adapter need power input to work,
the second one is regular USB Output which function as data output to the Micro USB at Sony RSX-GS9 USB DAC port.
I can hear the sounds is even better than using the USB 1/USB 2 port,
the only downside is,
I can NOT change track from the steering wheel button,
I can only change the music track from the iPhone App itself...
so apparently the Micro USB connection is just pure data from music connection but don't have control connection...
I plan to use iPad as source later anyway, so this would not be a problem
since the iPad will have large screen and the change track button will be easy to access.
Very happy with the Apple Lightning to USB 3 Camera Adapter !
Last edited by BMW ALPINA; Sep 28, 2017 at 10:15 PM.
I just return from trips to Supermarket,
manage to play around with the time alignment setup while waiting for my wife
Turn out it is very easy to use,
so each 4 channel (Front/Rear/Left/Right) and Subwoofer can have their position adjusted with range between 1cm to 350cm from your listening position, at the increment of 1cm... that is very precise !!!
I also updated my firmware to version 12, I think that is why I can also adjust the subwoofer position even in USB-DAC input mode, while the owner manual say, the sub position is not available during USB-DAC input mode...
This way I am now sure I don't need DSP anymore for time alignment...
Because I am going to use the Front Channel (Left/Right) to drive Front Tweeter
and Rear Channel (Left/Right) to drive Front Mid-Bass
Update:
The only major equipment I had not bought is the Power Amplifier...
and
I just received some NEW "Technical info"
so I will have to wait until around January 2018 before I can purchase the power amplifier that "I want"
in the meantime,
the Dynaudio Esotar2 E650 Mid-bass is already on its way, hopefully it will be here by next week so I can install them (power them using stock Honda Fit Head Unit).
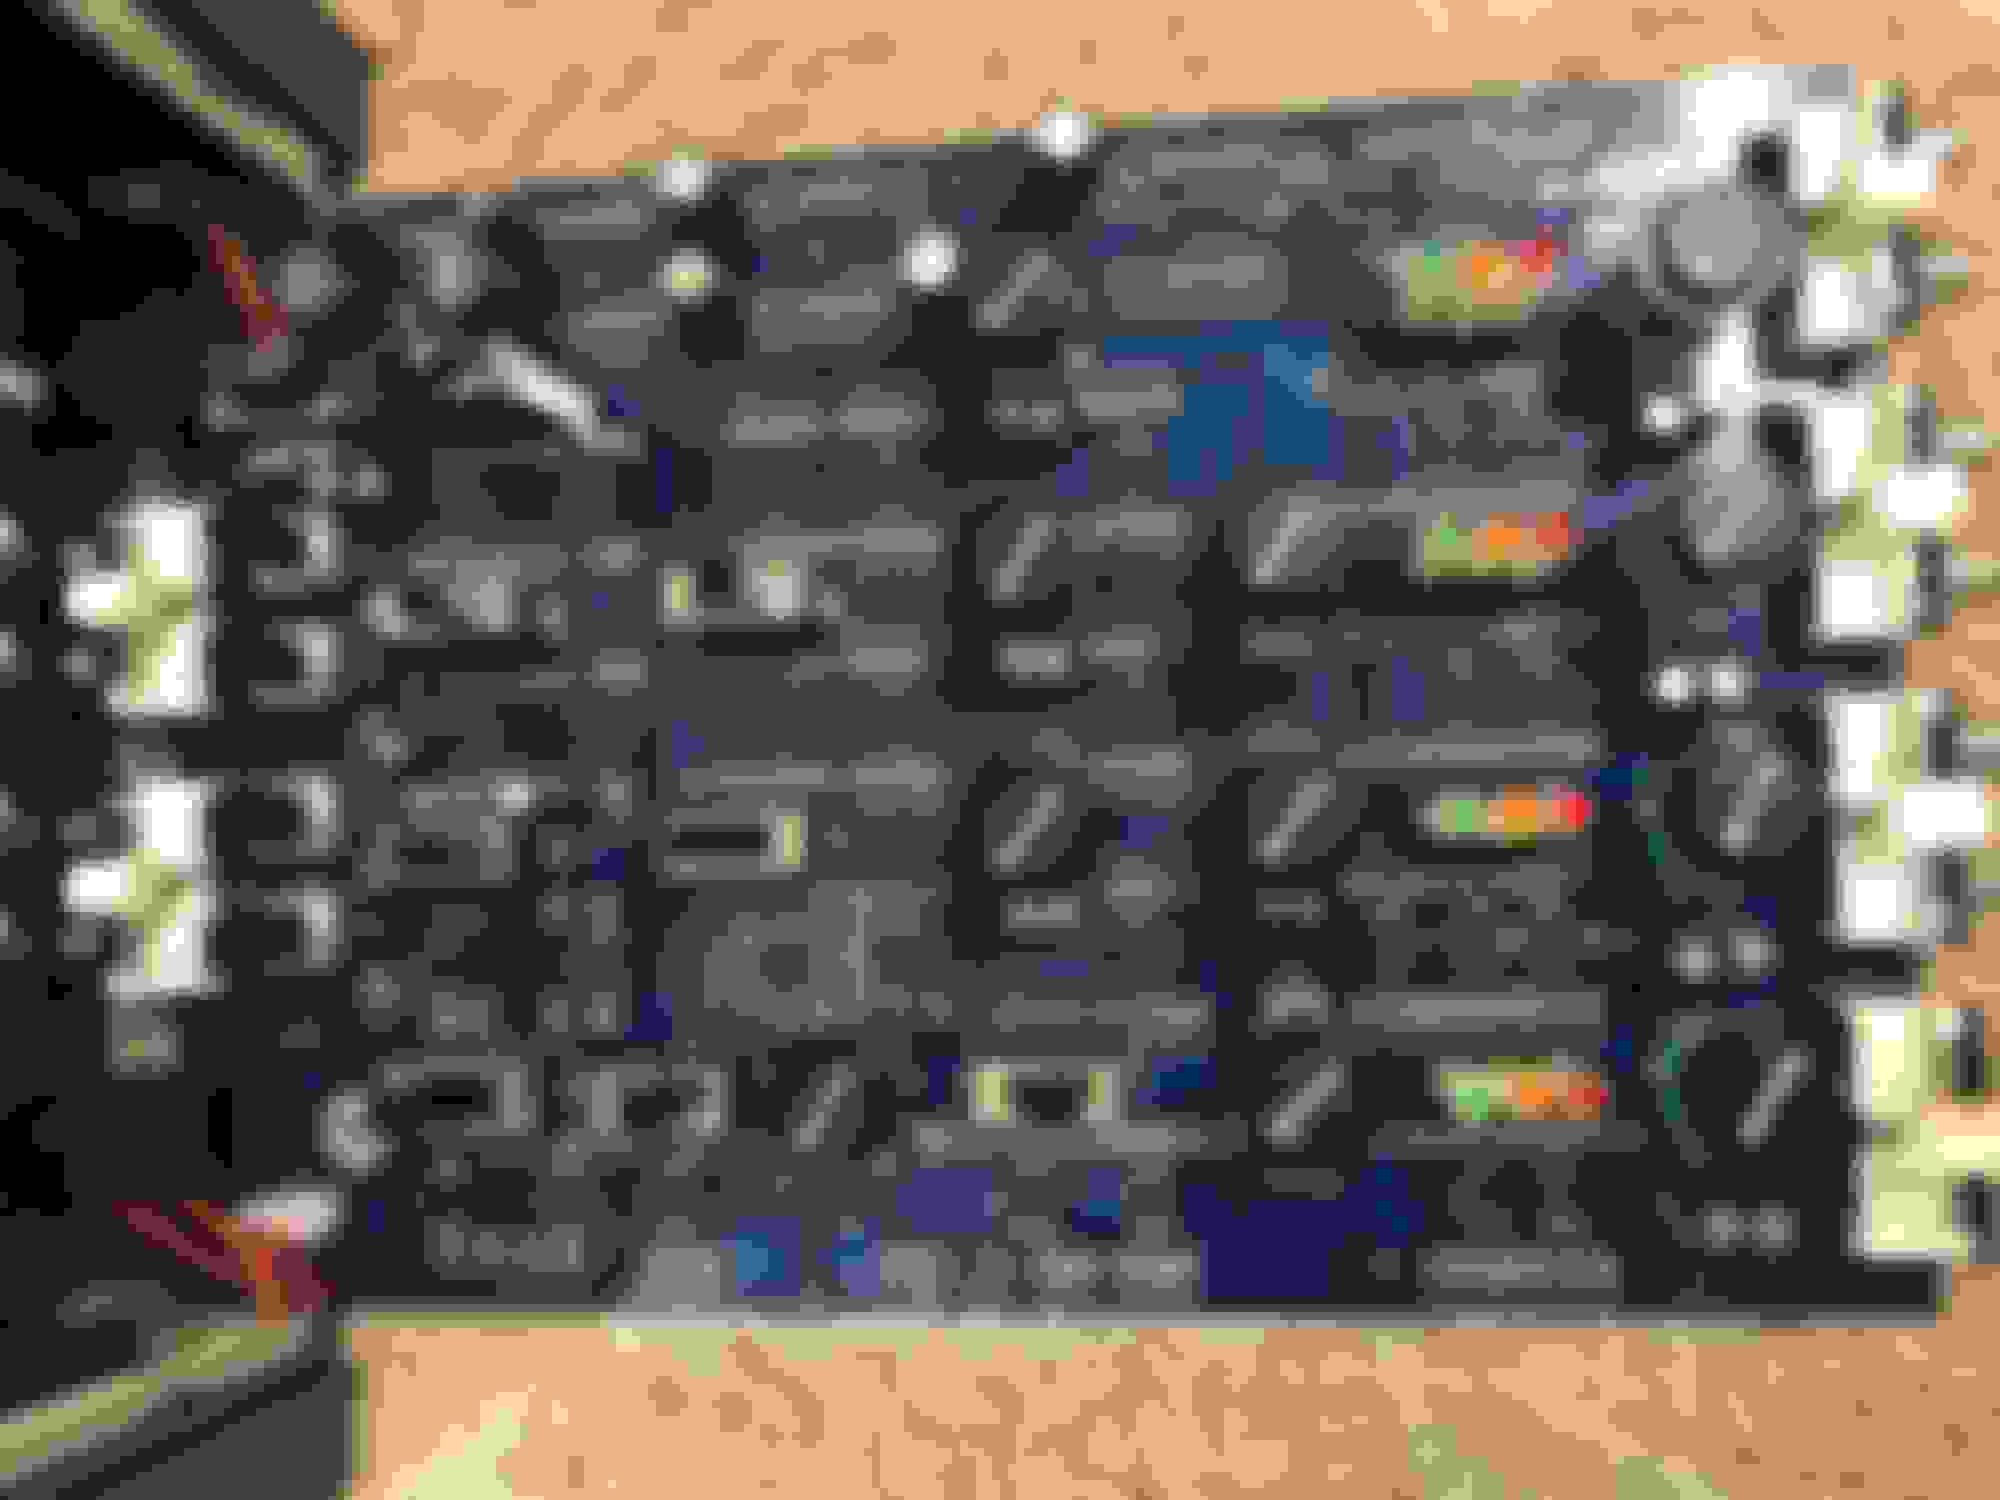
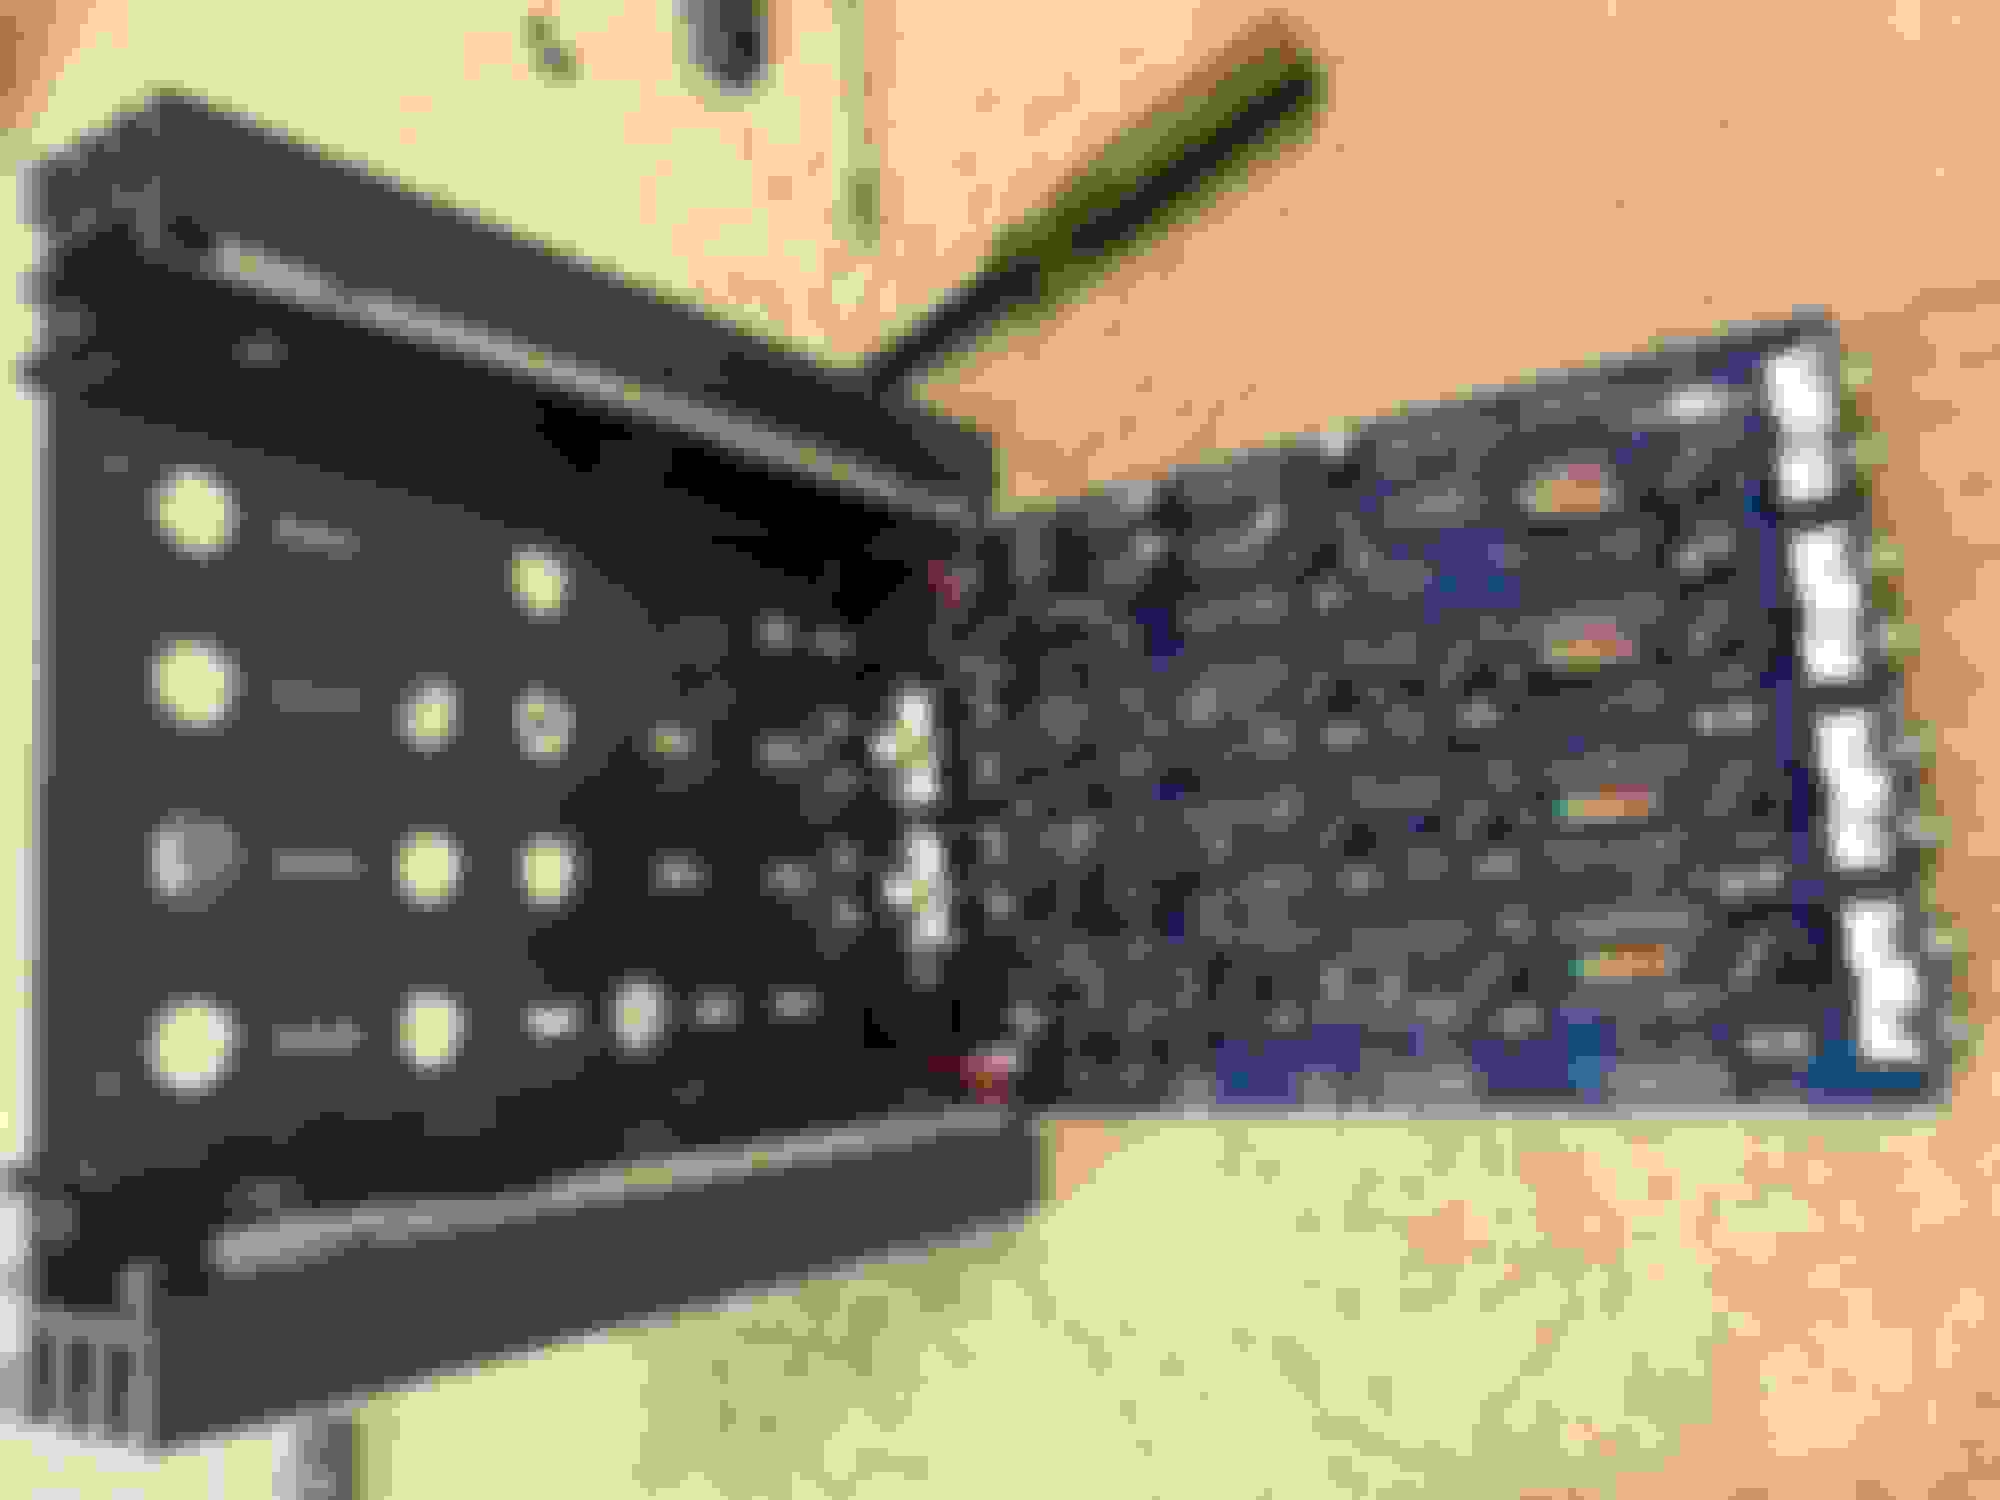
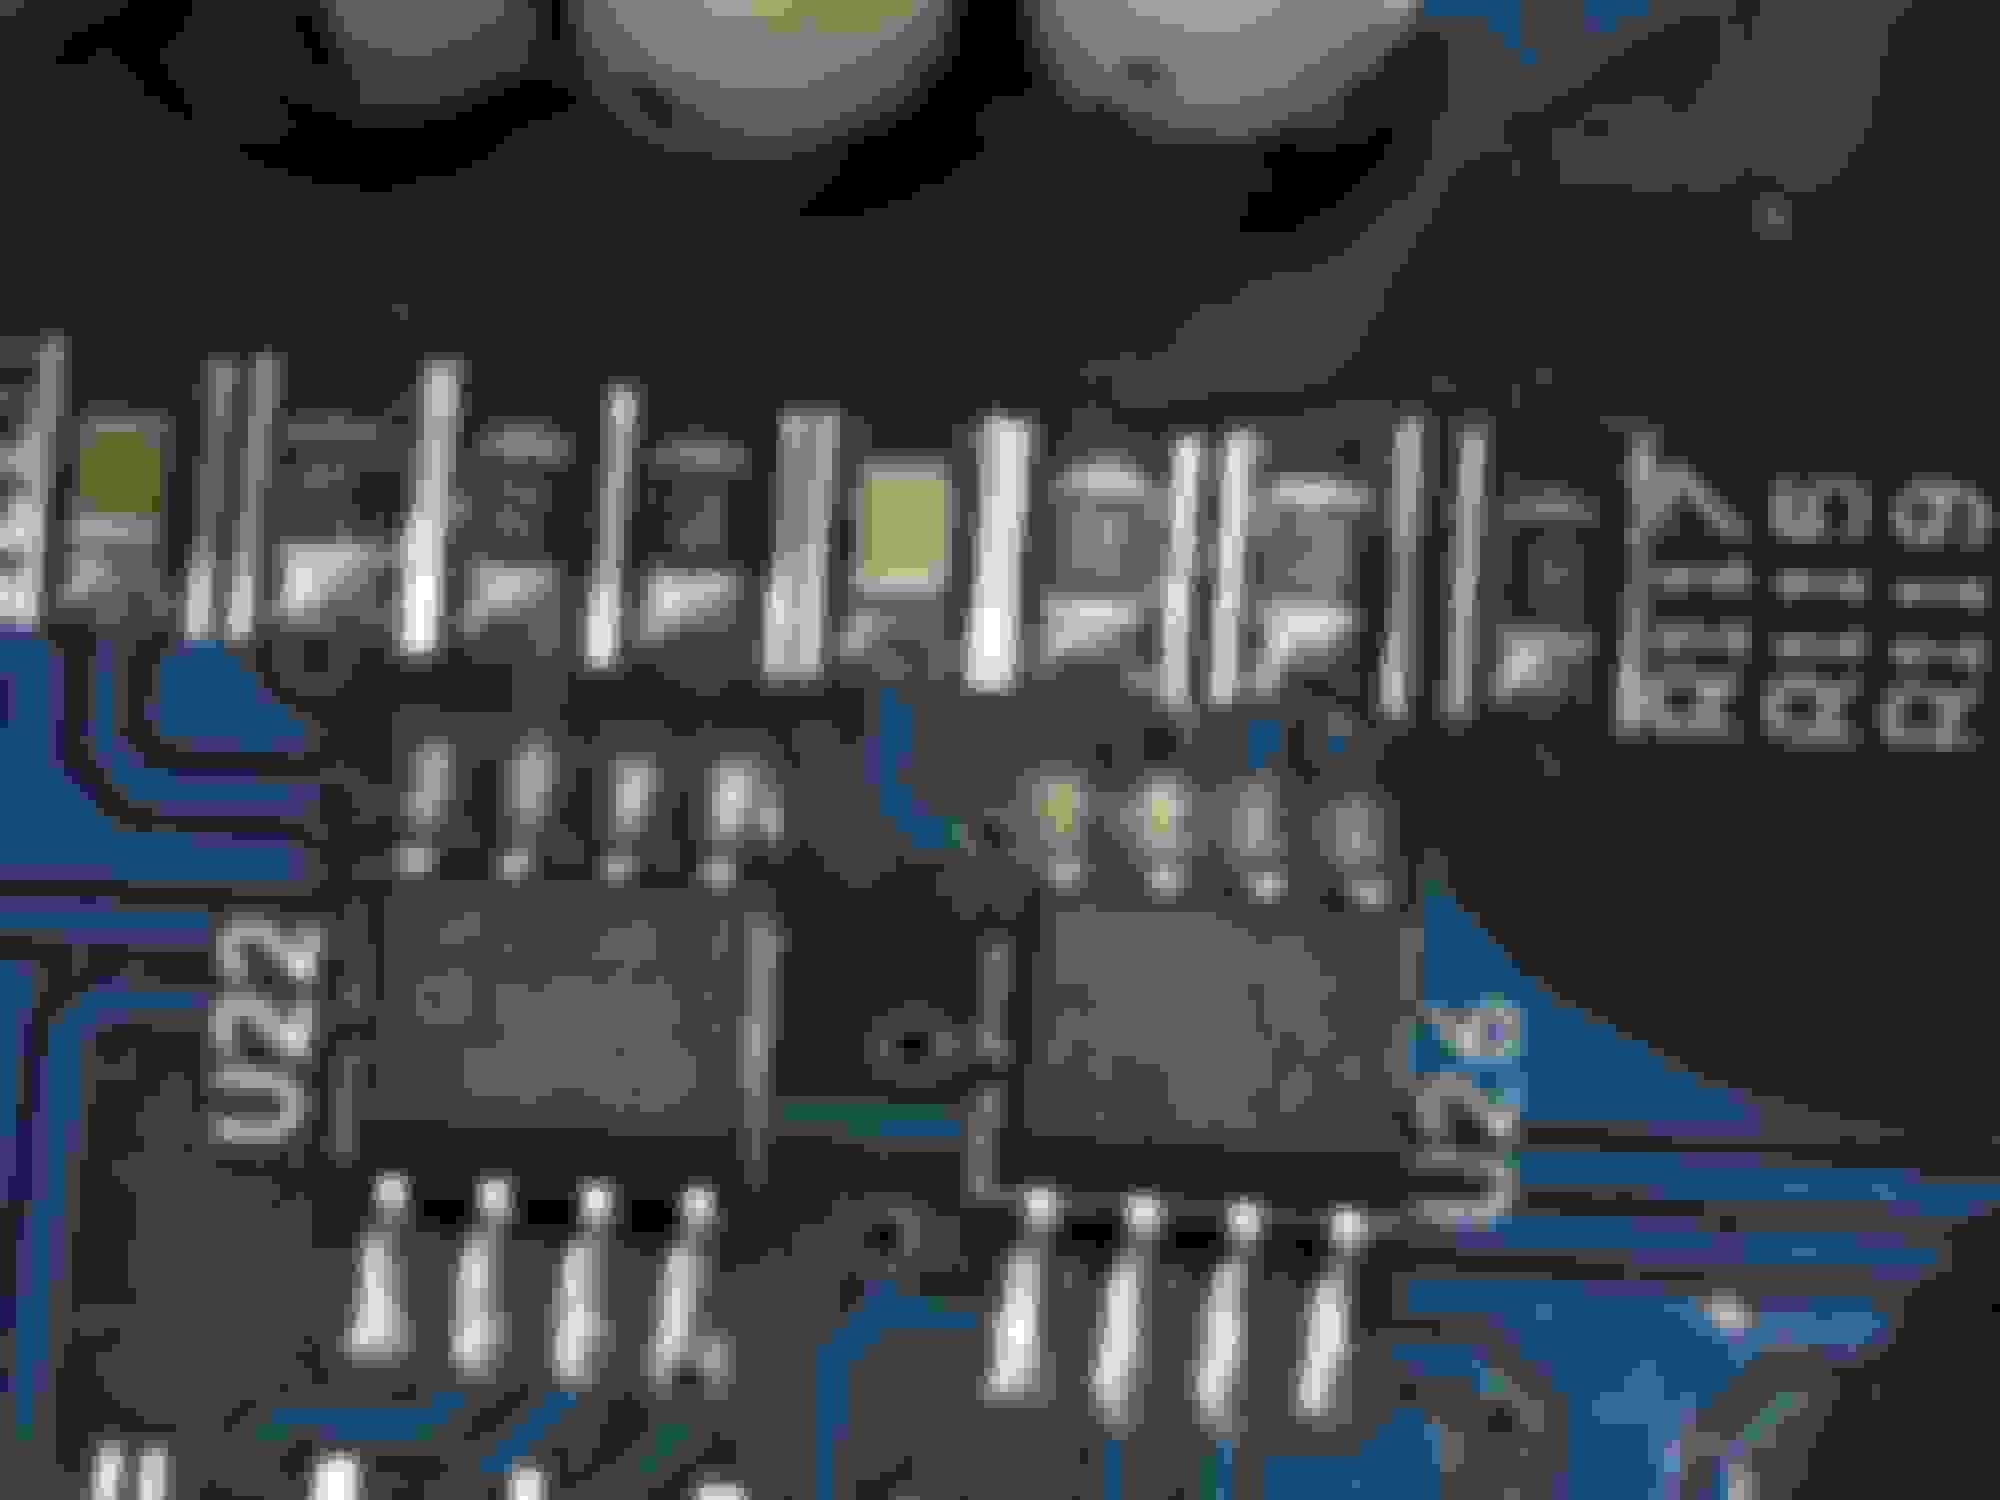
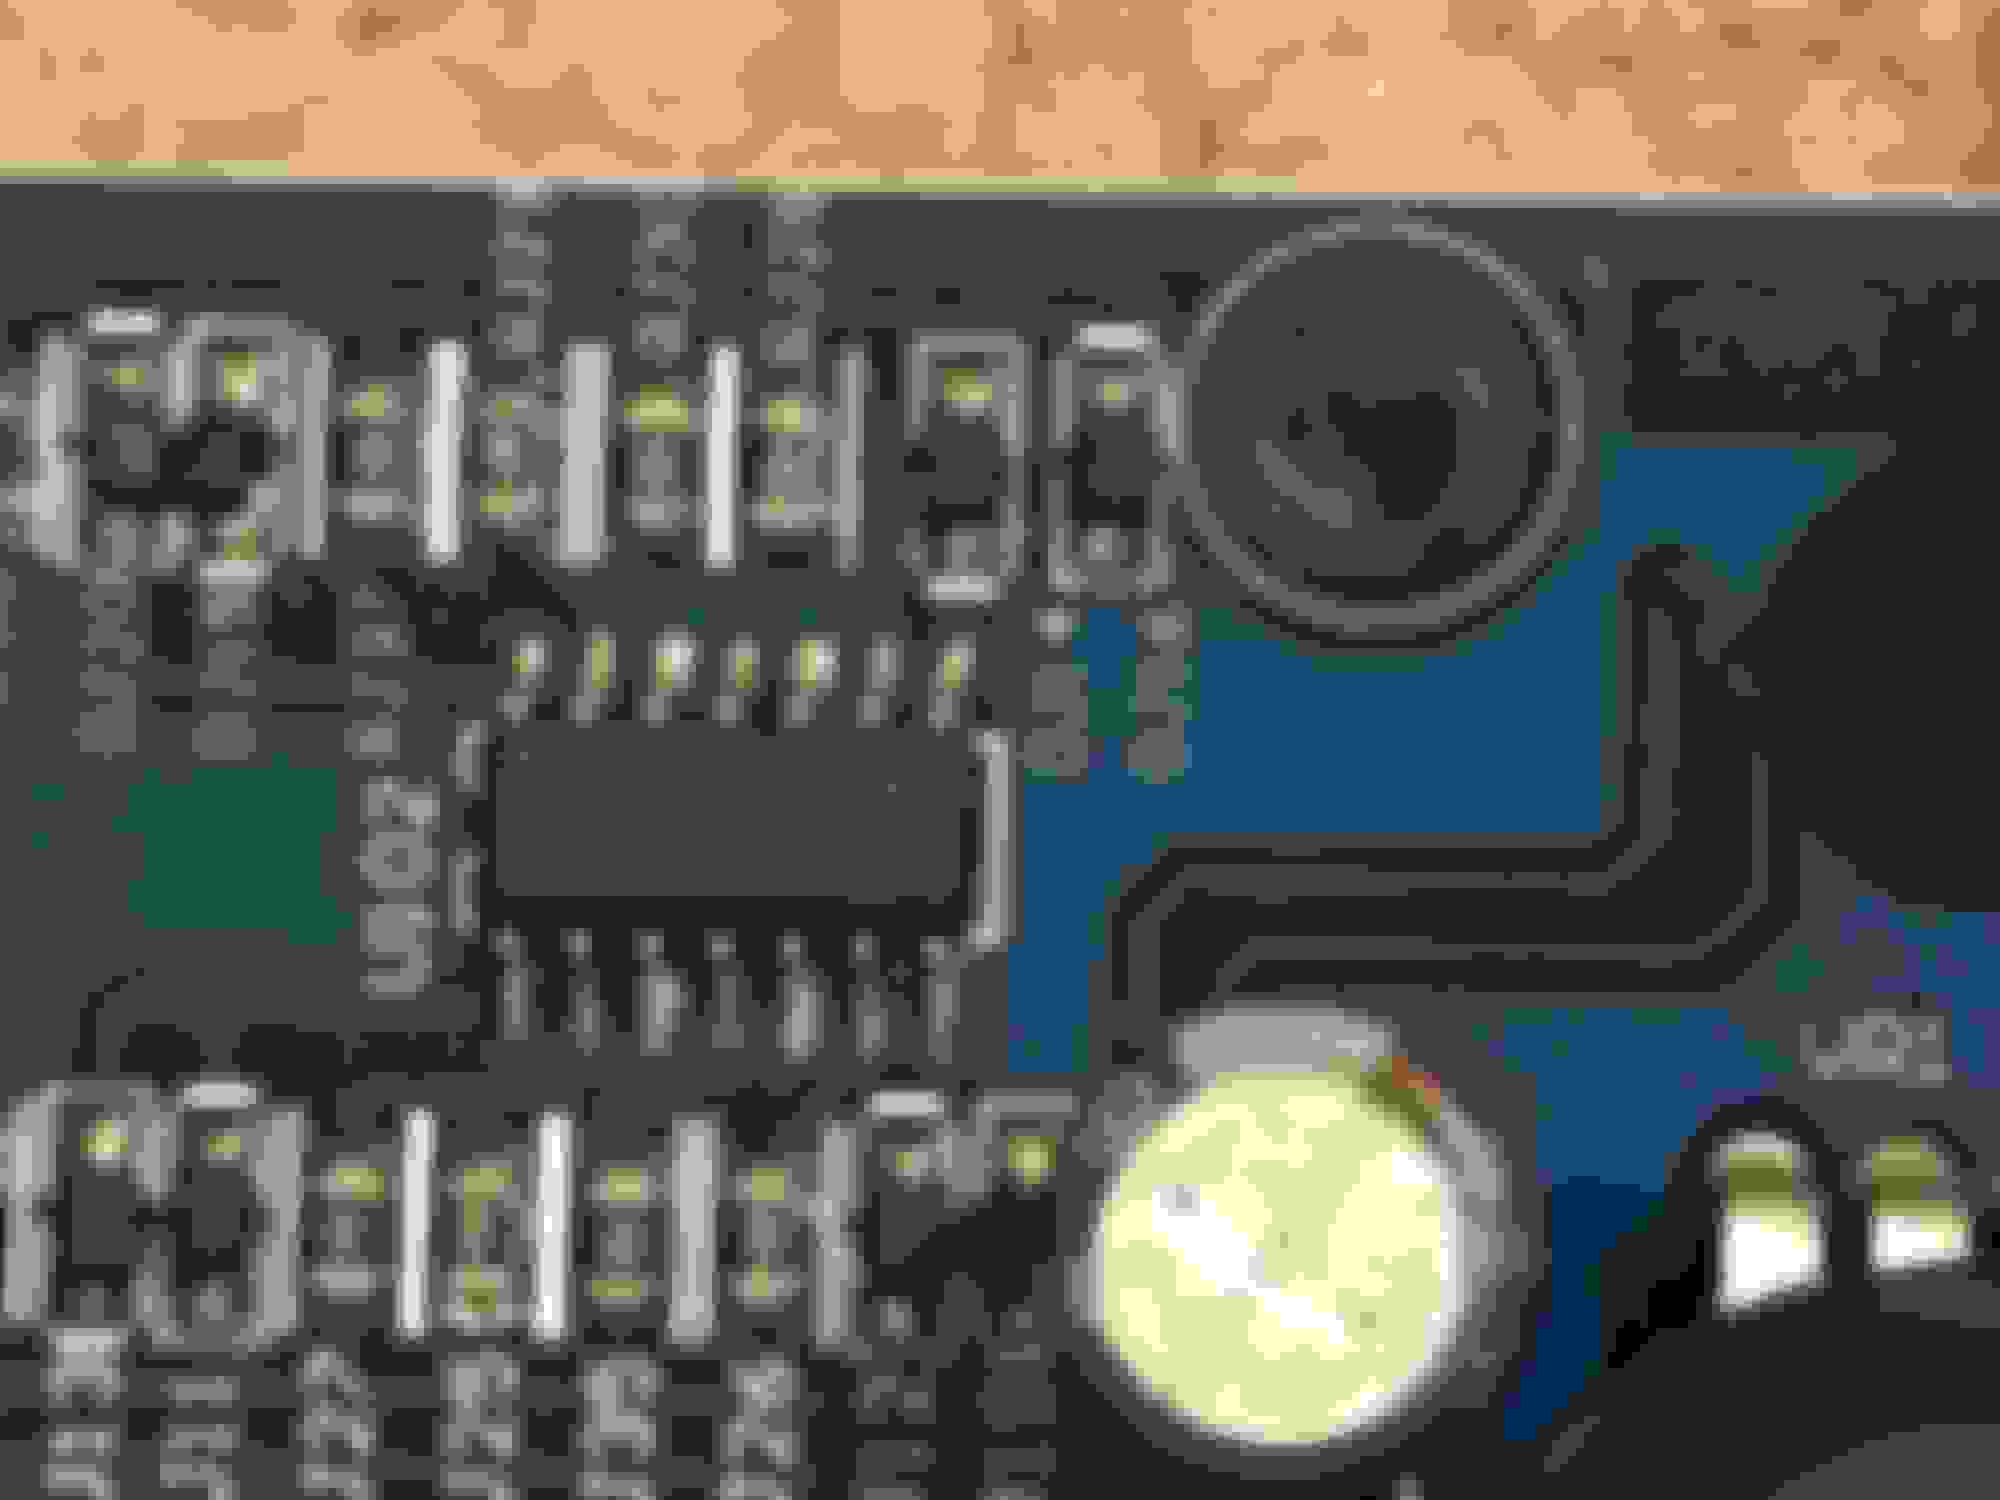
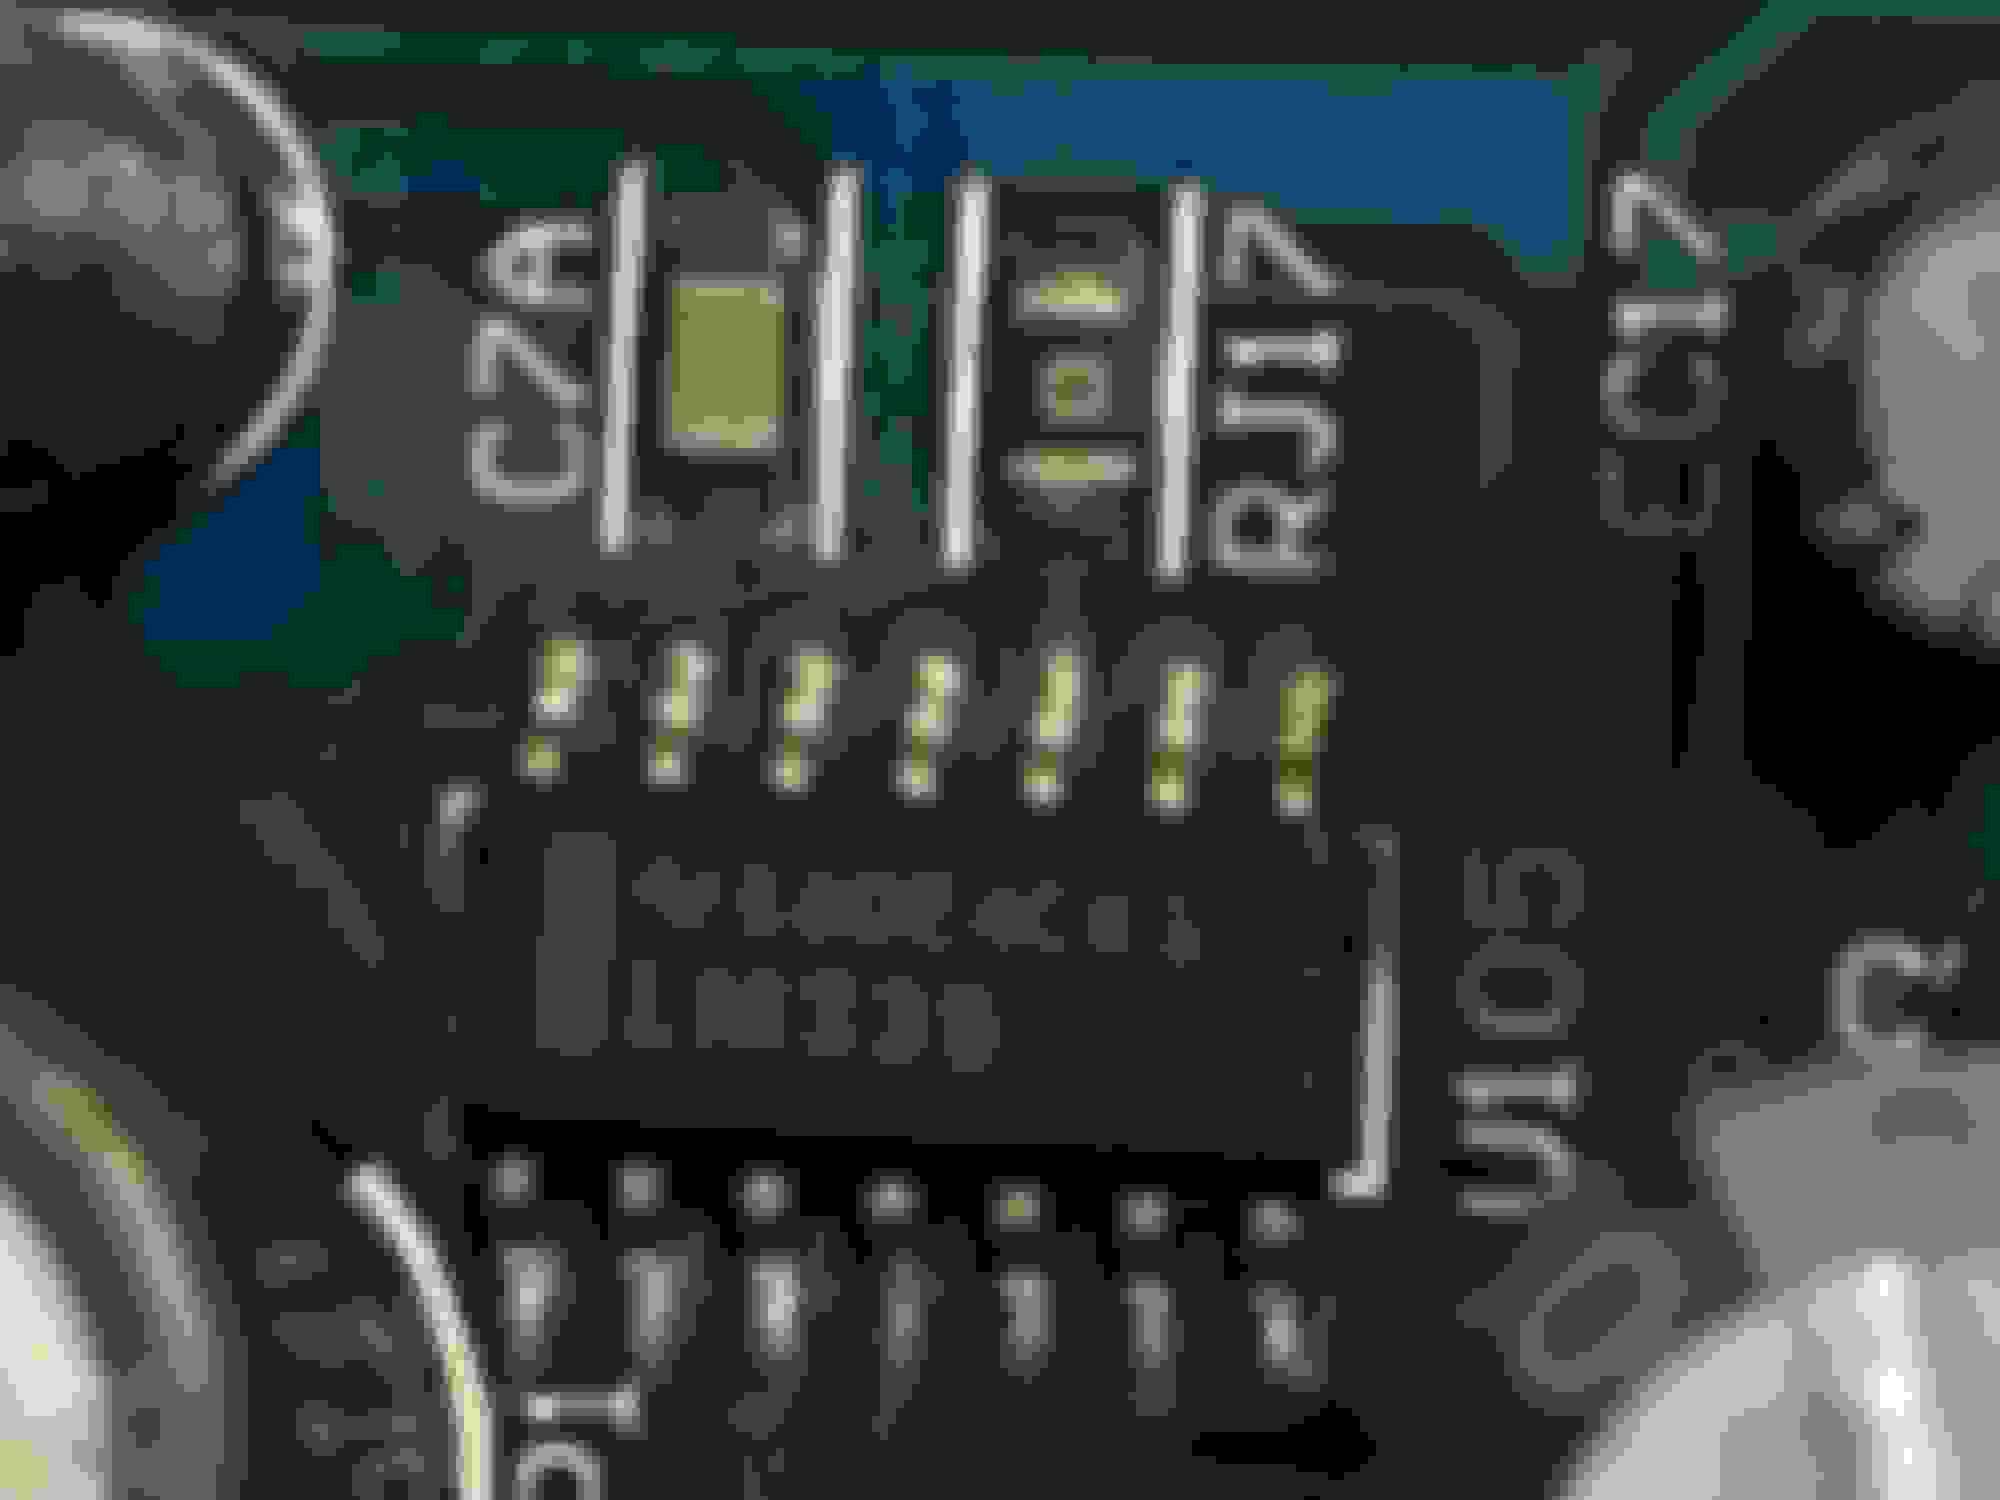
I open the Zapco ASP-X4 Electronic Crossover because I am curios what kind of op-amp inside:
so it contains
29 unit of Analog Devices OP275G
2 unit of Texas Instrument TL074C
I am thinking of upgrading all OP275G to Muses 8920 to match the op-amp in the Sony RSX-GS9...
and upgrading the TL074C to OPA1644 (per Texas Instrument Recommendation)
but the op-amp in the Zapco ASP-X4 are all small packaging surface mounted version...
so it might be hard to solder this... hmmmmmm
I wonder if there is someone out there who offer service for
upgrading surface mounted opamp... and I wonder how much they
charge per op-amp since there are 29 op-amp here...
or I just need to do more research on the right solder equipment to do this myself...
hmmmmmmmmmmm
Last edited by BMW ALPINA; Oct 21, 2017 at 03:43 PM.
In order for me to be able to start using the Dynaudio Esotars that I already bought few months ago...
and
As a Gap Stop Method until I get a proper amp (ie. Brax MX4),
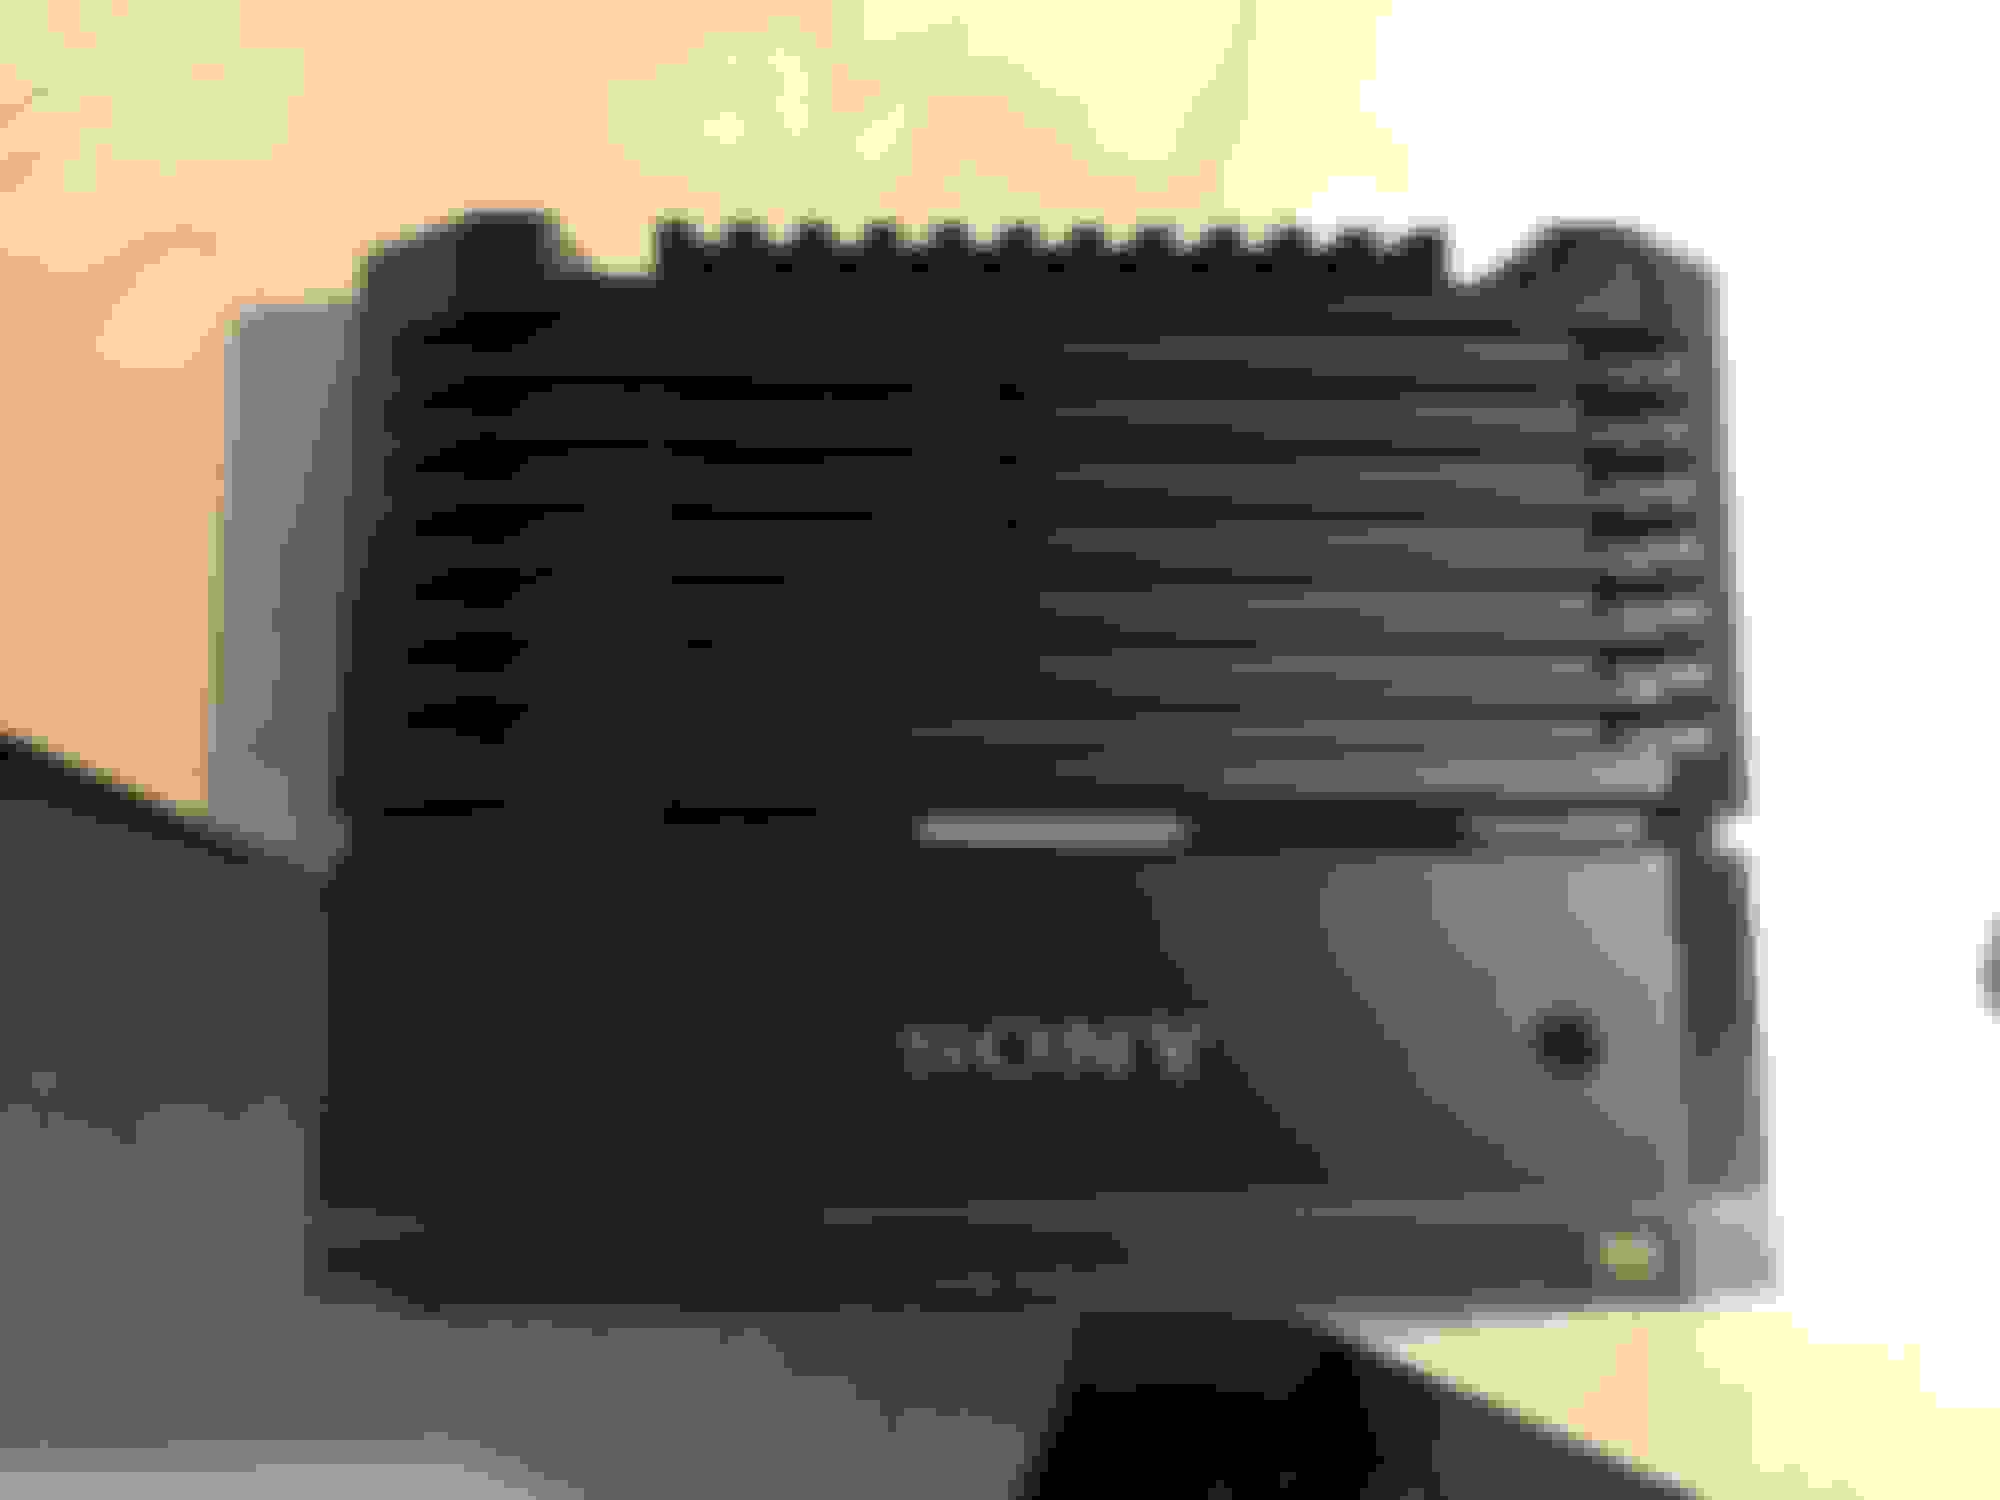
I decided to buy a brand new but cheap Sony XM-GS4 amp
(well it's still part of Sony Hi-Res Car Audio lineup and flag ship line of Sony car audio amp line so I think it is ok...)
It's a 4 channel
but run it in bridged 2 channel configuration for 160 W x 2channel RMS at 4ohms
Installed it just few days ago,
and currently still using the stock Honda Fit OEM speaker (2 way passive front channel only).
The sound improve again, there is solid midbass that I never knew can come out of
stock OEM Honda Fit 6.5in door speaker...
I also just ordered all the screw,nut,bolt, AudioQuest speaker wire and other parts I need to install the Dynaudio Esotars. Hopefully can install them in 2 to 3 weeks time after all parts arrived...
And I am sure there will be a lot of improvement with the Dyns...
Can't hardly wait
even the way I install it, its kinda "emergency style"
Last edited by BMW ALPINA; Jan 7, 2018 at 06:26 PM.
A lot of parts like the Rest of Audioquest Golden Gate RCA and Audioquest X2 speaker cables, etc. to install the speaker on the dashboard and door start arriving,
but many still on the way, I am talking about the all the stainless steel socket hex, threaded wood insert, threaded rivet nut, etc...
I also still waiting for some aluminum disc so I can install the Dynaudio Tweeter Mounting Pod on the same location as the current OEM Honda dash tweeter...
but here are two eye candy that just arrive and ready to be use:
Audioquest Cinnamon USB cable to Lightning (to power the Apple camera adapter)
and Audioquest Cinnamon USB cable to Micro USB (to transfer data from iPhone to the USBDAC input)
Oh also I buy a small plastic cover to cover the front USB port next to the USBDAC on the Sony RSX-GS9, this way, nobody who happened to ride with me
can just plug their USB cable to charge their phone, because I worry
they scratch the Sony RSX-GS9 front plate while plugging their USB cable.
Of course I had prepared an extra USB charger for my guest / client who ride with me,
so they can still charge their phone.
Last edited by BMW ALPINA; Jan 12, 2018 at 11:00 PM.
Rest of Audioquest Golden Gate RCA's for the underseat subwoofer and from Active Xover to the Power Amp,...
Audioquest X2's speaker cable Grey and White color to differentiate between
Tweeter and Midbass...
Pangea RCA 1 Male to 2 Female adapter, they are beautifully made...
some Rockford Fosgate power wire 1/0 AWG because the Brax MX4 will need 1/0AWG terminal and currently I had run only 4 AWG to the trunk...
oh, I also in the process of ordering plenty of TechFlex Sleeving
I had bought an aluminum Dynaudio Esotar Tweeter Pod from Germany (eBay seller), and this tweeter suppose to be mount on the A-Pillar,
which mean I need to take out the A-Pillar and drilled it...
but I don't really like the way it mounted there... and I don't really like to drill the A-Pillar...
so I had been thinking of any way to mount the tweeter on top of the current tweeter holes...
At first, I thought just took out the current tweeter from the current tweeter grill, and then just drill the grill to hold the Esotar Tweeter pod, until I realise,
the grill was too thin and won't hold the Esotar pod in place if somehow there is a big accident (knock on wood)...
so after thinking and thinking, and researching and looking at any method.
I found that I should use a large ring shape metal base on top of the current hole left by the OEM tweeter, use a HOLLOW threaded bar that will pass the wiring into the pod but also will hold the tweeter pod, the ring shape metal base, and also anchor to another plate below to hold on to the dashboard...
the only problem is The German Tweeter Pod use a M10 x 1.0 FINE pitch Metric Thread...
and it is very hard to find a HOLLOW Threaded bar with a FINE Pitch Metric Thread... but I am lucky enough to find it on eBay (from China/Hong Kong)
Today the only parts that had arrived is the Metal Base ring shape...
Here is the pictures so all of you can get an idea of what my vision is,
yes, I still need to drill through that metal base (aluminum), I had bought a TAP for that thread too.
That Metal Base is actually aluminum disc hardware for Glass Table
I decided to start measuring the space in the door to make sure the magnet of the Midbass do not hit the window glass when it's roll down.
After taking out the door panel, the Honda OEM Midbass is now accessible:
It was hold by a single screw !!!... I guess Honda really want to save time when building this car on production line...
Now comparison between OEM and Dynaudio Esotar2 650 Midbass...
(or I should say no comparison ):
I am going to test fit with Dynaudio original MDF spacer and turn out,
the magnet won't even clear the metal panel of the door,
so later, I need to cut/trim the metal panel of the door:
I mark the area on the metal panel that I need to cut/trim,
then I measure the depth/clearance between the surface of the metal panel to the glass/window when it's rolled down:
It's 50.92mm...
so now it's time to measure the depth of the Dynaudio magnet:
It's 54.51mm, please note this is after using the MDF spacer,
if do not use MDF spacer, according to Dynaudio brochure, the mounting depth is 67mm, which mean the MDF spacer cleared about 12.5mm
OK... this is a problem since the clearance to the glass/window is only 50.92mm... so 54.51mm - 50.92mm = 3.59mm which mean I need to add about 5mm more space...
I think I am going to use 2 ply of rubber that should give over 5mm extra space between the MDF spacer and the door metal surface...
I found more issue...
the original Honda speaker outer ring shape like a tear drop and
it will goes into the same tear drop space in the door panel,
with foam surround kind of sealed it right behind the door panel grill opening:
Now comparing the thickness of the original Honda OEM midbass spacer vs. Dynaudio MDF spacer...
wow, they are about the same thickness...
still due to the shape, I will need to trim the plastic part on the door panel,
so later I can close the door panel shut...
oh, not to mention I will have 5mm rubber beneath the Dynaudio MDF spacer...
I also compare the diameter between the original Dynaudio MDF spacer and a custom CNC MDF spacer made for Esotar2 650 but NOT original from Dynaudio...
looks like the NON original MDF spacer is smaller in overall diameter and also about 1mm thicker !!!
so the non original is a better choice for my application...
because that mean less trimming on the plastic part of the door panel so it can snugly fit behind the original door speaker grille...
After I do all the above,
I realized, I still need to buy M4 Socket Hex bolt for the Esotar2 650 Midbass install to the door, and M3 socket Hex bolt for the Esotar2 110 Tweeter.
Funny things is, this past few days there is a website from UK
Accu Group that advertise bolt on my webpage all the time...
like it's reading my mind that I am going to need bolt,
so I place an order with them...
The M4 socket is 40mm length A2 (304) Stainless Steel
while the M3 socket is 10mm length A4 (316) Stainless Steel with Black Coating (since this will be visible to my eye), I want a Black color bolt...
Ok,... to be continued...
Last edited by BMW ALPINA; Jan 16, 2018 at 10:08 PM.
so I found a solution to add thickness to the Dynaudio MDF spacer...
and also help SEAL the speaker/MDF/door metal surface...
I do research on several Gasket material, including Buna, EPDM, Neoprene, even PTFE ,
but I decided EPDM is perfect for my application...
so I bought a ready made with PERFECT diameter to fit the Dynaudio Esotar2 650,
I will need 2 ply of this EPDM gasket to be over 5mm extra space that I need so the speaker magnet clear the door window when it is rolled down...
and the gasket just arrived today:
TechFlex also arrived:
Now, I already bought and waiting for this items to arrive:
a. Electric Hot Knife so I can cut the TechFlex properly
b. The Aluminum RING for The Dynaudio Esotar2 110 Tweeter Pod, order from the German Supplier again at eBay
c. The Stainless Steel Bolt coated in Black Color from Accu Group in UK
d. d. Several Rockford Fosgate 8awg wire kit just in case if I need 8awg, 10awg wire kit for the Zapco Xover, distribution block, circuit breaker, battery terminal so I can relocate the battery to the trunk
f. ICT Billet Optima Battery Tray
g. Optima Battery D34/78 Yellow Top that will replace the stock battery and will be located in the trunk, thus near the power amp...
Once I had all the above, then I can finally install the Dynaudio Esotar...
I think I should get all the above in about 10 days to 2 weeks from now...
Last edited by BMW ALPINA; Jan 25, 2018 at 09:41 PM.


 :
: