When you click on links to various merchants on this site and make a purchase, this can result in this site earning a commission. Affiliate programs and affiliations include, but are not limited to, the eBay Partner Network.
Acuity Accelerator Relocation bracket! Been on my list for a while finally gave in. You will need a ratchet, extension, and allen key. (Had a 3/16th socket or something didn't really check just grabbed the one that fit) All done! Heel toe shifting is no longer a passenger jerking, nose diving, apology fest. Hooray for smooth driving. Now to stiffen up this suspension with Eibach Springs.
Makes quite the farty noise on acceleration. Otherwise still pretty quiet. I have the hks silent power exhaust and an rps short ram intake also. Weighs four pounds less than the OE accoutrement. Now I feel like I need it tuned by my tuner to take full advantage. It feels faster in first gear like it added torque to the low end. Was pretty zippy on the freeway too! As expected, there was a smoke ring around the aluminum head where it mated to the OE exhaust components, which makes me believe porting the head will provide additional gains!
Just a little more detail on the R2 process. Looking at the RV6, there are obviously 11 bolts/nuts including the two O2 sensors to remove and replace. Easy, well... there were more... I lifted the car up like I've done 1,000 times before. My left ramp must have slipped forward, because suddenly the passenger side did a scary drop. Sure enough, I drove over the ramp, after I measured and made sure they were equidistant from the tires. Usually I give them a kick under the tires before I drive up (I omitted this apparently crucial step). Bent the hell out of the passenger fender, thought for sure it was body shop time. After downpipe install, the fucker went right back in with a side fist punch, how lucky!
Use at your own risk.
1. Elevate car. Disconnect battery. Cool everything off. I rested my shop fan on the intake manifold pointing to behind the engine. Everything was cool in about 30 minutes.
2. Disconnect the O2 sensor, and unmount the sensor side connection from the bracket (tab underneath). There is a weird housing around the upper O2 sensor, I thought for sure the 7/8" O2 sensor socket would not go down in there. It does.
3. Disconnect the ex-man heat shield. It will come out from the top. There are four 10mm bolts holding a exhaust manifold heat shield on that must come off so you can get to the ex-man.
4. Remove catted pipe. I used an electric impact wrench and socket to remove the three nuts from the B-pipe to cat connection. There are two spring/bolt combos holding the catted pipe to the exhaust manifold. Although they technically don't have to come off, do it because the exhaust manifold is a bear to remove once it's unbolted. Disconnect the second O2 sensor connection, and push it out from the two brackets that are holding the grommets. So, now the catted pipe is out, so take out the heat shield above it, two bolts, one nut, easy peasy. This will provide further clearance for the ex-man to be maneuvered out.
5. Go back up top, and unbolt the two nuts (top) and two bolts (bottom) from the exhaust manifold. Remove two 12mm nuts from the EGR flange. Unbolt a couple other (now) superfluous brackets from the driver's side of the ex-man assembly.
6. Snake that sucker out the bottom.
7. Remove downstream O2 sensor from catted pipe with 7/8" wrench or O2 socket and install on the RV6 DP, probably should put copper paste on both O2 sensor threads, I didn't...
8. Slide RV6 DP back in place. Make sure the gaskets are in place. I reused the ex-man and and EGR gaskets, they're metal and were in good condition. The rusty sides are the ones that are facing away (and touching the iron components, duh). Hang the DP off the two studs on the top of the exhaust port in the head. Grab one of the three bolt/nut/washer/lockwasher combos sent with the RV6. Put the bolt in on the RV6 DP side, and I put both washers on the B-pipe side, maybe coulda put one flat washer on the other side but I wanted the lock washer to have positive contact all the way around. Make sure the supplied gasket is between the DP and the B-pipe. Put all three in, get them started, just finger tight.
9. Torque the RV6 DP back on to the head with the two nuts and two bolts. Same for the EGR. Then install the upstream O2 sensor.
10. Reinstall the lower heat shield. Cinch down the DP to BP bolt nut combos. Reroute the downstream O2 sensor, I used a ziptie to hold it in place (since a bracket is now gone).
11. I did not add back the upper heat shield. You could do so, and it would be only two bolts holding it on at the top, the other two are gone with the OE exman.
12. Reattach battery, recheck all connections, lower car.
13. Start, fart, and watch your heart!!!
Old pipe removed Exhaust residue area a candidate for porting B pipe and cat Head connection
I just pulled the trigger on the CR-Z short throw shifter and I'll figure out how to mod it myself. Also got a Saporro samurai sword handle shift knob to get that height up closer to the steering wheel!
Big weekend! Installed Goodridge stainless steel brake lines at all four corners. Up front, they give you new brackets, they did not seem to fit. I used a file and widened out the OEM brackets, and all good.
I installed Porterfield R4S brake shoes in the rear. I thought disk brakes in the rear would be a waste, but for $700 if I never have to do drum brakes again it might be a worthwhile investment.
While I was back there, I also installed .5* negative camber shims and .25* toe out shims. I added a second negative camber bolt up front. I have no idea if you can run two and get any benefit. It seems counter intuitive but I tried my hardest to get the top of the rotor as far in and the bottom as far out with both of them in the negative position, who knows...
Up front, I removed my race brakes and rotors and threw on some Duralast gold pads and Oreilly's blank rotors for just driving around town. My race pads were shot after two track days and around town driving -- shoulda swapped them out earlier. I swapped in some Motul RBF 660 while I was doing all the brake parts.
I also installed the Savanini rigid collars in the rear (2) and up front on four locations per the instructions. I wound up with two extra small collars I couldn't figure out where they were supposed to go...
I also filled up the rear mount with 80A urethane. I used my scale at home to only mix as much as I thought I would need, and it was still way too much. I did 100g of base and 50g of activator. I wound up with about 80g left over so for any of you that are considering it, it only takes about 70g total. Of course I did a good job sealing the other end per the instructions and so I didn't have a lot of waste. I baked it in the oven for 18hrs at 150* which cures it equal to 7 days of 77* curing.
Tried to swap in my IK22 plugs but they require a thin wall spark plug socket, it's now on order.
She's all buttoned up and I bedded in the brakes tonight. You can definitely see the negative camber in the rear. I'll order another set of Powerstop race pads and be ready for racing on 17-18 November. She definitely feels tighter with the collars and the urethaned mount. Happy hunting!
The sound is much better in person! Also, it throws out a pretty loud fart at the top of 1st and 2nd akin to a gunshot!!!
Not 100 sure on the $700 WAG I threw out there. What I do know is there are only four bolts holding that hub on. So what is needed? Something to hold the caliper bracket, the caliper bracket, the caliper, the rotor, and pads. What holds the caliper bracket in the rears? I saw the Go Tuning Unlimited kit is $1300, so after tax and shipping, I was spot on, $700 per side LOL! Still tho, f*ck drum brakes, so much cussing in my garage trying to get the big spring back on at the top. Yeesh... I had a 55 Chevy, 62 Jimmy, 65 Le Mans, 68 Newport, and 71 Skylark each with 4x drum brakes. I thought I was done. I got a swap for the skylark to disc brakes up front. She was cherry...
Still tho, f*ck drum brakes, so much cussing in my garage trying to get the big spring back on at the top.
I totally agree! Replacing drum brakes is an awful job. People say that you do it only once every 100,000 miles. That may be true, but you still have to do it. I'll look into that conversion.
The sound is much better in person! Also, it throws out a pretty loud fart at the top of 1st and 2nd akin to a gunshot!!!
Not 100 sure on the $700 WAG I threw out there. What I do know is there are only four bolts holding that hub on. So what is needed? Something to hold the caliper bracket, the caliper bracket, the caliper, the rotor, and pads. What holds the caliper bracket in the rears? I saw the Go Tuning Unlimited kit is $1300, so after tax and shipping, I was spot on, $700 per side LOL! Still tho, f*ck drum brakes, so much cussing in my garage trying to get the big spring back on at the top. Yeesh... I had a 55 Chevy, 62 Jimmy, 65 Le Mans, 68 Newport, and 71 Skylark each with 4x drum brakes. I thought I was done. I got a swap for the skylark to disc brakes up front. She was cherry...
Nah, I wish... The kit does indeed look complete based on the parts they say they are supplying. I was thinking a similar kit could be sourced for less from a junk yard. There's gotta be front end wrecked civics or accords where all those parts are REALLY close to what we need. Somebody just has to do the maths...
Nah, I wish... The kit does indeed look complete based on the parts they say they are supplying. I was thinking a similar kit could be sourced for less from a junk yard. There's gotta be front end wrecked civics or accords where all those parts are REALLY close to what we need. Somebody just has to do the maths...
That drum brake you see should be the emergency/parking brake setup if I'm not mistaken. SilverEX15
Well, that makes sense. Some cars with disc brakes use small drum brakes for the parking brake. Discs don't work very well for that purpose. If I could buy a kit that included everything and actually worked, I'd probably go for it.
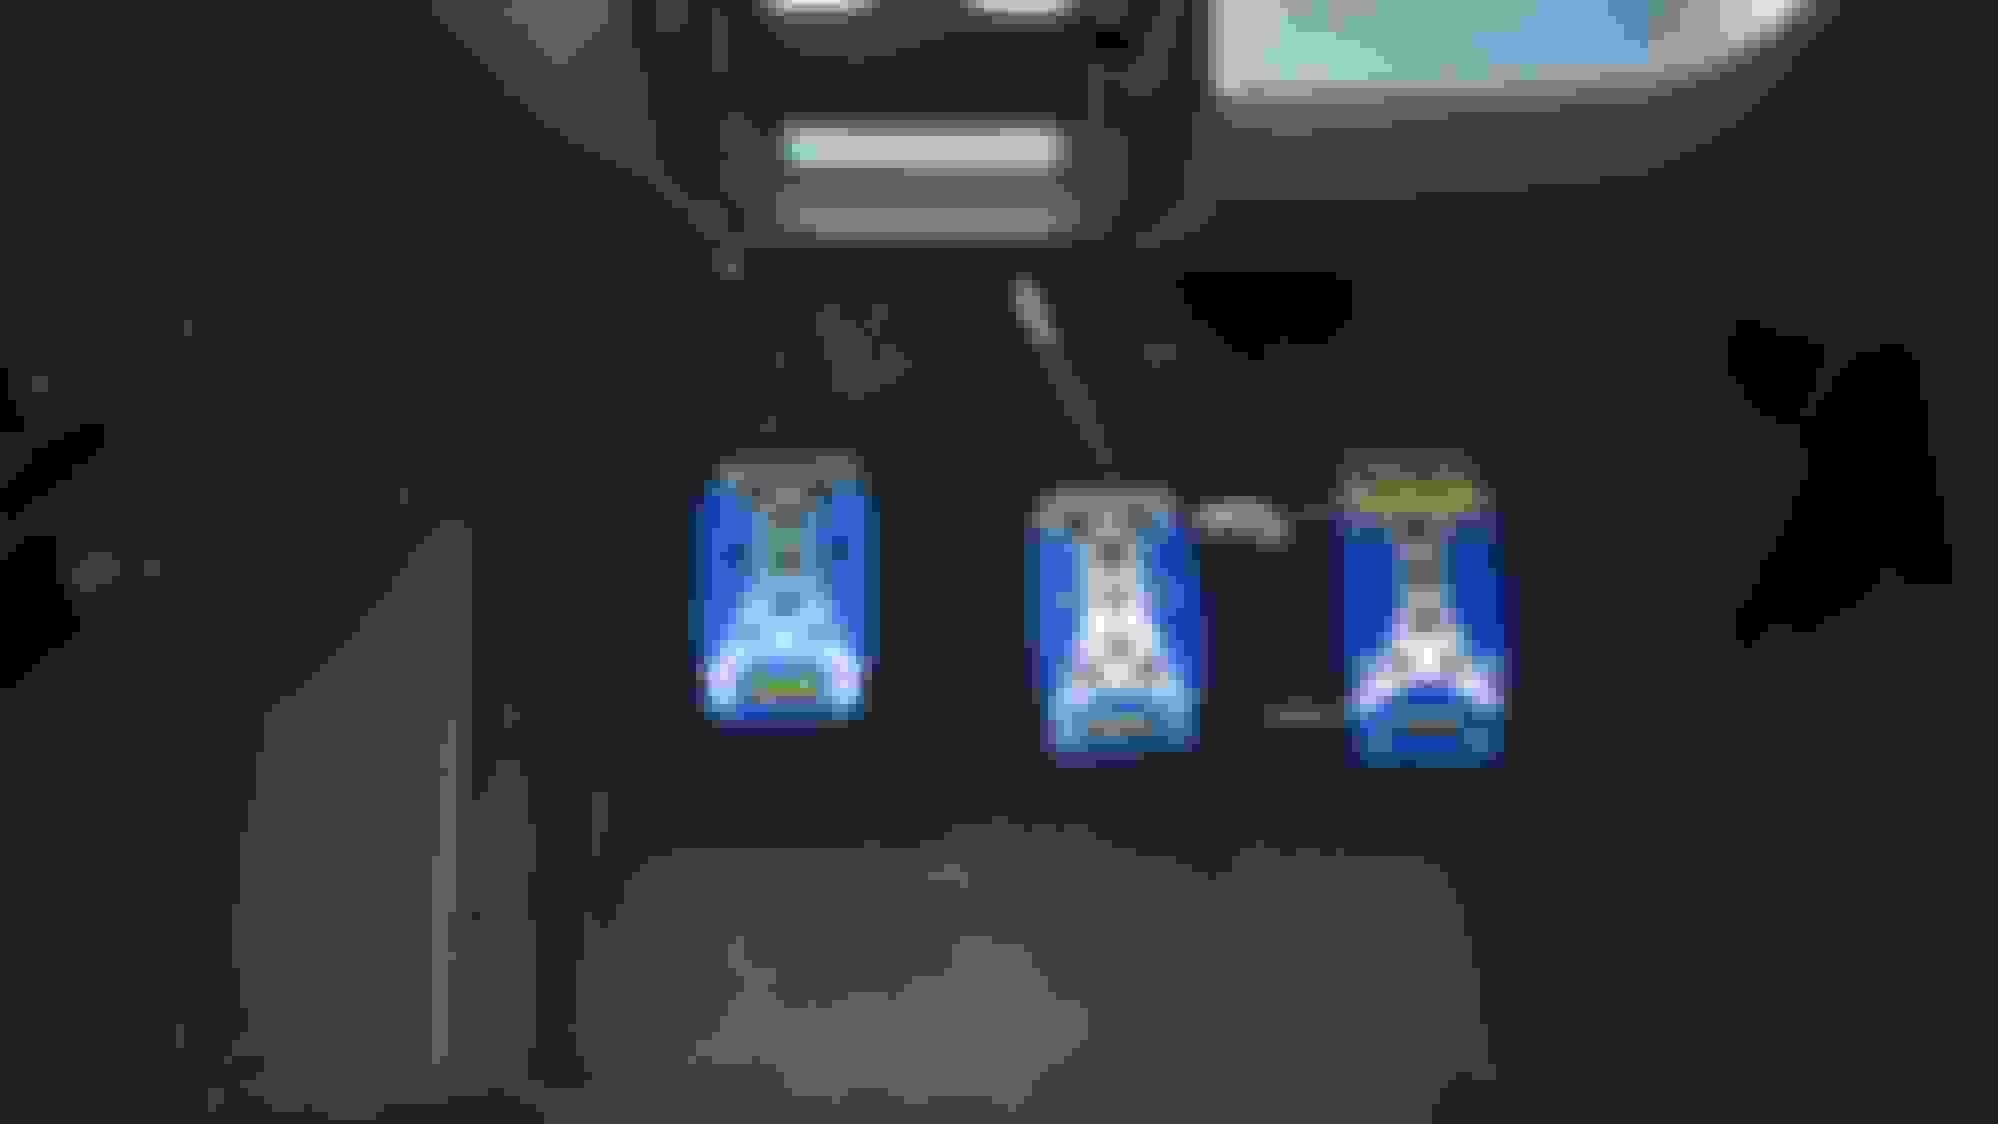
Lately I've been wearing through the rubber pedal covers. I've also never been very impressed with the gap between the gas pedal and the brake pedal.
Low and behold I had this set of fancy aluminium momo's laying around from a previous car... lol, the zip ties may or may-not be temporary as the gas pedal is plastic( and yes, it is secured by a pair of small bolts that superglued into the plastic).
Aside from screaming "tastless rice", they feel really nice compared the squishy rubber.