3rd Generation GK Specific Fit Photos & Videos Sub-Forum Threads for displaying photos and videos of the 3nd generation GK Honda Fit

DannyJ7's Foxy Build

Thread Tools
 
Search this Thread
 
  #21  
Old 06-10-2016, 04:32 PM
DannyJ7's Avatar
Member
5 Year Member
Thread Starter
Join Date: Jan 2015
Location: Murica
Posts: 358
BAM! All the pictures.


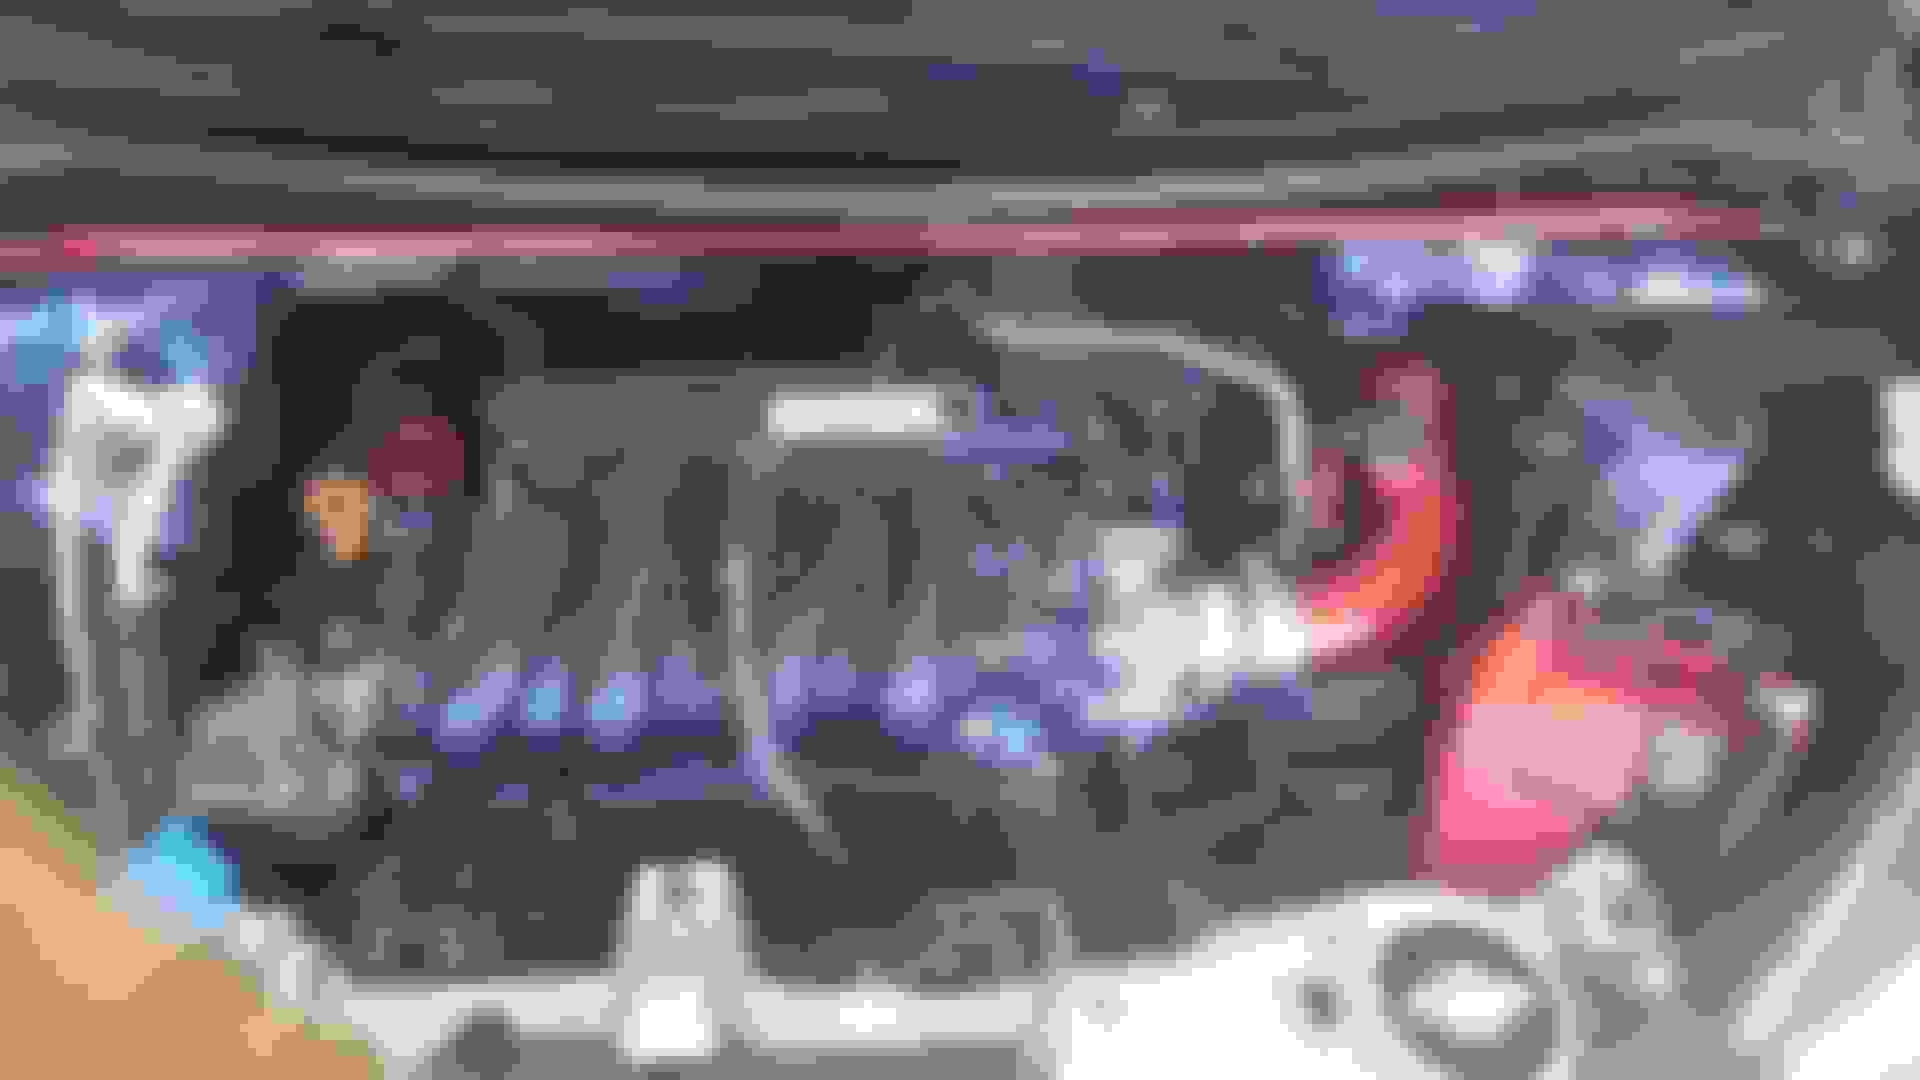
So here it is installed back in. Dupli-color metal-somethingorother paint. Didn't take long at all and looks fantastic for $4.50.


Getting there. Would love to figure out how to take off that plastic engine cover so I could paint that as well.


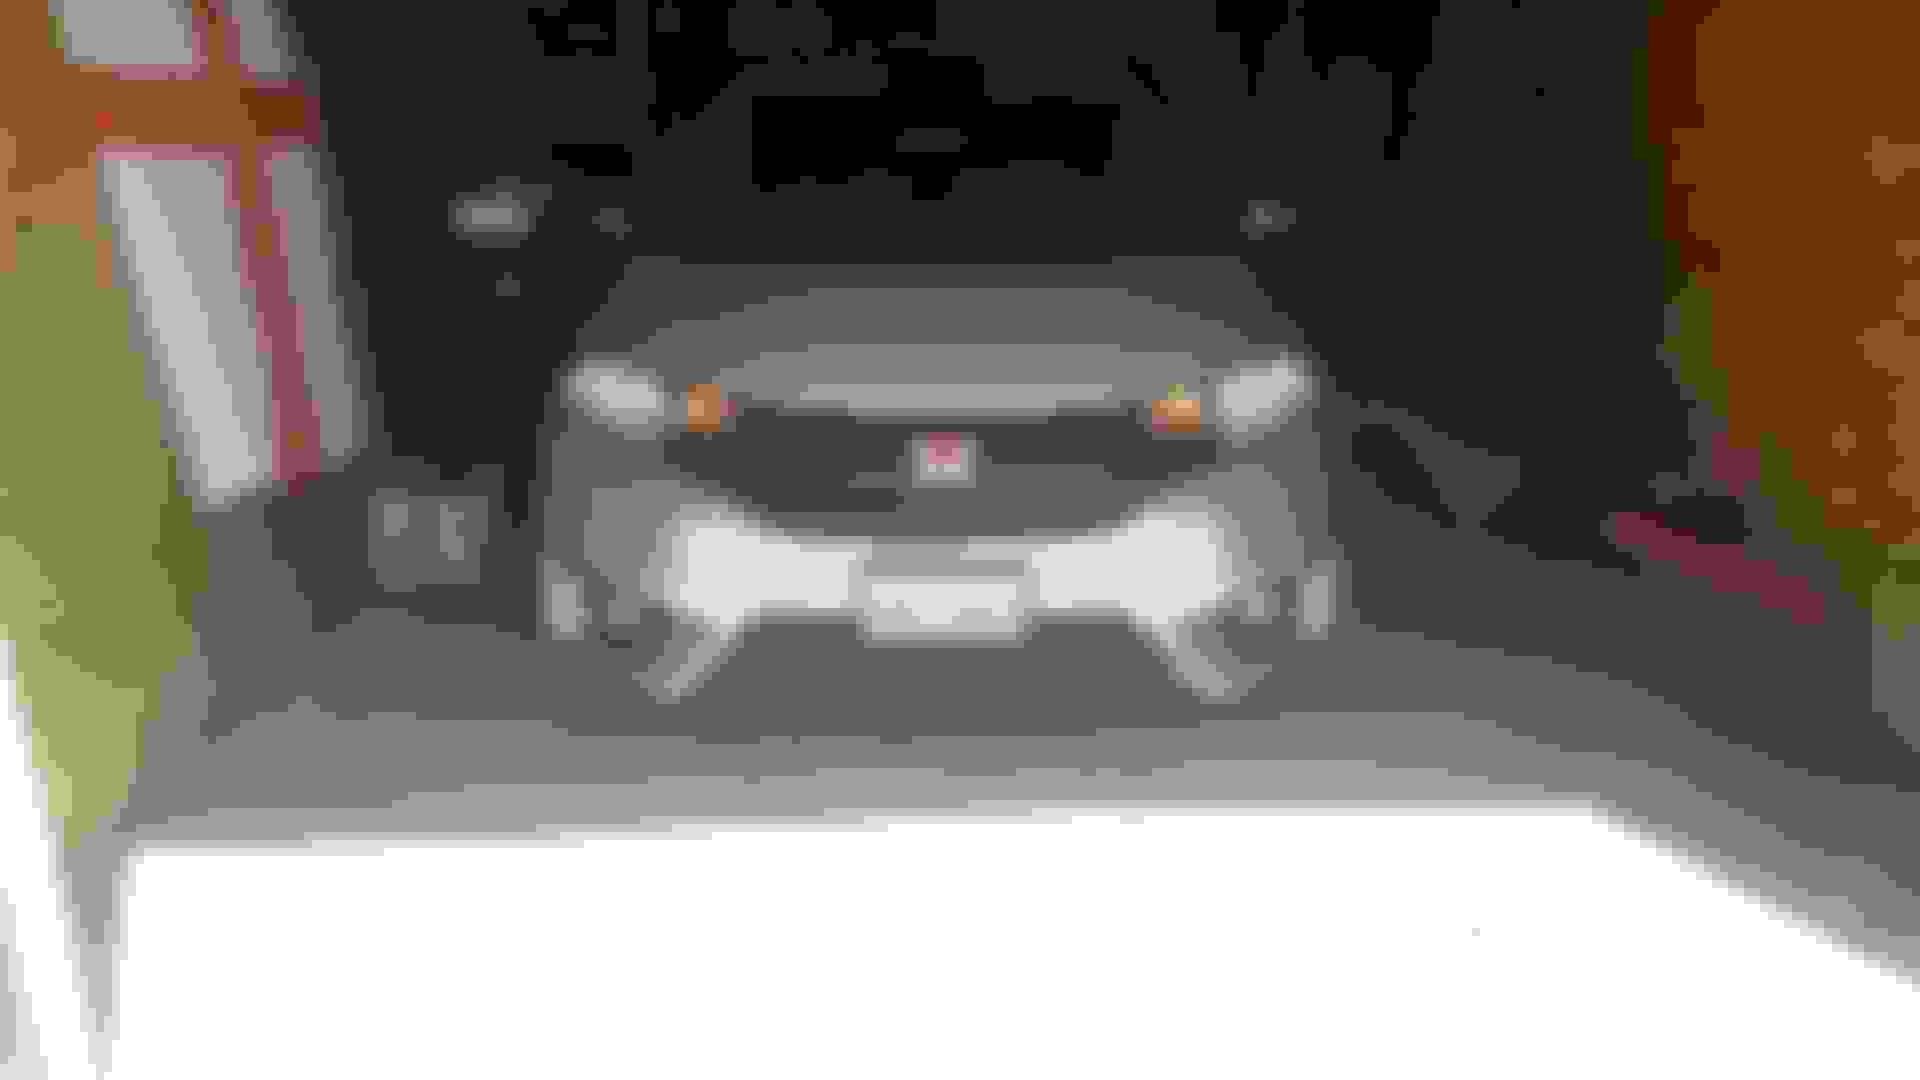
Maybe a bit difficult to see, but the LED bezels are on and working. I wired them so they only come on with the headlights. For me, they're just too bright for day use...as stupid as that sounds. Meh, personal preference.


The is the generic shark fin antenna from ebay that I got and installed a while back.


Last edited by DannyJ7; 08-27-2016 at 07:37 PM.
  #22  
Old 06-11-2016, 08:02 AM
DannyJ7's Avatar
Member
5 Year Member
Thread Starter
Join Date: Jan 2015
Location: Murica
Posts: 358
Got probably the best compliment on Foxy so far. Was at a gas station and guy asked how old she was. I told him a year and a half, and he said he'd never seen that trim. Fantastic compliment as I'm trying to make Foxy look like what Honda would have done if they did make a Type R.
 
  #23  
Old 06-18-2016, 11:54 AM
DannyJ7's Avatar
Member
5 Year Member
Thread Starter
Join Date: Jan 2015
Location: Murica
Posts: 358
Just ordered my Clazzios. Black quilted with red stitching and piping. 8-12 weeks Also, $474...UGH!
 
  #24  
Old 08-05-2016, 04:56 PM
DannyJ7's Avatar
Member
5 Year Member
Thread Starter
Join Date: Jan 2015
Location: Murica
Posts: 358
$12 job on changing out the shift boot and candying up the silver trim surround. I think it looks sick. Finally got the red LED dome bulbs in and secured the ambient foot well lights.


Interior shot


Shift boot and surround.

Once my Clazzios arrive, I believe I will be done with the interior...for now.
 
  #25  
Old 08-19-2016, 03:40 PM
DannyJ7's Avatar
Member
5 Year Member
Thread Starter
Join Date: Jan 2015
Location: Murica
Posts: 358


Dry fit. Still needs to be painted, cleared, and mounted. I think the black looks sick, but want to keep foxy looking clean.<br/>
 
  #26  
Old 08-20-2016, 11:26 AM
2Rismo2's Avatar
Member
5 Year Member
iTrader: (1)
Join Date: Jul 2015
Location: NOVAnistan
Posts: 3,094
Looks good. I'm planning on ordering the same but doing a gloss black to give the front end some contrast
 
  #27  
Old 08-25-2016, 05:29 PM
DannyJ7's Avatar
Member
5 Year Member
Thread Starter
Join Date: Jan 2015
Location: Murica
Posts: 358


Only got the driver's on. Hands hurt too much today. Will post when they're all on.
 
  #28  
Old 08-26-2016, 04:55 PM
DannyJ7's Avatar
Member
5 Year Member
Thread Starter
Join Date: Jan 2015
Location: Murica
Posts: 358
Originally Posted by 2Rismo2
Looks good. I'm planning on ordering the same but doing a gloss black to give the front end some contrast
That'll look great! I, in my infinite wisdom, ordered the variety with the carbon fiber texturing on parts. Unless I want to spend a weekend sanding and filling, it's gonna just get clear coated on those portions.
 
  #29  
Old 08-27-2016, 07:29 PM
DannyJ7's Avatar
Member
5 Year Member
Thread Starter
Join Date: Jan 2015
Location: Murica
Posts: 358


Clazzio seats in!


Rear Clazzio

I've really got to work on my photography skills...can't see the red floor well lights. I'm very pleased with the seats. 9 weeks is a helluva wait, but they look freaking MAAAAAD! I also haven't taken the time to go back and properly fit them on the seats. Been a busy week. If you look close, you can see that I've started the final phase of my interior...
 

Last edited by DannyJ7; 08-27-2016 at 07:43 PM.
  #30  
Old 08-27-2016, 07:30 PM
DannyJ7's Avatar
Member
5 Year Member
Thread Starter
Join Date: Jan 2015
Location: Murica
Posts: 358


Just some pics for those that need/want to know what lurks behind the door panels.
 
  #31  
Old 08-27-2016, 07:32 PM
DannyJ7's Avatar
Member
5 Year Member
Thread Starter
Join Date: Jan 2015
Location: Murica
Posts: 358


Front door panel


Rear door panel

Annnnd the flip side. Be advised, to get the fabric inserts out (the white hard plastic portions) you'll need a heat gun to loosen up the plastic that's been melted in place (cheap bastards couldn't be bothered to use screws all the way around).
 
  #32  
Old 08-27-2016, 07:34 PM
DannyJ7's Avatar
Member
5 Year Member
Thread Starter
Join Date: Jan 2015
Location: Murica
Posts: 358


And here's the treasure! Pulled the remaining silver trim I want to paint up.


Here's the fabric from the door panels once they're removed.
 
  #33  
Old 08-27-2016, 07:36 PM
DannyJ7's Avatar
Member
5 Year Member
Thread Starter
Join Date: Jan 2015
Location: Murica
Posts: 358


Traced onto the (p)leather that matches the Clazzio's. Shout out to Jackman's fabric in Fairview Heights, IL.


(P)leather getting glued up on the door insert.

Painting/clearing the remaining trim tomorrow and hitting the embroidery store Monday. Should have Foxy's interior done before the end of the holiday weekend, then she goes into cold storage for 6 months.
 

Last edited by DannyJ7; 08-27-2016 at 07:47 PM.
  #34  
Old 08-29-2016, 05:56 PM
DannyJ7's Avatar
Member
5 Year Member
Thread Starter
Join Date: Jan 2015
Location: Murica
Posts: 358


Candy...


then clear...


Last edited by DannyJ7; 11-10-2020 at 11:14 AM.
  #35  
Old 08-29-2016, 05:57 PM
DannyJ7's Avatar
Member
5 Year Member
Thread Starter
Join Date: Jan 2015
Location: Murica
Posts: 358


Reassembled
 
  #36  
Old 08-29-2016, 05:58 PM
DannyJ7's Avatar
Member
5 Year Member
Thread Starter
Join Date: Jan 2015
Location: Murica
Posts: 358


Maaaaaaaaaaaaaaaaaaaaaaaaaaaaaaaaaaaaaaaaaaaaaaaaa aaaaaaaaaaaaaaaaaaaaaaaaaaaaaaaaaaaaaaaaaaaaaaaaaa aaaaaaaaaaaaa....


aaaaaaaaaaaaaaaaaaaaaaaaaaaaaaaaaaaaaaaaaaaaaaaaaa aaaaaaaaaaaaaaaaaaaaaaaaaaaaaaaaaaaaaaaaaaaaaaaaaa aaaaaaaaaaaaaad
 
  #37  
Old 08-29-2016, 06:02 PM
DannyJ7's Avatar
Member
5 Year Member
Thread Starter
Join Date: Jan 2015
Location: Murica
Posts: 358
So the interior is done. I'm very proud of my work (not so much my sad photography skills), and it is all my work! Thanks to all the folks on FitFreak. I learned so much more than I could say. I started out scared to touch anything inside to getting Foxy looking this good.

There's still so much to do under the hood and to the exterior, but that will be put on hold until spring when I get back. I'll still be active in the forums, but Foxy will be in cold storage starting in October...giving me plenty of time to save for when I'm back!!!
 

Last edited by DannyJ7; 09-11-2016 at 12:22 PM.
  #38  
Old 08-30-2016, 08:35 AM
jeng's Avatar
Member
5 Year Member
Join Date: Aug 2016
Location: NJ
Posts: 37
wow. looks really great. it's clear how much effort you've put into your car. great job!
 
  #39  
Old 08-31-2016, 02:47 PM
2Rismo2's Avatar
Member
5 Year Member
iTrader: (1)
Join Date: Jul 2015
Location: NOVAnistan
Posts: 3,094
How'd you remove the silver trim from around the air vents above the radio? Mine got blemished from an air freshener drip and I've been wanting to repaint it.

It shows you've put a lot of work into your car. Come back safe wherever you're going
 
  #40  
Old 08-31-2016, 02:53 PM
DannyJ7's Avatar
Member
5 Year Member
Thread Starter
Join Date: Jan 2015
Location: Murica
Posts: 358
To get the trim both around the driver's side vent and above the radio, you need to remove the speedo surround (gently pull and it should come off). From there, its easy to see how.

Thanks Rismo, thankfully I'm going nowhere dangerous this time around. Worst I have to worry about is the over abundance of super cars.


Quick Reply: DannyJ7's Foxy Build


All times are GMT -4. The time now is 11:09 PM.