
2004 Red Z06 Corvette Detailed by Tru_Shine

2004 Red Z06 Corvette Detailed by Tru_Shine
This Vette has had a life of being pampered. Only being driven on sunny days, always being stored in garages, nothing but the best for her. The past couple of owners have definitely taken pride in her, and taken great care of her. But, somewhere along the way there has been a few improper wash jobs causing a few surface defects such as random light scratches, spider webbing and other light defects. The owner wanted it brought back to it's Tru_Shine! in 14 hours straight!
Beginning the prep:
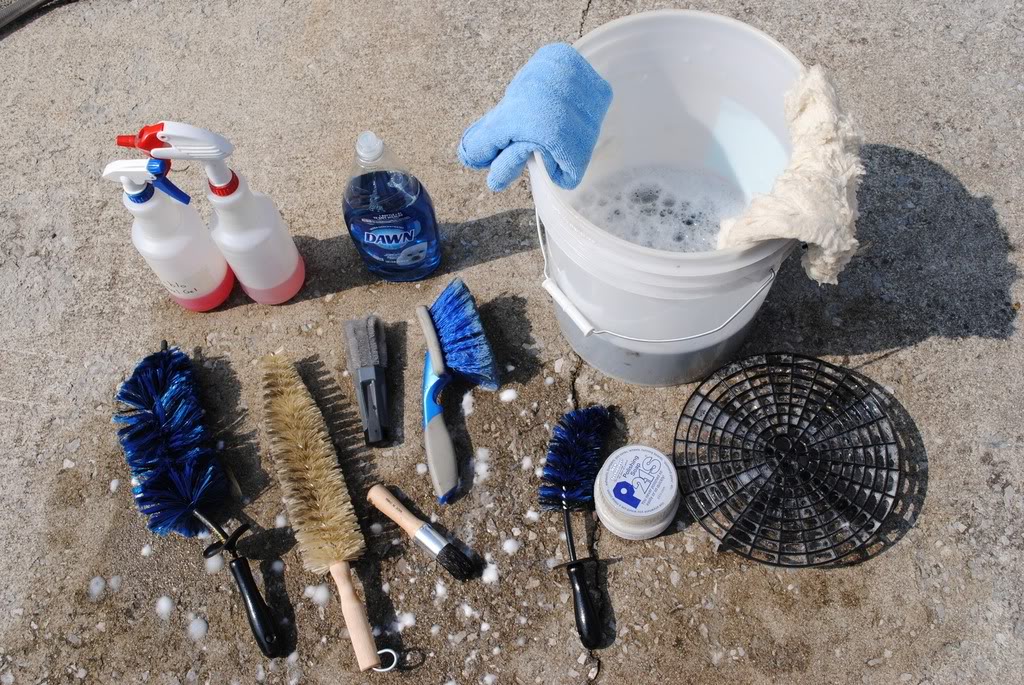
Weapon's of choice
5 gal bucket
Grit Guard
100% Sheep skin wash mitt
Dawn ultra concentrate
EZ detail brush small and large
Chemical Guys Diablo wheel Gel 3:1 ratio
misc wheel brush
spoke wheel brush
lug nut brush
P21s polishing soap
Clay magic blue fine Claybar
other misc bushes
I began by washing with a Strong dilution of Dawn detergent to really strip off any old waxes, This is a very important step because if the pad is polishing on top of waxes then its not working at its full potential and you wont see the optimum results when finished. After the wash, the car was Clayed using the soapy water as lube.
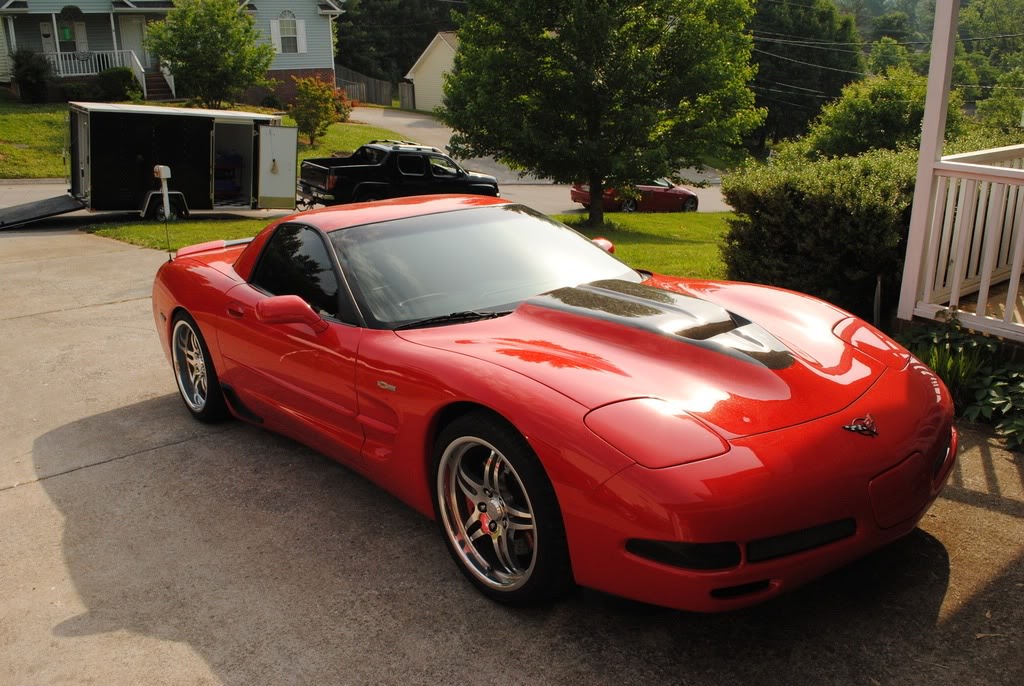
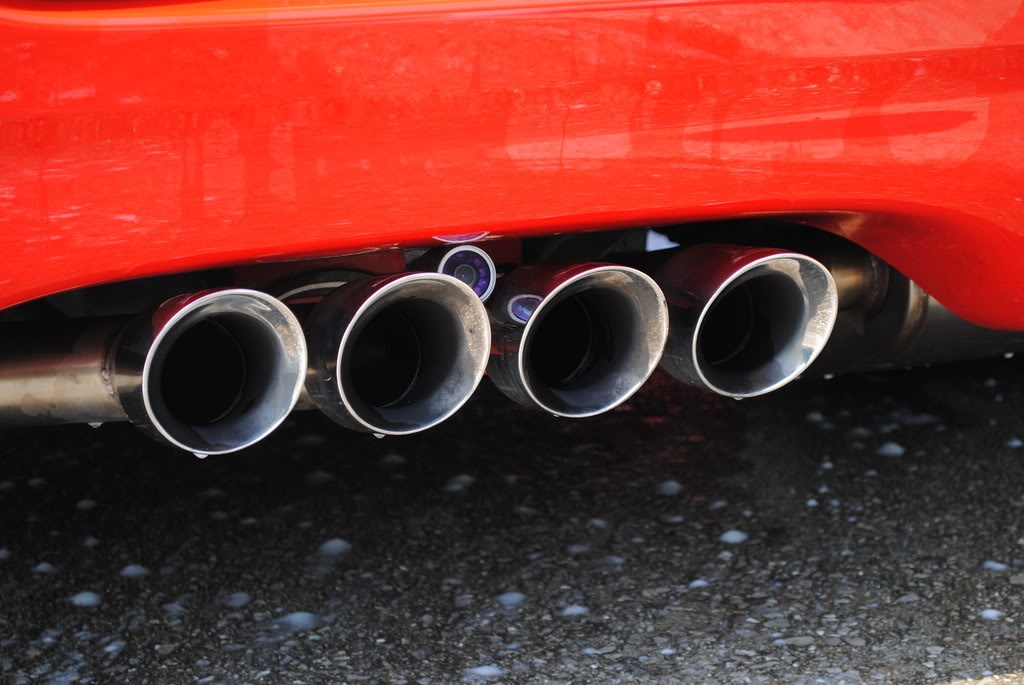
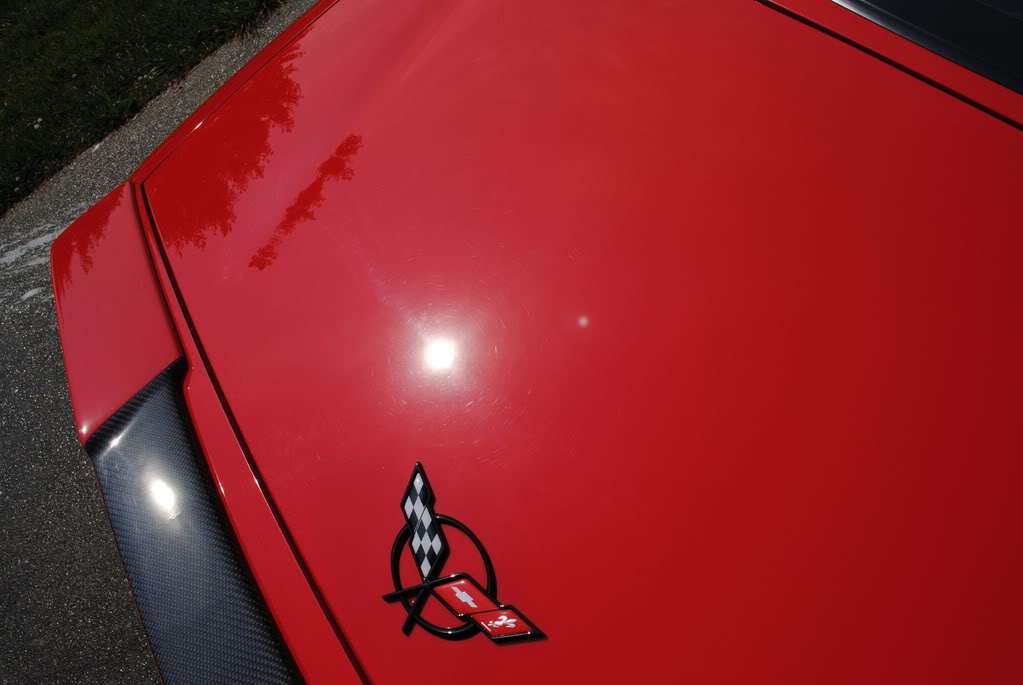
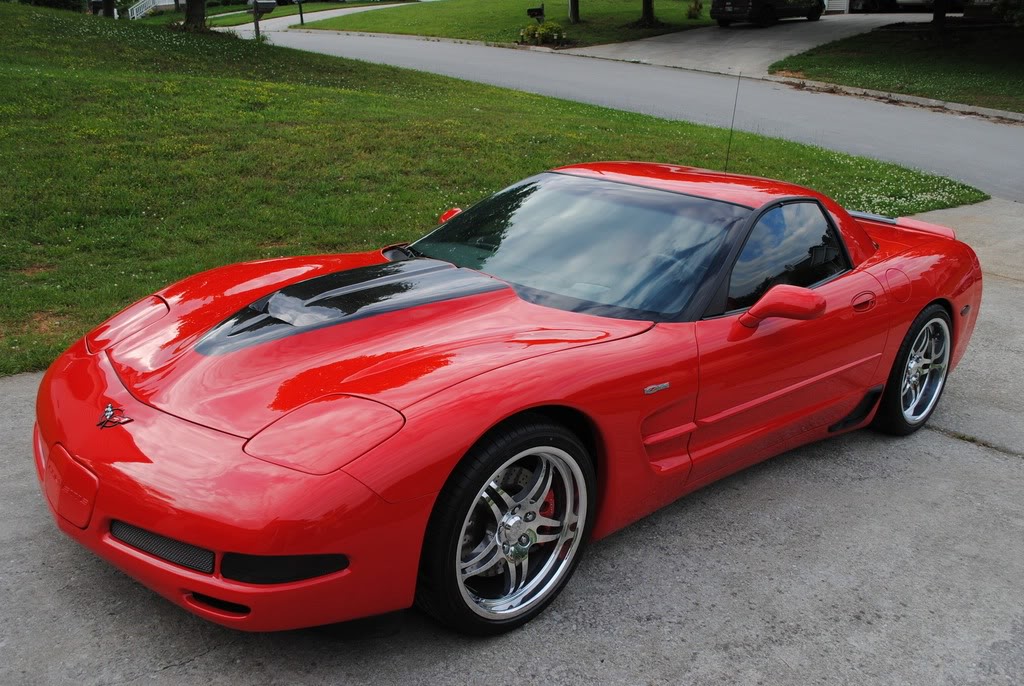
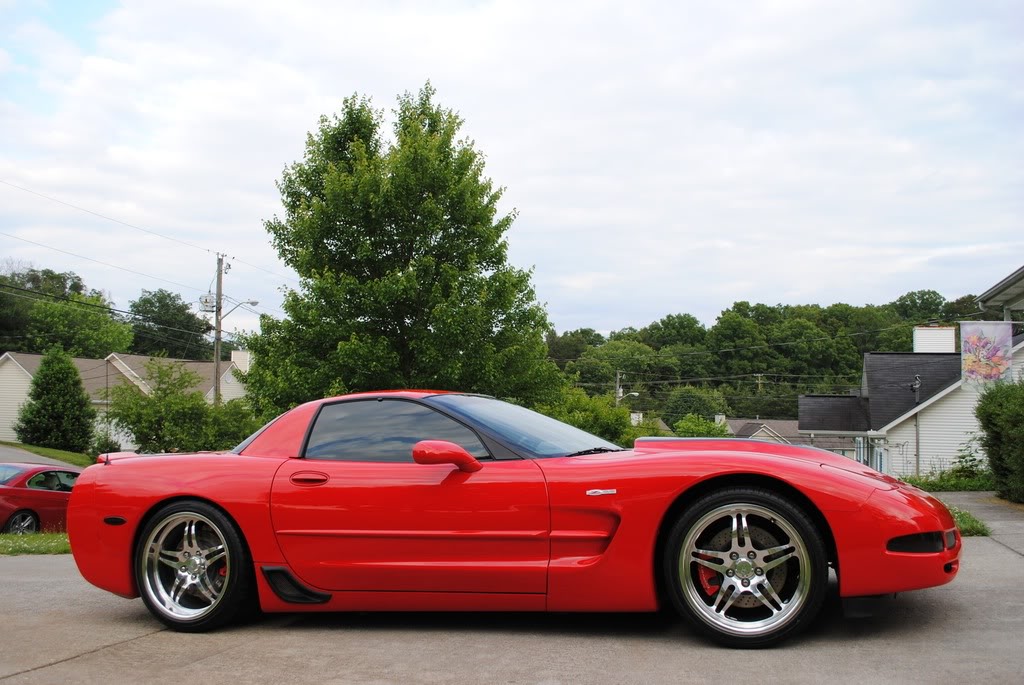
Here is the car when I arrived.
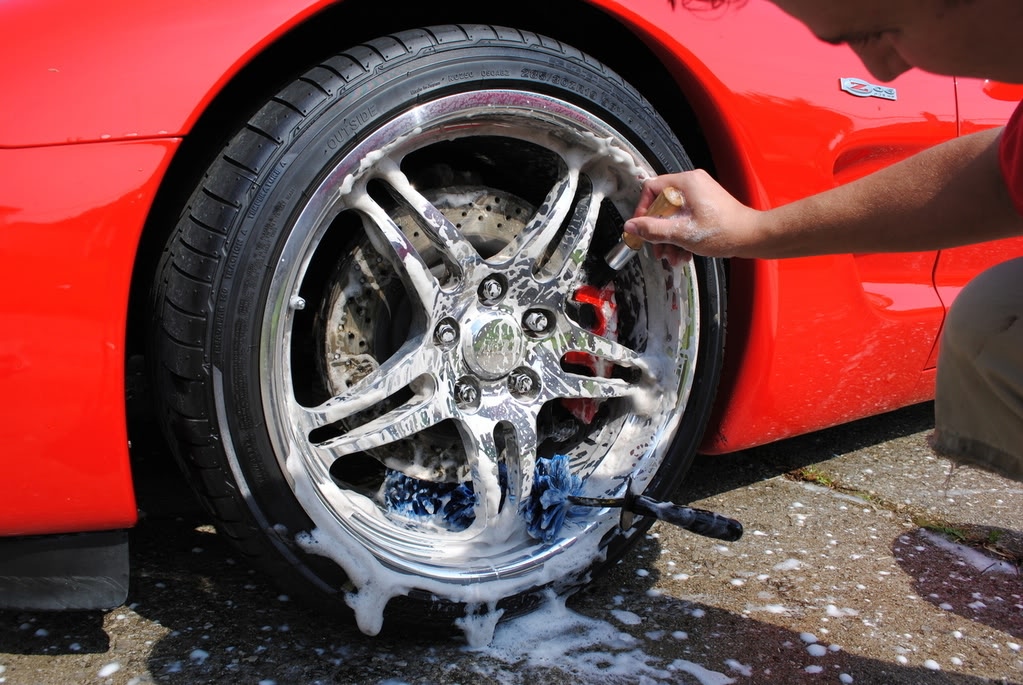
I first sprayed the Chemical guys Diablo Wheel Gel to let it dwell and break down all of the wheel grime while I got everything together for the wash.
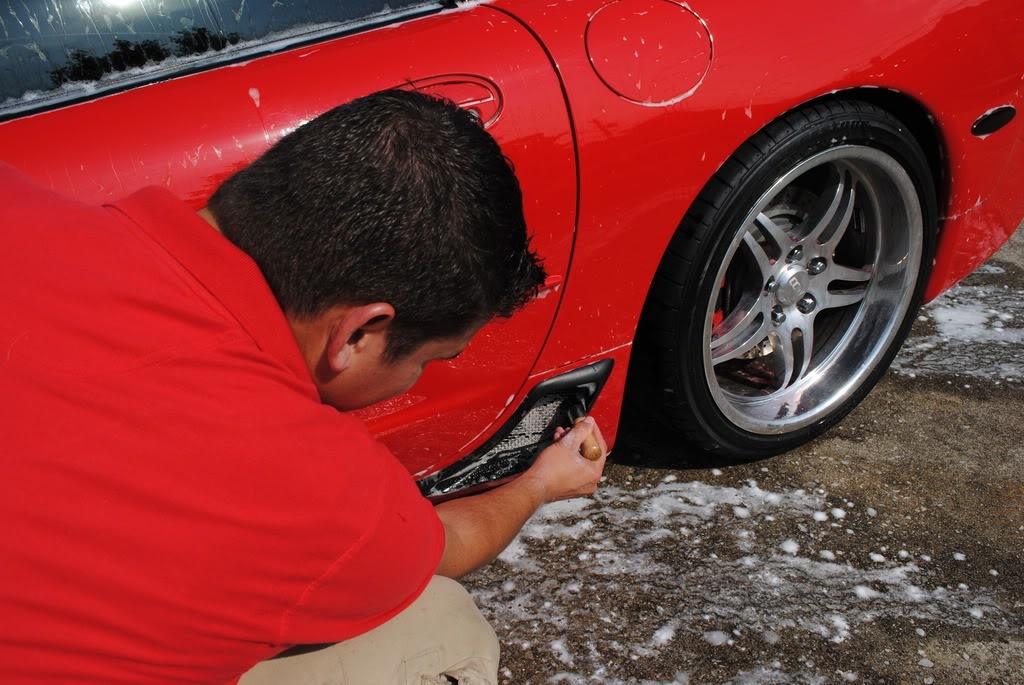
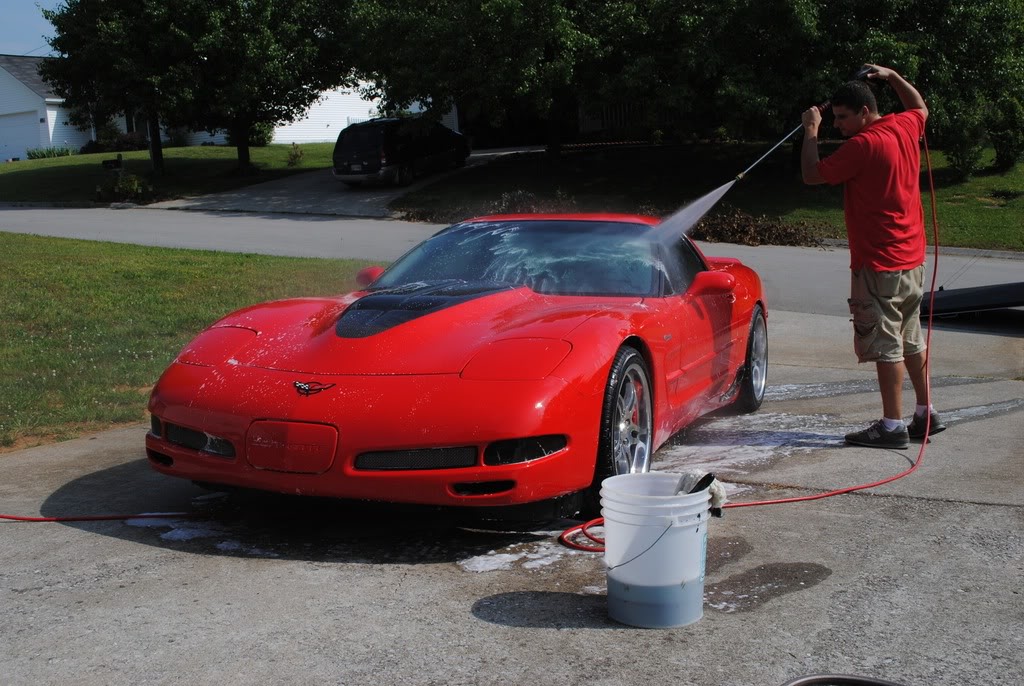
after that I presoaked the car knocking off anything big

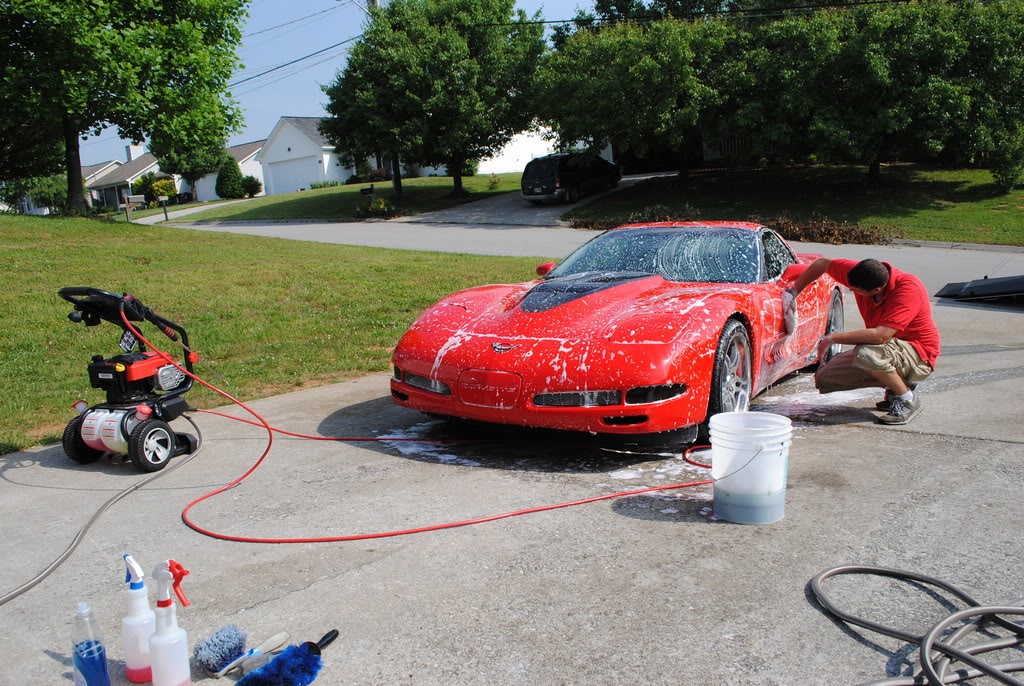
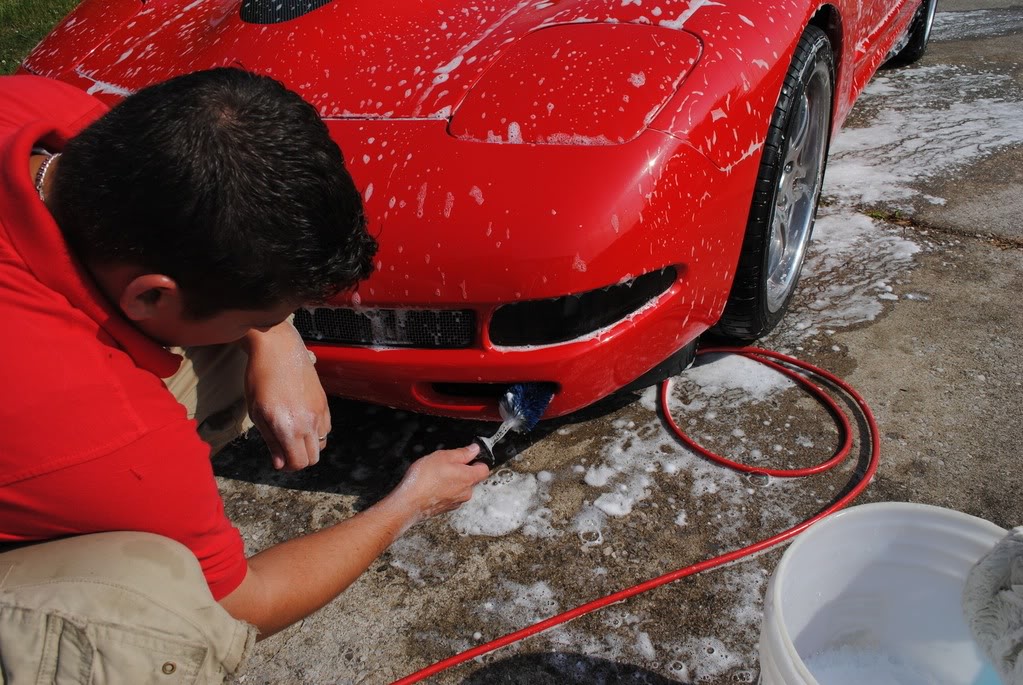
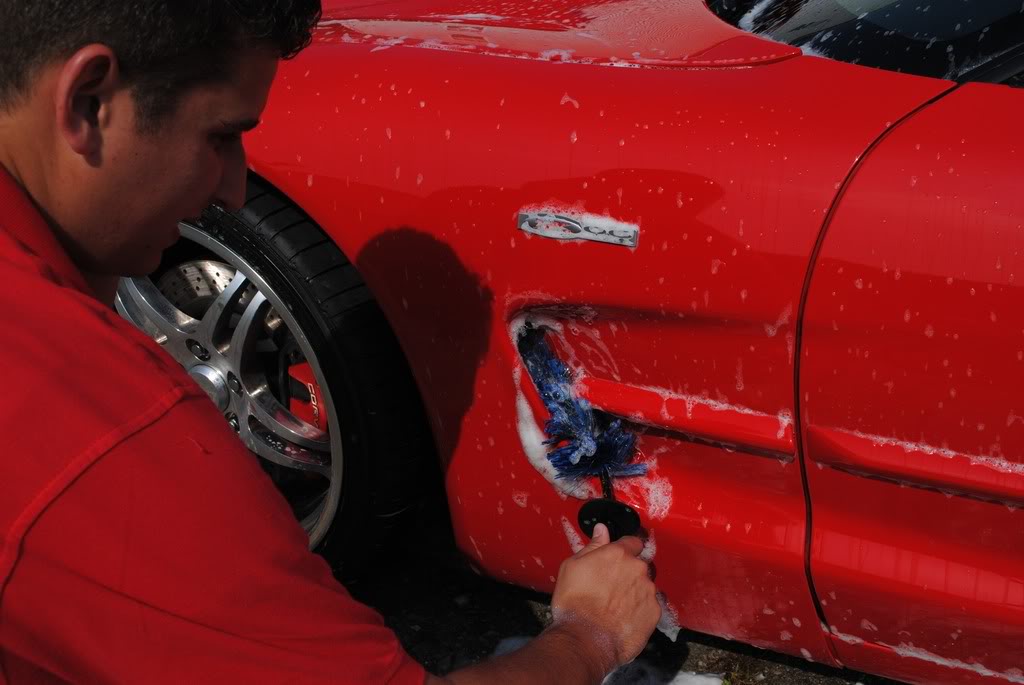
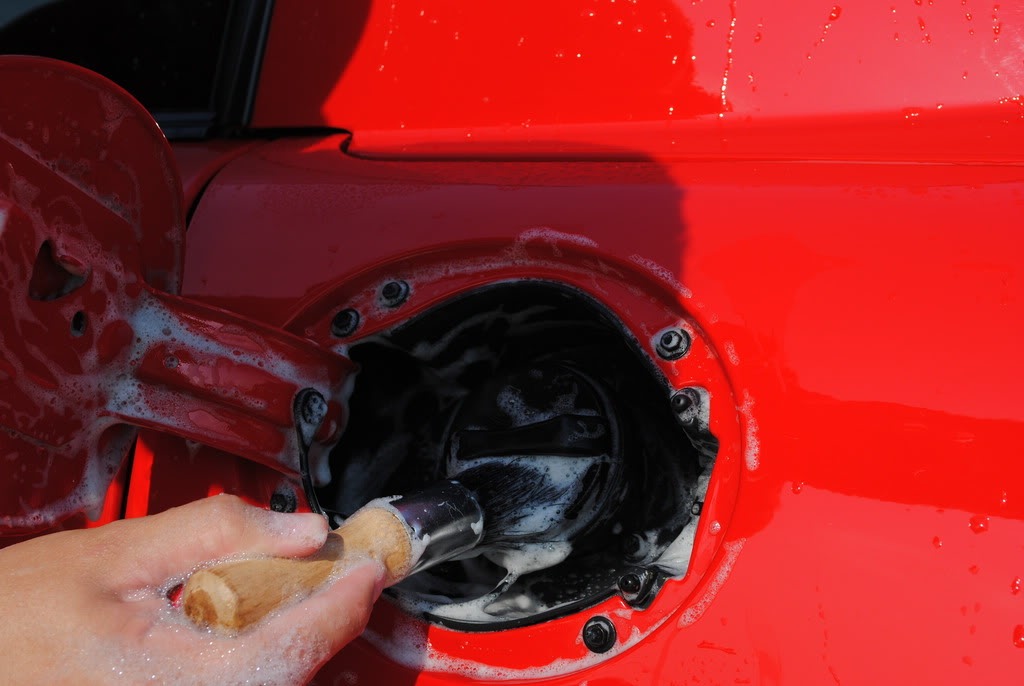
Using my EZ detail brushes, I got into all of the tight areas.
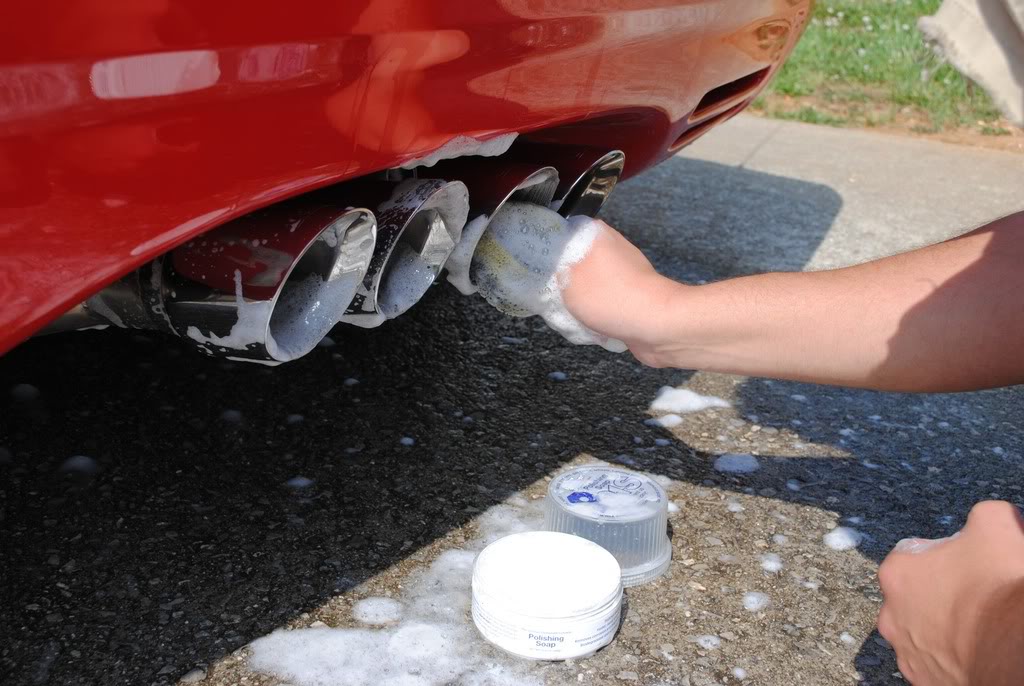
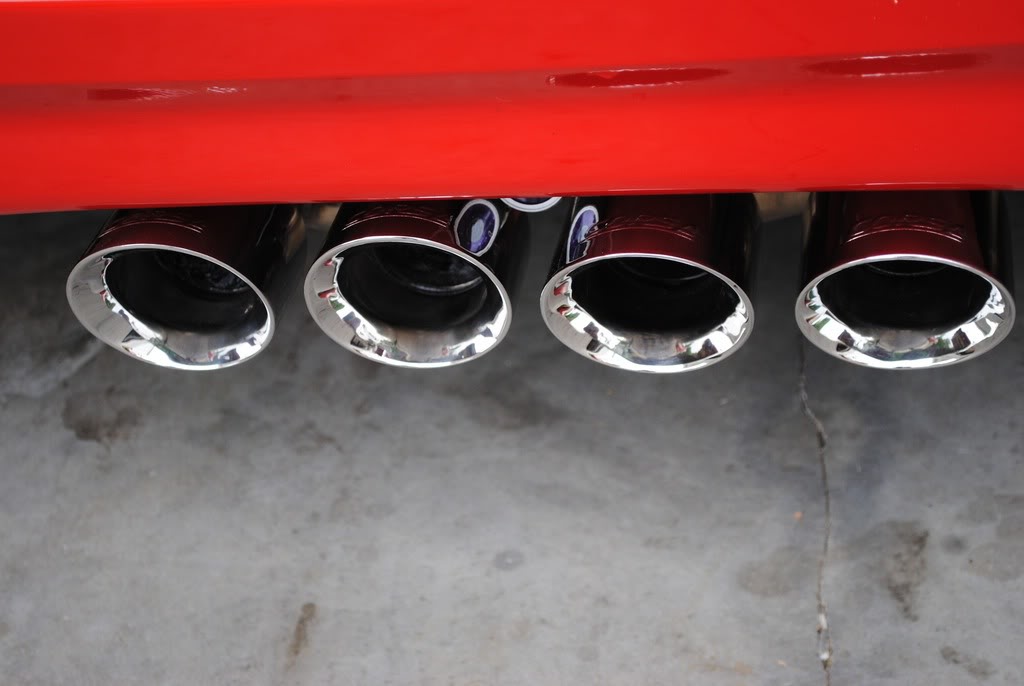
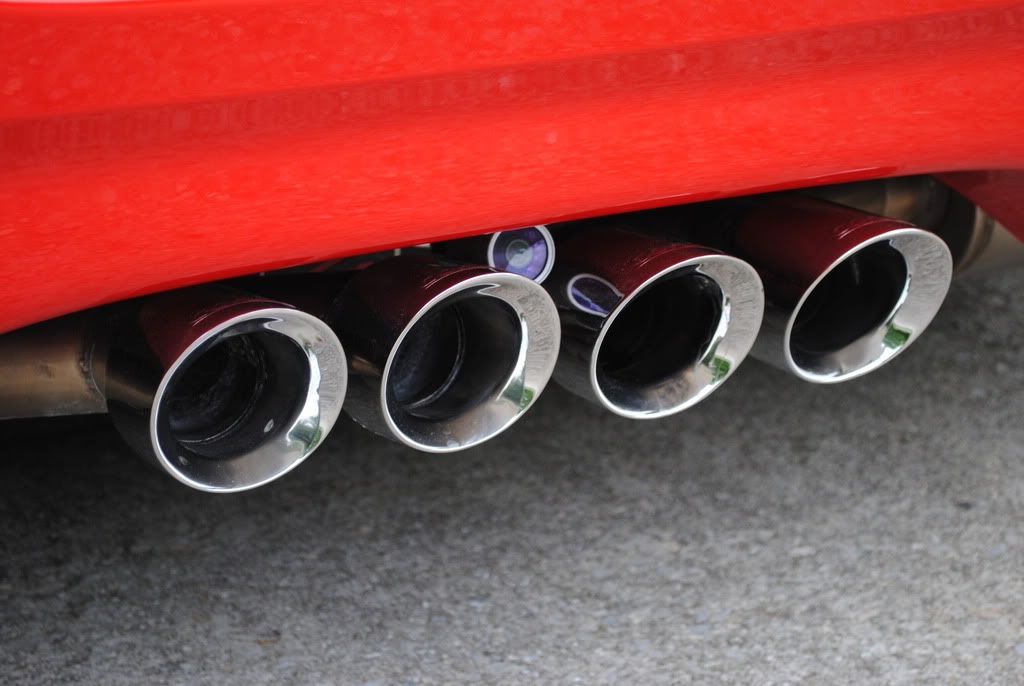
I polished out the tips using P21s polishing soap
After that, I went back to the wheels and gave them some scrubbin

This is after all of the waxes and fillers were removed.
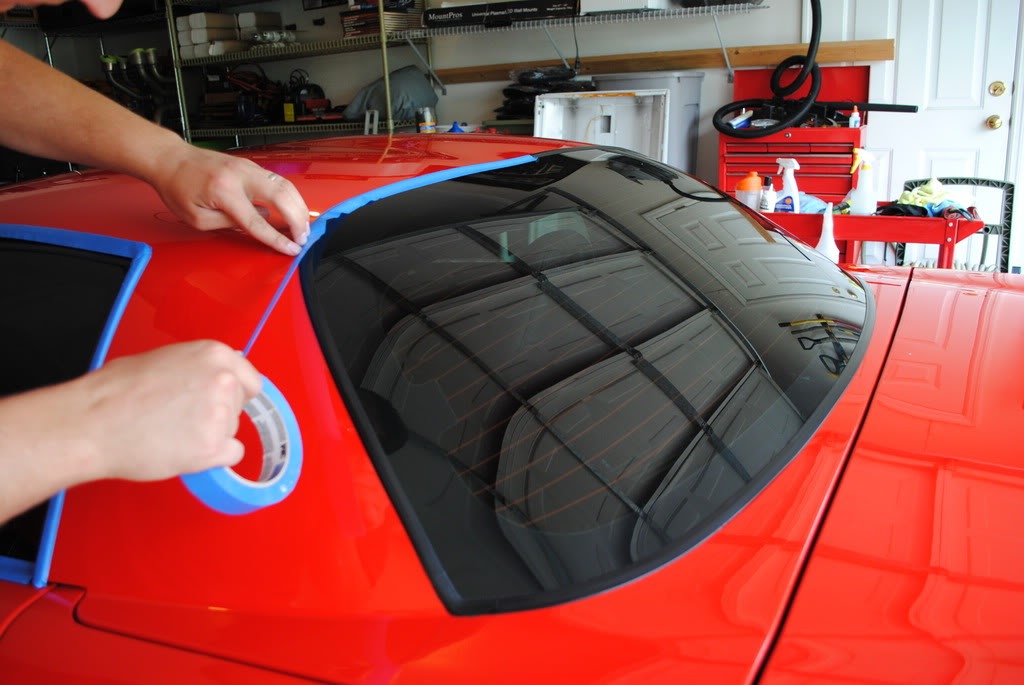
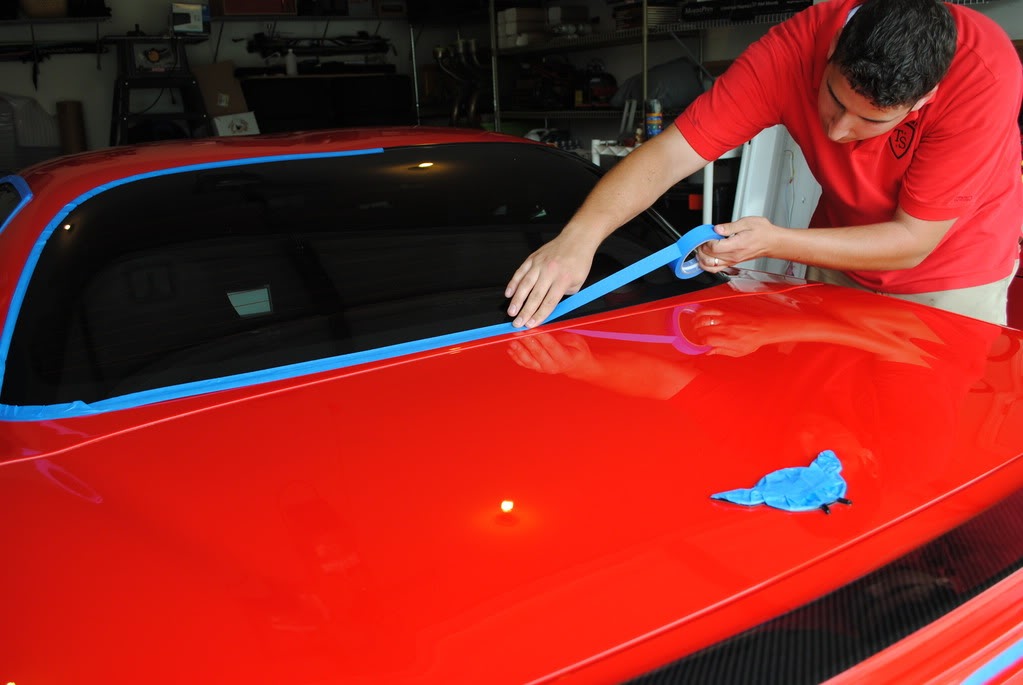
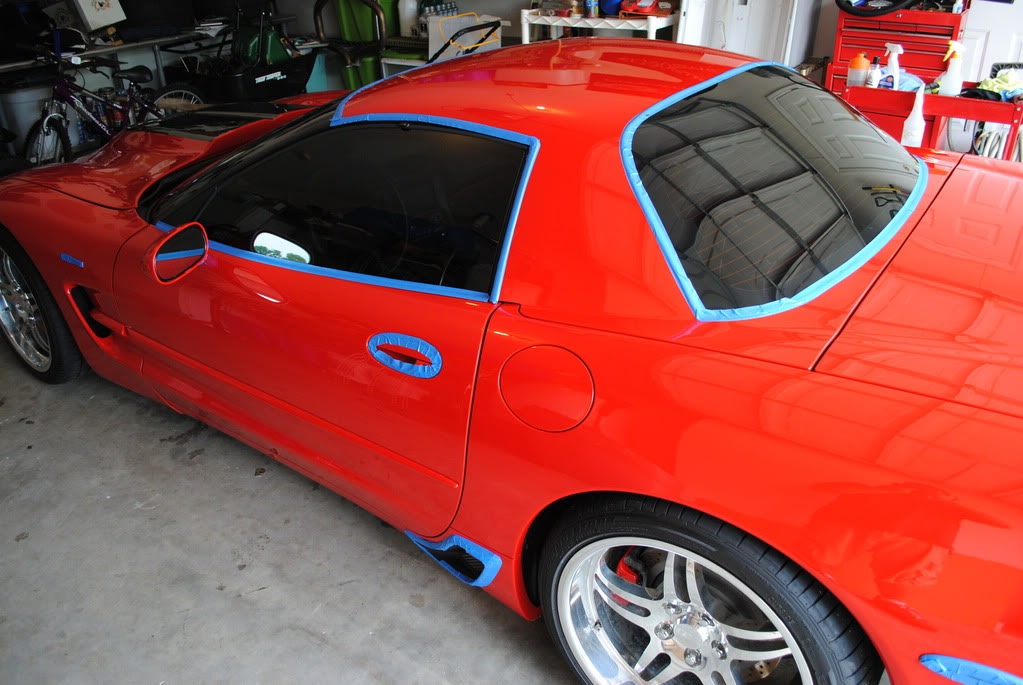
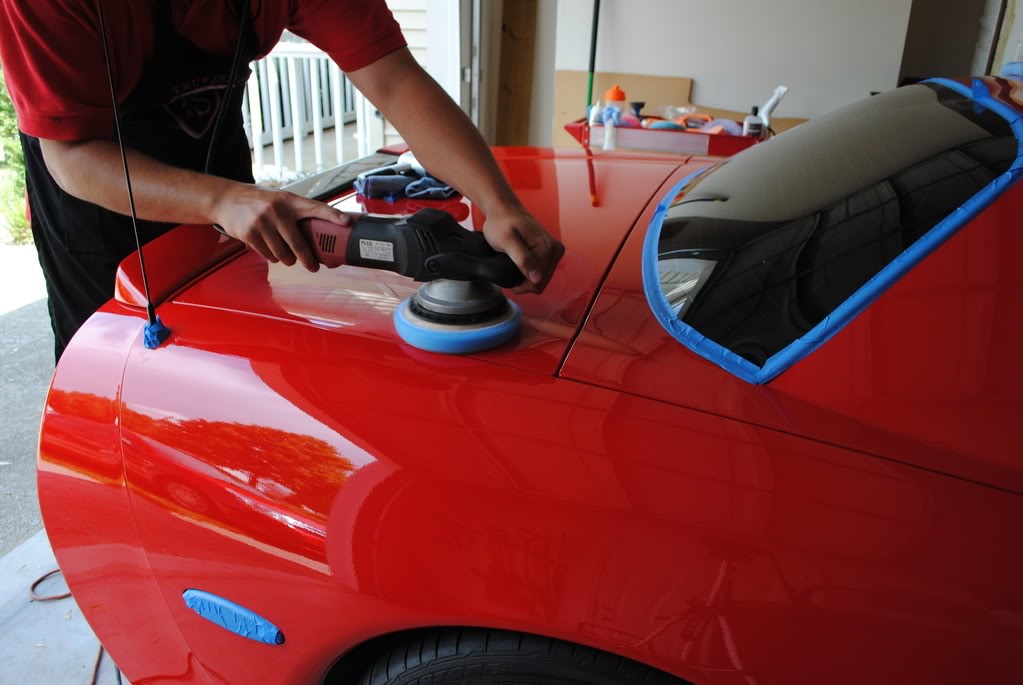
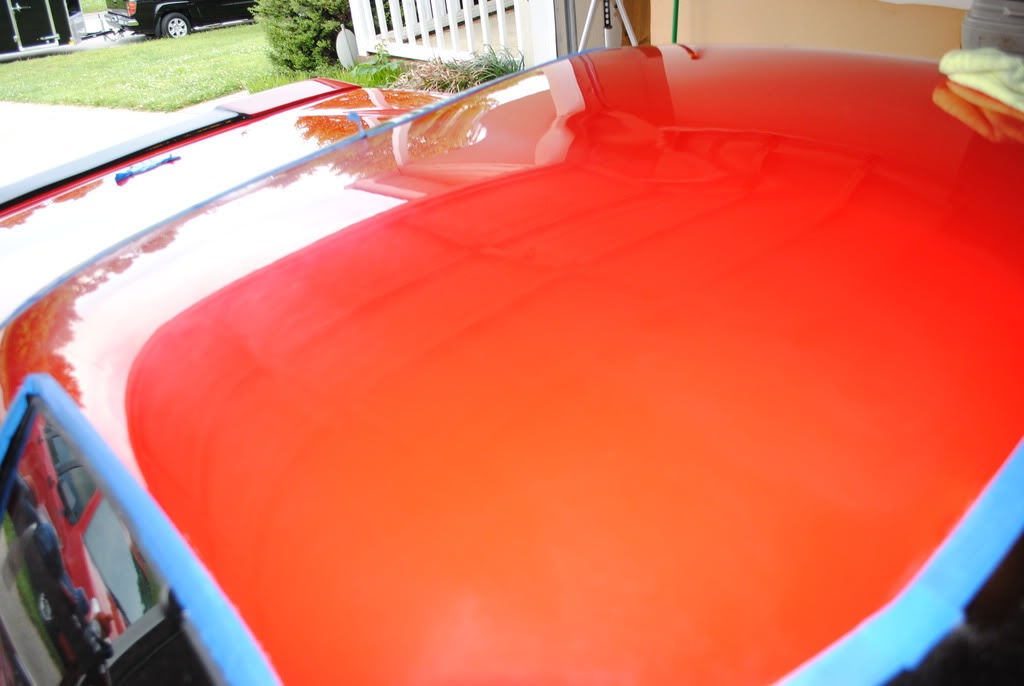
Now I pull the car in and get to taping it up

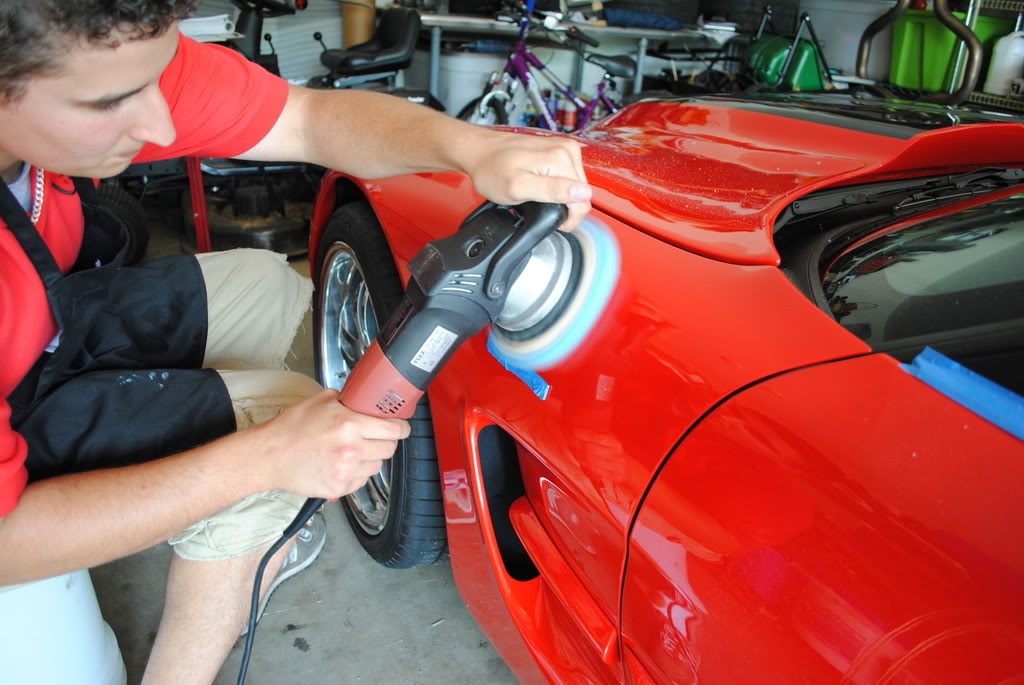
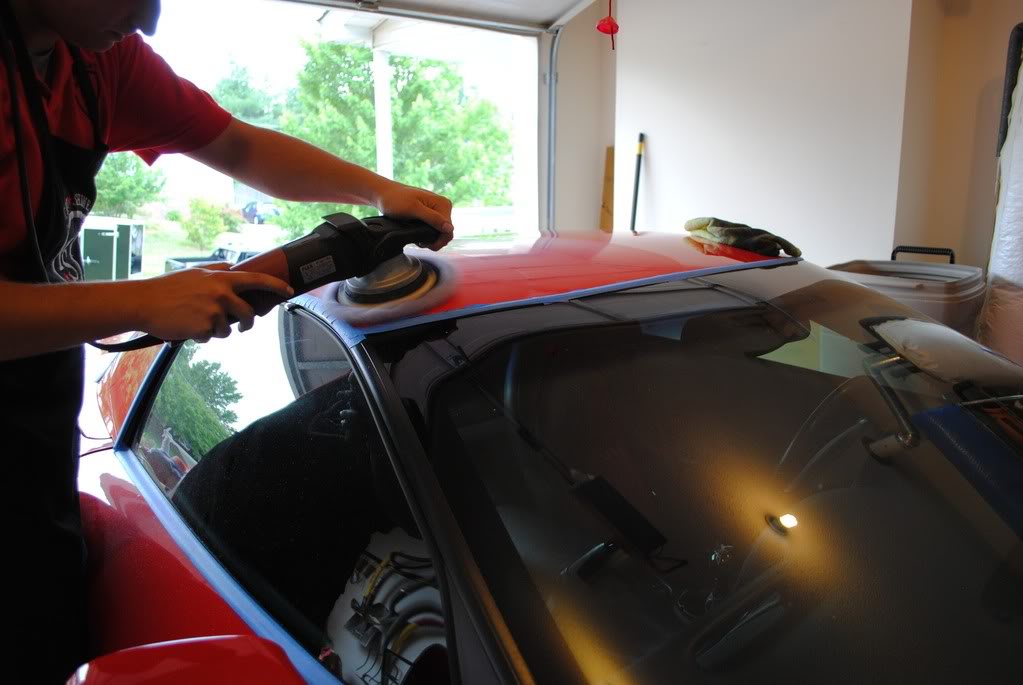
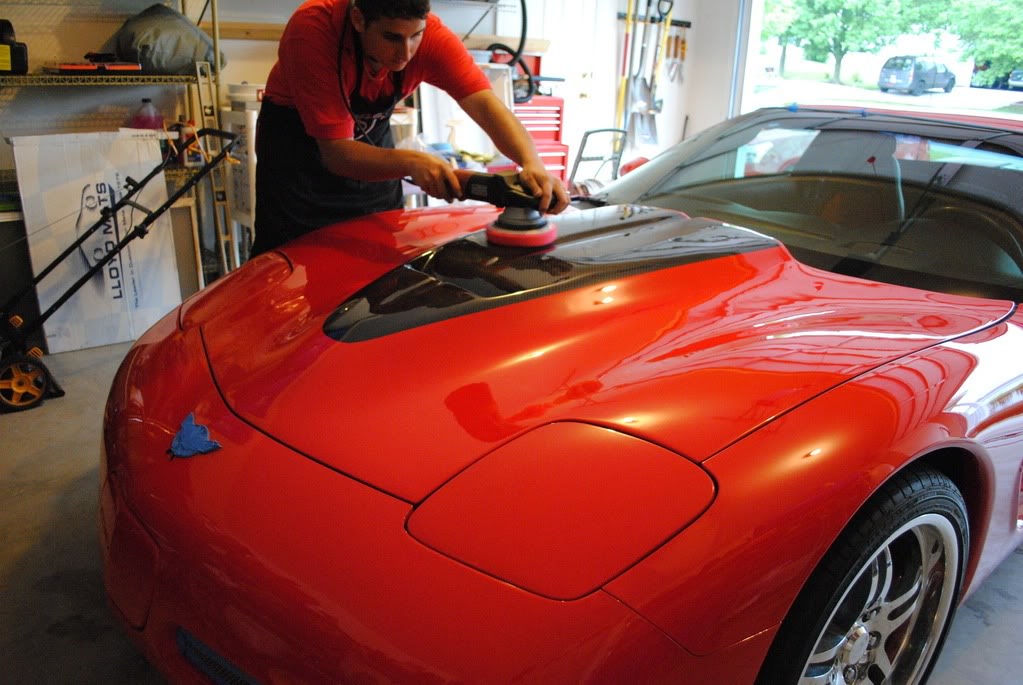
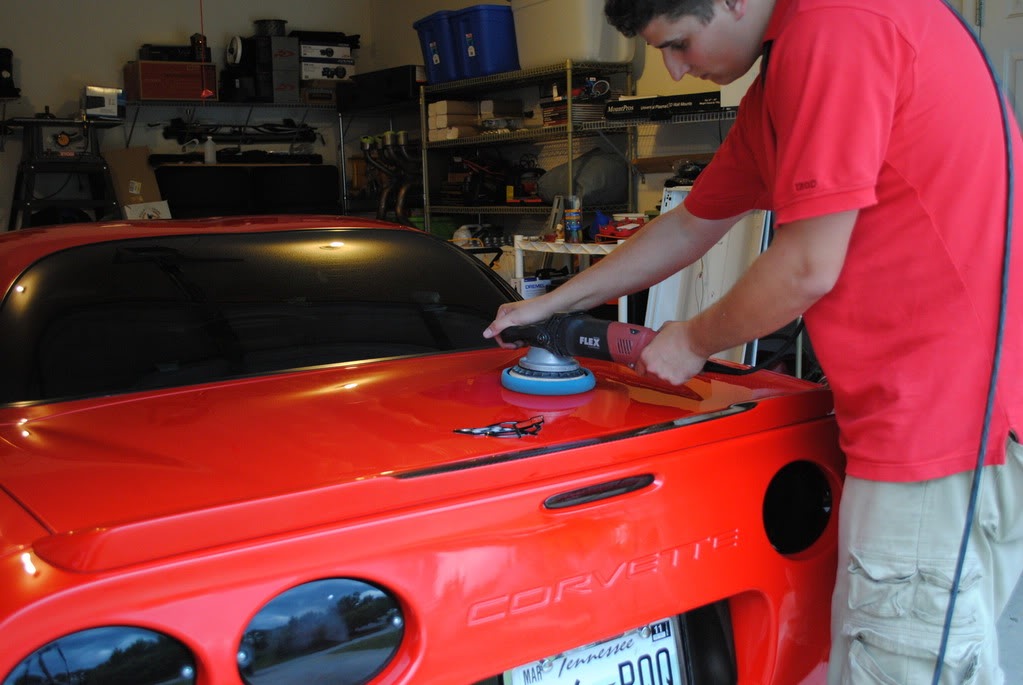
Once everything was taped up I began buffing the paint using my FLEX 3401 with the Cyan Hydro tech pad and Meguiar's M105 ultimate compound.
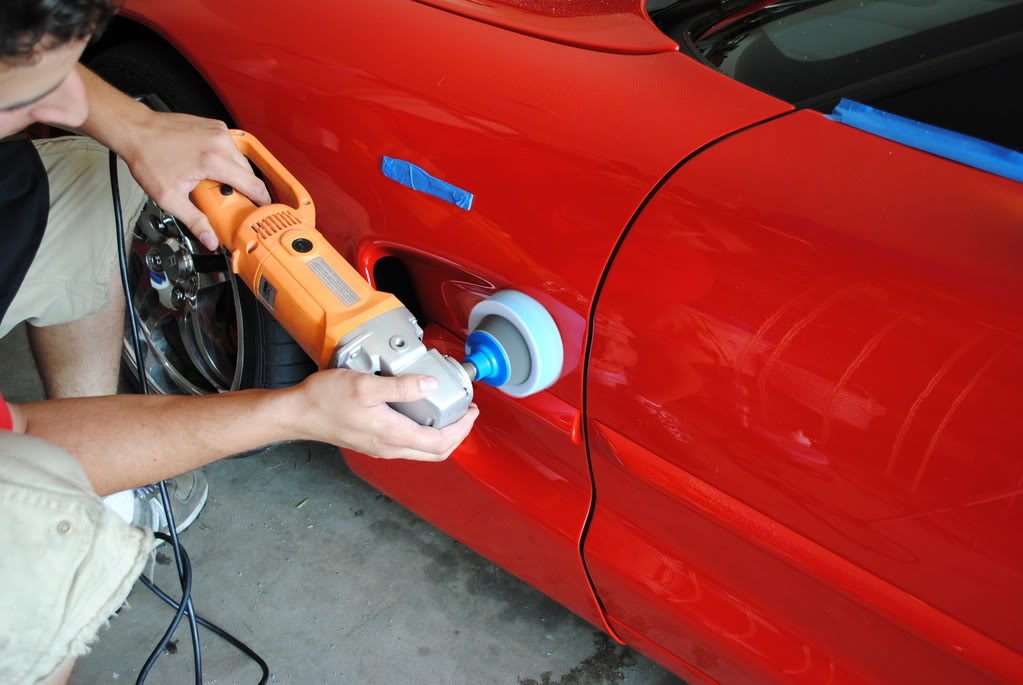
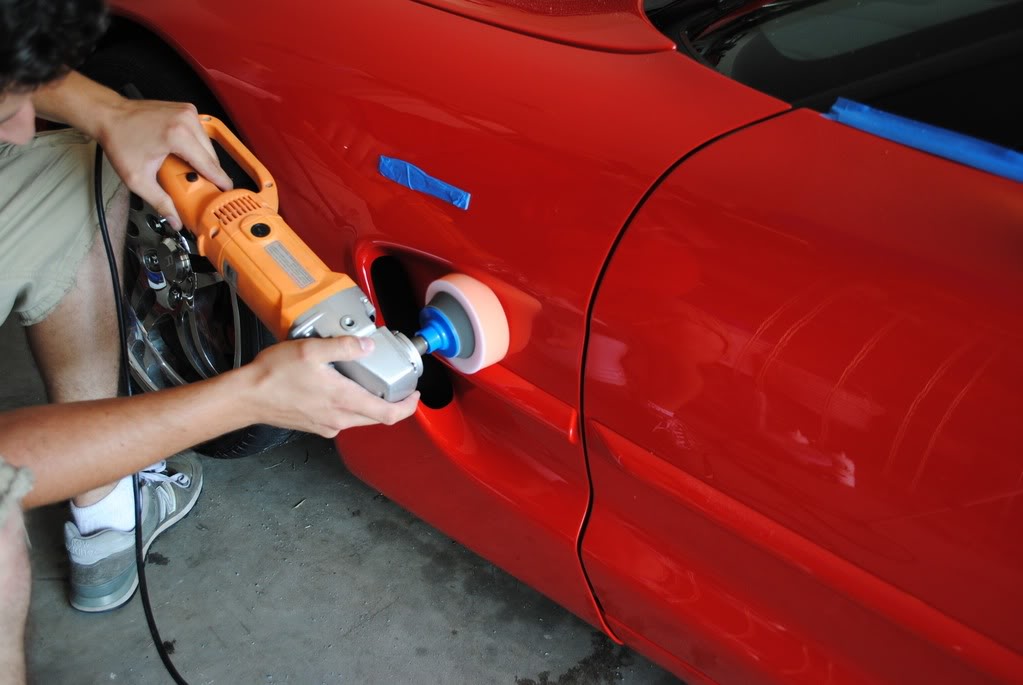
I used the Rotary buffer with a GlossIt 3" foam backing plate with a Cyan Hydrotech 4" pad to get in all of the small areas
Followed by the 4" Tangerine Hydrotech pad w/ M205 for the polishing of these areas
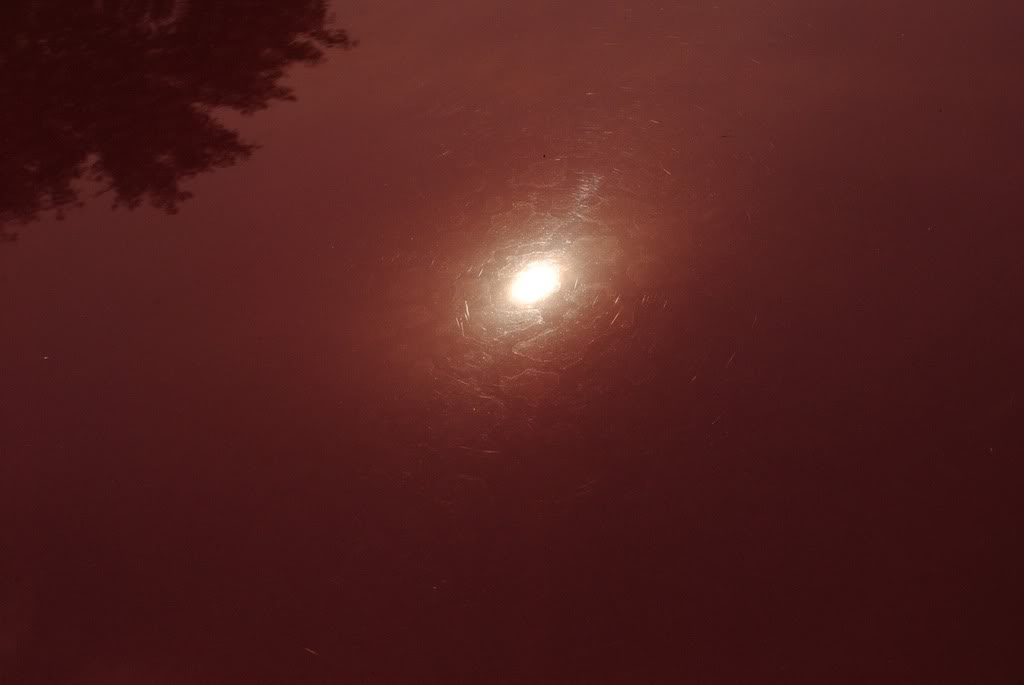
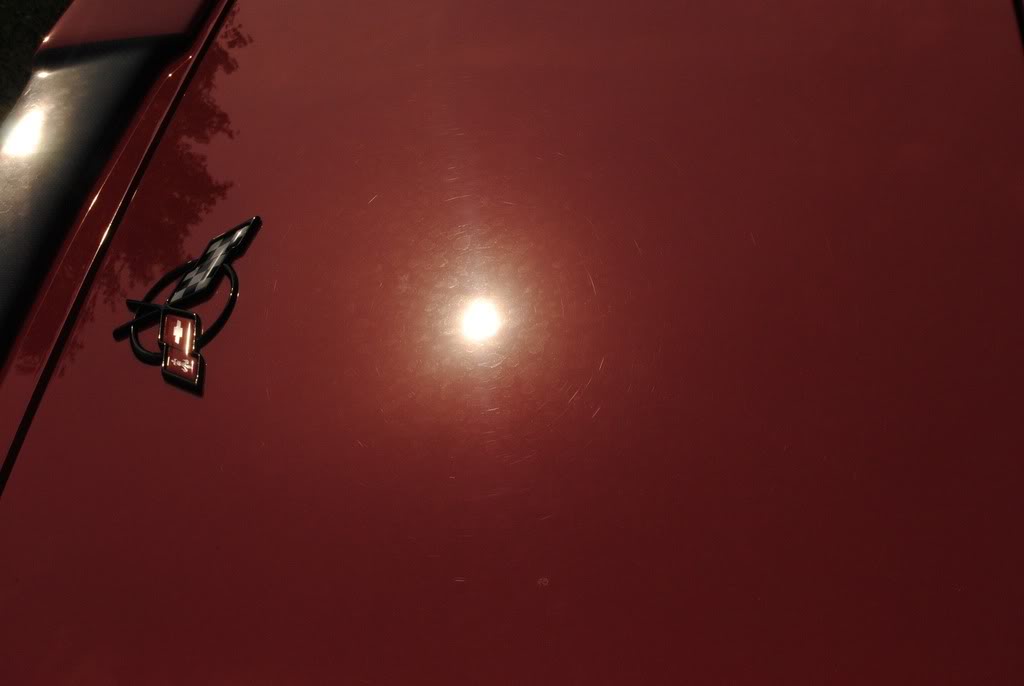
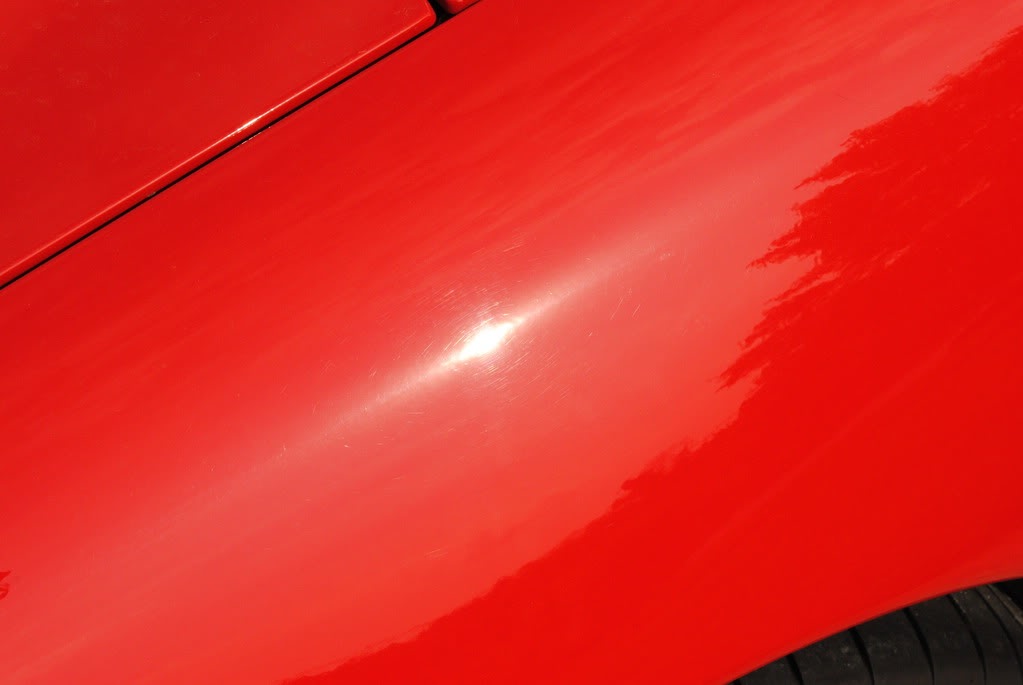
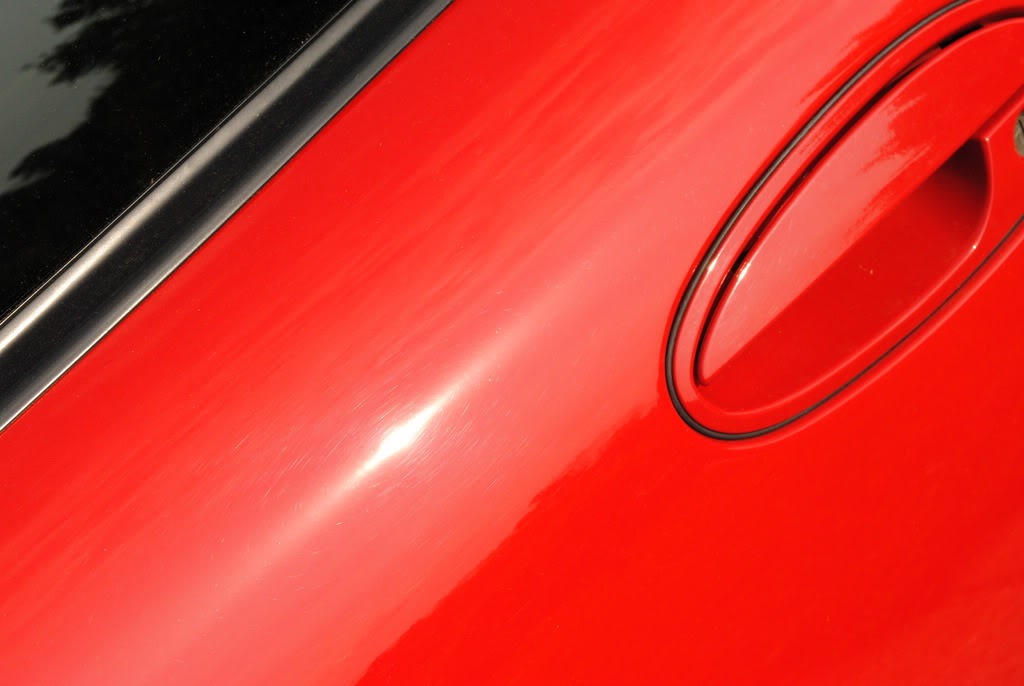
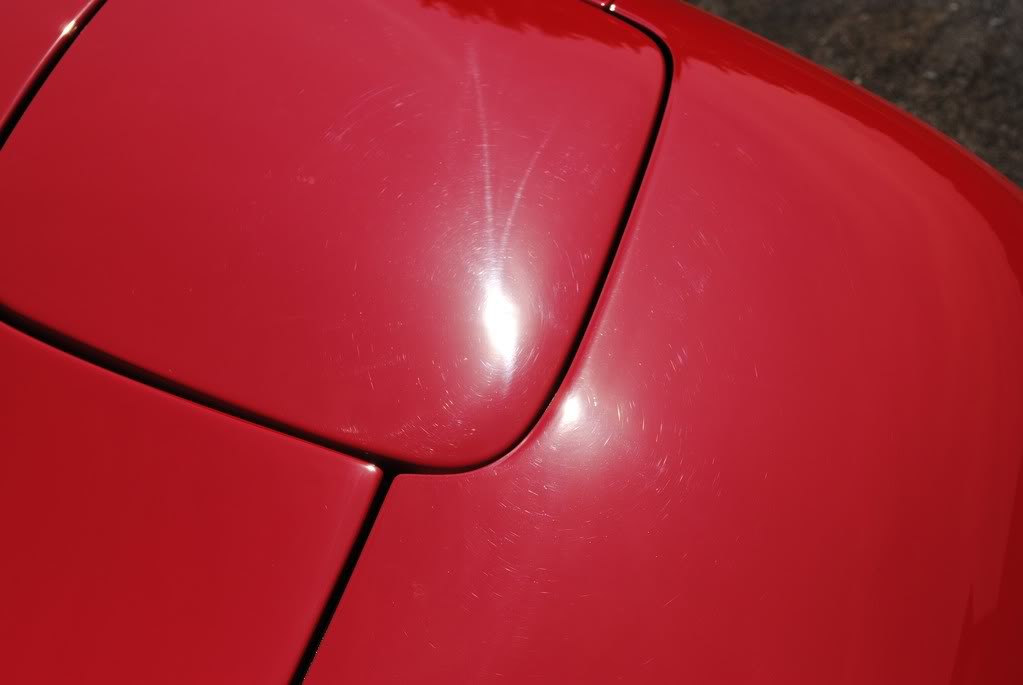
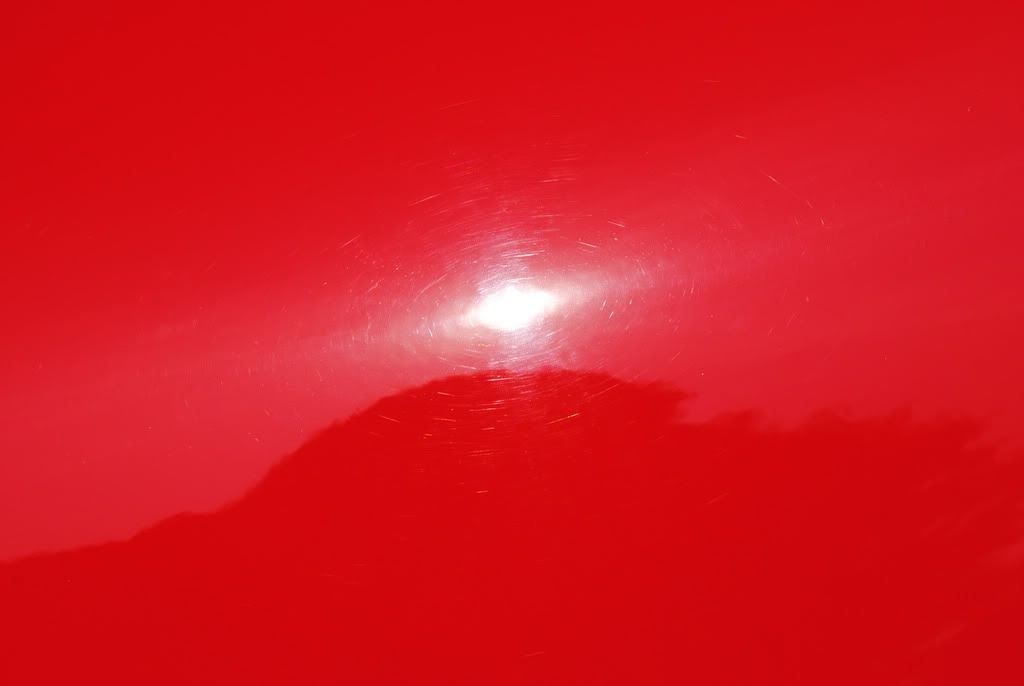
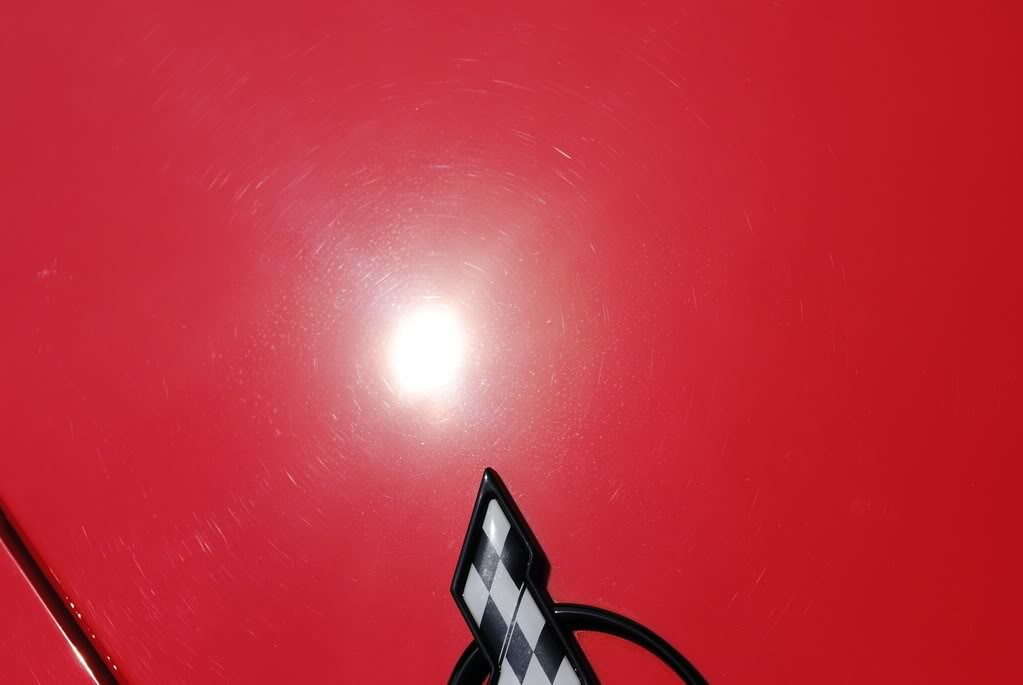
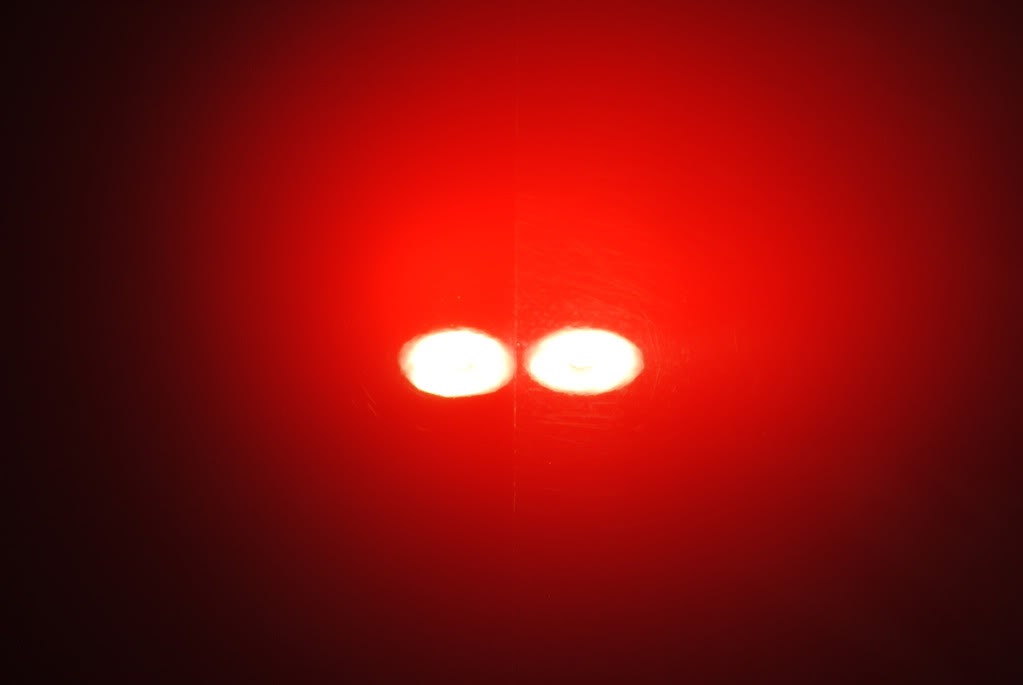
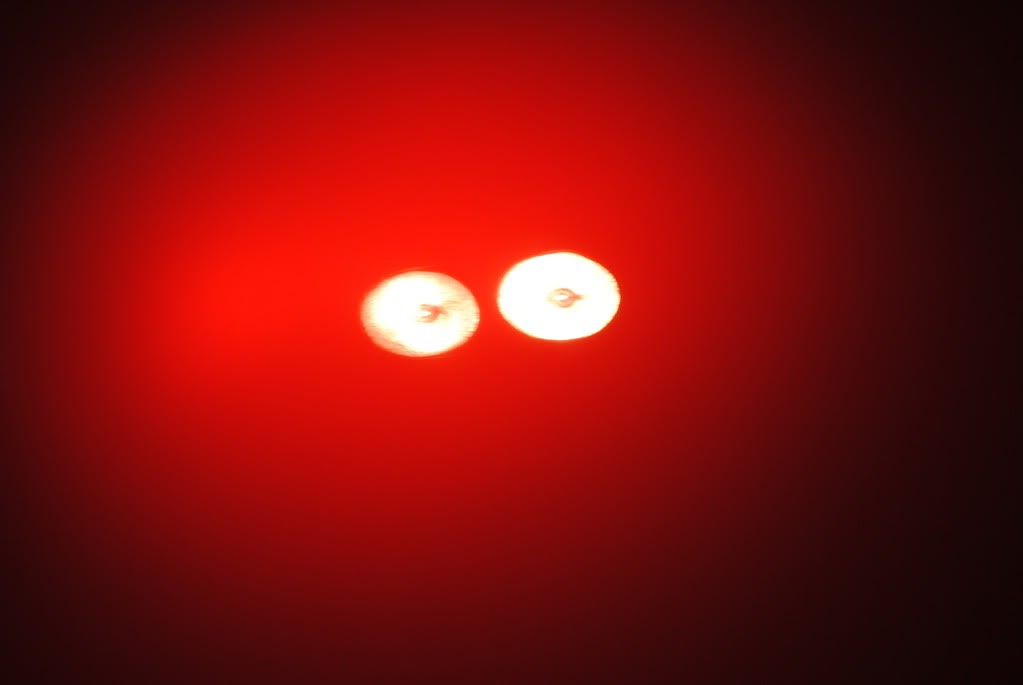
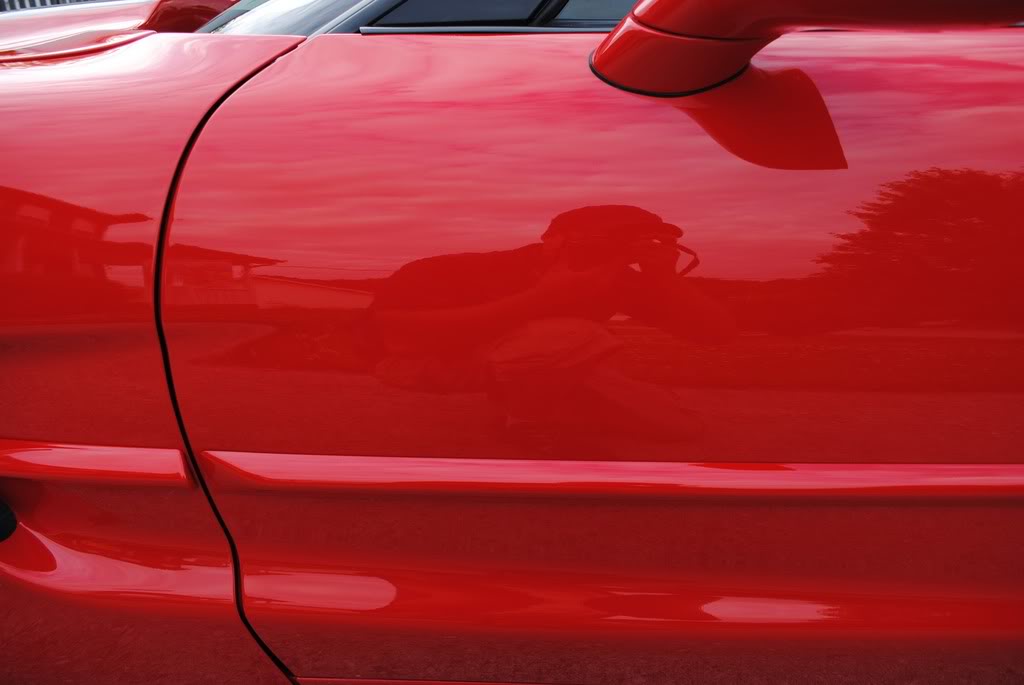
This red was making it very difficult to capture the defects in the light but I managed to get a couple. here is a 50/50 using my Brinkmans duel xenon swirl finder light

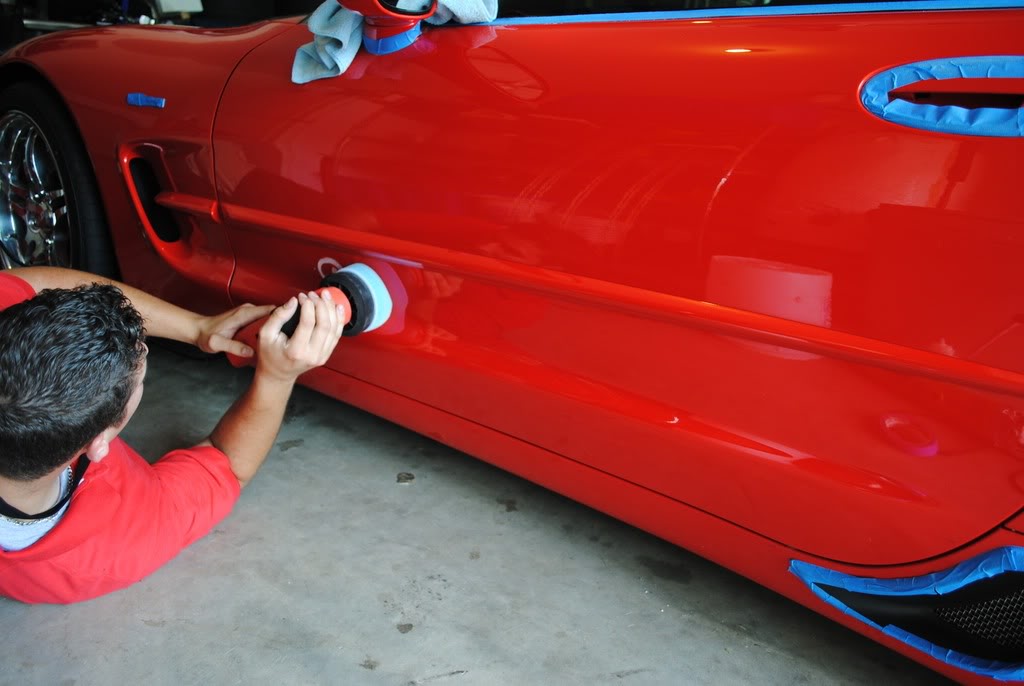
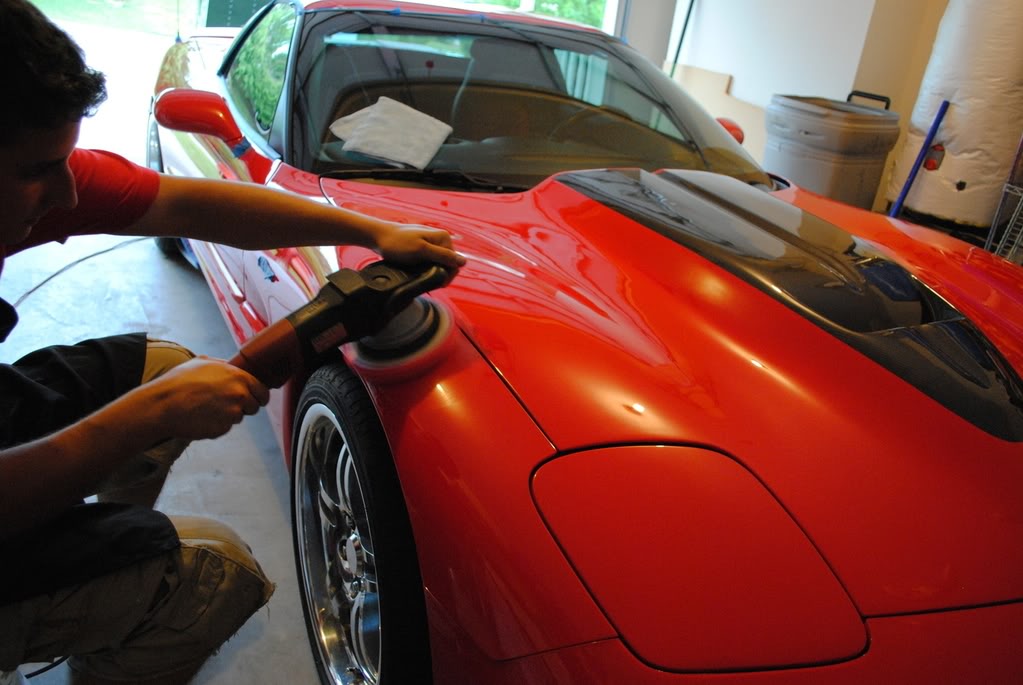
I used the Griot's Garage 3" orbitl polisher w/ 4" backing plate to get all of the areas that the Flex couldn't get.
I usually start at the Driver fender and make my way arround to the passenger side

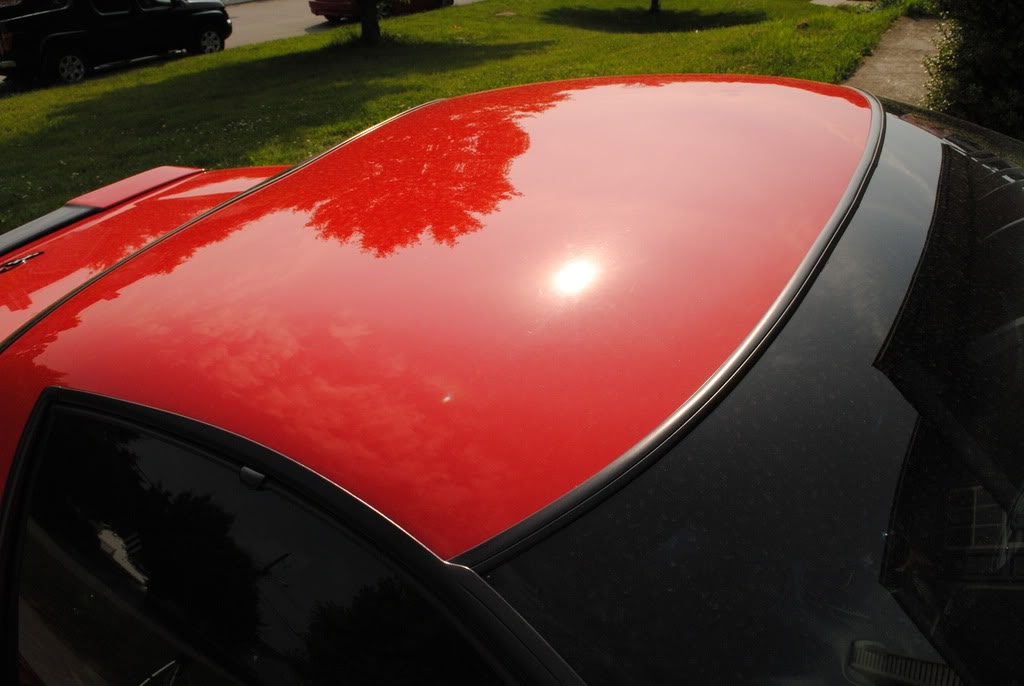
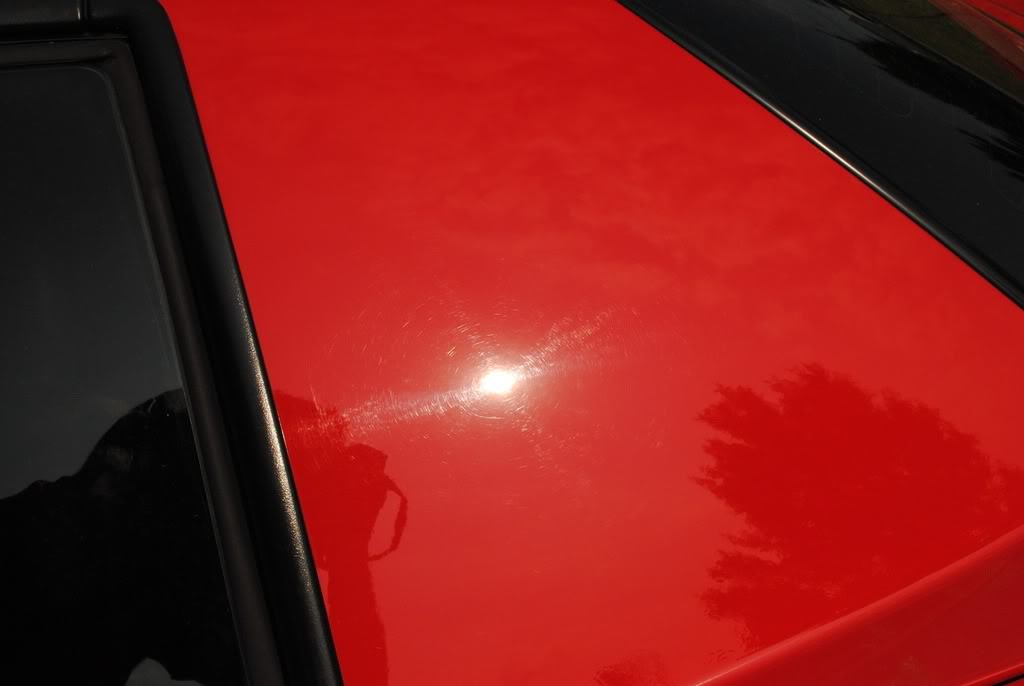
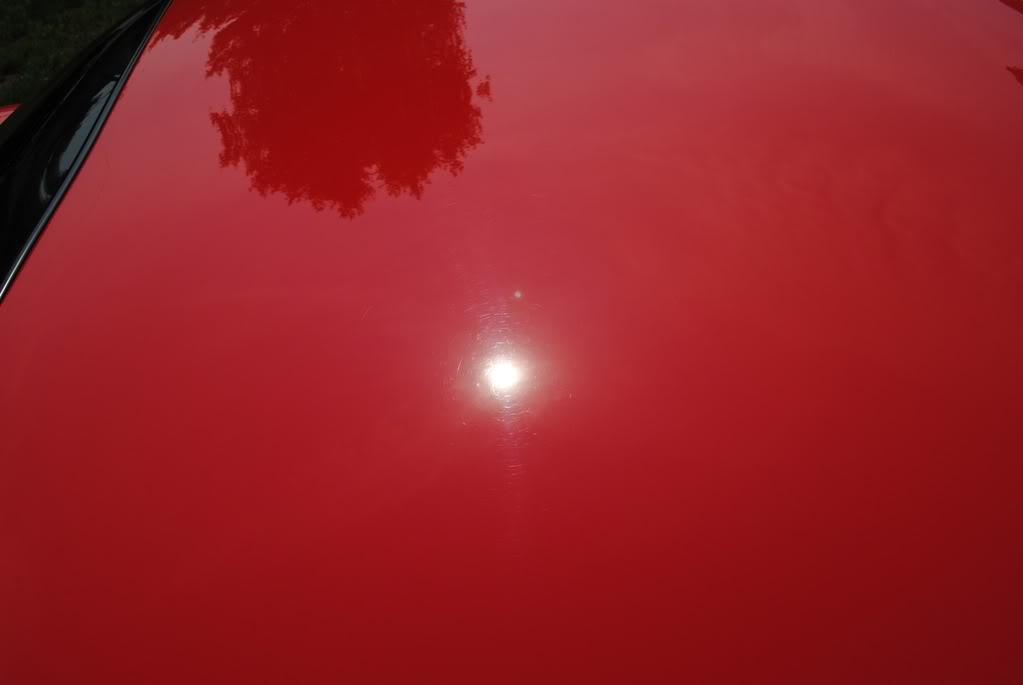
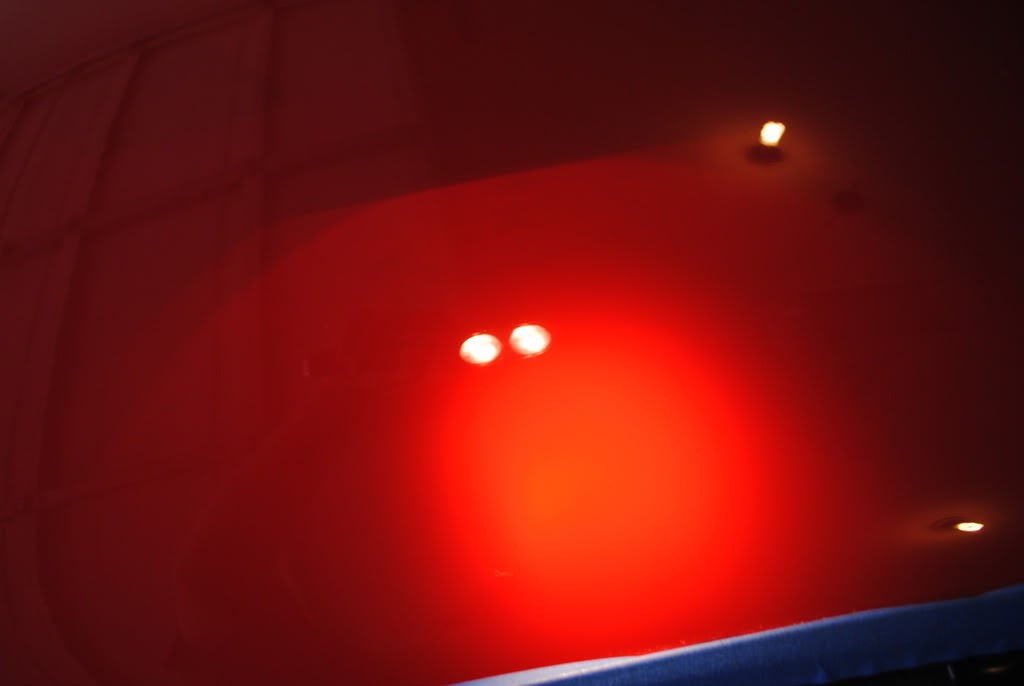
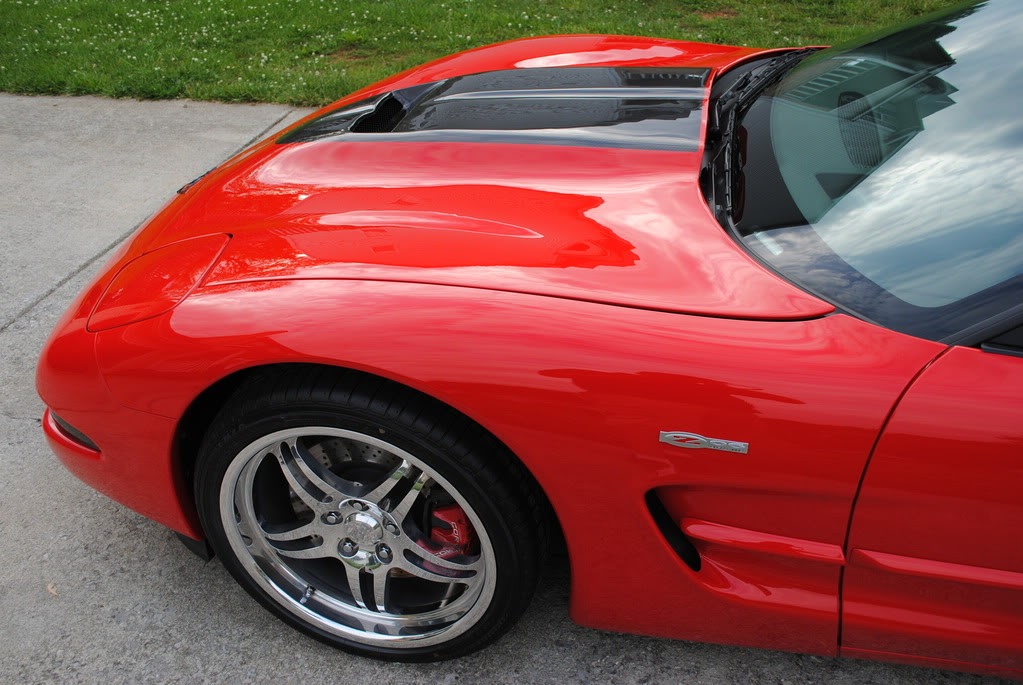
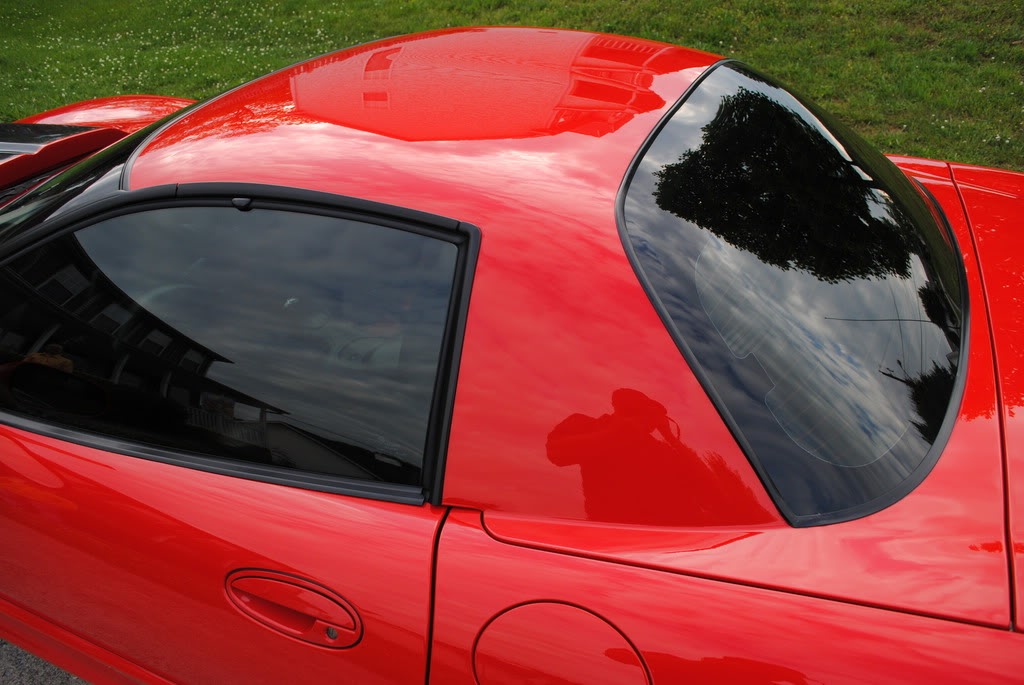
I check each panel using the Brinkmans duel xenon light, look at that clarity!
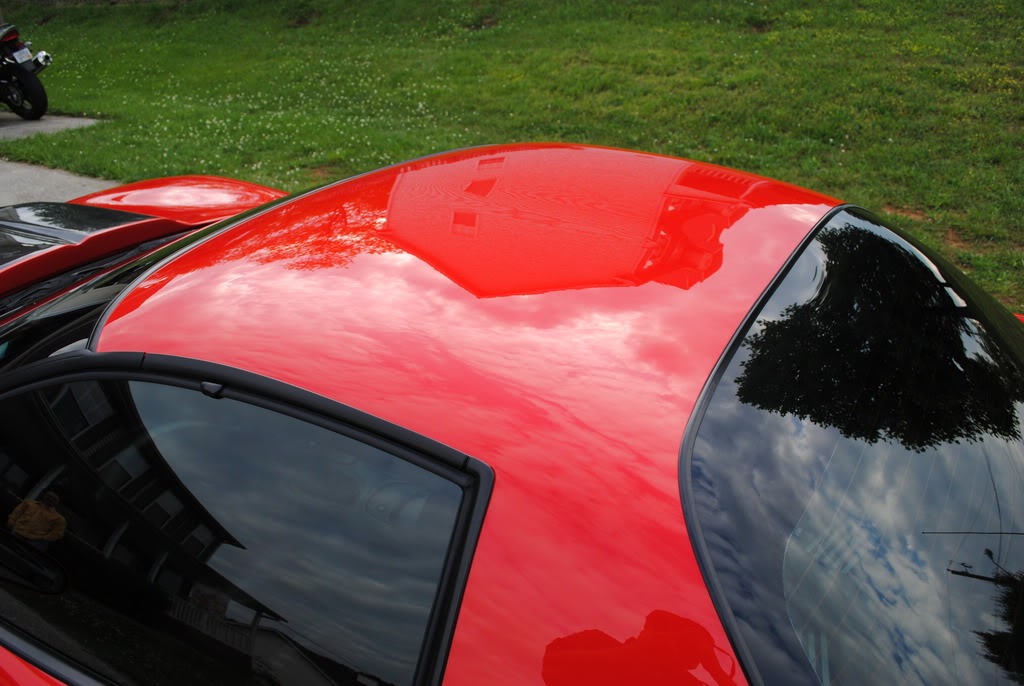
The whole roof had some acid rain etching that wasn't buffing out easily, So I wet sanded with 3000 grit to knock off a very fine level of the clear to remove the etching.
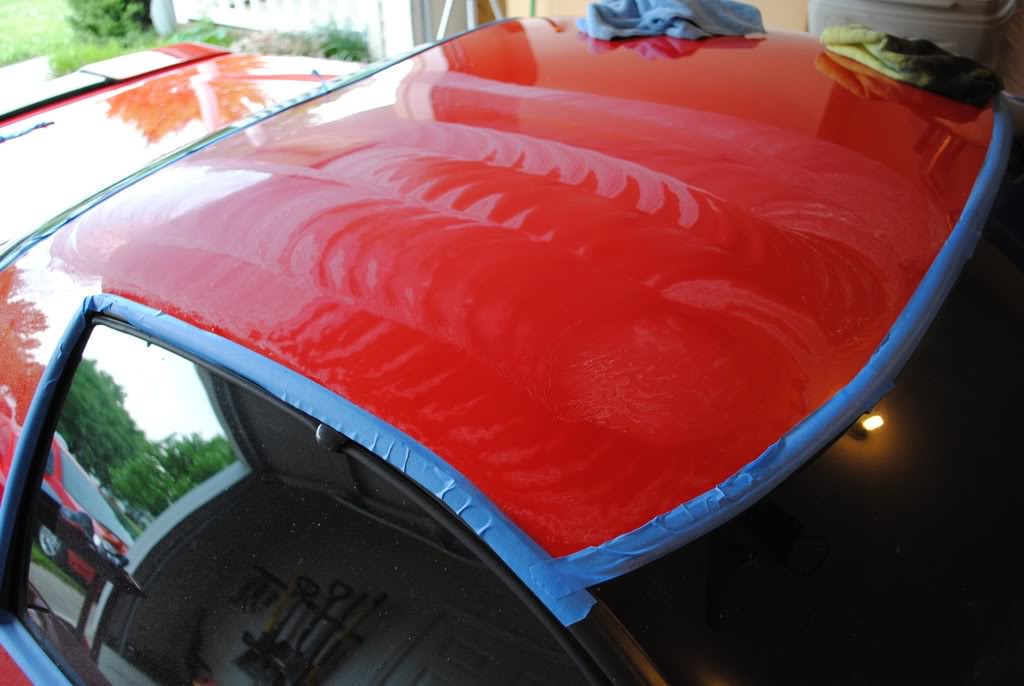
I removed the 3000 grit wetsand marks using a Lake country Purple Foamed wool pad and Meguiars M105
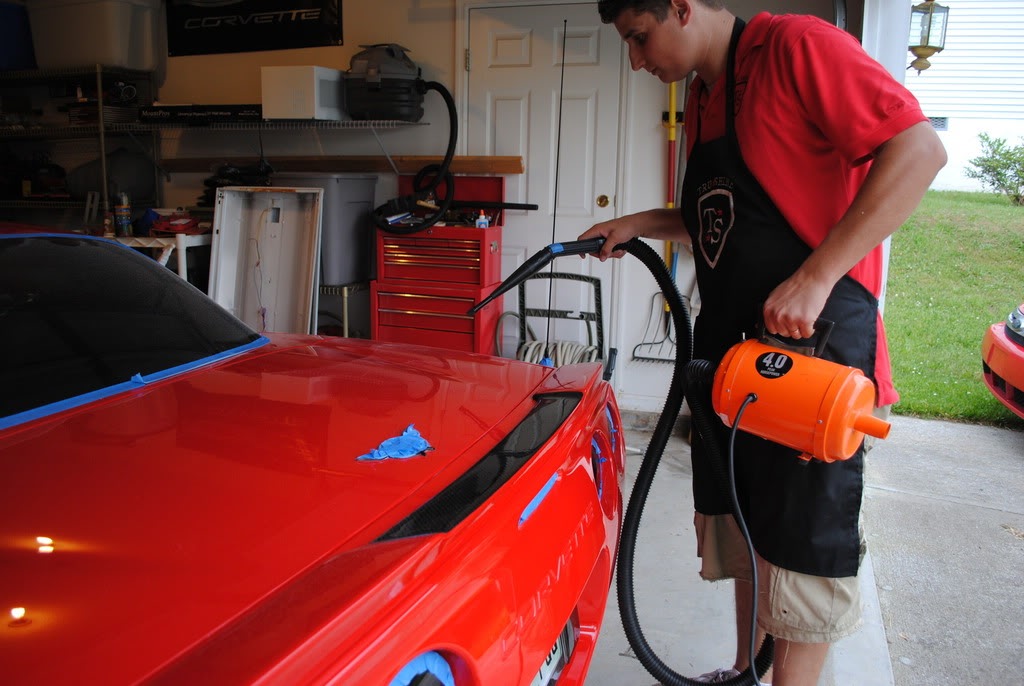
After the Dusty compounding stage I use my Metro Magic Air to blow out all of the crevices and to get the dust off the car. I attach a vacuum hose with crevice tools to get high psi coming out of the tip.
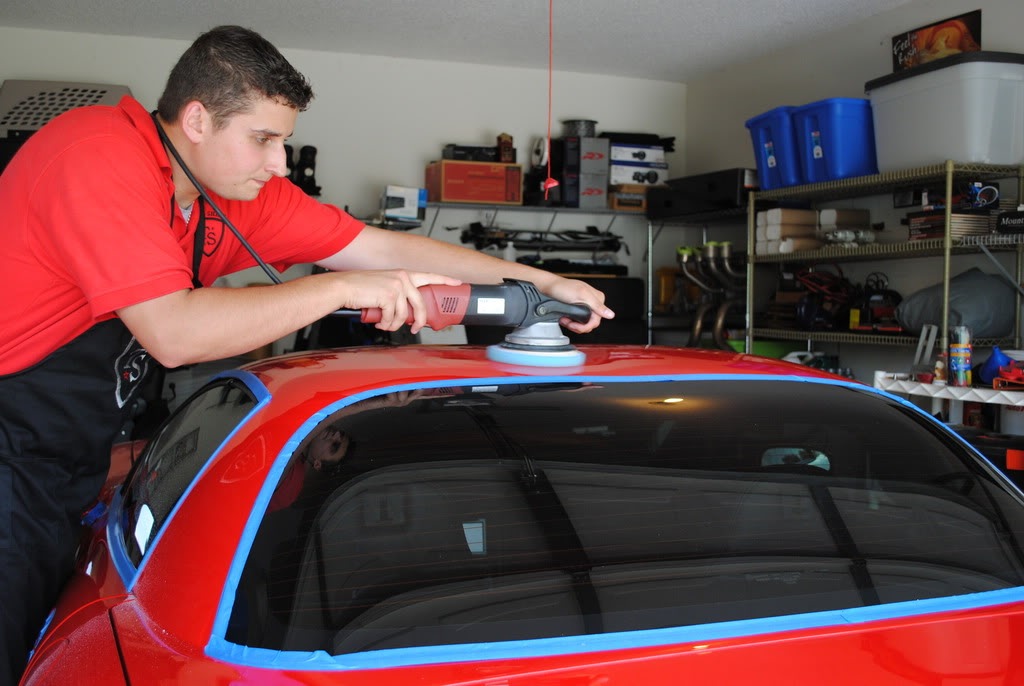
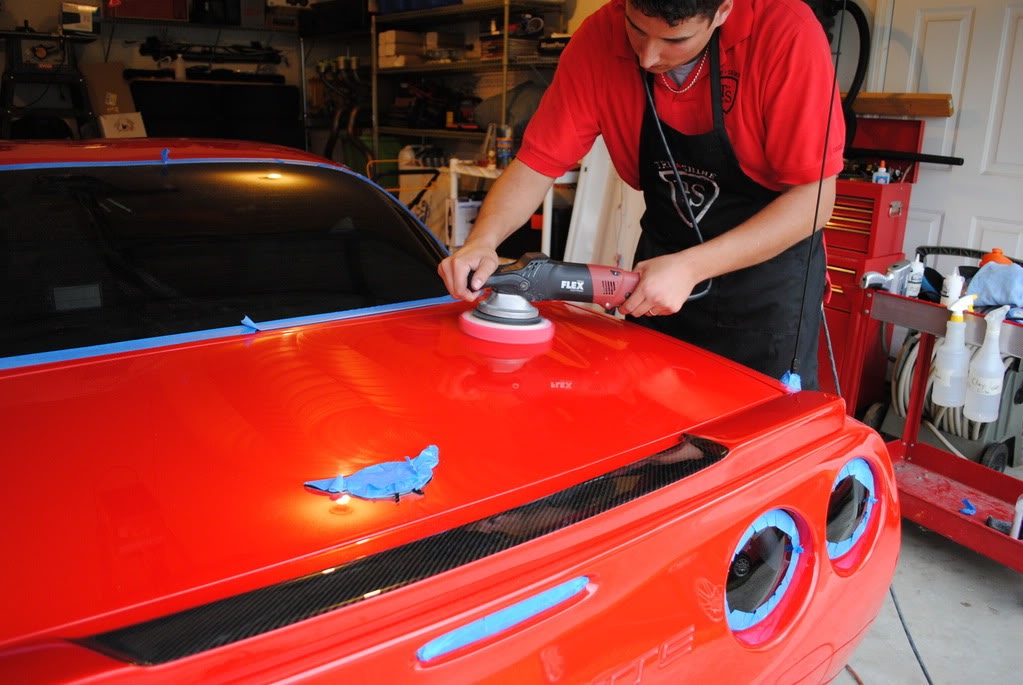
The compounding stage is finally done, Now its time to use the new Lake country Crimson hydrotech pad via Flex 3401 and Meguiars M205 Ultra Finishing polish
I removed all of the tape and applied Black Fire Wet Diamond to the paint using a Lake country Blue finishing pad via Flex 3401.
So while the Black Fire Wet diamond was Curing I took care of a few Misc defects
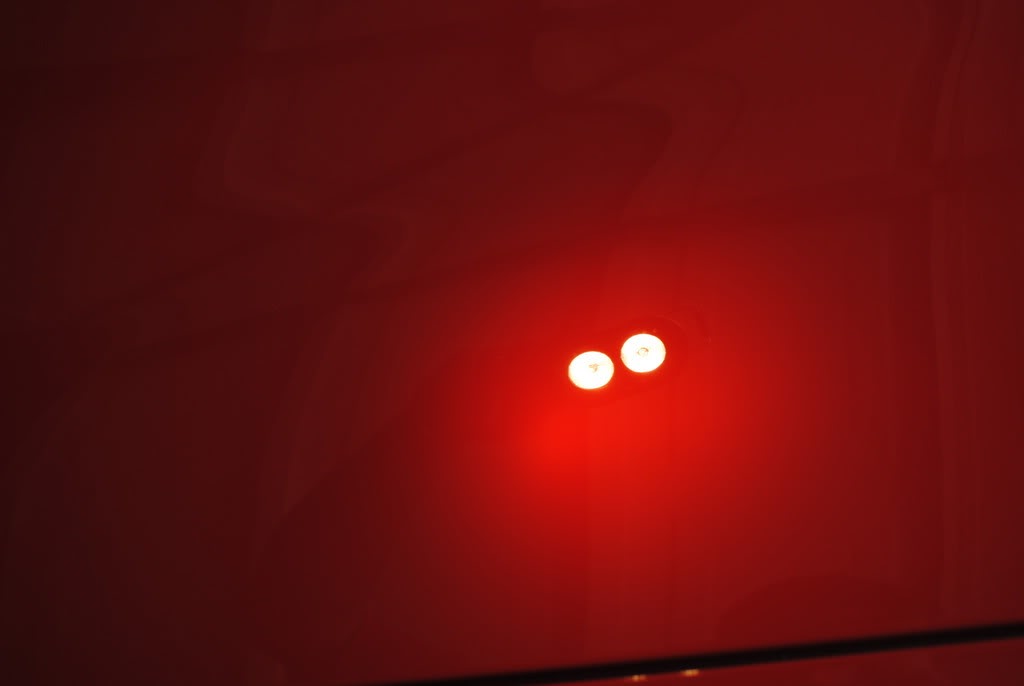
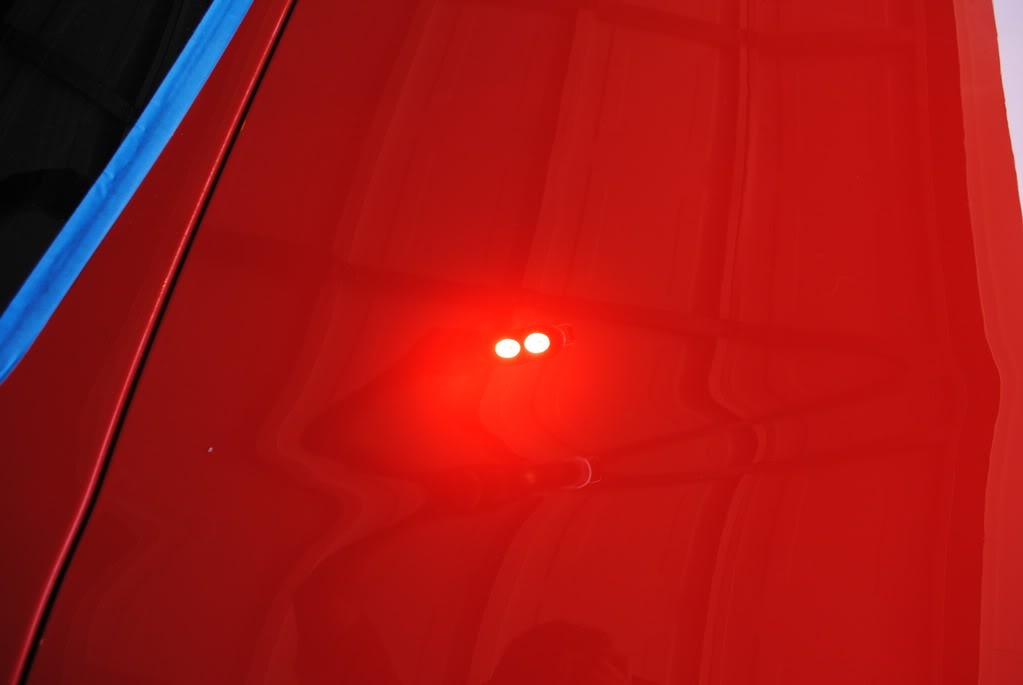
One problem was the reverse light lense had a scuff on it that the owner wanted removed

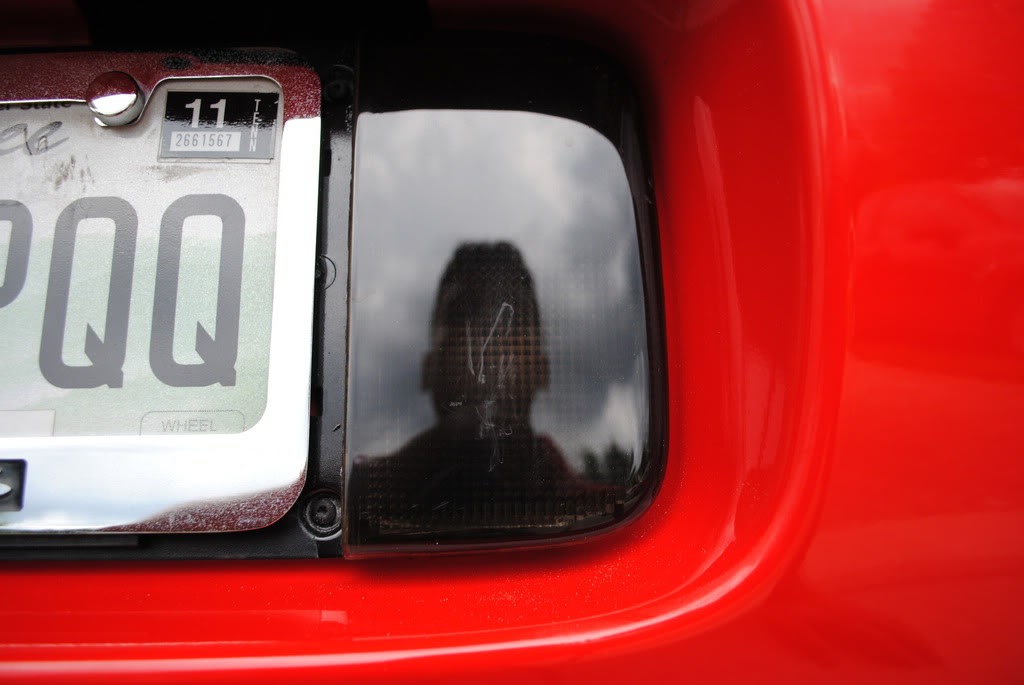
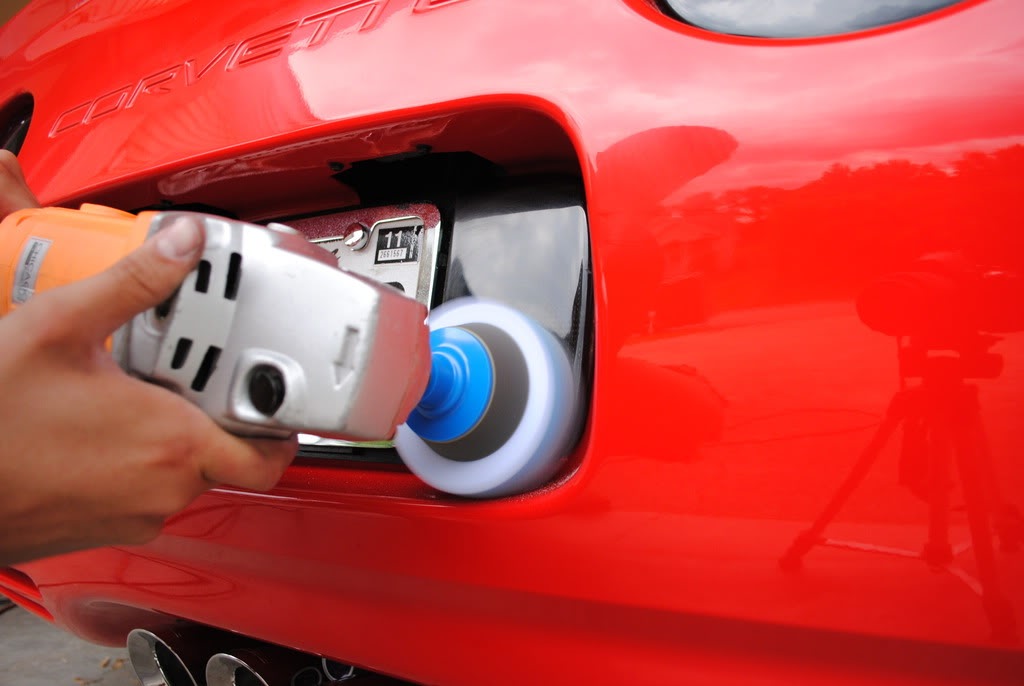
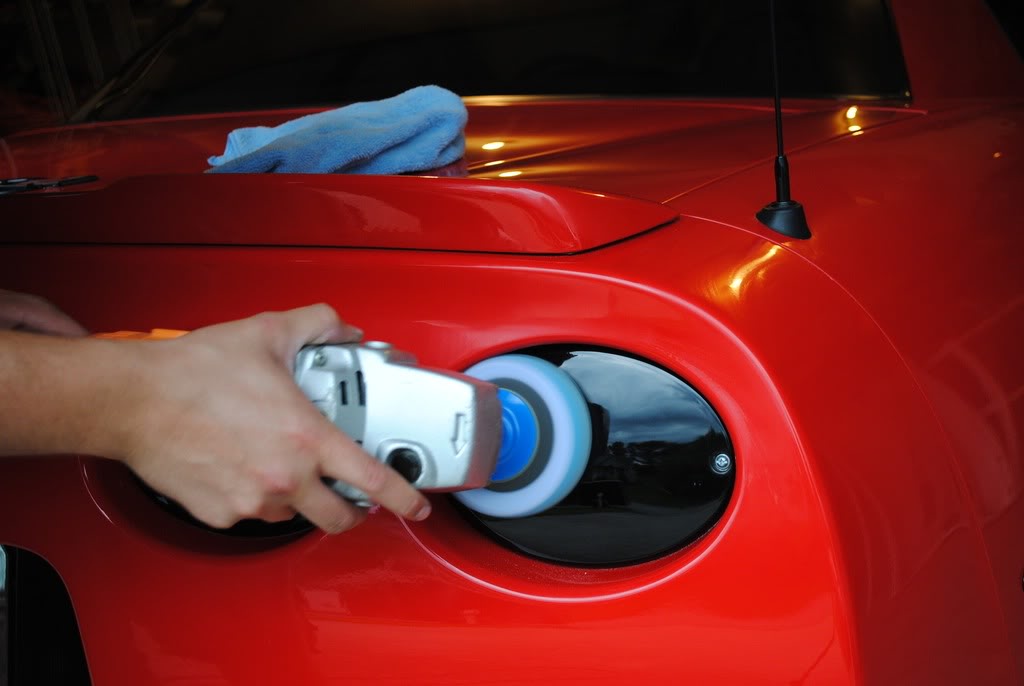
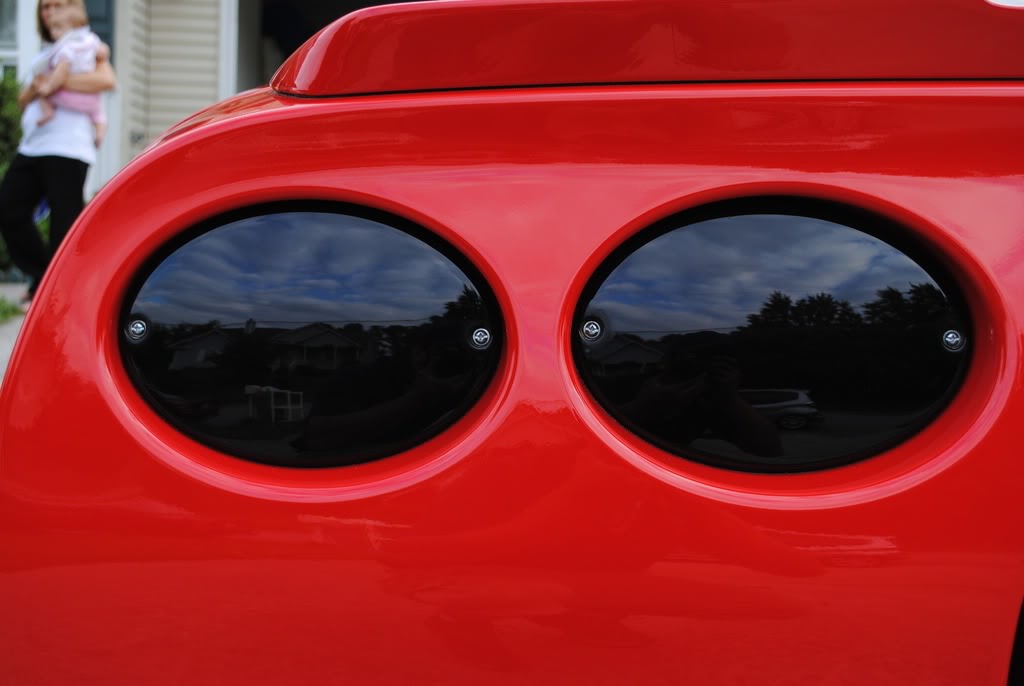
I polished out all of the tail lights
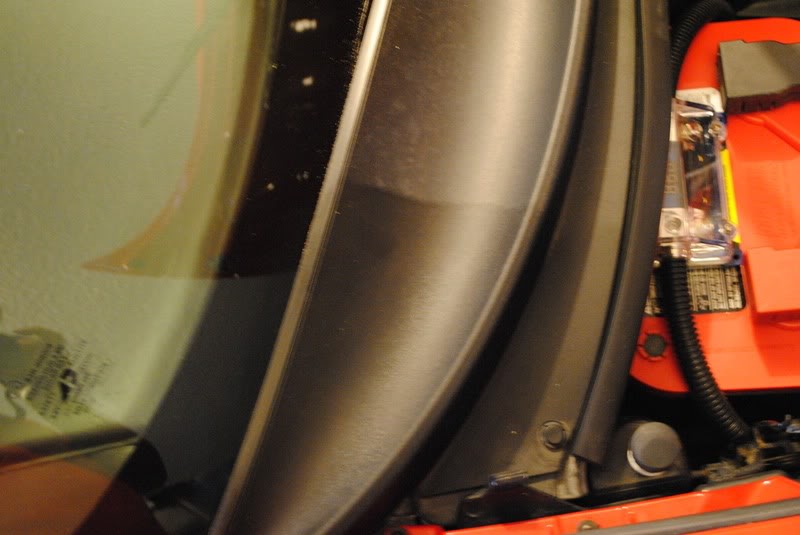
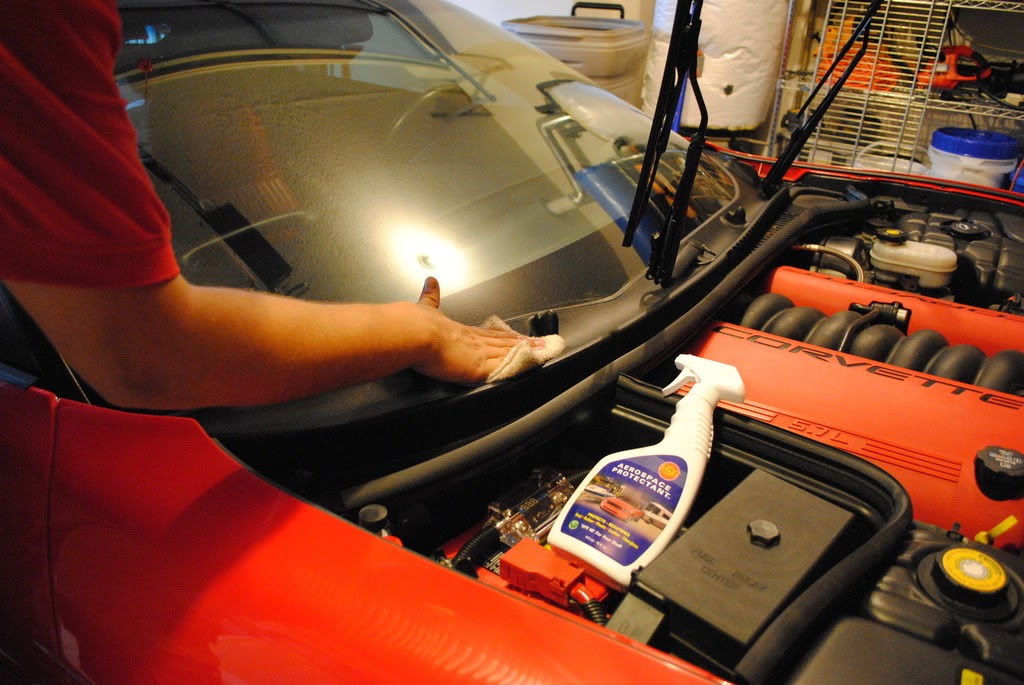
I dressed all of the black plastic with 303 aero space protectant
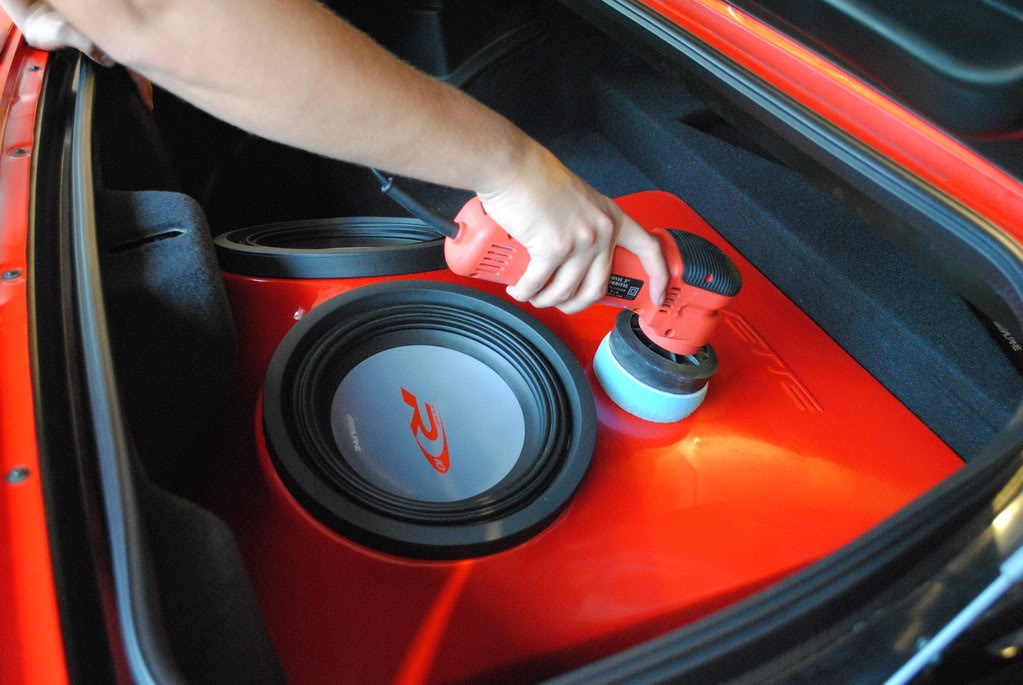
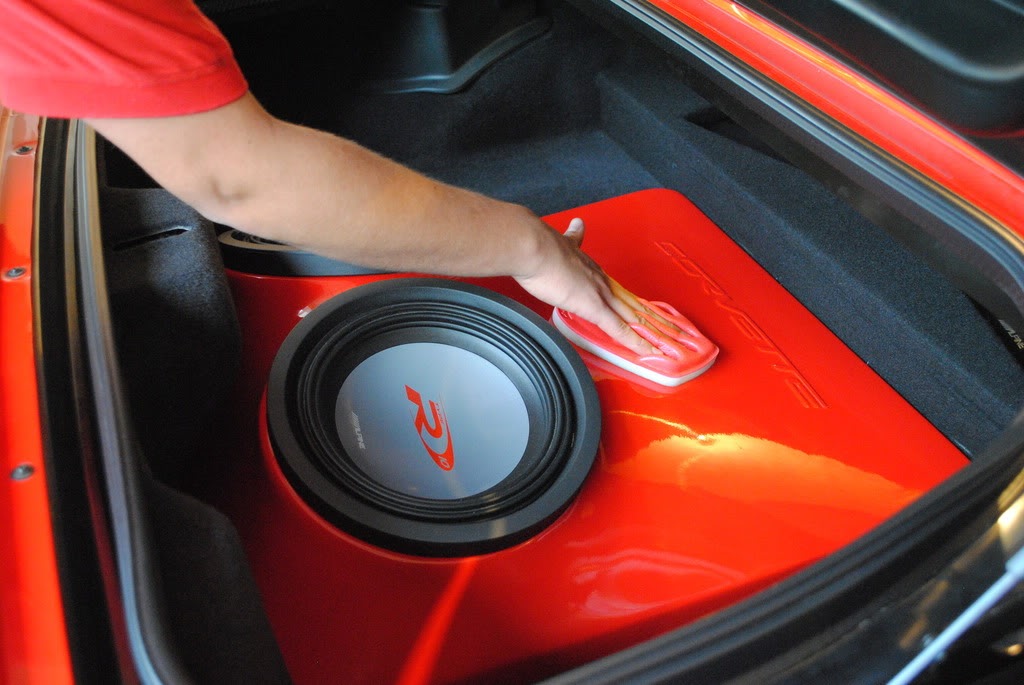
The owner had request for me to polsh out some scuff on his painted speaker box, So i used my Griot's garage with a 4" cyan hydrotech pad and M105
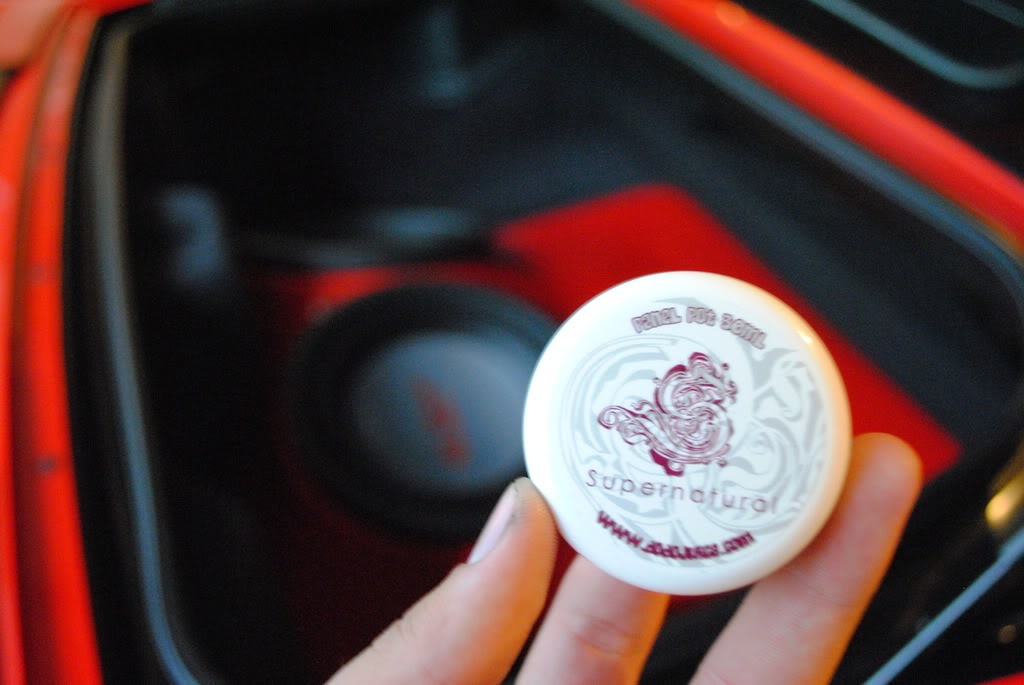
Once most of the scuffs were removed I applied some Dodo Juice Super Natural wax with my Auto Glym perfect palm applicator pad.
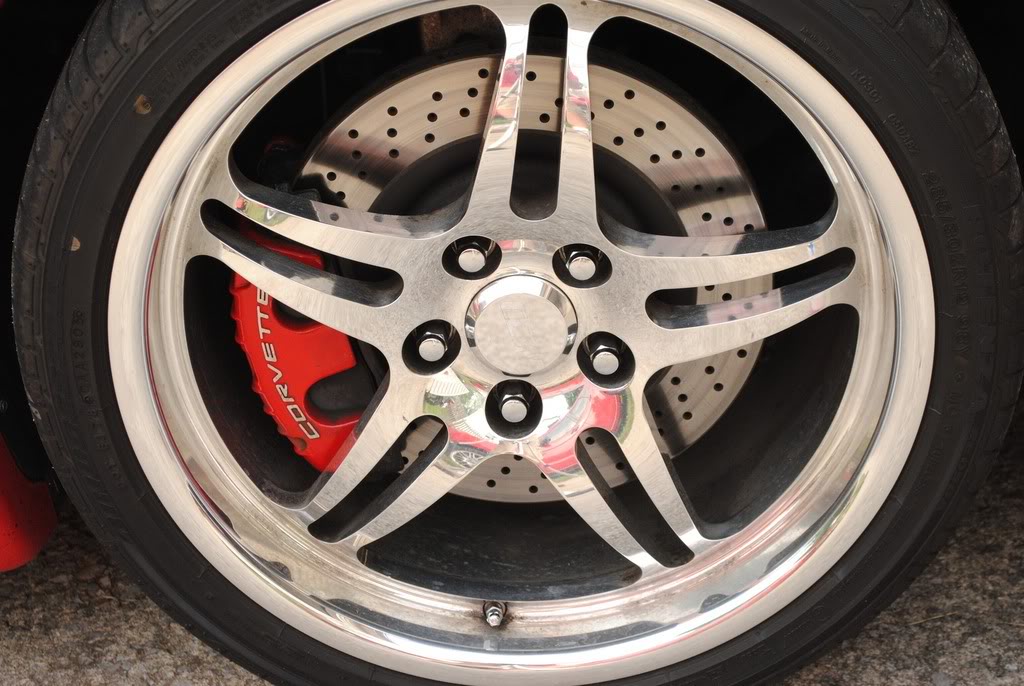
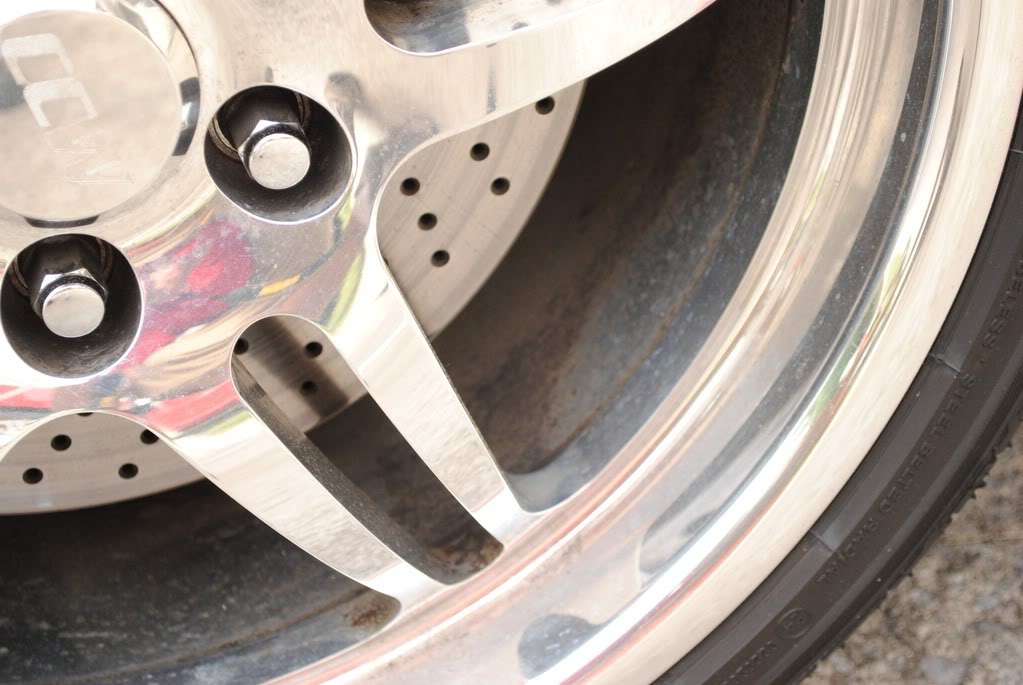
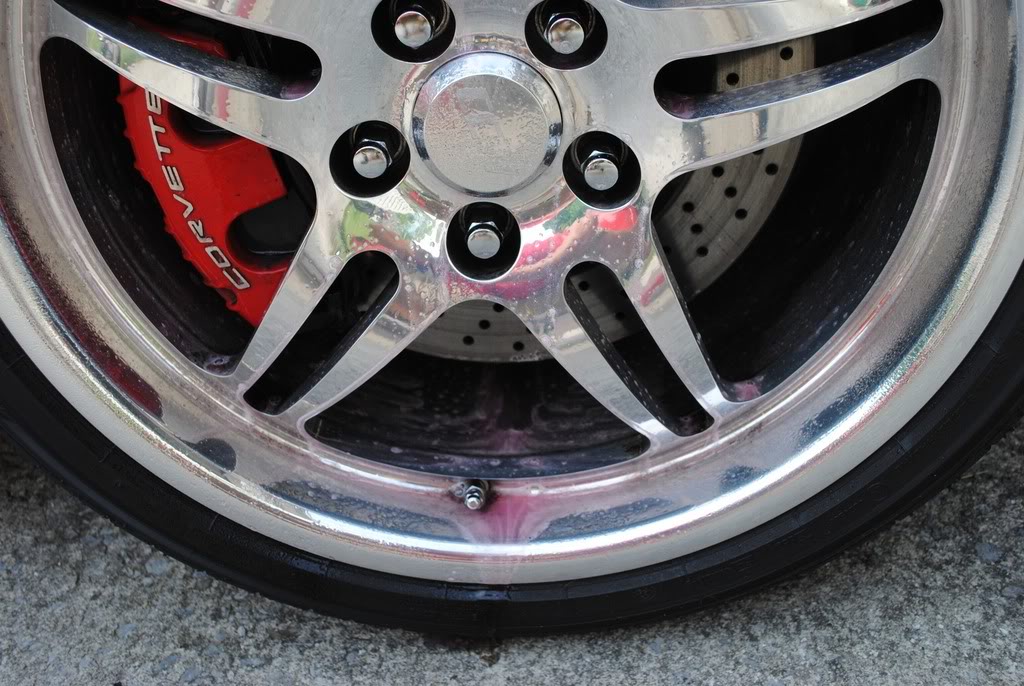
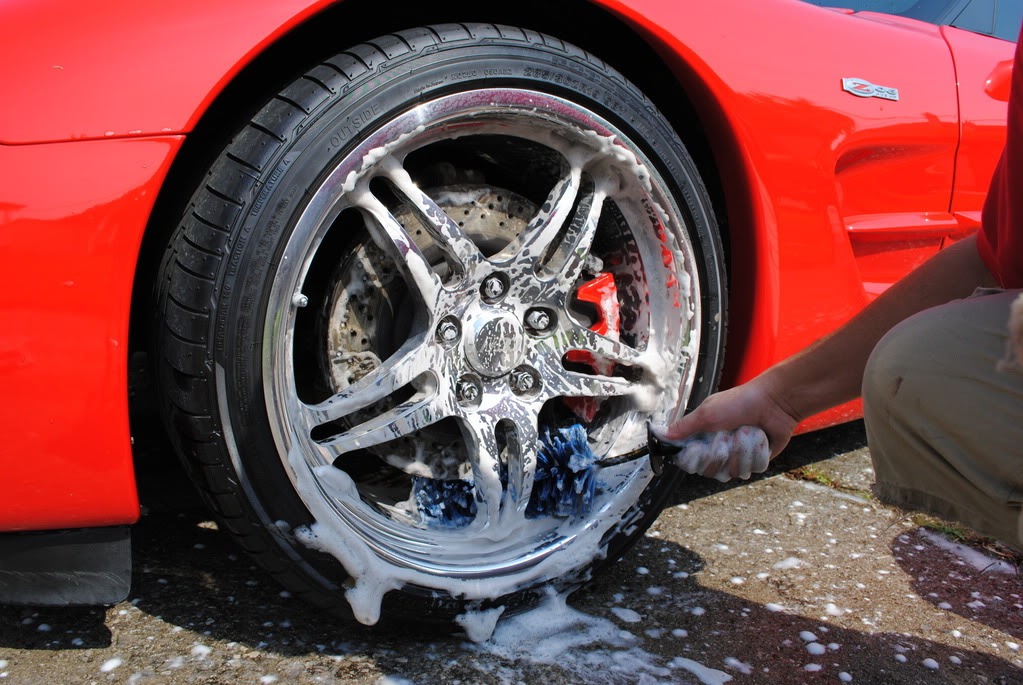
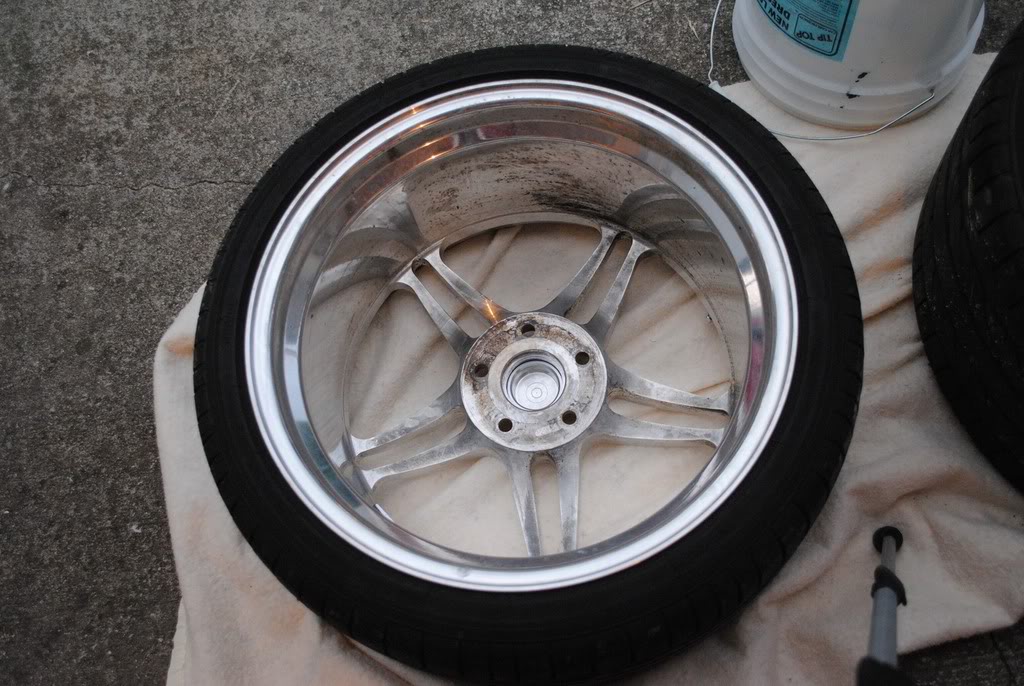
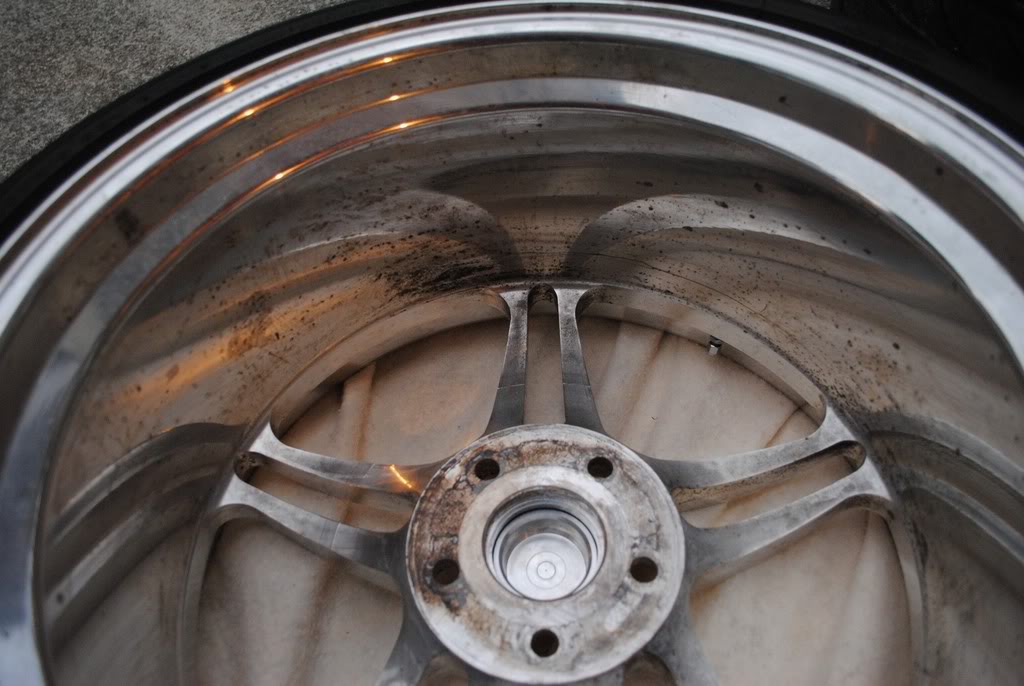
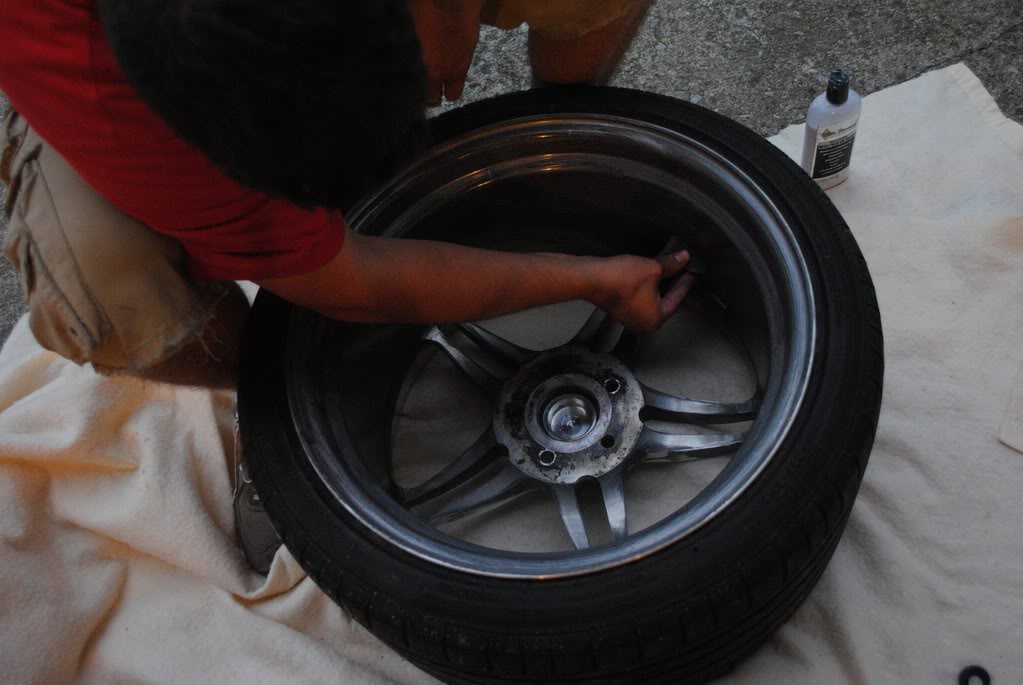
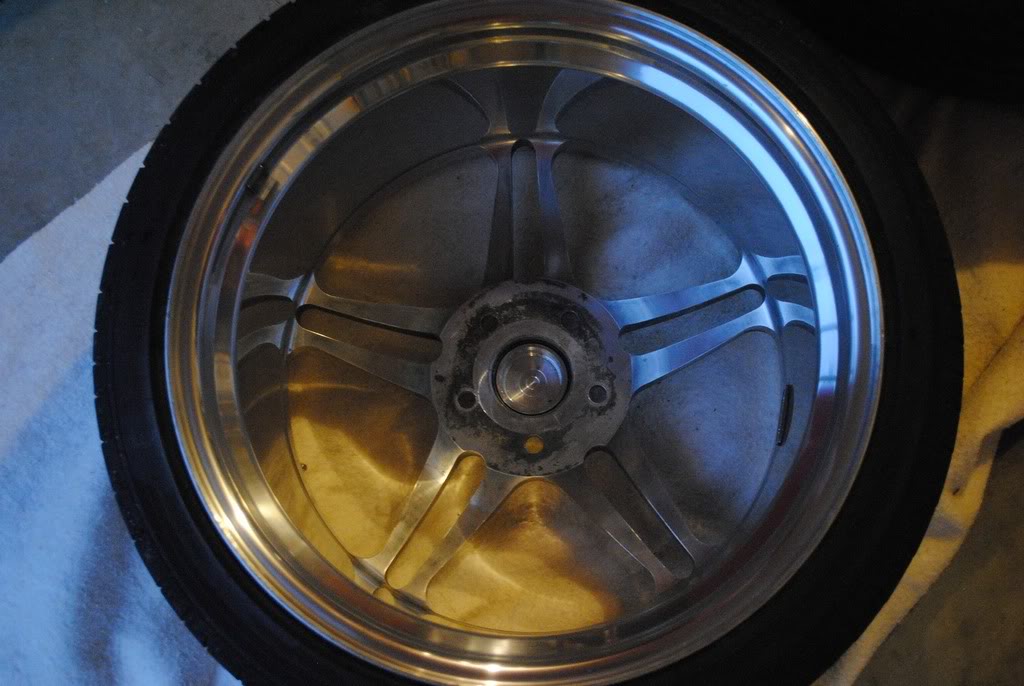
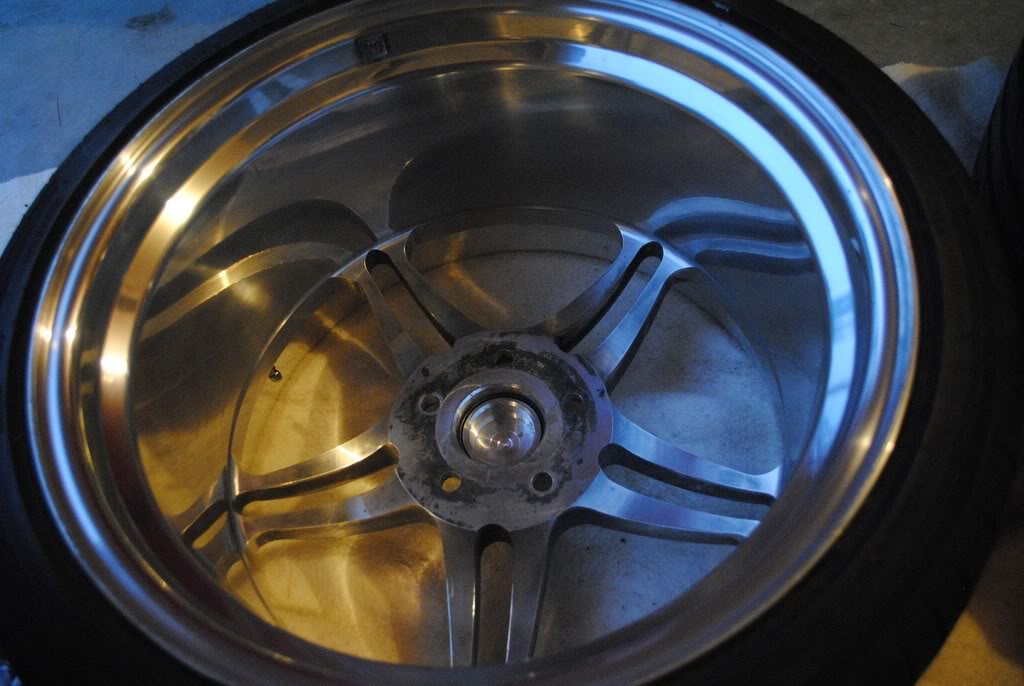
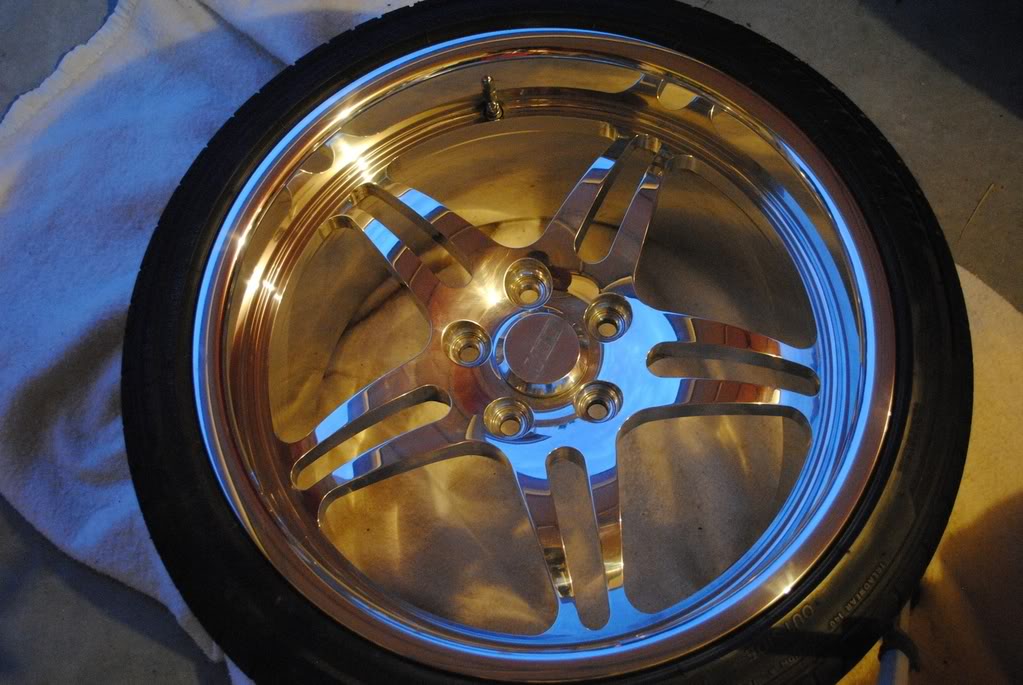
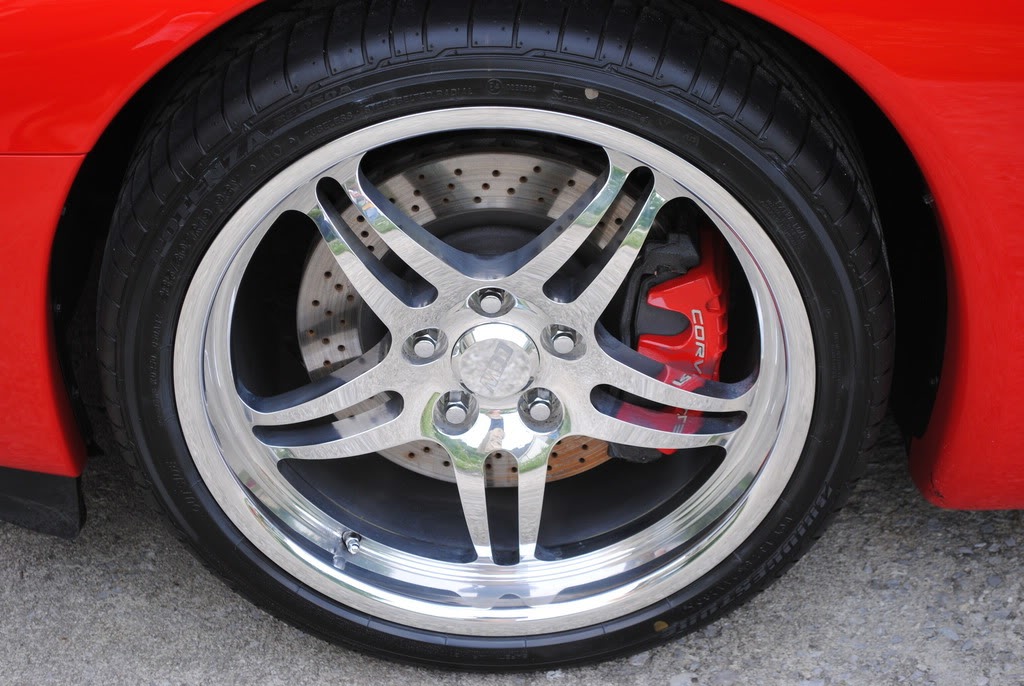
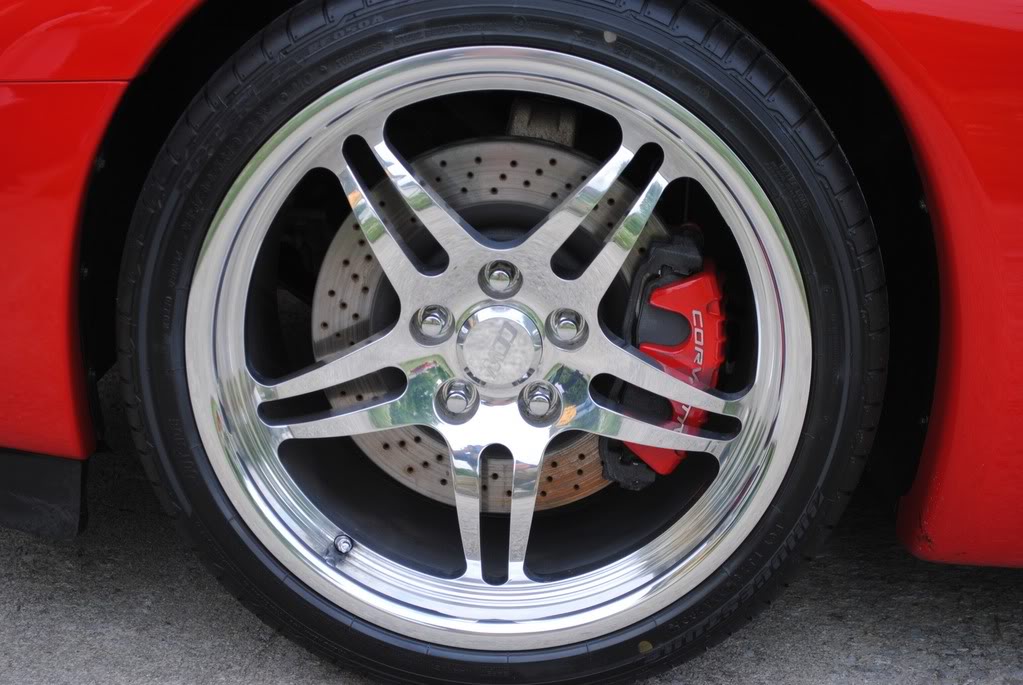
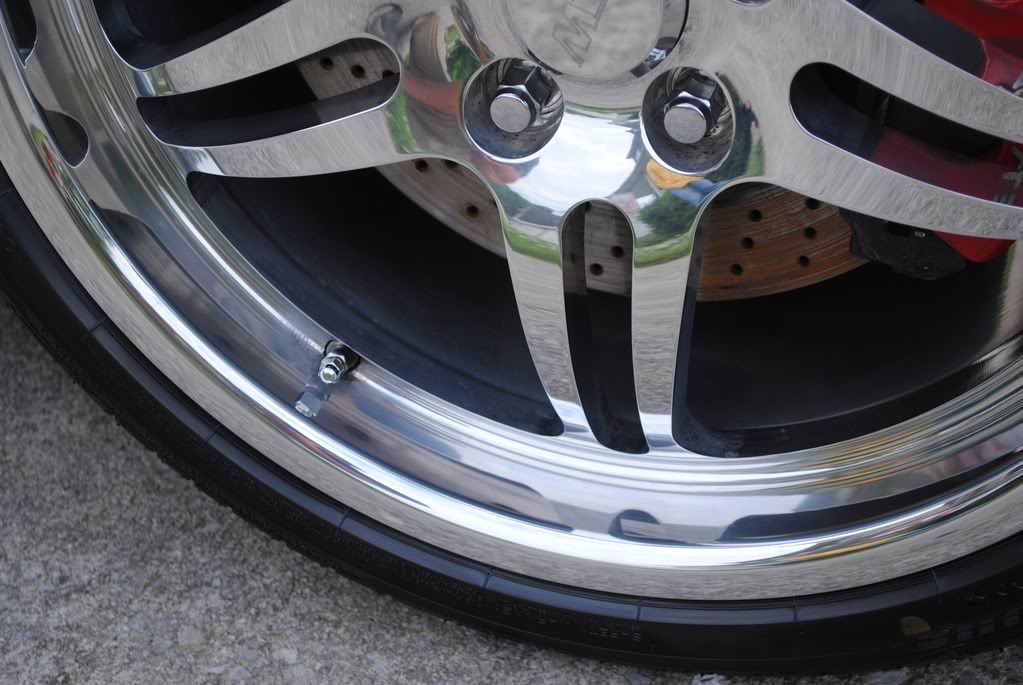
After all of that, The owner decided that he wanting the Inside and out of the wheels to be polished.
So I lifted up the car and began to remove the wheels and polish them one side at a time.
I the first time around I used White Diamond Polish with #0000 steel wool to knock down the Real bad stuff. then went back with a foam applicator for the final polish
here are some pics of the wheels (Each wheel received this process)
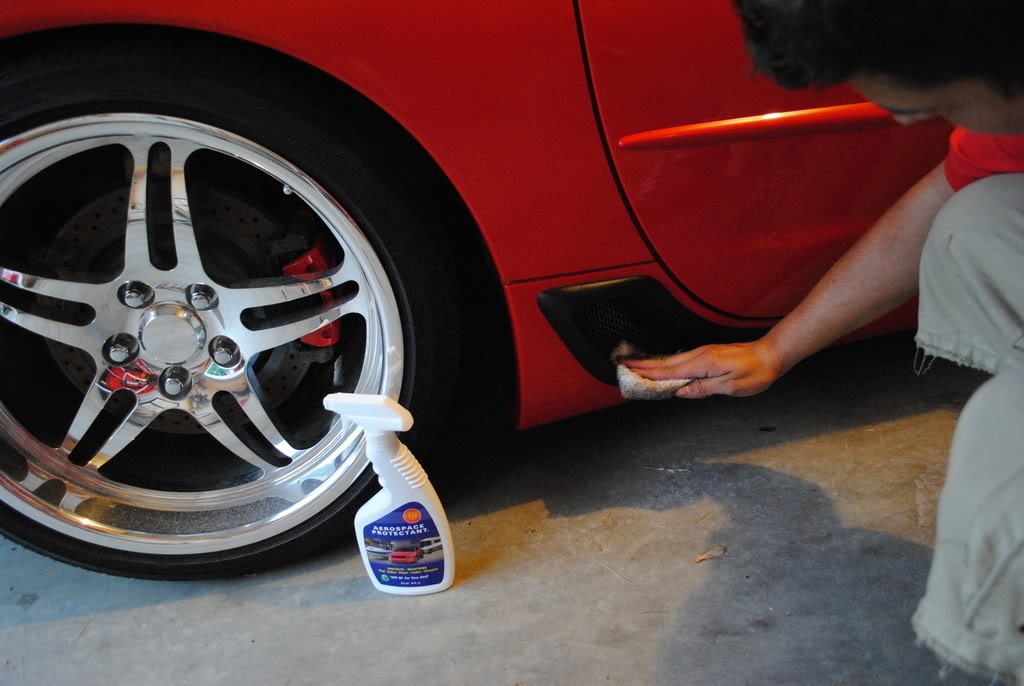
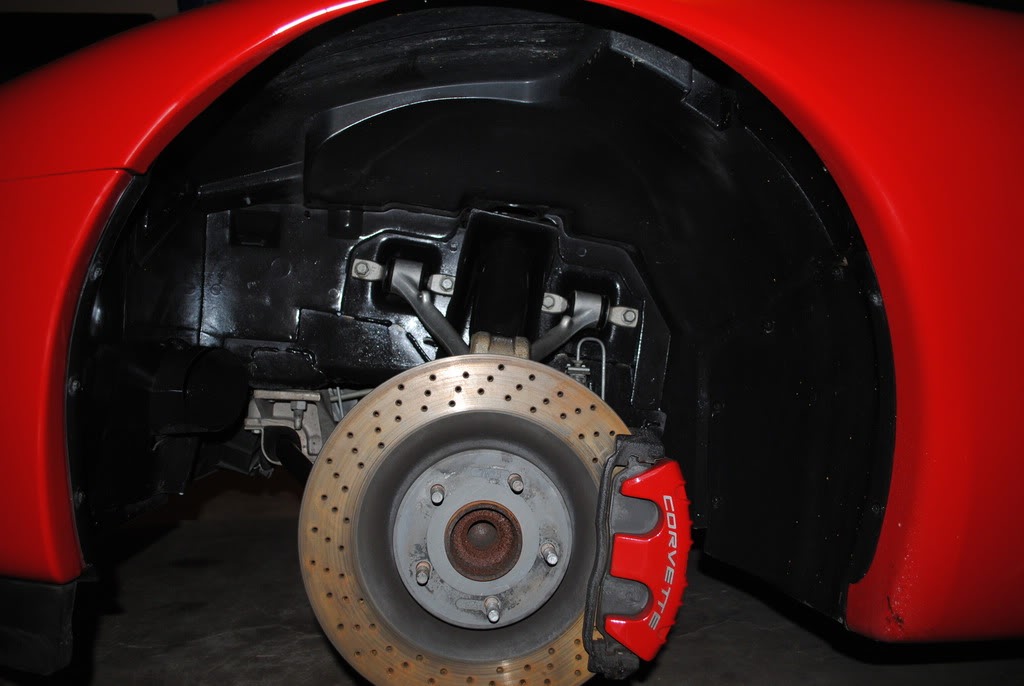
I dressed the Fender wells with 303 protectant as well
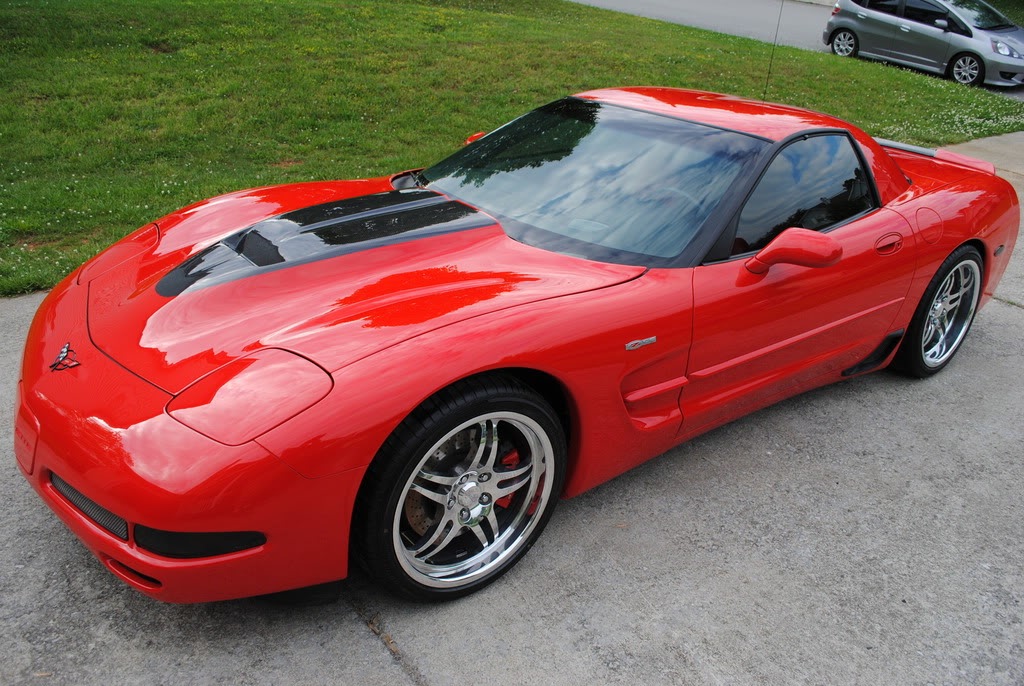
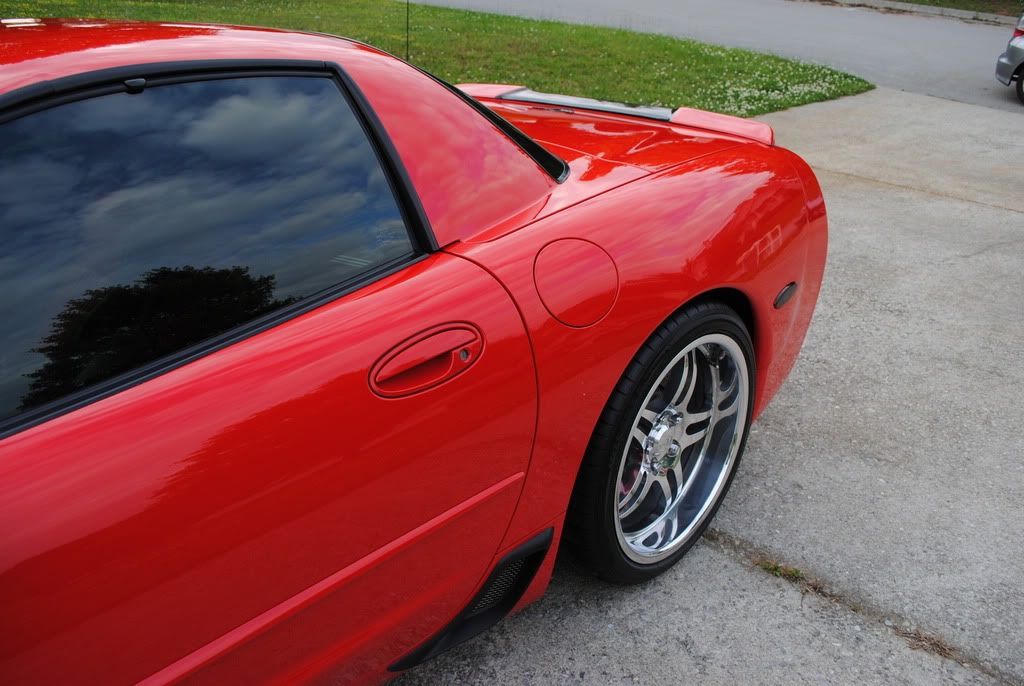
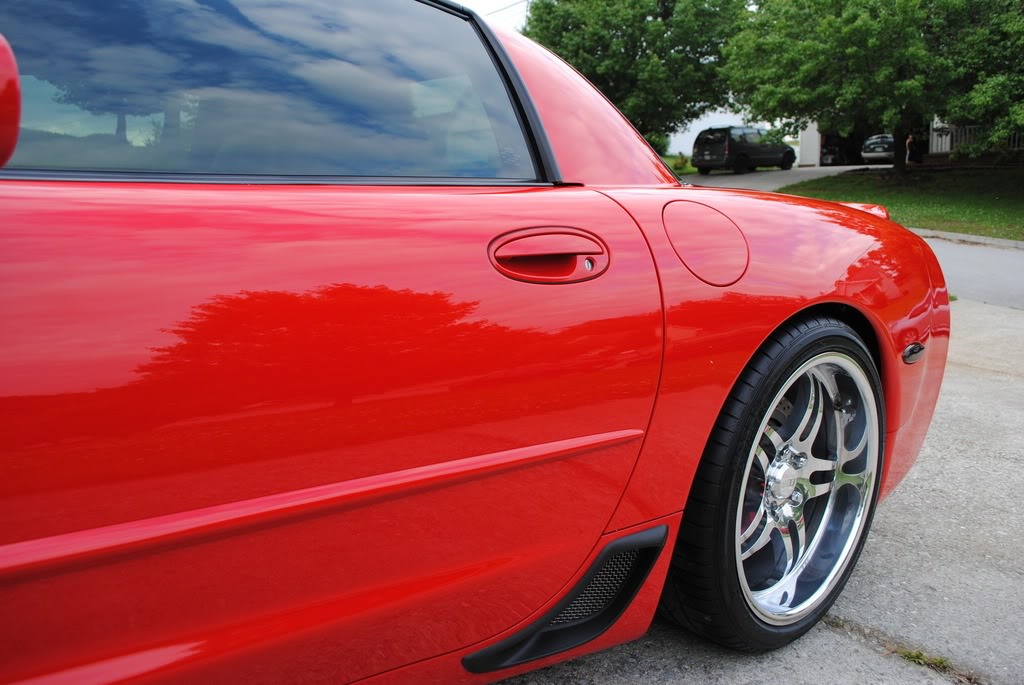
It was Midnight before I finished
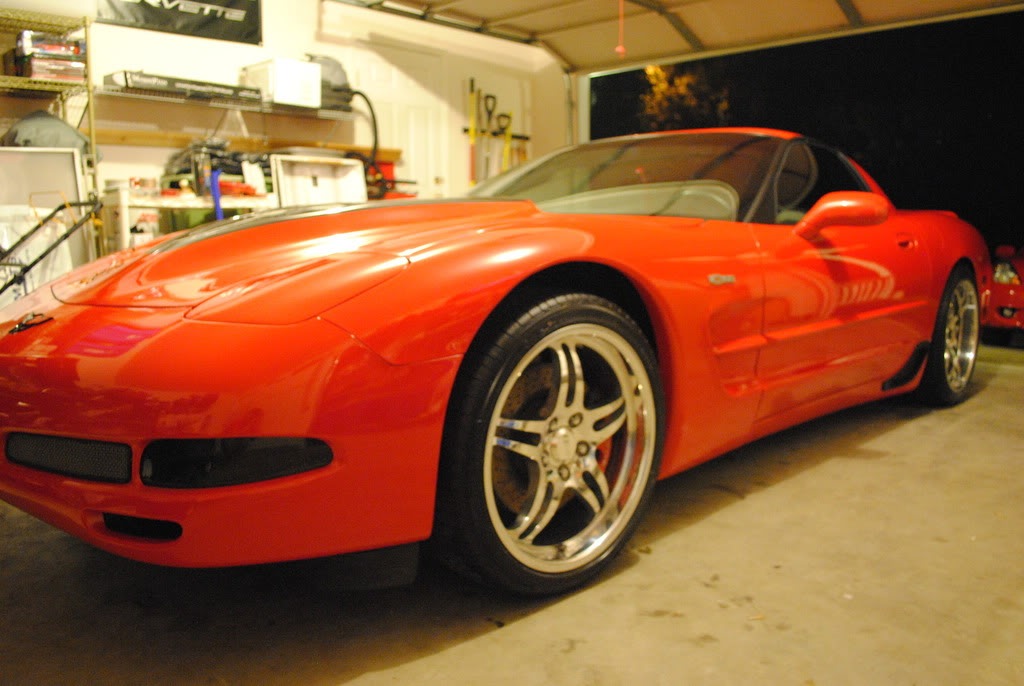
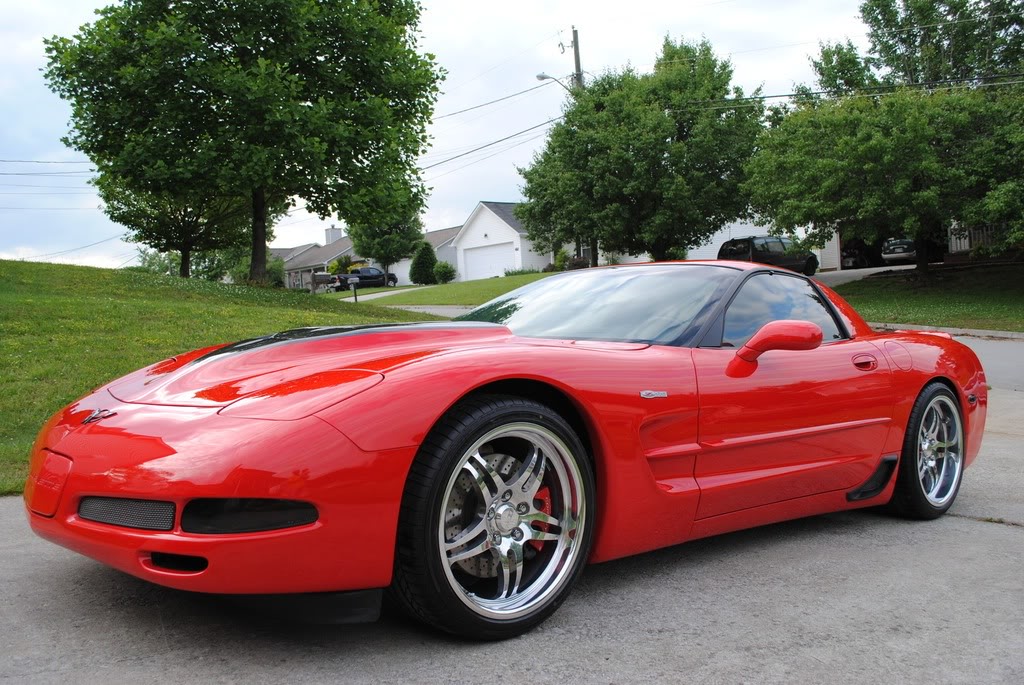
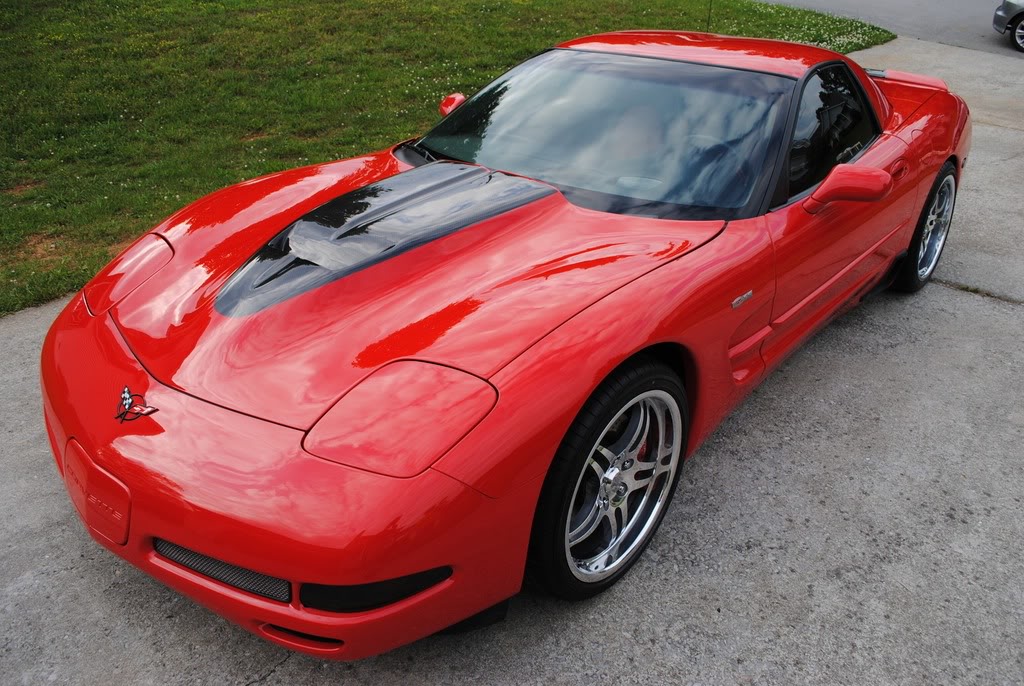
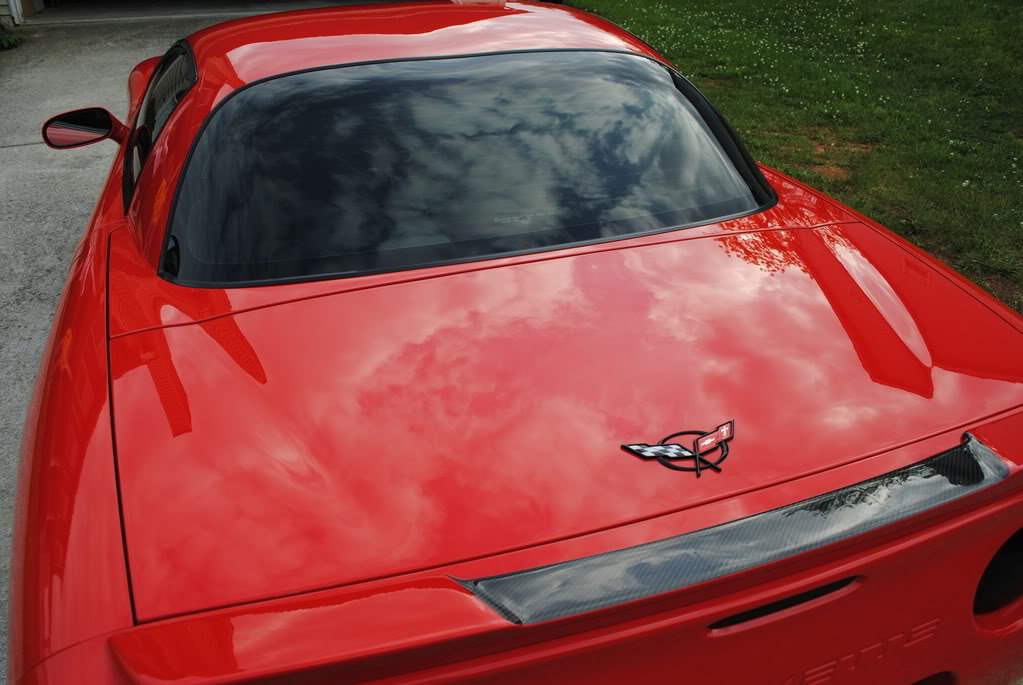
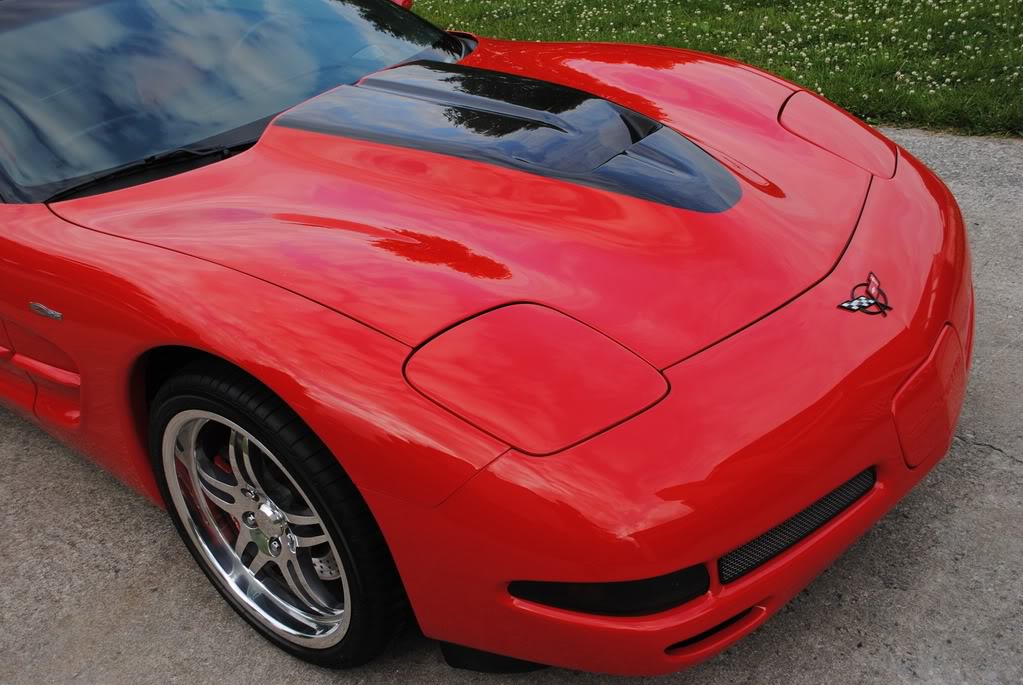
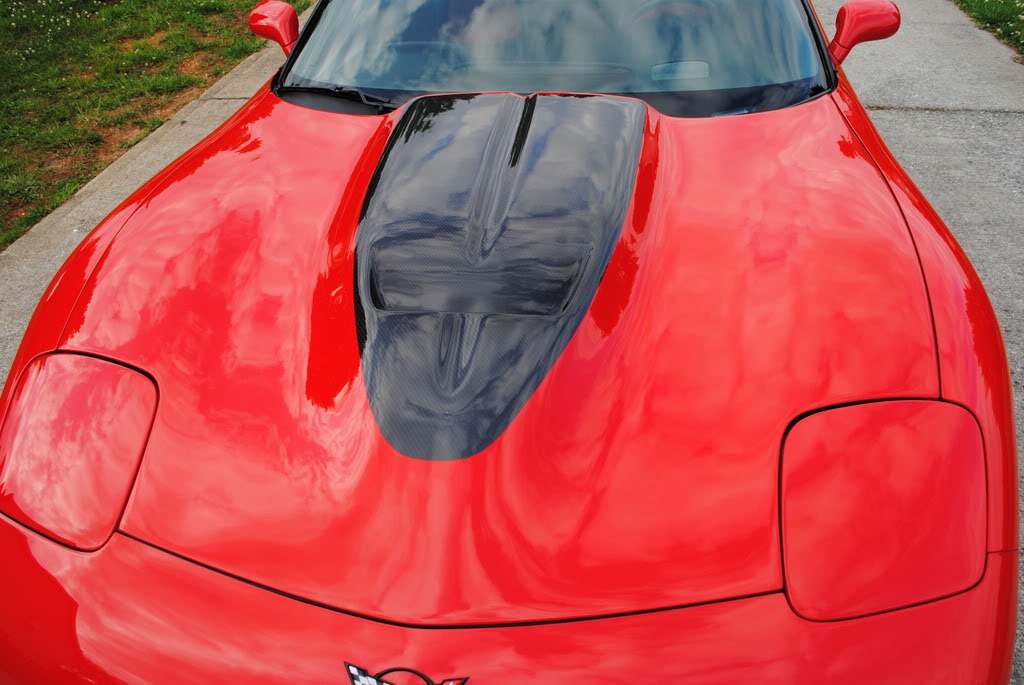
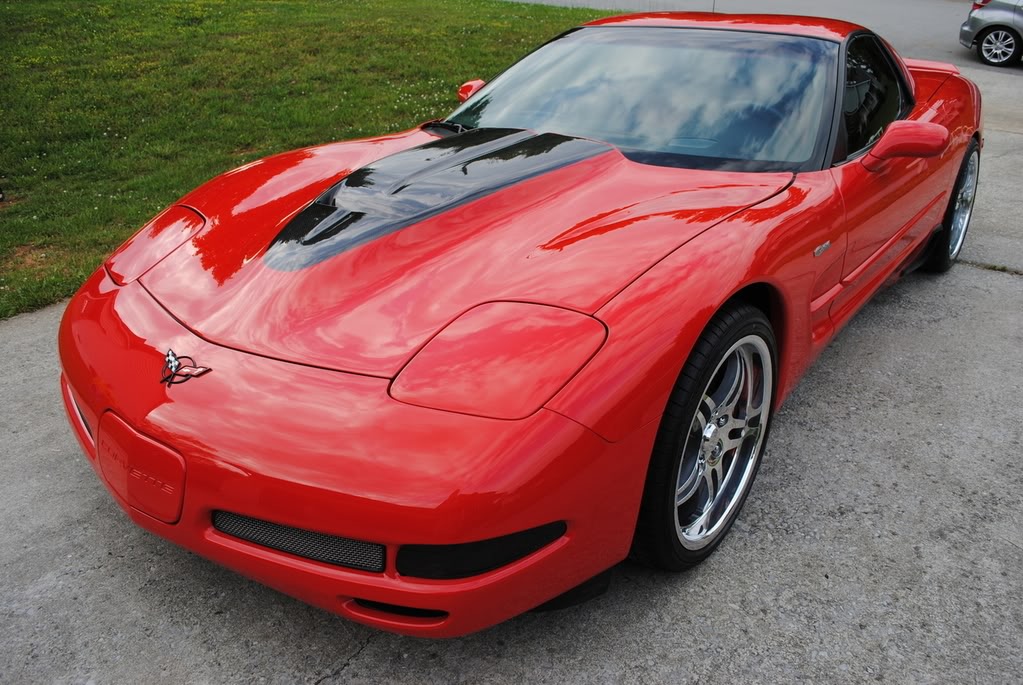
I had to come back a few days later to get the final day light pics, So here they are

Thanks for viewing, I hope you enjoyed it!
Beginning the prep:
Weapon's of choice
5 gal bucket
Grit Guard
100% Sheep skin wash mitt
Dawn ultra concentrate
EZ detail brush small and large
Chemical Guys Diablo wheel Gel 3:1 ratio
misc wheel brush
spoke wheel brush
lug nut brush
P21s polishing soap
Clay magic blue fine Claybar
other misc bushes
I began by washing with a Strong dilution of Dawn detergent to really strip off any old waxes, This is a very important step because if the pad is polishing on top of waxes then its not working at its full potential and you wont see the optimum results when finished. After the wash, the car was Clayed using the soapy water as lube.
Here is the car when I arrived.
I first sprayed the Chemical guys Diablo Wheel Gel to let it dwell and break down all of the wheel grime while I got everything together for the wash.
after that I presoaked the car knocking off anything big
Using my EZ detail brushes, I got into all of the tight areas.
I polished out the tips using P21s polishing soap
After that, I went back to the wheels and gave them some scrubbin
This is after all of the waxes and fillers were removed.
Now I pull the car in and get to taping it up
Once everything was taped up I began buffing the paint using my FLEX 3401 with the Cyan Hydro tech pad and Meguiar's M105 ultimate compound.
I used the Rotary buffer with a GlossIt 3" foam backing plate with a Cyan Hydrotech 4" pad to get in all of the small areas
Followed by the 4" Tangerine Hydrotech pad w/ M205 for the polishing of these areas
This red was making it very difficult to capture the defects in the light but I managed to get a couple. here is a 50/50 using my Brinkmans duel xenon swirl finder light
I used the Griot's Garage 3" orbitl polisher w/ 4" backing plate to get all of the areas that the Flex couldn't get.
I usually start at the Driver fender and make my way arround to the passenger side
I check each panel using the Brinkmans duel xenon light, look at that clarity!
The whole roof had some acid rain etching that wasn't buffing out easily, So I wet sanded with 3000 grit to knock off a very fine level of the clear to remove the etching.
I removed the 3000 grit wetsand marks using a Lake country Purple Foamed wool pad and Meguiars M105
After the Dusty compounding stage I use my Metro Magic Air to blow out all of the crevices and to get the dust off the car. I attach a vacuum hose with crevice tools to get high psi coming out of the tip.
The compounding stage is finally done, Now its time to use the new Lake country Crimson hydrotech pad via Flex 3401 and Meguiars M205 Ultra Finishing polish
I removed all of the tape and applied Black Fire Wet Diamond to the paint using a Lake country Blue finishing pad via Flex 3401.
So while the Black Fire Wet diamond was Curing I took care of a few Misc defects
One problem was the reverse light lense had a scuff on it that the owner wanted removed
I polished out all of the tail lights
I dressed all of the black plastic with 303 aero space protectant
The owner had request for me to polsh out some scuff on his painted speaker box, So i used my Griot's garage with a 4" cyan hydrotech pad and M105
Once most of the scuffs were removed I applied some Dodo Juice Super Natural wax with my Auto Glym perfect palm applicator pad.
After all of that, The owner decided that he wanting the Inside and out of the wheels to be polished.
So I lifted up the car and began to remove the wheels and polish them one side at a time.
I the first time around I used White Diamond Polish with #0000 steel wool to knock down the Real bad stuff. then went back with a foam applicator for the final polish
here are some pics of the wheels (Each wheel received this process)
I dressed the Fender wells with 303 protectant as well
It was Midnight before I finished
I had to come back a few days later to get the final day light pics, So here they are
Thanks for viewing, I hope you enjoyed it!

New Member
Joined: Apr 2010
Posts: 6
From: Rocklin, CA
Great job!!! what was the total bill for this 14 hour job? I'm tempted to start getting into this type of detailing. For myself... then maybe start up a side business.
a few questions if you dont mind:
What do you recommend for a maintenance wash? type of soap? type of quick detailer?
How often would you recommend to strip off all wax with that dawn soap? I'm so hesitant to do that.
a few questions if you dont mind:
What do you recommend for a maintenance wash? type of soap? type of quick detailer?
How often would you recommend to strip off all wax with that dawn soap? I'm so hesitant to do that.
maintenance wash: Optimum No Rinse Wash (sounds crazy but is the best thing since sliced bread) here is a video explaining how it works
YouTube - 2010 MazdaSpeed3 Optimum No-Rinse Washing Your Car In Your Garage
other car washing techniques are the 2 bucket method with ANY meguiars car wash soaps. here is a vid of the 2 bucket method
YouTube - Gloss-it 2 Bucket Wash Process
and as far as stripping the old wax off, you hardly ever have to do that, Its really only important to do that before a buff and polish job. carnuba wax only last a couple of months, it just naturally deteriorates or goes away kind of, so applying wax every couple of months is highly recomended.
Hope this helps


Thread
Thread Starter
Forum
Replies
Last Post
Fallen_Rock
Fit DIY: Repair & Maintenance
10
Aug 16, 2010 03:46 PM
Fallen_Rock
Fit DIY: Repair & Maintenance
7
Aug 11, 2010 10:14 PM
qbmurderer13
Fit DIY: Repair & Maintenance
2
Jan 12, 2009 09:22 PM