
Changing door panel fabric 2010 fit

Thread Starter
|
Member
Joined: Mar 2011
Posts: 128
From: Pa
Changing door panel fabric 2010 fit
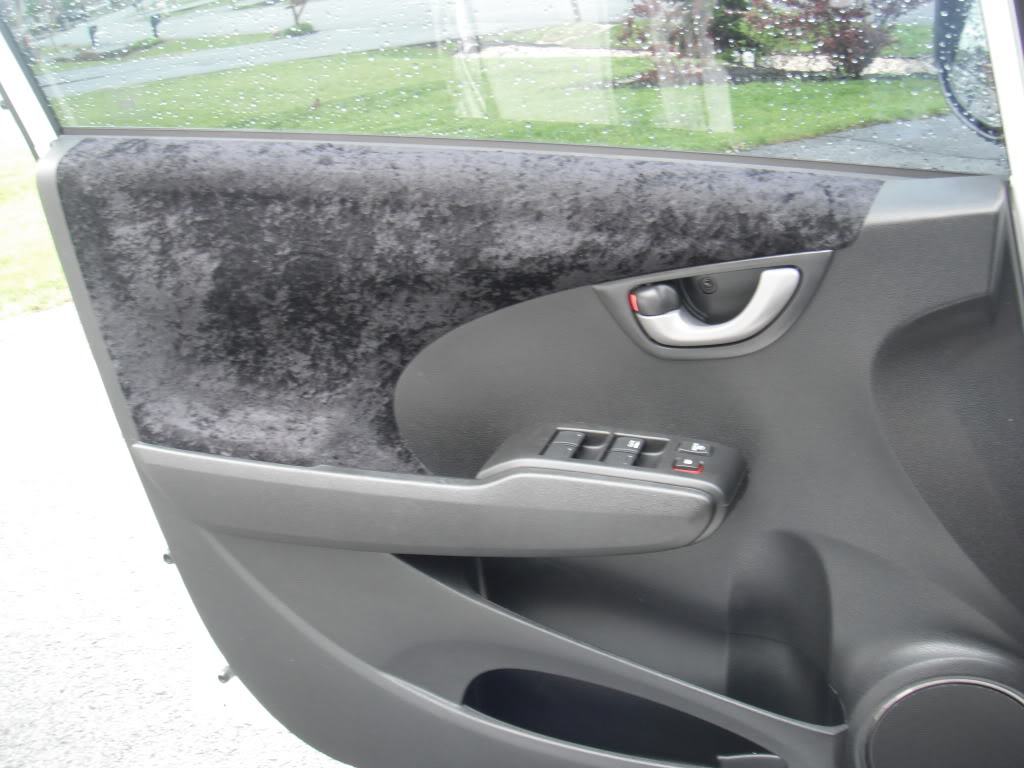
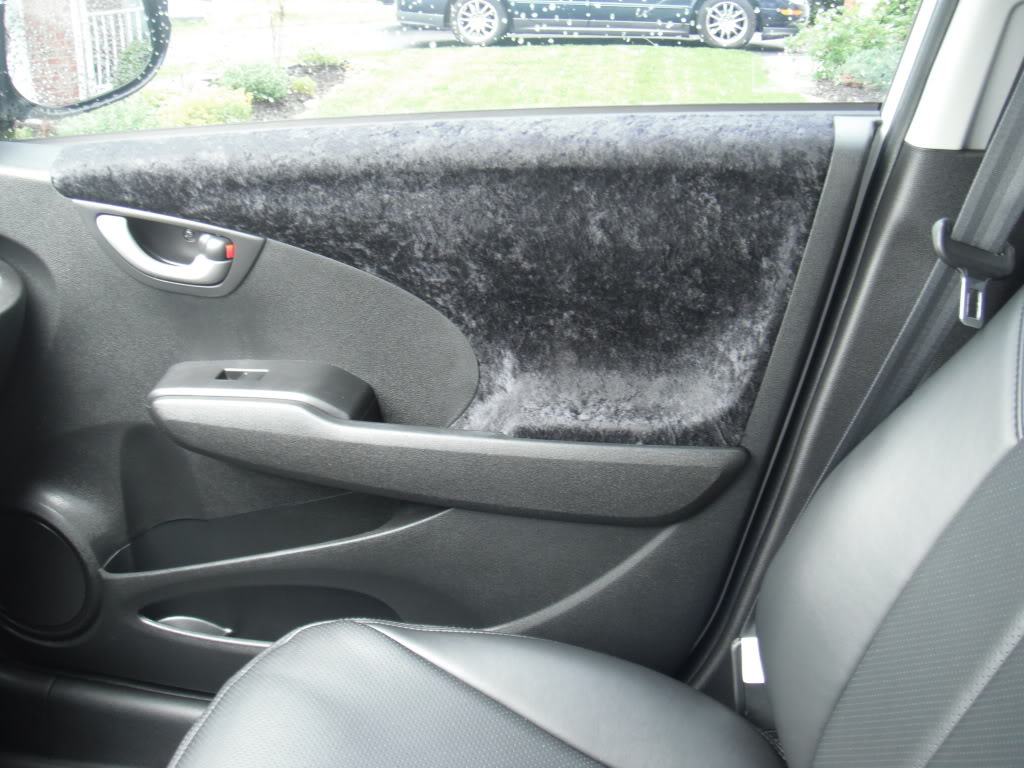
The other day I changed my door panel fabric. I went with a black crushed velvet. Part of me thinks it looks cool as sh$t and part of me thinks i was out of my mind. The stock interior fabric on the fits leave something to be desired. After getting all black clazzios I had to change the nasty door panels. I did all four doors and this was a bit of an undertaking. I would estimate it took between an hour to an hour and a half to do one door. If anyone has any questions on how I did it I will do my best to answer your questions.This is not an easy project but can be done. The real reason for this post is to get your opinion on what you think...I'm undecided if I like my fabric choice and dread the thought of redoing it. Thanks...Kirinzon


Thread Starter
|
Member
Joined: Mar 2011
Posts: 128
From: Pa
I had done one door with an automotive stretch pleather and it looked awesome...after a few days it started pulling away from the door where it rounds in. I'm glad I only tested it on one door. A pleather just will not work...it has to be a 4 way stretch fabric. If i pass anything on to someone willing to undertake this it is...you must use 4 way stretch material!

Member
Joined: Aug 2010
Posts: 313
From: Irvine, CA
From the pictures it doesn't look too bad. I've also not yet done this because i can't decide what to go with. I was thinking about a fake suede, but then the hour changes and so does my mind. If you were closer to where I lived I'd just swap with you so you could try it again.
If you do decide to put up more info on how you did it, I'm all ears (or eyes). You've already helped me eliminate pleather from the list. My fear is getting all the curves right and not having to constantly pull and recover the door panels.
If you do decide to put up more info on how you did it, I'm all ears (or eyes). You've already helped me eliminate pleather from the list. My fear is getting all the curves right and not having to constantly pull and recover the door panels.
Thread Starter
|
Member
Joined: Mar 2011
Posts: 128
From: Pa
I should have taken pics and didn't think about it at the time. I will do my best to describe the process.
I. the first step is to remove the door panel.
1. remove the screw holding the door handle
2. remove the face plate of the arm rest.
put presure on this piece by pulling toward you and use a flat head to push the first clip in...repeat on the second clip and it should pop off.
3. remove the screw in the center of the arm rest.
4. remove the wiring from the arm rest.
5. pop the door panel
The panel is held with large push clips or pins. The best place to start is around the speaker area. I used a putty knife wrapped in a rag to get it out enough to get my fingers behind it. If you go yanking on it you will be left with the clips in the door and they can be hard to get out. try to work on one clip at a time. you need to yank on them but use finesse and work your way around the door to each one.
6. lift up on the panel and fish the door handle through
II. REMOVING THE FABRIC PANEL SECTION FROM THE DOOR PANEL.
1. Remove the felt strip from the top.
using a flat head bend up on the sections of metal holding it.
2. Cut the fasteners holding the fabric panel section to the door panel.
these are like plastic rivets or pins that have been fused together...not sure what they are called. There are like a dozen of these. I used a small hacksaw blade to cut them and some I used a flat razor blade. They are easy to cut through. The important thing is to have them cut flush. the razor blade works good to clean the cuts flush.
3. remove the screw at the arm rest and break the fabric panel loose. The doors are thin cheap plastic but very durable and they seem impossible to crack but use caution around the arm rest area.
III. Putting the new fabric on the panel.
1.Remove the old fabric from the panel.
The fabric will pull right off. It would be possible to put the new fabric over the old, however when seperating the panels the fabric gets pulled off at places.
2. Lay the panel on the new fabric and trim the fabric around 3 or 4 inches larger than the panel.
3. glueing the fabric to the panel.
I used a heavy duty spray headliner adhesive. Don't use anything that says instant bond...you need a glue that you have a little time to work with...that being said you still have to work fast. Its best to do this outside because of the fumes. Have your panel and fabric beside each other and spray both pieces. Make sure you get good coverage with the glue, but don't overdue it...it doesn't take much glue to work. I sprayed a little heavy where the panels curve in. The best way to start the fabric is to hold the panel and press it on the fabric. start with the top 3 or 4 inches and then pick it up so its facing you not letting them touch and work that top section and then continue to work the fabric down to the curved in section. You will have to stretch the fabric in this area. There will be creases that you will have to work out in this area. If you have 4 way stretch material you should have no problem getting it perfect. You need to trim the extra fabric...it doesn't have to be pretty. Trimming the excess fabric will help it to stretch in the curved area. You have to work fast when gluing the fabric.
IV. PUTTING THE DOOR PANEL BACK TOGETHER
1. You will have to trim the fabric around the holes or the panel will not go back together tight.
2. Make sure the panels will go back together tight...If not you will have to use a razor blade to clean some of plastic pins that were cut flush.
3. To fasten the panels together I used an epoxy called plastic weld and then I used screws. Make sure the screws will not go through the other side. You just need them to bite and they will pull it together nice.
4. put the one screw back in the arm rest area.
That's the job in a nut shell. There may be a better way to do this but this was my way. Make sure to hook your electrical back up when putting the door back on...Kirinzon...
i'd like to see some pics with the process of taking the panel off and stuff. i just read that, and i can't remember my name. lol. i'll have to read it again, and see if its something i wanna tackle. i want something different i know that.......

Neat install but not sure about the fabricchoice. I am thinking of using a black vinyl from a fabric shop. I have black Clazzios with blue stitching
There is another DIY thread somewhere with pictures of how to do it. Sorry I cannot find it just now.
There is another DIY thread somewhere with pictures of how to do it. Sorry I cannot find it just now.

Thread Starter
|
Member
Joined: Mar 2011
Posts: 128
From: Pa
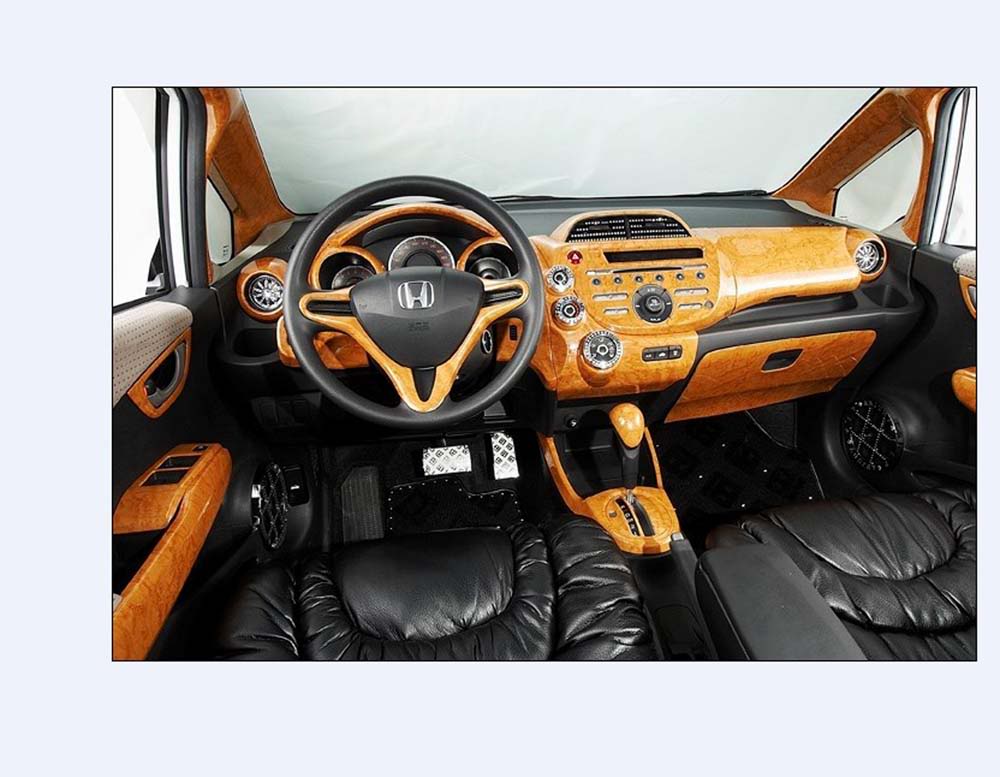
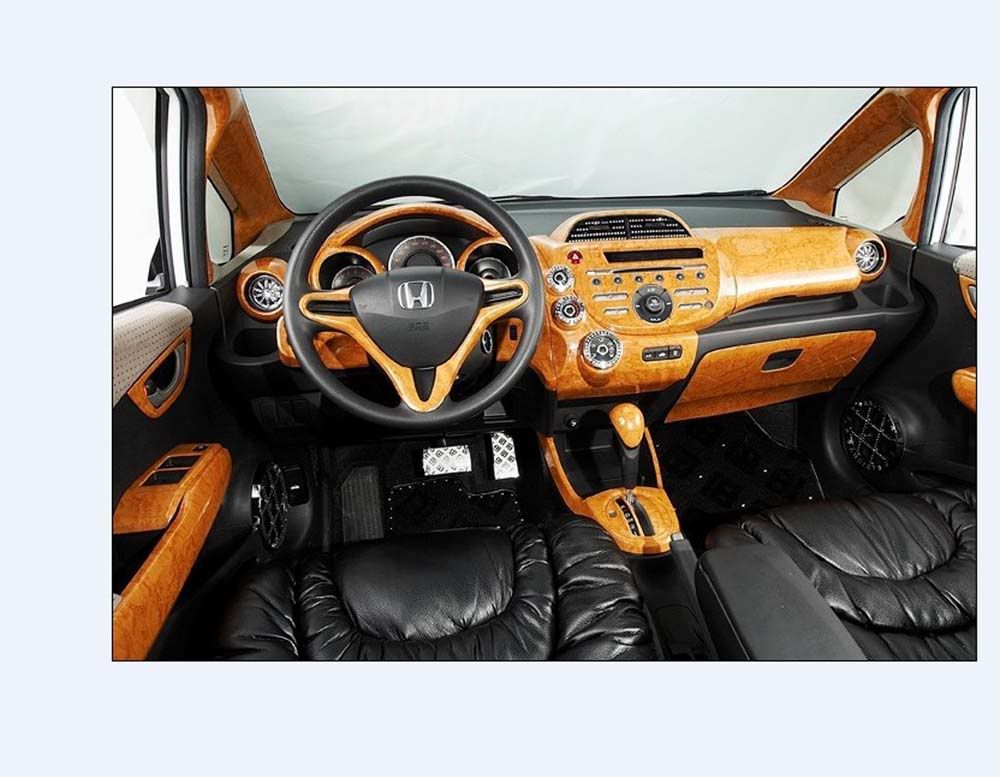
It is pretty bad. what is awesome is the dash trim kit. in the states all we can get is a cheap flat 2d dash trim kit. this kit is a 3d kit custom molded to the fit. The light wood sucks,but imagine that kit in carbon fiber or just black. they even have sections for the window pillars. I want to redue my headliner in black and wish I could cover up all the gray and silver in my fit...this trim kit would be perfect in black.

Thread
Thread Starter
Forum
Replies
Last Post