
Stereo build log in '13 base model


Thread Starter
|
New Member
Joined: May 2014
Posts: 19
From: Charlotte, NC
Stereo build log in '13 base model
this is a (mostly) repost from 2013 Honda Fit - if you're seriously interested in following along, i highly recommend visiting that thread rather than this one as it will be updated more consistently and probably sooner, as i highly suspect that i will likely forget about this one on occasion  something to keep in mind: this build is strictly sound quality oriented, meaning if you're planning to find some ridiculously large boxes that destroy one of the main reasons i bought a fit, you're going to be disappointed. with that said, on with the show!
the past few weeks/months i've been slowly acquiring a plan as well as gear for a simple budget build for the fit, which will hopefully provide some good output and meet or exceed the sound quality of my previous car, which never got a build log. being my first build, it's pretty safe to say that car never sounded all that great, or even really good, and was riddled with door rattles. i will be going to great lengths this time around to prevent any rattles that may occur, and it's my hope that this car will also be a much more stealthy build, with better craftsmanship all around. the build will be done with some help from daniel (chithead).
so, the gear list:
pioneer avic-5000nex source
ppi ion 640.5
sundown e8v3 d4, will be ported in about .56 cubic feet tuned to about 35 hz.
hat imagines in the front, may add the mirus set to the rear at some point, unless i switch the front speakers up, in which case the imagines will find themselves a home in the rear. these were recycled from my old car, and i put the massive audio ck6's back in that car, which is now my girlfriend's.
daniel and myself got a bit of work done day before yesterday and things turned out very nice to start out with. we got the driver side door deadened and sealed up nicely, test fit the midbass, re-routed the head unit usb to the permanent location, and perhaps most importantly and most difficultly, got the amp mounted under the seat. for those who don't know, the fit's gas tank is up under the front seats in order to make room under the rear seats so that they can do all their neat folding wizardry. this causes a few things: firstly, it makes it feel like a small SUV. secondly, it means there is essentially 0 space under the front seats for anything. in order to get it mounted, it had to be placed near the rear of the seat, as there's a metal bracket in roughly the middle of the seat rails that runs all the way across, which decreases mounting height availability. in front of that bracket, the height tapers off and there's no way to fit the amp. daniel had an excellent idea in order to deal with all of these restrictions, and he created an excellent mounting solution that bolts to the metal bracket running between the seat rails and avoids problems with the floor mat. pictures will come tomorrow
this week, the enclosure will be built most likely (once again, thanks to daniel, such a gentleman) as he offered to do it in his spare time since our schedules don't align very well. the goal is to have this all ready for listening at the NC meet on nov 8th, and with next weekend being halloween, we're going to be struggling to make it happen.
for now, a couple pictures showing the amp and sub:
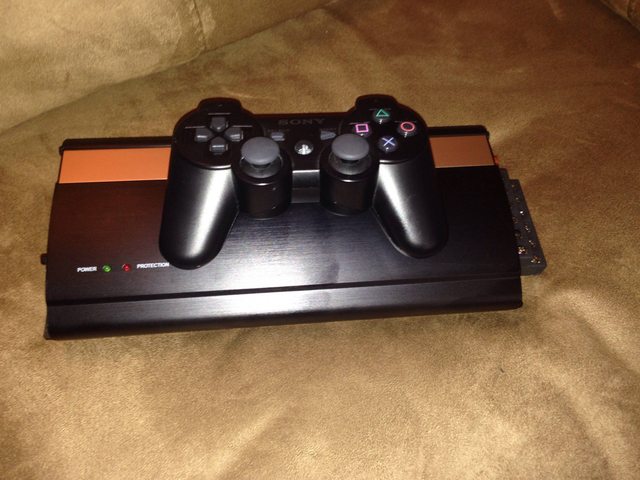
amp with a ps3 controller on top for size comparison
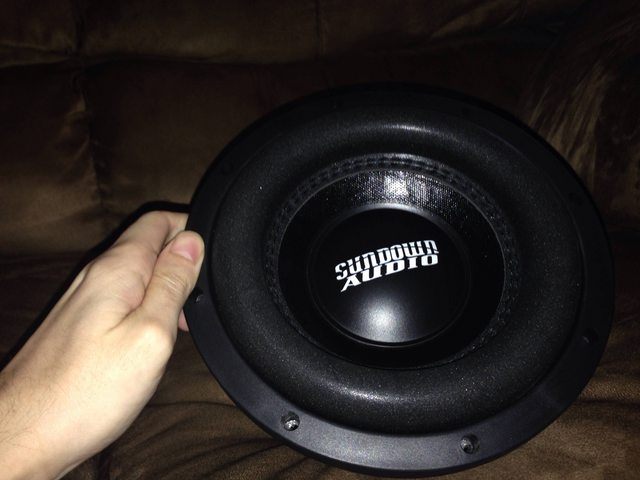
front of sub

she's got a fat butt, too!
something to keep in mind: this build is strictly sound quality oriented, meaning if you're planning to find some ridiculously large boxes that destroy one of the main reasons i bought a fit, you're going to be disappointed. with that said, on with the show! the past few weeks/months i've been slowly acquiring a plan as well as gear for a simple budget build for the fit, which will hopefully provide some good output and meet or exceed the sound quality of my previous car, which never got a build log. being my first build, it's pretty safe to say that car never sounded all that great, or even really good, and was riddled with door rattles. i will be going to great lengths this time around to prevent any rattles that may occur, and it's my hope that this car will also be a much more stealthy build, with better craftsmanship all around. the build will be done with some help from daniel (chithead).
so, the gear list:
pioneer avic-5000nex source
ppi ion 640.5
sundown e8v3 d4, will be ported in about .56 cubic feet tuned to about 35 hz.
hat imagines in the front, may add the mirus set to the rear at some point, unless i switch the front speakers up, in which case the imagines will find themselves a home in the rear. these were recycled from my old car, and i put the massive audio ck6's back in that car, which is now my girlfriend's.
daniel and myself got a bit of work done day before yesterday and things turned out very nice to start out with. we got the driver side door deadened and sealed up nicely, test fit the midbass, re-routed the head unit usb to the permanent location, and perhaps most importantly and most difficultly, got the amp mounted under the seat. for those who don't know, the fit's gas tank is up under the front seats in order to make room under the rear seats so that they can do all their neat folding wizardry. this causes a few things: firstly, it makes it feel like a small SUV. secondly, it means there is essentially 0 space under the front seats for anything. in order to get it mounted, it had to be placed near the rear of the seat, as there's a metal bracket in roughly the middle of the seat rails that runs all the way across, which decreases mounting height availability. in front of that bracket, the height tapers off and there's no way to fit the amp. daniel had an excellent idea in order to deal with all of these restrictions, and he created an excellent mounting solution that bolts to the metal bracket running between the seat rails and avoids problems with the floor mat. pictures will come tomorrow
this week, the enclosure will be built most likely (once again, thanks to daniel, such a gentleman
) as he offered to do it in his spare time since our schedules don't align very well. the goal is to have this all ready for listening at the NC meet on nov 8th, and with next weekend being halloween, we're going to be struggling to make it happen.for now, a couple pictures showing the amp and sub:
amp with a ps3 controller on top for size comparison
front of sub
she's got a fat butt, too!
Thread Starter
|
New Member
Joined: May 2014
Posts: 19
From: Charlotte, NC
here are some pictures as promised!
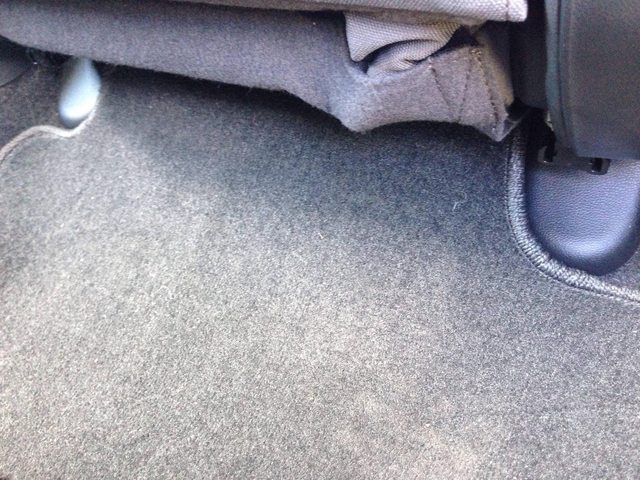
the passenger side seat with the amp underneath, showing what you'd see with seat in normal position.
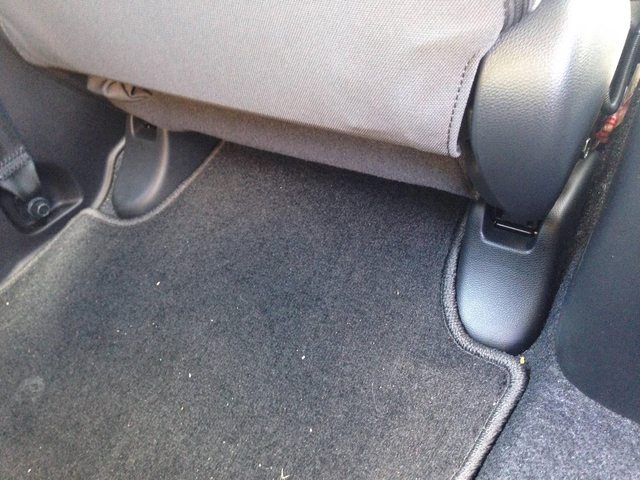
the driver side seat for reference, the floor mat barely visibly sits flatter up by the seat but hardly noticeable.
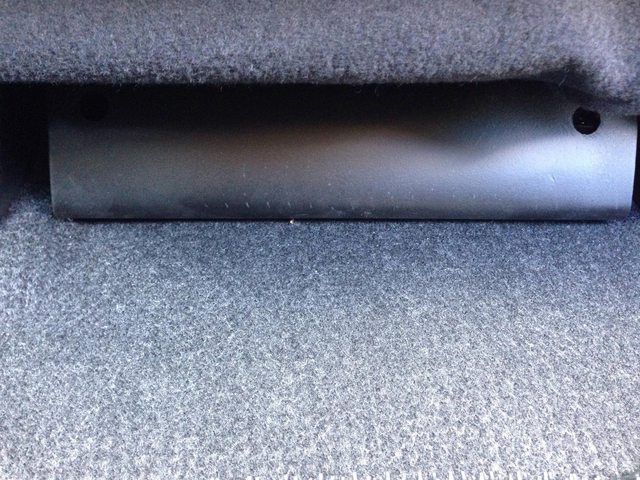
this is the visible bit of the "rack" if you pull the floor mat back. plastidipped the aluminum black, it probably needed a few more coats but i'm not worried about it - the black is just to prevent flashes from reflections on the sides. the floor mat has messed up the finish of the plastidip a bit, though.
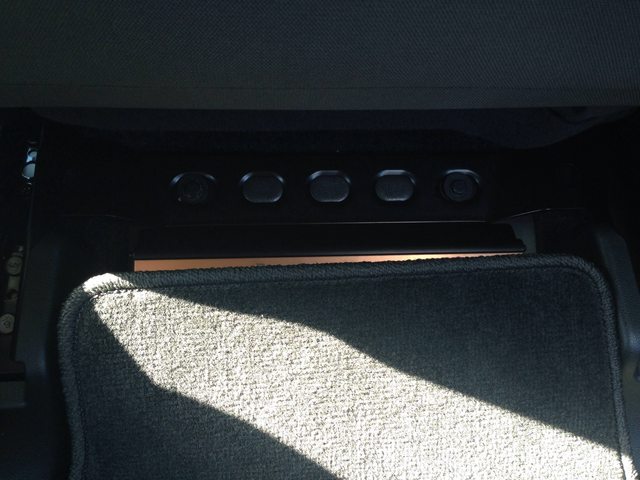
move the seat forward and this is what you see with the floor mat still in place. unfortunately i knocked it crooked before i took the picture and didn't notice, oh well
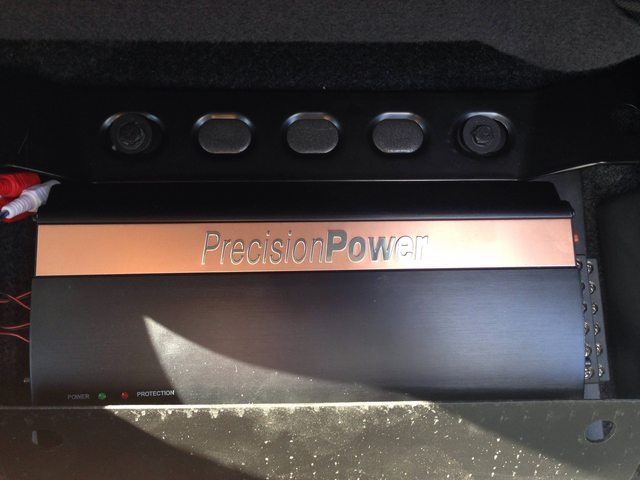
a better shot of the amp on there. the amp uses harnesses for the rca connectors, and that's what you're seeing on the left side. also, you can see the two mounting points of the amp rack where it bolts to the seat support bracket between the seat rails.
that's all i've got for the amp rack as of now.
the passenger side seat with the amp underneath, showing what you'd see with seat in normal position.
the driver side seat for reference, the floor mat barely visibly sits flatter up by the seat but hardly noticeable.
this is the visible bit of the "rack" if you pull the floor mat back. plastidipped the aluminum black, it probably needed a few more coats but i'm not worried about it - the black is just to prevent flashes from reflections on the sides. the floor mat has messed up the finish of the plastidip a bit, though.
move the seat forward and this is what you see with the floor mat still in place. unfortunately i knocked it crooked before i took the picture and didn't notice, oh well
a better shot of the amp on there. the amp uses harnesses for the rca connectors, and that's what you're seeing on the left side. also, you can see the two mounting points of the amp rack where it bolts to the seat support bracket between the seat rails.
that's all i've got for the amp rack as of now.
Thread Starter
|
New Member
Joined: May 2014
Posts: 19
From: Charlotte, NC
made some progress today.
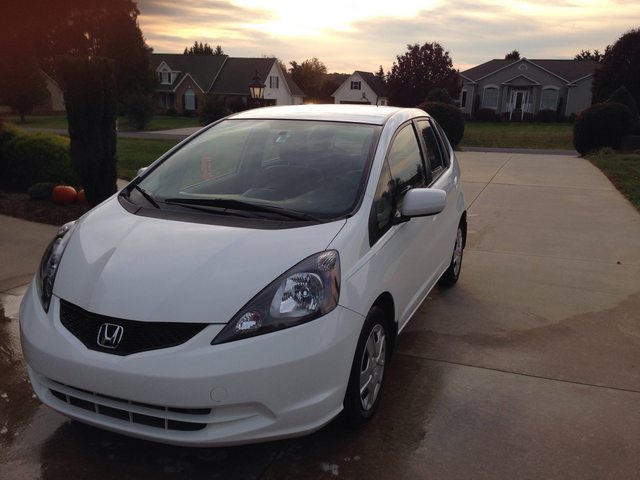
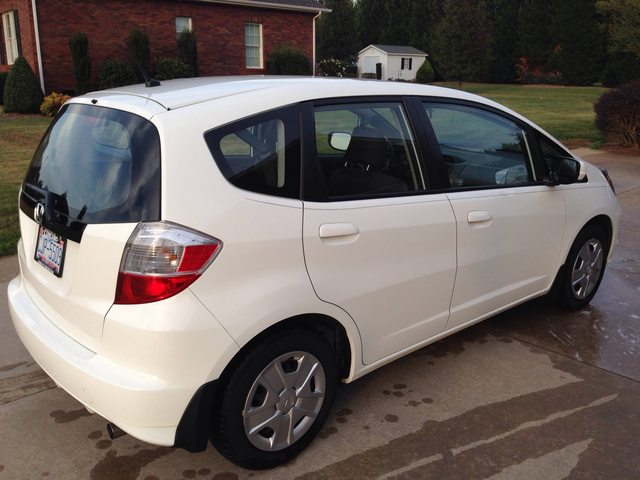
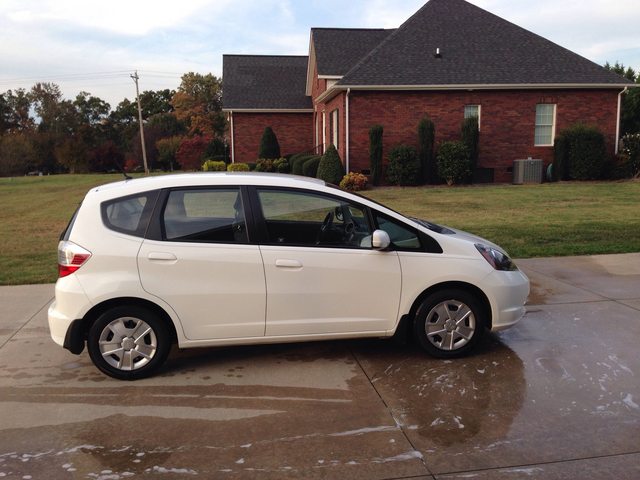
first, i gave her a bath. finally some closer pics of the car:
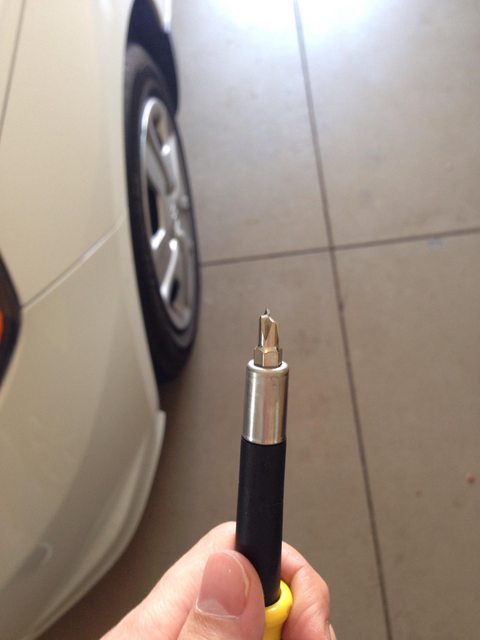
next, i tackled getting the power wire through the firewall. unfortunately that means removing the stock airbox, which did this to my walmart screwdriver (which i actually really liked for around the house work...) and it actually happened to both phillips bits unfortunately. decided to change routes and used my step dad's snap on sockets to get the bolts off instead, phillips are a waste of time
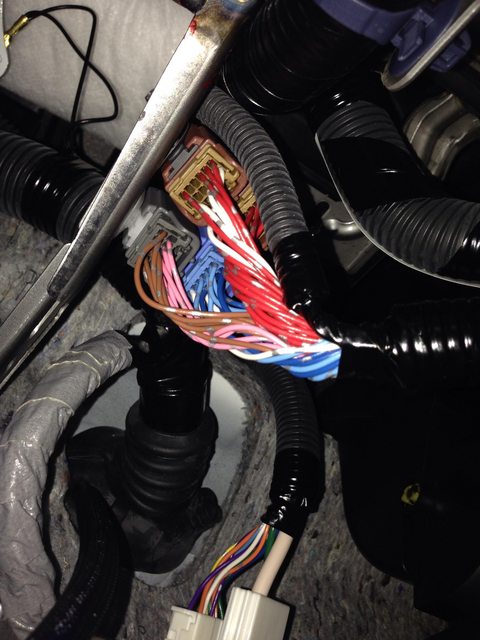
so, this is the view of the target grommet we'll be using in the car with the airbox top off. it's a bad picture, but my iphone is all i've got. it's the area surrounded by white.
unfortunately, the firewall is more than a foot behind where the hood ends, and because of how much shit is crammed back in there, there's literally no way for me to even come close to getting my arm in far enough to put a hole in the grommet.
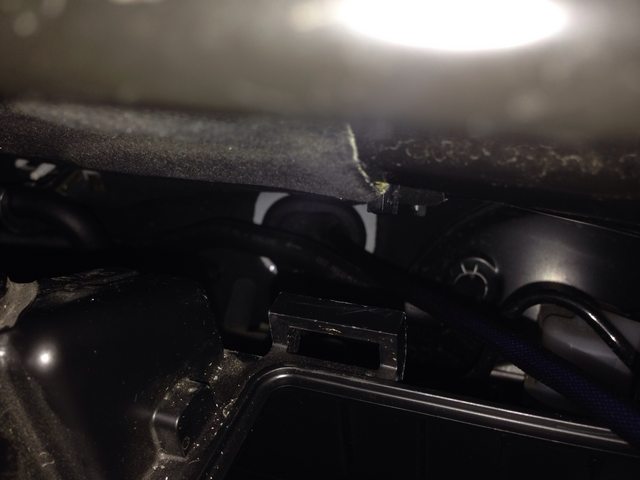
so, i tackled it from the inside. i didn't take any pictures, but i poked it with a few tools and ended with phillips screwdriver about 3/4 the size of the 8 gauge nvx wire. then i taped the wire to a wire clothes hanger, pushed it through from the inside, got some pliers and pulled it through. always use lube for tight holes i always use windex for pulling wire, less messy than wd40. unfortunately, i have no pictures of this process, but i snapped a picture of the grommet from the inside with the wire through already:
that's the end of the pictures i took. the power wire is all the way to the amp at this point (as is the turn on wire) though not connected yet. i ran the power up with some wiring harnesses across the front of the car to the passenger side and then down through the kicks and front door sill, then it cuts over under the carpet with the seat weight sensor for the airbag, which puts it in a perfect spot for the amp. still on the list to do are speaker wire and rca's. the rca's are behind the lower glovebox right now - i was going to run them but ended up zip tying them back there for another day, as i'm not sure which way i want to go with running them. my next day off i may disassemble the center console and see if i can make the rca's follow the tube for the underseat vent, which would be ideal. otherwise, they're probably going to have to just follow the same route as the power wire
also found my box carpet and my roller from second skin, so the box will definitely be covered shortly after being built and hopefully deadening the passenger side door will be a bit better with the roller
that's as far as the build is so far, and i'm hoping to finish up all the wire running tomorrow after work. maybe also deaden the passenger side front door (the driver side is done already) and mount the speakers up and power on the amp for the first time. we'll see how it goes!
first, i gave her a bath. finally some closer pics of the car:
next, i tackled getting the power wire through the firewall. unfortunately that means removing the stock airbox, which did this to my walmart screwdriver (which i actually really liked for around the house work...) and it actually happened to both phillips bits unfortunately. decided to change routes and used my step dad's snap on sockets to get the bolts off instead, phillips are a waste of time
so, this is the view of the target grommet we'll be using in the car with the airbox top off. it's a bad picture, but my iphone is all i've got. it's the area surrounded by white.
unfortunately, the firewall is more than a foot behind where the hood ends, and because of how much shit is crammed back in there, there's literally no way for me to even come close to getting my arm in far enough to put a hole in the grommet.
so, i tackled it from the inside. i didn't take any pictures, but i poked it with a few tools and ended with phillips screwdriver about 3/4 the size of the 8 gauge nvx wire. then i taped the wire to a wire clothes hanger, pushed it through from the inside, got some pliers and pulled it through. always use lube for tight holes
i always use windex for pulling wire, less messy than wd40. unfortunately, i have no pictures of this process, but i snapped a picture of the grommet from the inside with the wire through already:that's the end of the pictures i took. the power wire is all the way to the amp at this point (as is the turn on wire) though not connected yet. i ran the power up with some wiring harnesses across the front of the car to the passenger side and then down through the kicks and front door sill, then it cuts over under the carpet with the seat weight sensor for the airbag, which puts it in a perfect spot for the amp. still on the list to do are speaker wire and rca's. the rca's are behind the lower glovebox right now - i was going to run them but ended up zip tying them back there for another day, as i'm not sure which way i want to go with running them. my next day off i may disassemble the center console and see if i can make the rca's follow the tube for the underseat vent, which would be ideal. otherwise, they're probably going to have to just follow the same route as the power wire
also found my box carpet and my roller from second skin, so the box will definitely be covered shortly after being built and hopefully deadening the passenger side door will be a bit better with the roller
that's as far as the build is so far, and i'm hoping to finish up all the wire running tomorrow after work. maybe also deaden the passenger side front door (the driver side is done already) and mount the speakers up and power on the amp for the first time. we'll see how it goes!

Thread
Thread Starter
Forum
Replies
Last Post
one bad dx
1st Generation (GD 01-08)
17
Sep 26, 2008 12:56 PM