When you click on links to various merchants on this site and make a purchase, this can result in this site earning a commission. Affiliate programs and affiliations include, but are not limited to, the eBay Partner Network.
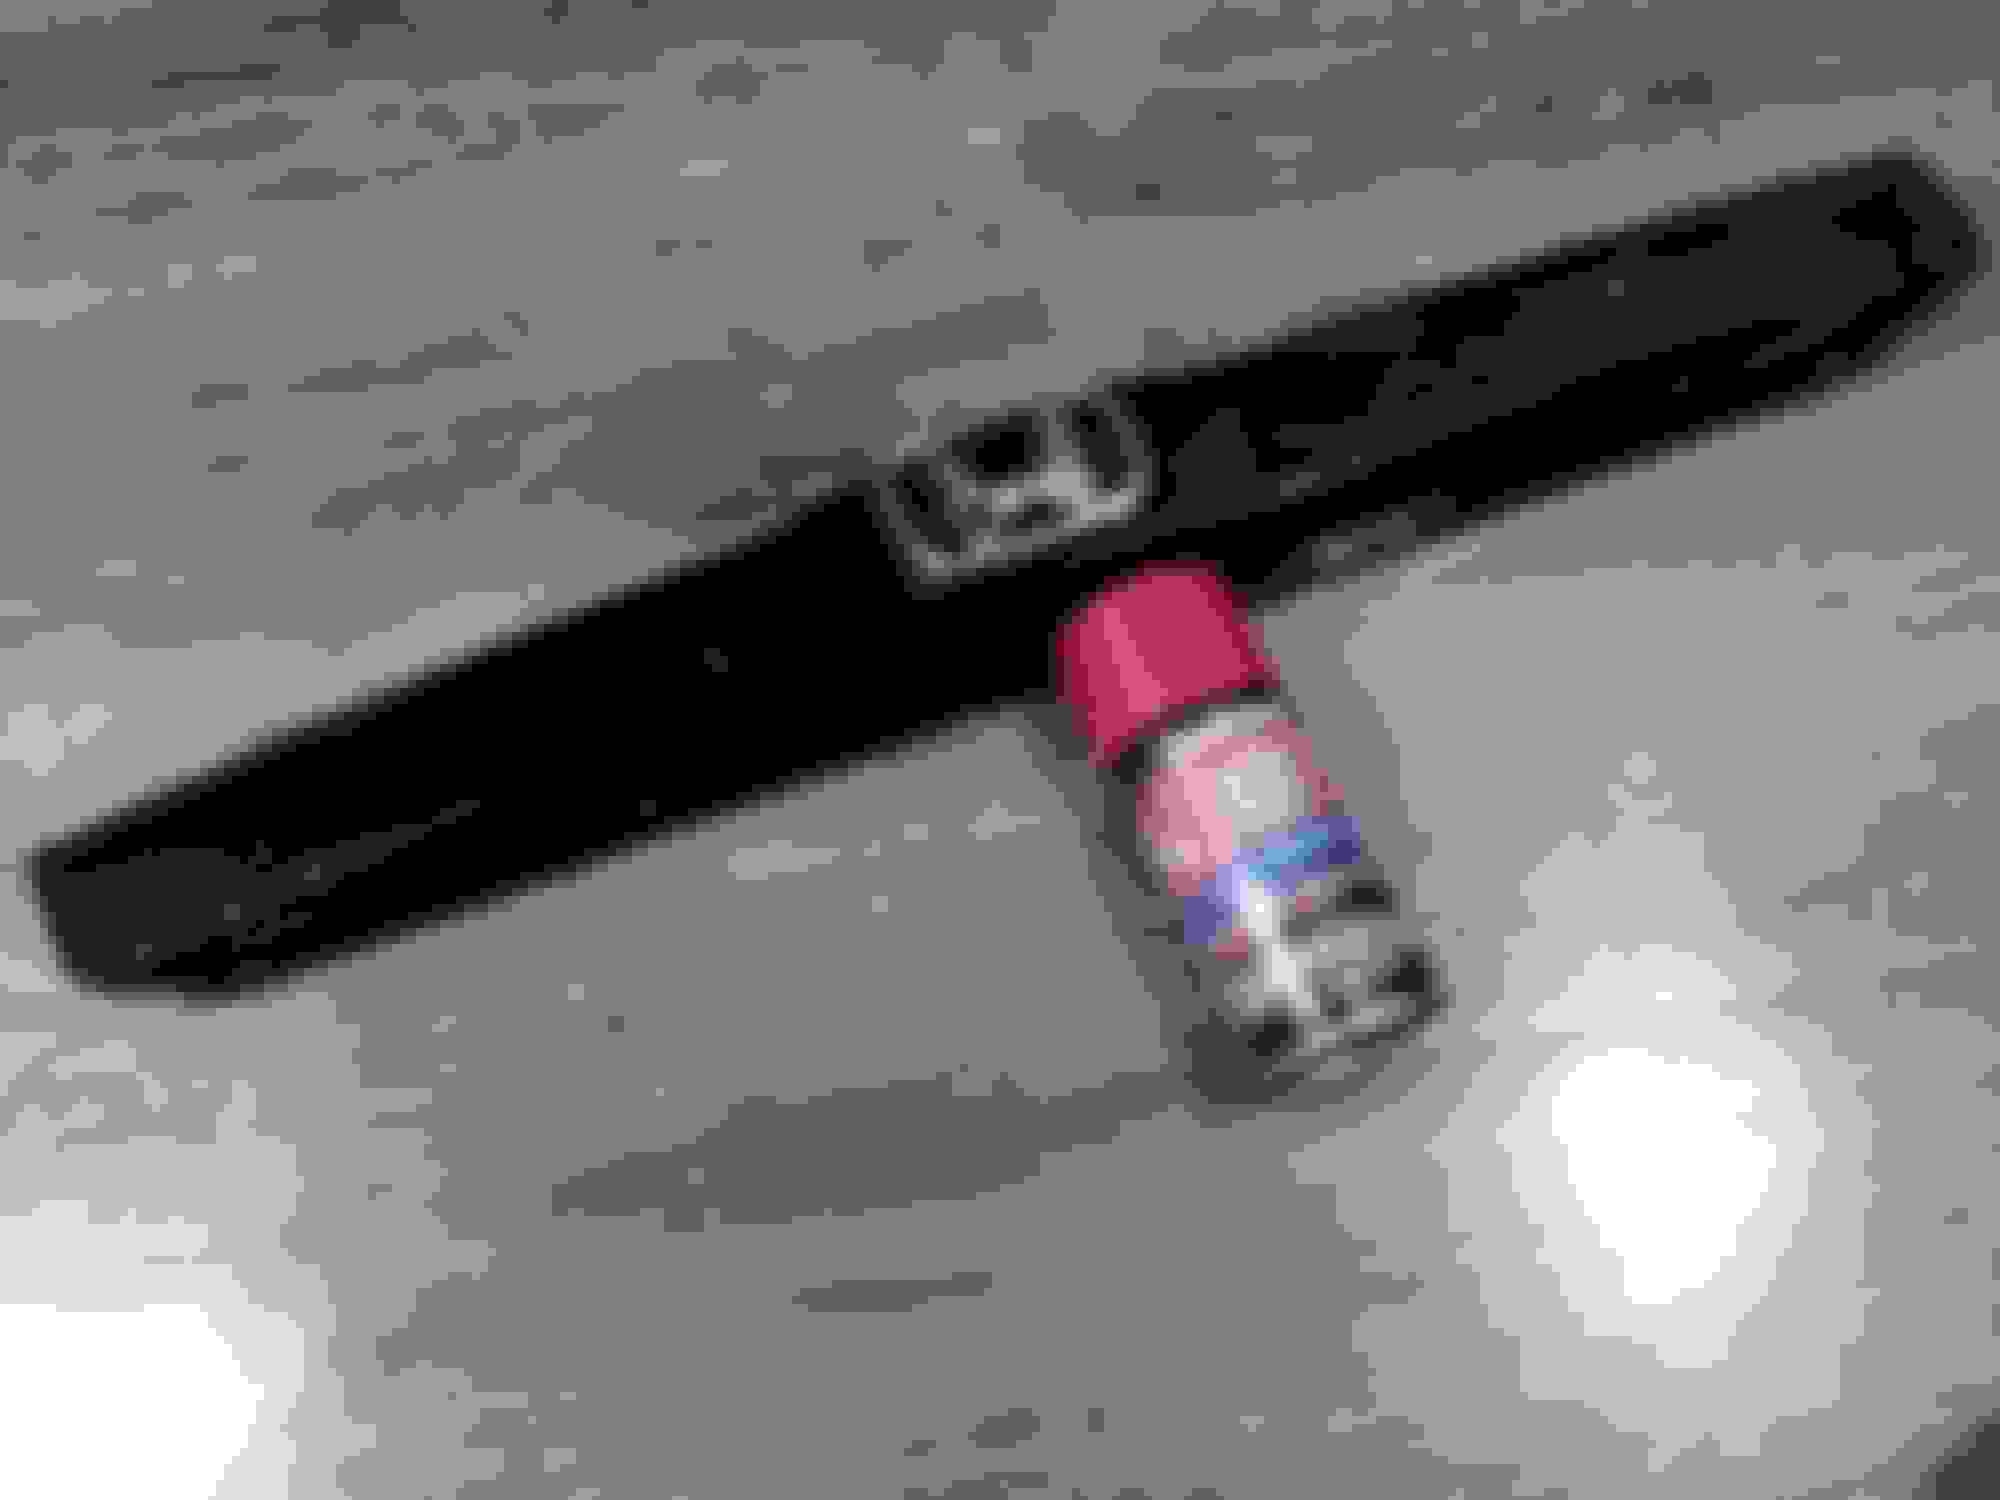
*installed* my new aluminum oil cap and battery tie down. tie down took some tweaking to get it to fit right.
also rewrapped my phone. installed my OBD extension so i can stash my Bafx under the dash. last piece i am waiting on is a 90 degree usb cable to route behind the dash to power the phone and clean up the install.
mods will be slowing/stopping soon aside from small tweaks here and there, as I pretty much have the car where I want it. debating on an intake and a couple of suspension bars to stiffen the chassis up a bit.
i cant leave the coilovers alone. i had it on full drop for a month or so, but have been needing to commute a bit further, and a few bumps are jamming the bumpstops a little harder than id like....so i raised all 4 corners up half an inch. i should have left it at this height but it sits at the perfect height visually with the coils all the way down. oh well.
Nice build man, awesome idea with the phone Any tips with getting that tie down to fit right? I need to get a different one since mine is chipping up and rusting.
Just about to sell my K&N Typhoon intake soon if you're looking for something like that.
Nice build man, awesome idea with the phone Any tips with getting that tie down to fit right? I need to get a different one since mine is chipping up and rusting.
Just about to sell my K&N Typhoon intake soon if you're looking for something like that.
the battery tie down will tighten securely using the stock mounting points, and also wont interfere with anything...other than needing to be placed first, followed by the positive batter terminal. the only issue is it not being straight.
so for those that want it straight.....we will need to:
1) buy longer tie down bolts
2) drill one hole in battery tray
3) make up to 3 cuts on 2 different bolts ( i used dremel cut off wheel)
first you will need at least 1 longer tie rod bolt for the front side of the battery. the original will be about 1 inch too short and sits flush with the bottom side of the new aluminum tie down after relocating it. i ended up finding the cheapest solution was to buy a whole battery tie down kit from Autozone locally, for about $5. They do have a kit without the black center tie down, but the bolts arent long enough. the Autozone kit comes with SAE bolts and wingnuts. I had some spare SAE nuts to replace the wingnuts.
i used both new SAE bolts on the front and rear, so i wouldnt be fiddling with having one OE metric nut and the other SAE....but the original bolt and nut will work fine for the rear.
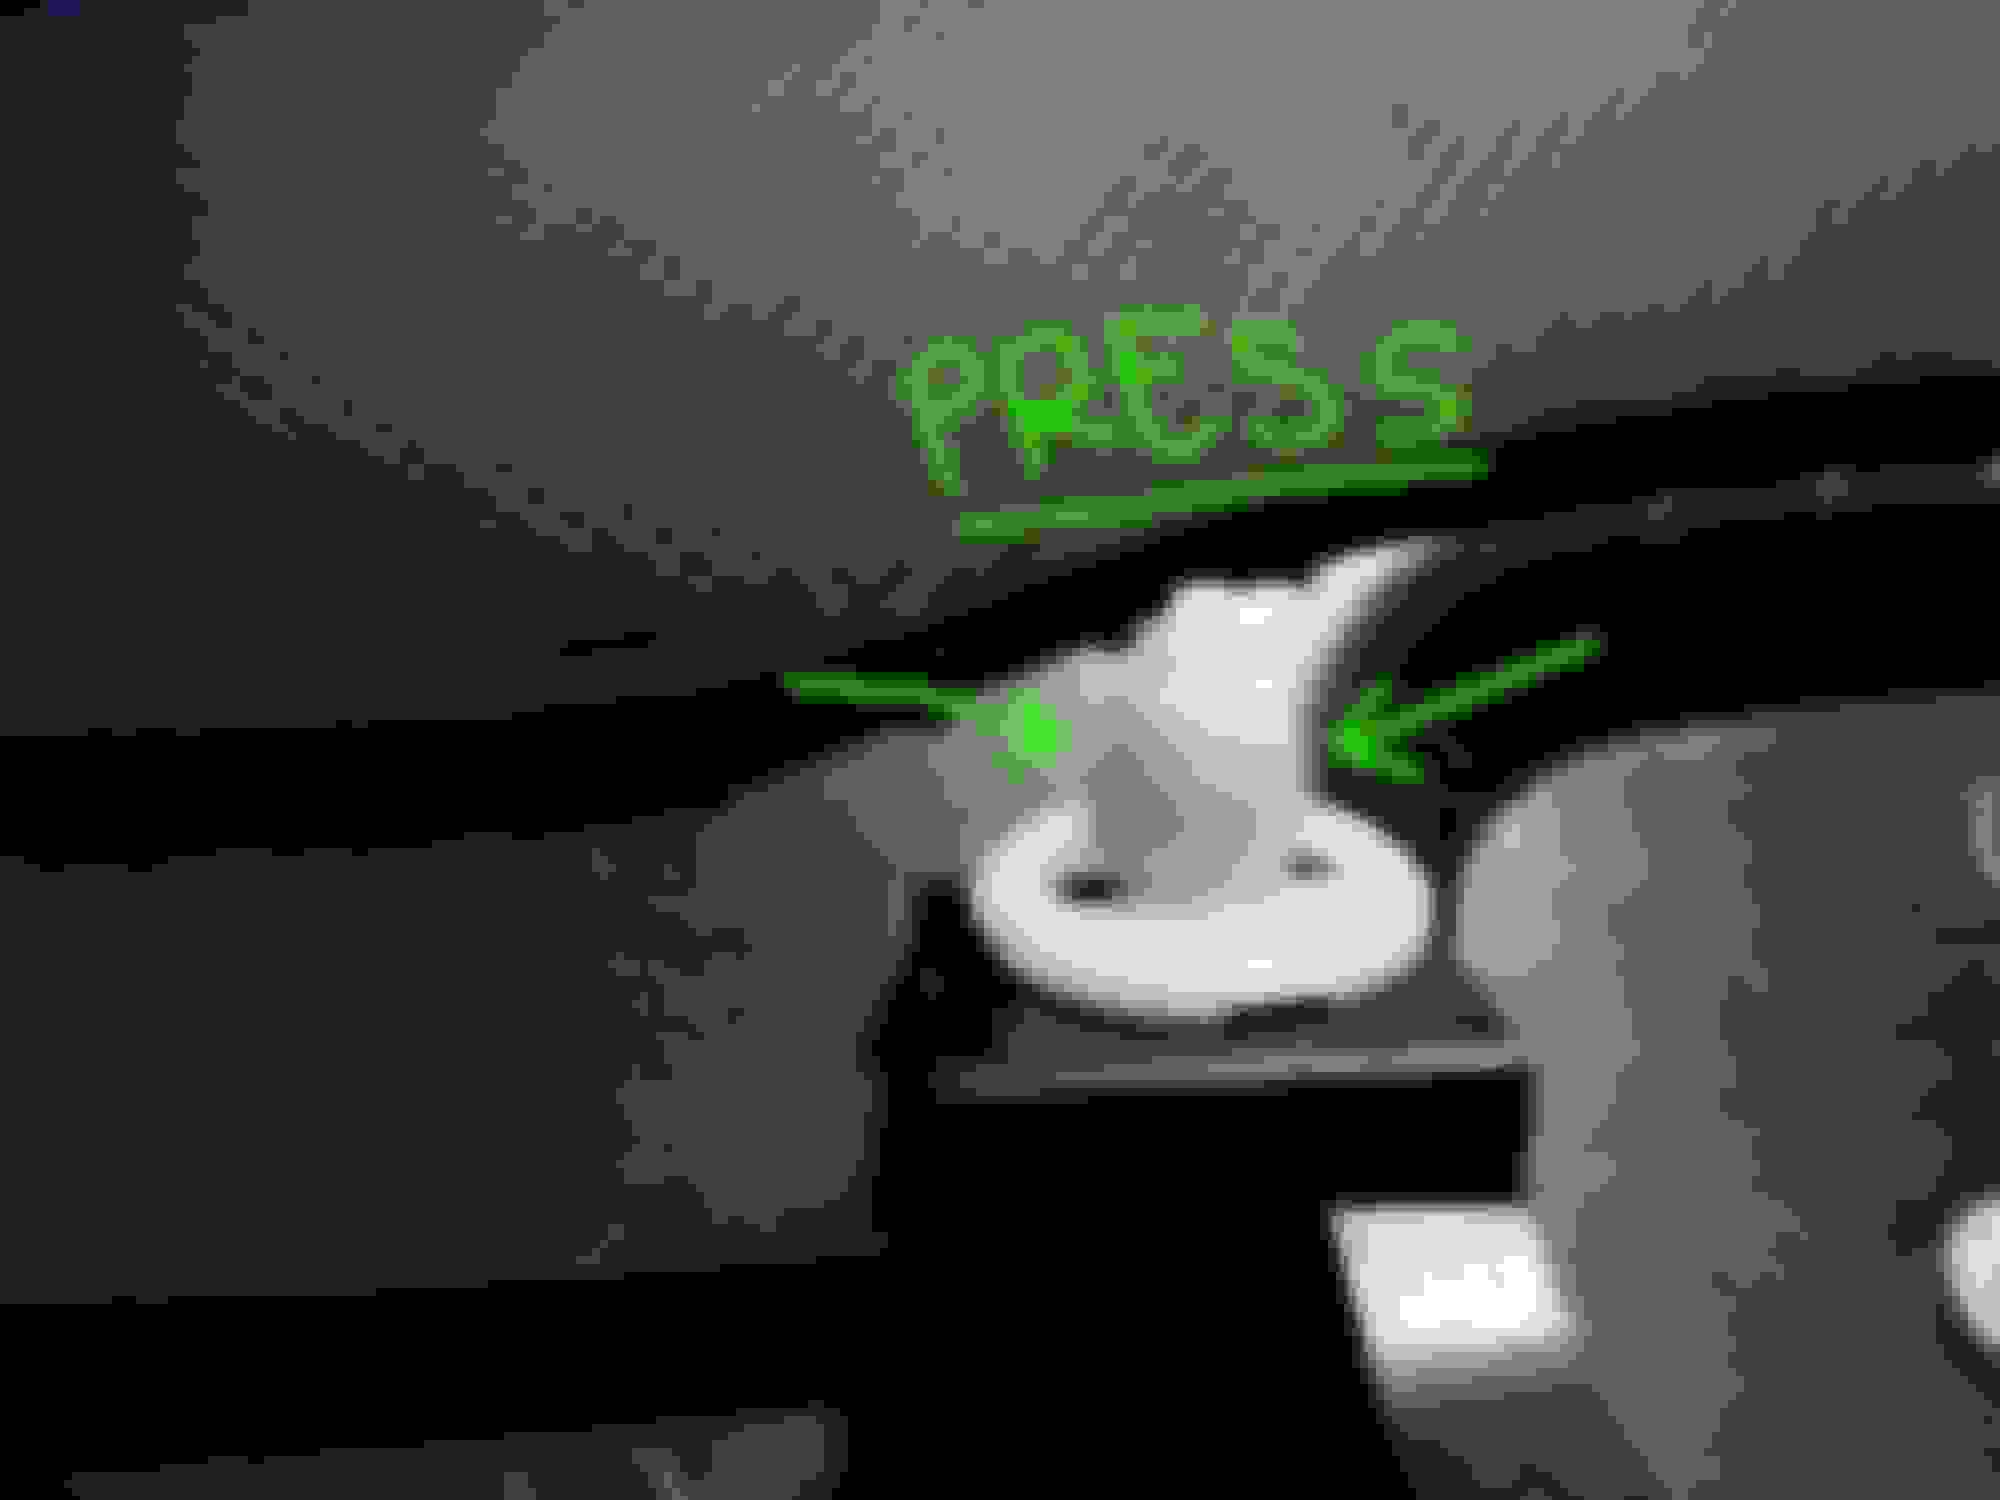
next you will have to drill a hole in the factory battery tray to accept the new longer bolt. try to get it as close to the bend as possible as the plastic battery tray makes it tight to pass the new rod through the hole, and the rod rests tightly against it.
finally you will have to cut the excess threads of the new bolt (or bolts if you decide to use them both) as they are too long. Place the battery in its proper location, install the tie rod and measure where you want your new bolts to be cut off. you will probably have to slide the new bolt into the hole from the bottom side. I used my dremel tool to cut the bolts. You will also have to trim the bottom of the rear bolt (closest to the windshield) so it resembles the originals "L" shape. The front bolt (closest to the nose of the car) i just left in its "J" shape. (the picture of the bolt below is a test fit of the original L shaped one - that was too short).
Now you are ready to reinstall your battery and new tie down! I trimmed the lower leg on the bottom right of the positive battery terminal because i was trying to compensate for the thickness of the new tie down, but after, realized i didnt need to cut it...just push down and tighten the terminal.
it started turning into a project, but still only cost about $10 dollars total ($5 for autozone kit + $5 for aluminum tie down from ebay china). best part is, if you decide to revert back to stock, you have only drilled one new hole, and you can simply pop in the old tie down and bolts in their original locations.
Thought Id do a quick follow up and sound clip of the AFE drop in filter for the factory airbox. After the initial install the car was just a tiny bit louder, but by the end of the week the AFE filter really made the intake a lot louder. There is also an occasional whistle at certain RPMs similar to a cone filter. My new, OEM air filter that came with my car had more of a bzzzz sound to it. So, just a heads up to those that are considering a higher flowing drop in filter...your intake will get louder, especially on the top half of the rpm range. Im currently in the process of piecing together a PRM intake tube to a AFE Dry cone filter, and will post another sound clip of that for comparison. And maybe another with the original filter if i remember, to be able to do a 3 way comparison.
performance wise, the drop in filter seemed to make the car a little bit more responsive after a few days of driving it...but the car still has the awkward electronic throttle lag these cars have... especially in the regular AT mode. Might get a throttle controller for that in the future. But hey, its just a Honda Fit after all.
*installed* my new aluminum oil cap and battery tie down. tie down took some tweaking to get it to fit right.
also rewrapped my phone. installed my OBD extension so i can stash my Bafx under the dash. last piece i am waiting on is a 90 degree usb cable to route behind the dash to power the phone and clean up the install.
mods will be slowing/stopping soon aside from small tweaks here and there, as I pretty much have the car where I want it. debating on an intake and a couple of suspension bars to stiffen the chassis up a bit.
i cant leave the coilovers alone. i had it on full drop for a month or so, but have been needing to commute a bit further, and a few bumps are jamming the bumpstops a little harder than id like....so i raised all 4 corners up half an inch. i should have left it at this height but it sits at the perfect height visually with the coils all the way down. oh well.
Not sure how you got or keep the engine bay that clean, but its cleaner than my '18 with 2500 miles. Impressive.
Not sure how you got or keep the engine bay that clean, but its cleaner than my '18 with 2500 miles. Impressive.
hah! fortunately the car was detailed when I bought it, so I did have to wash a few spots they missed in the bay...but with this car and others I have had in the past I try to rinse out the engine bay around once a month at the car wash. if only i could keep the door jambs as clean Id be happy.
Originally Posted by GAFIT
Just read through your thread. Great looking car and nice upgrades! Good work!
Thanks!
---------
Operation: Save an Intake
So I just bought a used PRM intake, minus the filter off ebay. Seller hooked me up pretty nice. I ordered an AFE Dry flow filter, along with a new 4-ply black silicone coupler, and braided steel intake hose that I should be getting next week. Total cost for the pipe, new filter, silicon coupler and braided hose will be $80...and it will be exactly what I wanted: aluminum short ram with an AFE Dry Flow cone filter. Super stoked because I really did not want to pay a lot for an intake since Im not sure if ill grow tired of the noise.
My first option was going to be a HPS, but I didnt want the oiled K&N they come with, and even $160 was more than I wanted to spend...athough thats the least expensive new intake I could find for the GE. It was just hard to justifiy paying about $120 for that tiny section of pipe, because I know those official K&N oiled filters are about $40 new. Second option was the DIY method using a cut up factory box. Was close to pulling the trigger, but really preferred to have a metal intake tube, along with retaining the valve cover's vacuum connection to the intake.
So back to the PRM intake...the catch was it had a nitrous bung installed. I could have just left it, but it was ugly and I wanted to try to take it off. I hit the JB weld it had slathered on it with my dremel tool, and then a box wrench and it came loose, so I kept going. Pulled it out and was left with a gaping hole. I thought about plugging it with a rubber or plastic plug from the hardware store, but didnt want to risk having the plug deteriorate for whatever reason and go up in my motor. I also wanted to limit the protrusions on the inside of the intake pipe so I could get my whole 1 horsepower. :P
I smoothed down the rough edges of the hole, then cut the lid of a tuna can with some diagonal cutters to make a block off plate for the hole. I was left with a recessed hole inside the tube with the tuna cans expiration date partially visible. Its ok. Next came my own slathering of JB weld, some sanding and polishing, then a piece of 20 year old aluminum sticker from my car model building days. I dont plan on the Bare Metal Foil sticker withstanding the engine heat, but thought Id give it a try. If it doesnt hold up, Im fine with the intake having the exposed JB weld on the bottom side..my only concern was it holding in place and not looking like total garbage.
A couple of hours labor with cutting the bung out, sanding and polishing, and im happy with the results!
What I started with
Removed bung, left with gaping hole
Tuna can block off plate
JB Weld
Rough Sanding.... lots of dings and scratches
Smothed out...as far as I wanted to go with it anyways...
Bare Metal Foil to match it all up a little better
PRM/AFE INTAKE
Ive had the intake installed for about a week now. At lower rpms and partial throttle its hardly noticable, once u floor it and go high rpms things get real loud!
Last thing Im waiting on for the intake is some red hose clamps. Got the steel braid held down with duck tape for now. Overall Im happy with it especially for the amount i paid.A bit crisper throttle response...but mostly just a noise maker.
Upcoming mods...
Next up Ill be joining the oil catch can gang in an effort to prolong my engines life...just waiting on the bits and still trying to decide on a mounting location.
Also on order will be some Japanese suspension bits!
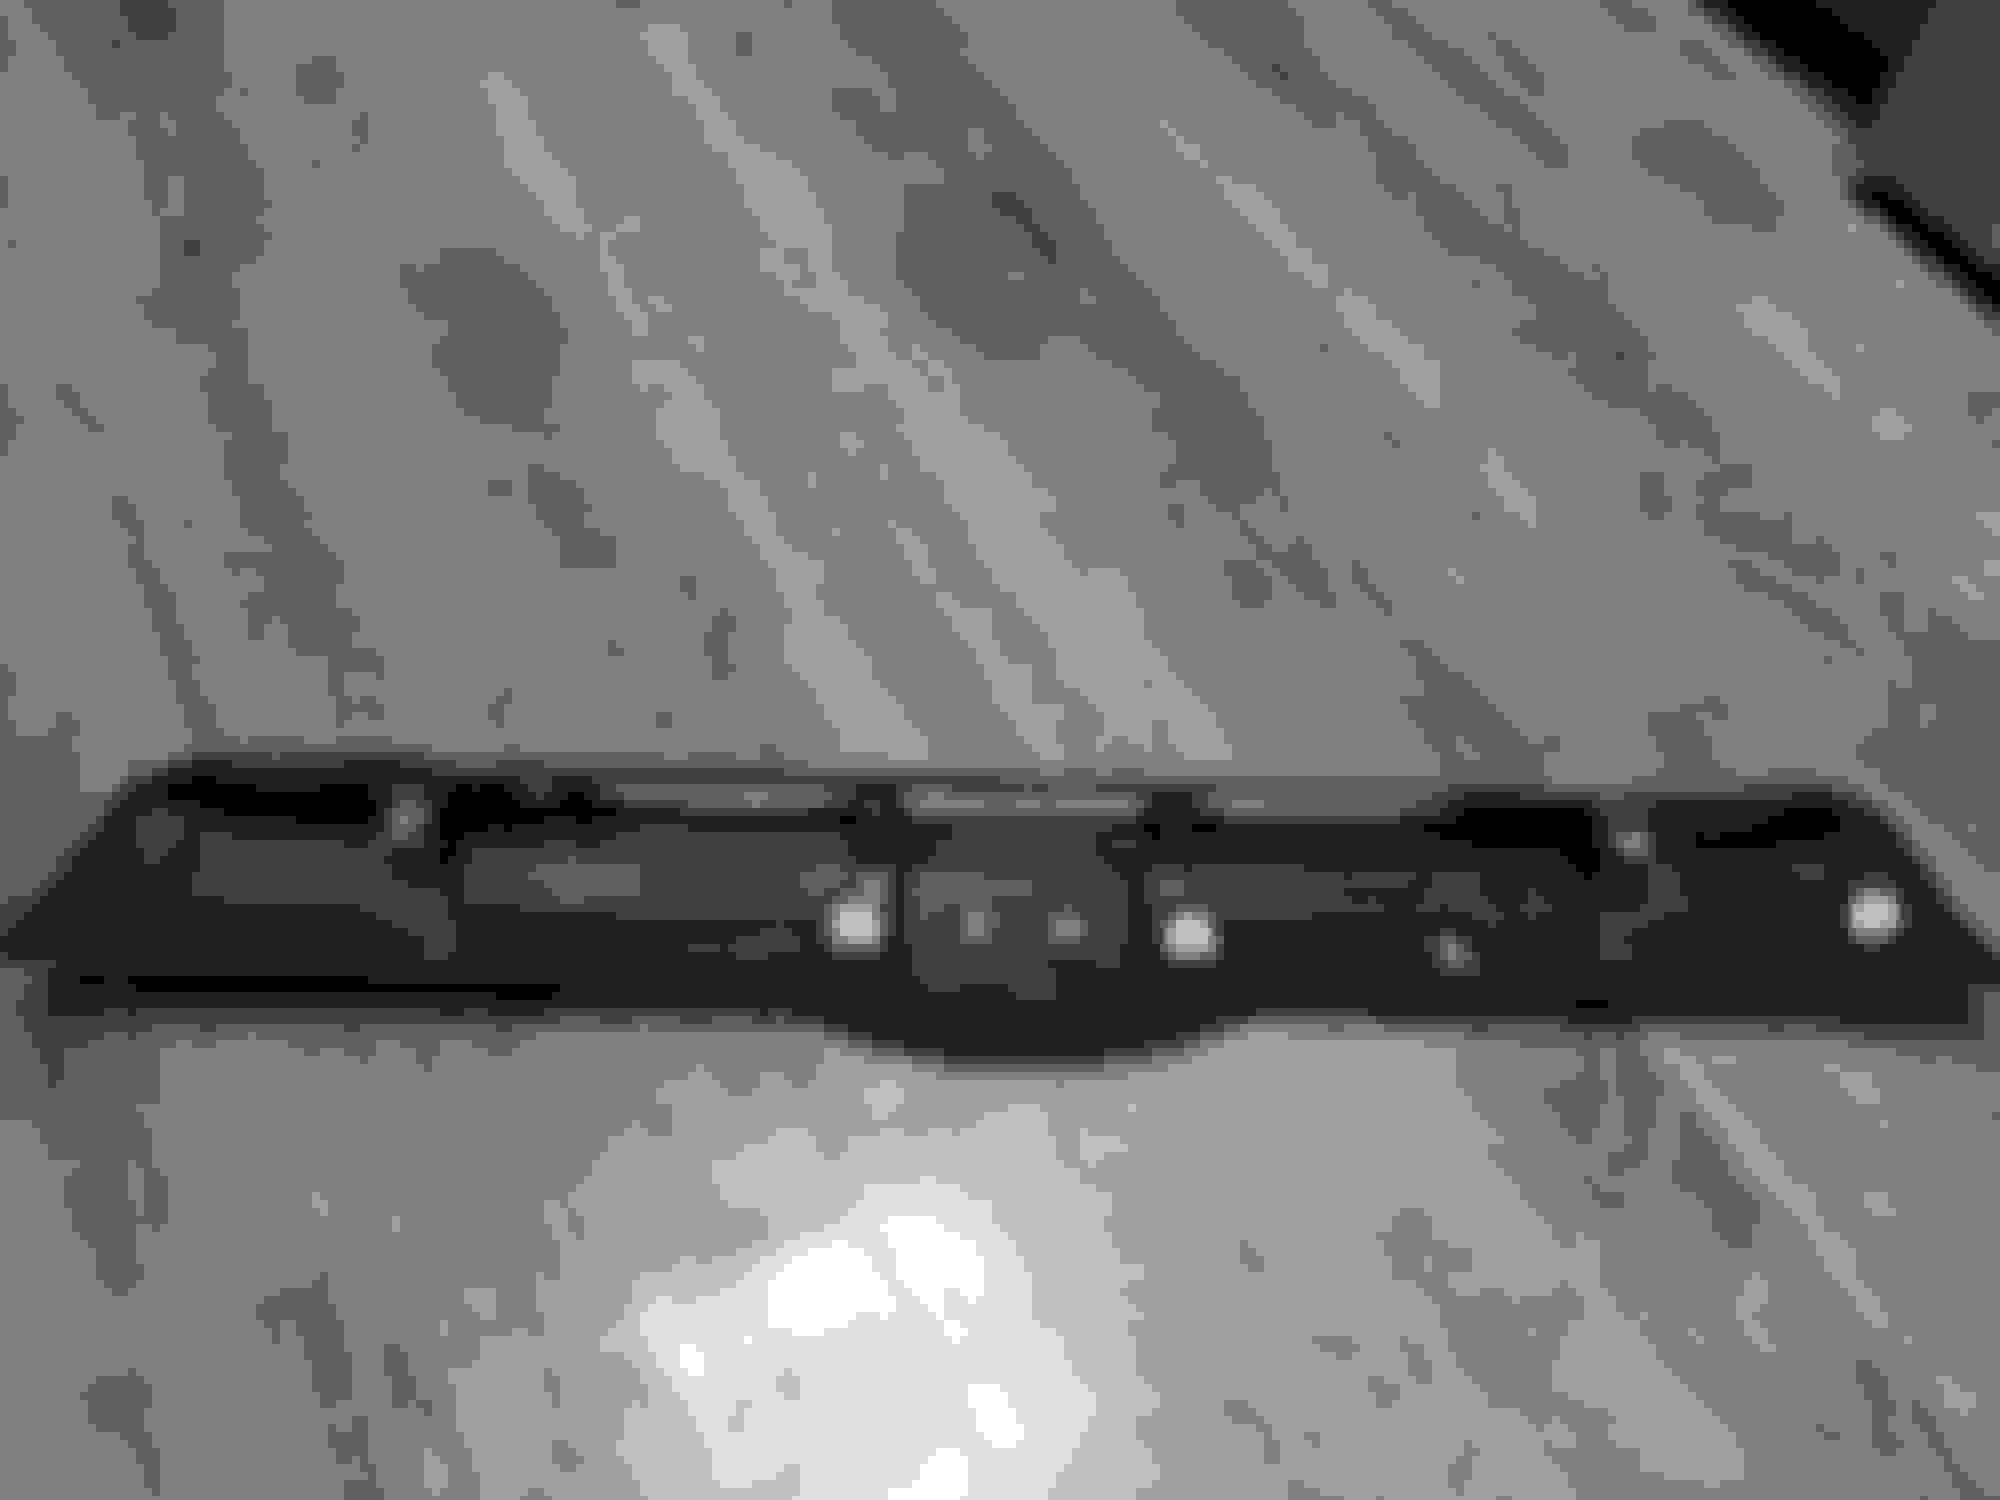
So heres whats going down hopefully tomorrow. took a few extra pics of the backside in case anyone was wondering how and what the garnish is held down by..5 clips and 1 screw. total pain in the ass, which took about an hour. i managed to resist the temptation to just rip the garnish off and succeeded without a single broken clip. Each clip has 2 tabs to press...i started from the passenger side and worked to the drivers side. the one on the drivers side is the hardest to reach. pinching the clips from the back side and gently pulled the garnish up, it sounds easier than it is, but there is no room to work and the clips are tight as hell. the last one i was fighting with, but I accidentally learned a trick....I pulled it to the right and the garnish just came off, leaving the last clip still installed in the trunk door, since the slot for the clip to slide into, runs horizontal.
I tried to gently pry the washer clip things off the back of the emblem, but snapped the emblems pegs off. For anyone just replacing the emblem, dont bother trying to go through the back of the garnish, just shove something between the emblem and garnish from the outside and break the clips.
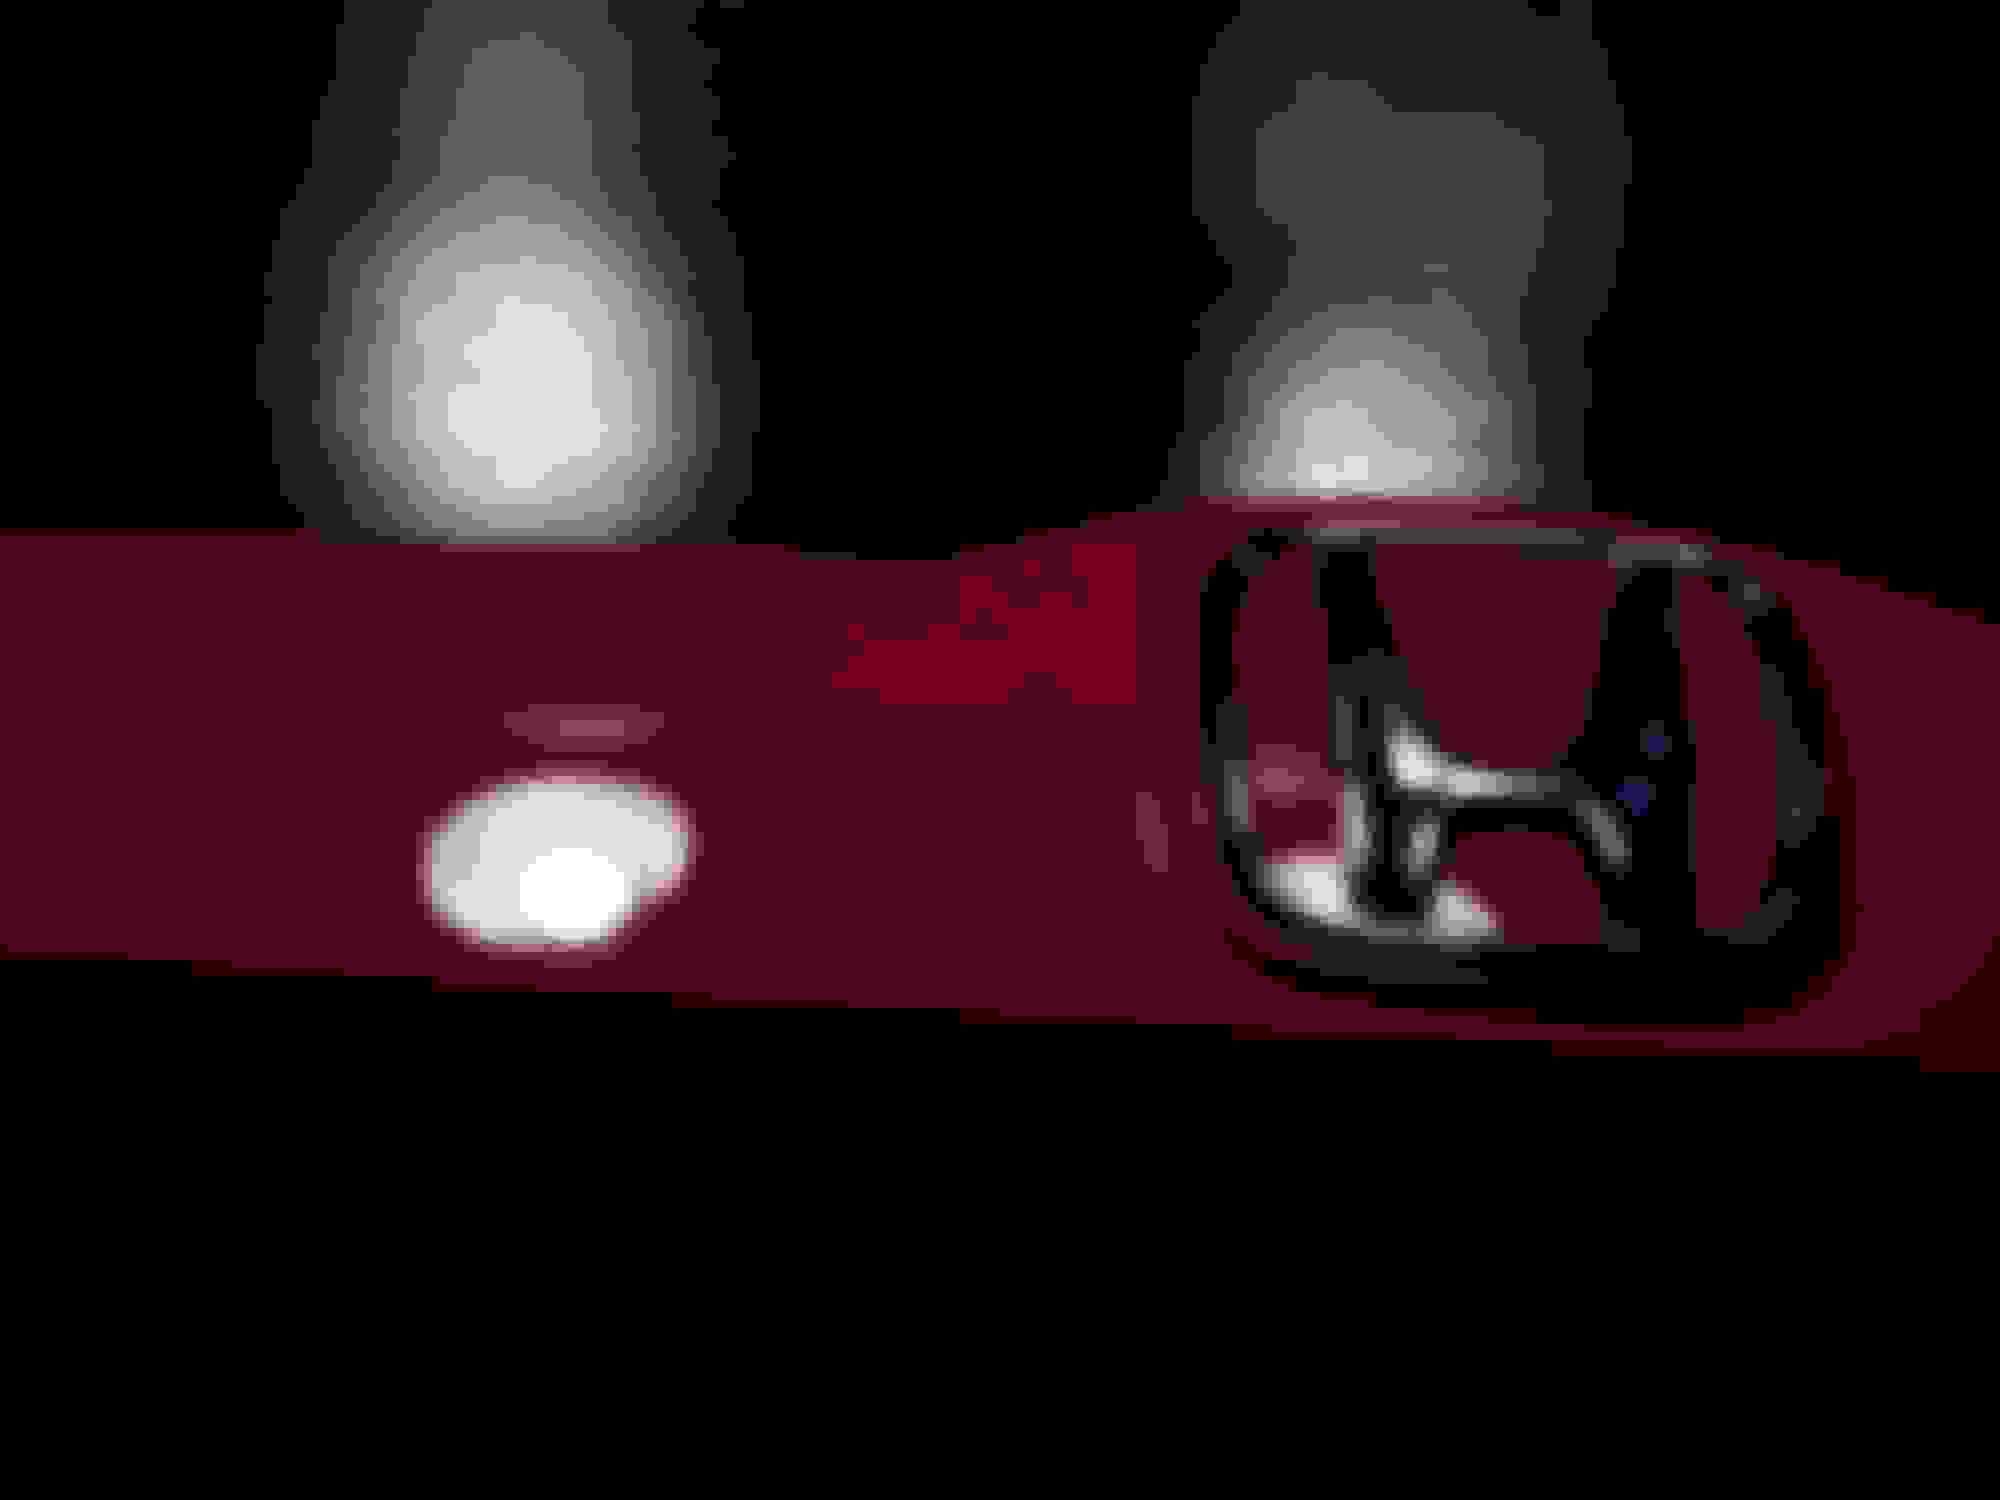
Im hoping the paint turns out ok. Im going to sand, primer, paint and clear coat it. The garnish has always kinda bothered me, as traditionally on the old Hondas black trim signified the lower end models. I do like the way the trim looks with the windows tinted, but I dont plan on tinting.
Garnish
Painted the rear garnish a couple of days ago completely with Duplicolor primer, paint and clear coat. Paint and clear coat both spit a bunch of chunks on their respective layers when trying to sweep along the length of the garnish. Learned I had to do short perpendicular strokes instead. The whole things looked real crappy when I was done, so bad I didnt even want to take a picture, because I wasnt sure if Id be able to save it since the paint spew chunks. Lots of orange peel too. Let it dry a couple of days and hit it with 1000 grit sand paper, then some metal polish and these dope little ebay foam pads ($10 for ~15 pads) for my drill that I recently purchased to buff my headlighs out. Finished up with some plastx and hand buffing. I guess I should buy some real polish for when I do the whole car. Have a few clear coat bubble spots but the whole project came out better than I thought considering its all spray paint, done outside, and how bad it looked immediately after painting. Going to let it dry a couple more days and then install it.
Below is picking up after I sanded the clear coat...
Door Dent
Also woke up to the first door dent on my car. Damn Im PISSED! Ill never understand why people dont give a shit about their door slamming into someone elses. Of course it is on the driver side rear door where I get to look at it every damn time I get in the car. Irritating as hell.
Torque Phone
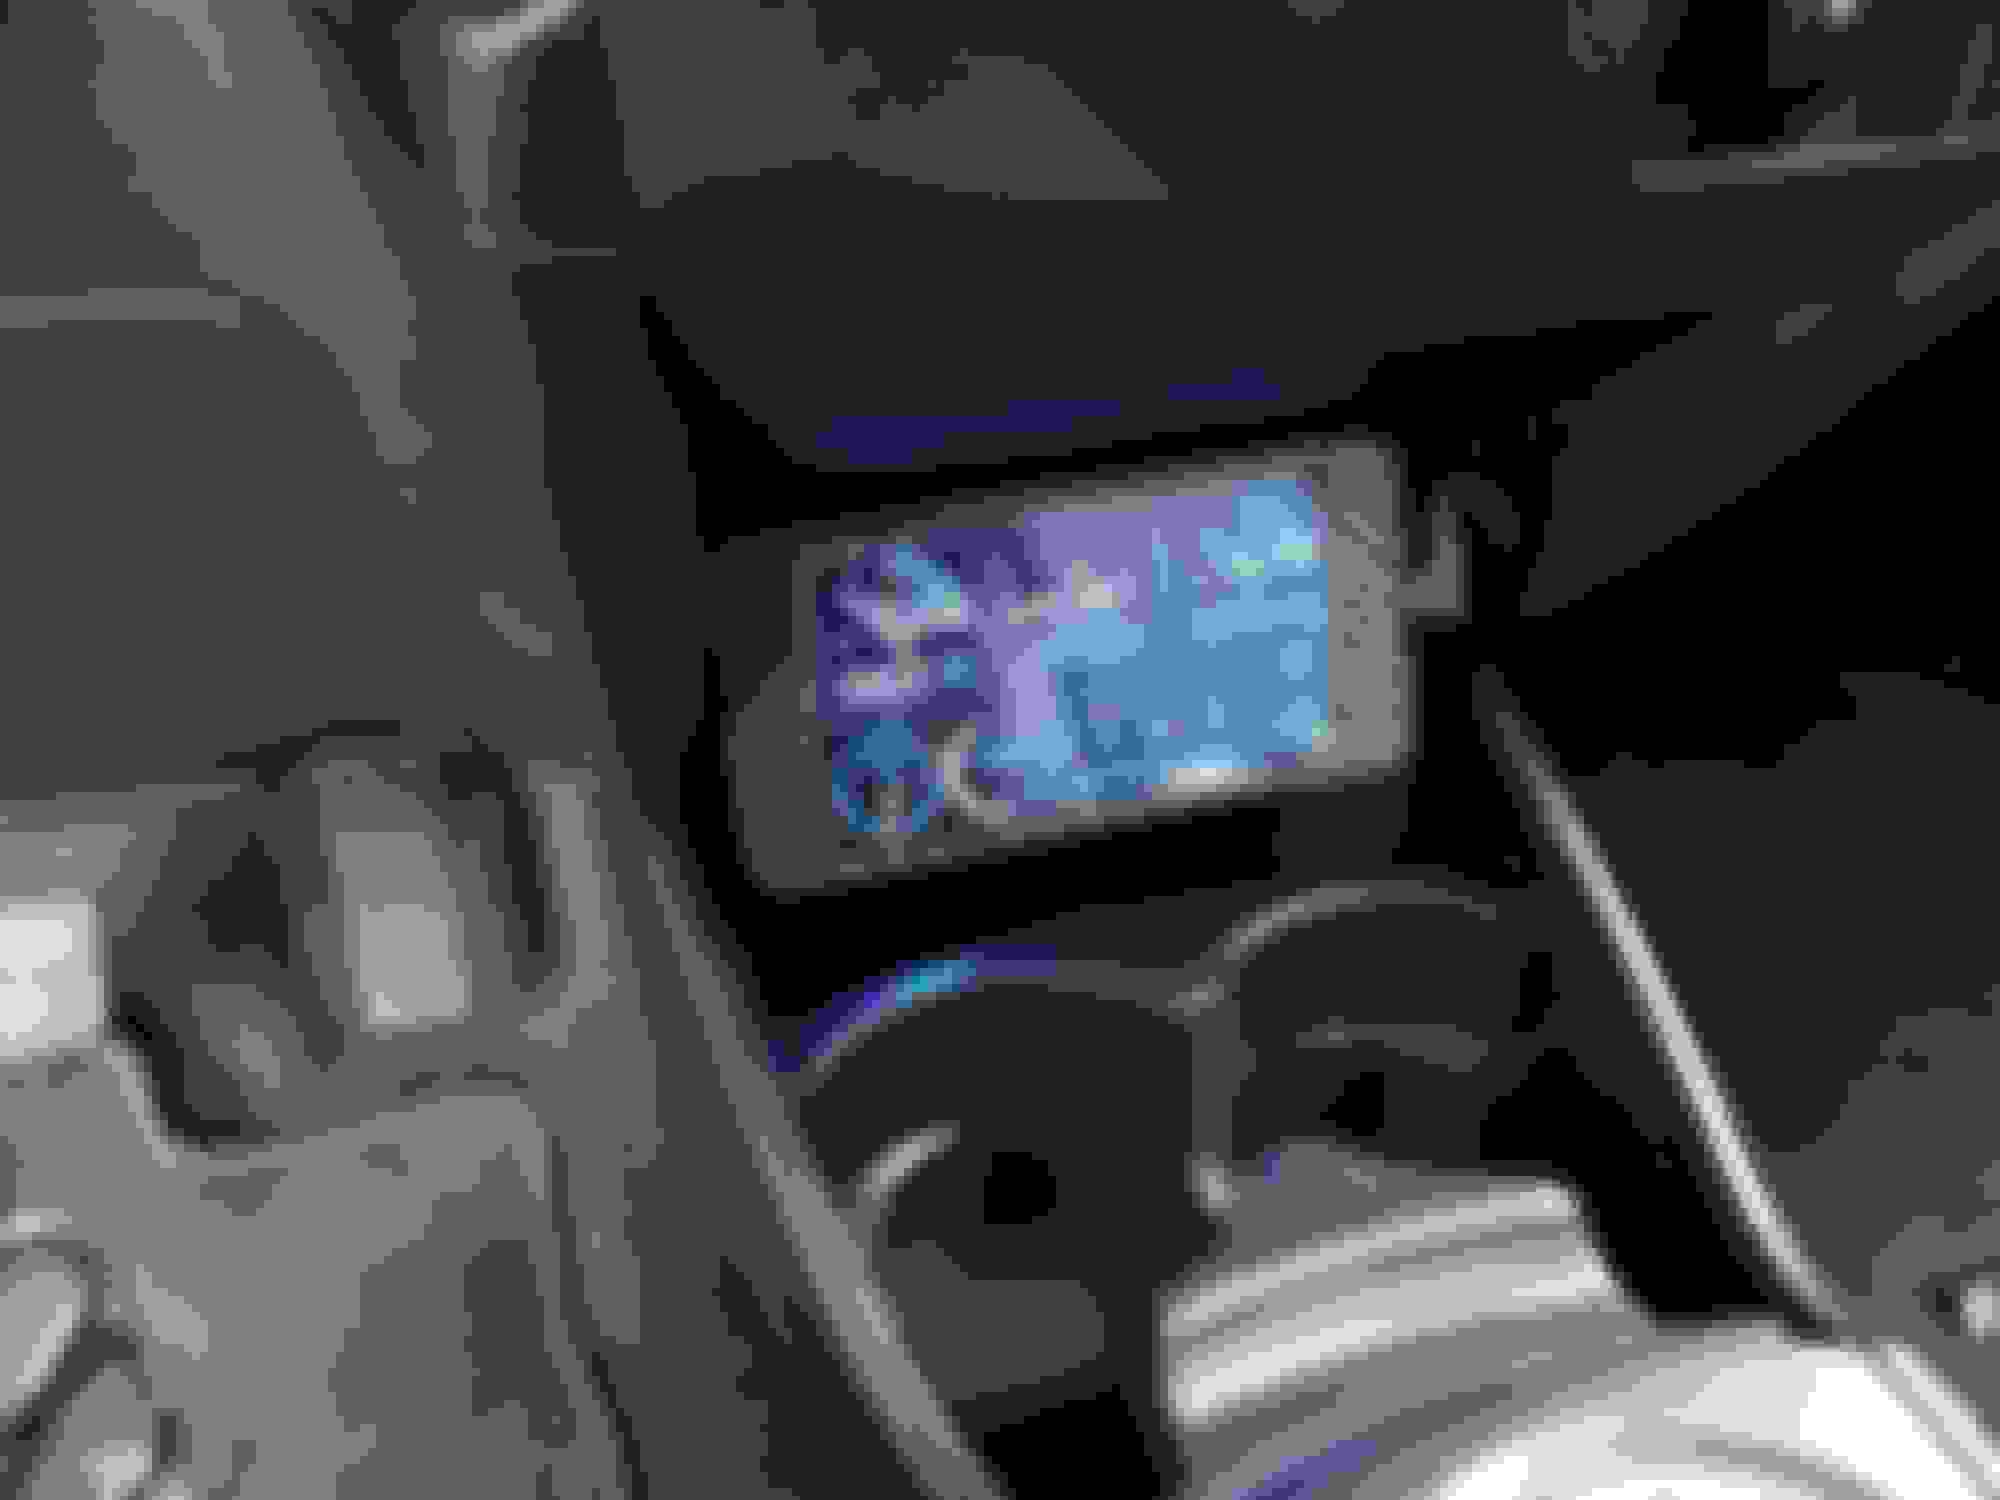
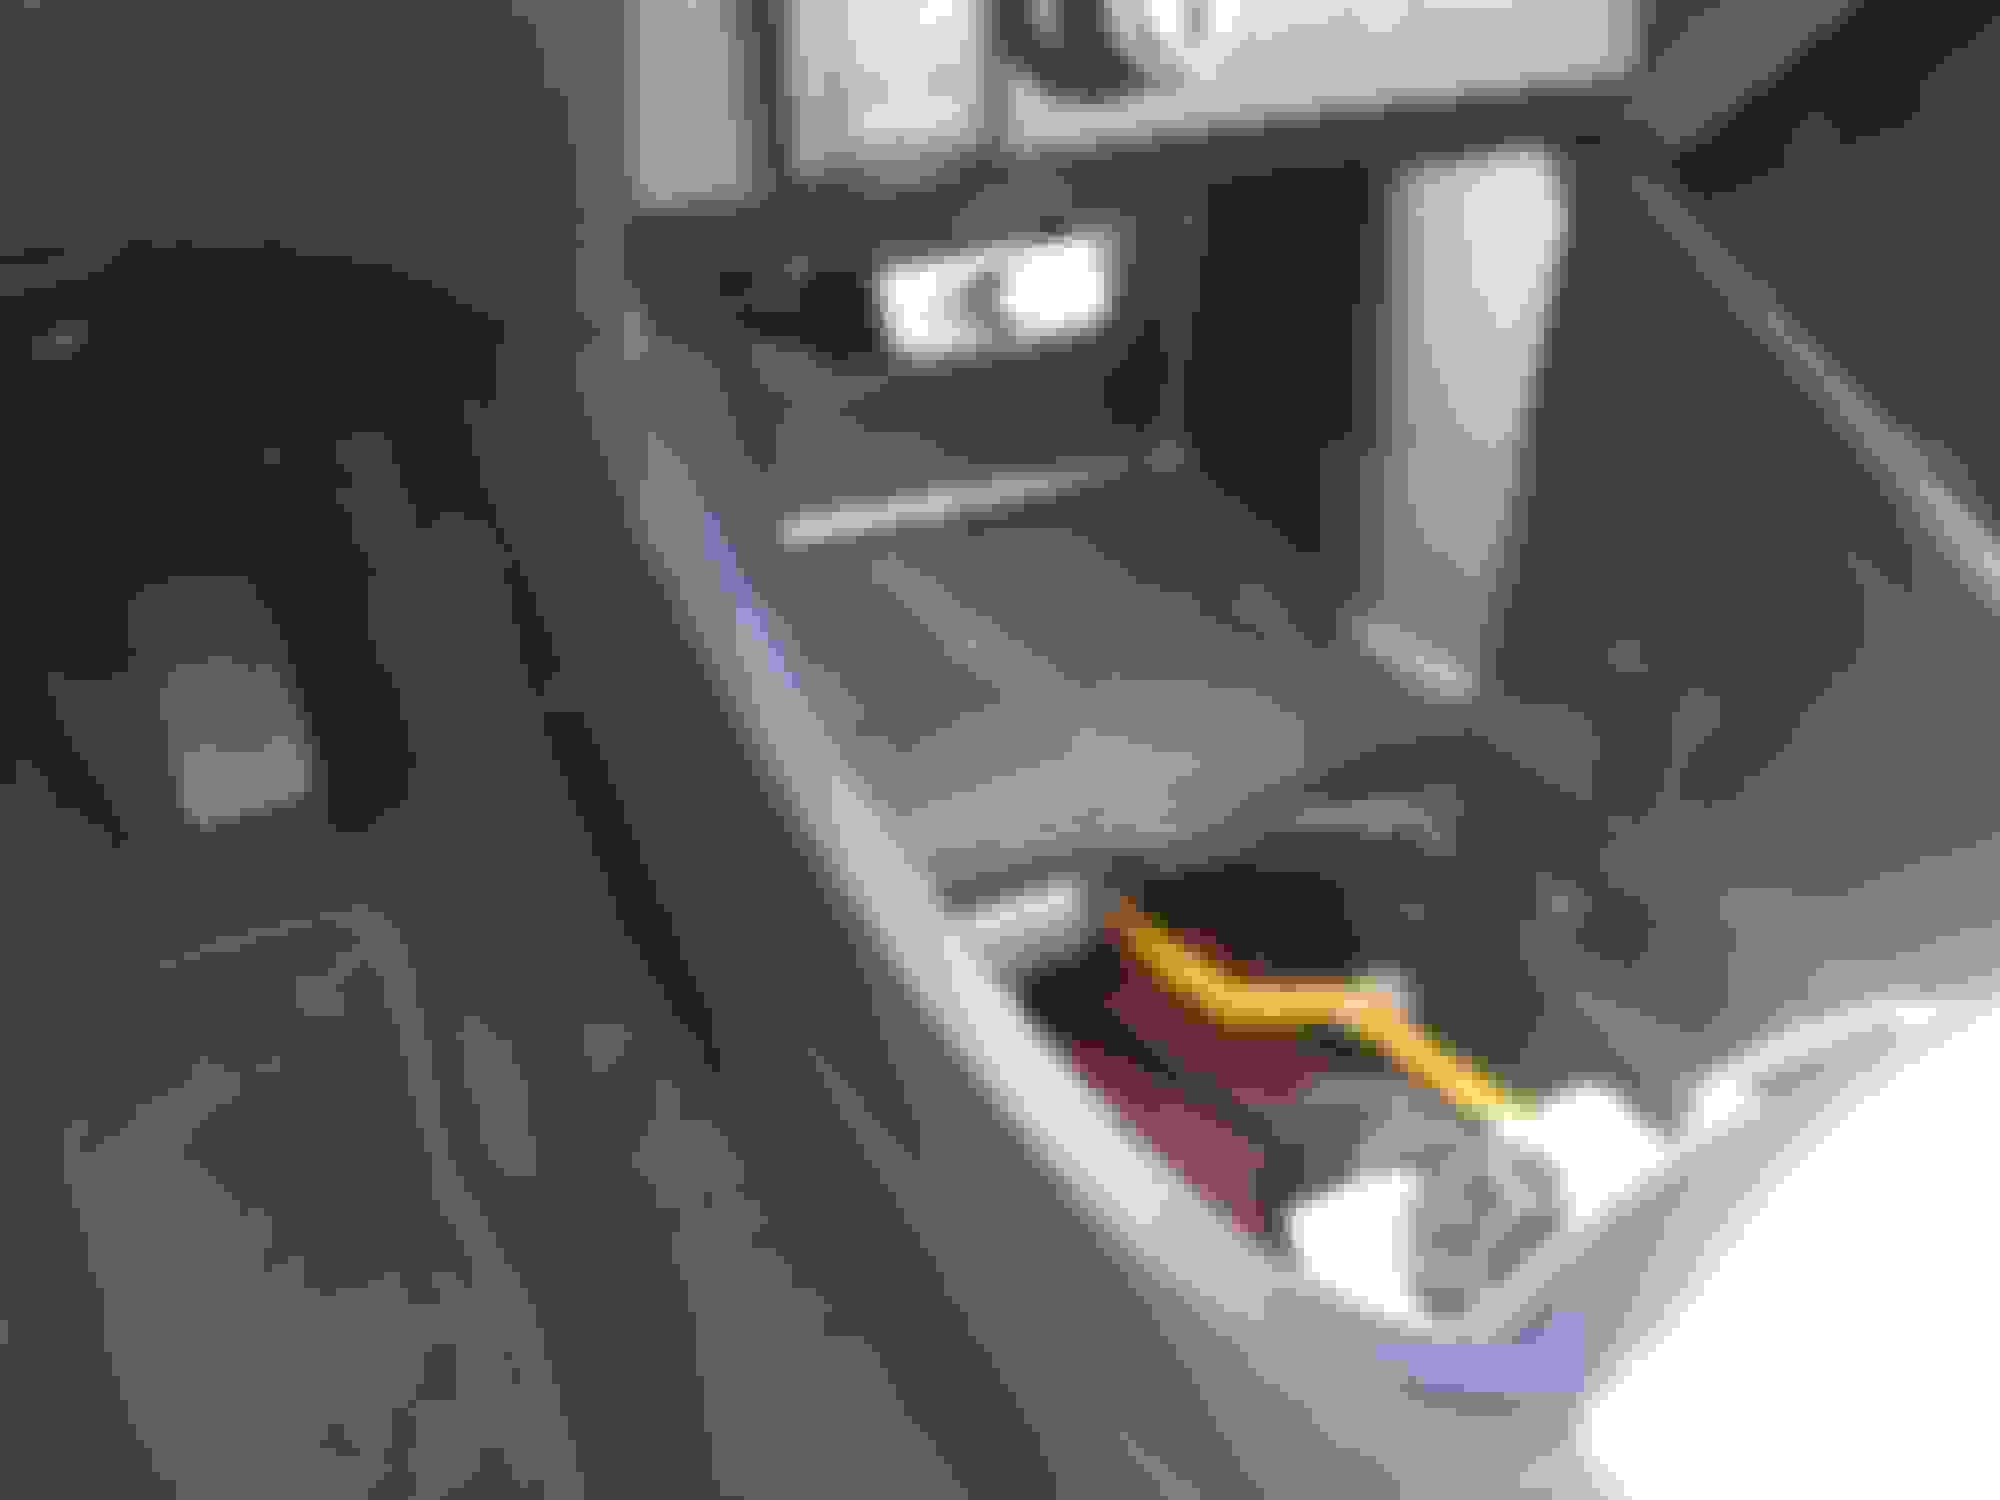
Finally got my USB cable installed for my Torque Phone. I was going to run the cable behind the dash and down under the console to the plug I installed in the armrest but realized that didnt make sense. I had an extra plug I tied into the original power outlet on the dash, and have it hidden in the space behind said dash piece. I ran the cable through the crack. I installed a OBD extension for my Bafx a few weeks back, and have it tucked under the dash to clean up the install. The mount I made has been holding up great. Clean and secure install, and phone has the ability to quickly be removed if necessary (mount stays attached to dash).
on a side note, while playing with the phone stuff, I levered up the cupholder and discovered this hidden nook Im sure everyone but me knew about! I educated myself on the several different options on this page. I always thought the original pocket is slim and almost useless even though I dont have anything to put in there now thanks to my armrest. Eventually I think I will hunt down a '12-'14 version. Yea mines nasty under there for now.
Door dings are the worst! One instance that had me really tweaked was a mostly empty parking lot and an SUV parked right next to me (their driver door right next to my passenger door). There was no way they could have exited the vehicle without hitting my car; sure enough, big old dent. Unbelievable. I left a very not nice note on their windshield.
I look forward to seeing the garnish under sunlight. I bet it looks good. I lucked out since my car is black.
Hope the rest of your day/week goes smooth.
yea...people suck. The more I try to understand the more irritated I get. just gotta charge it to the game I guess. heh.
----------------------------------------
Rear Painted Garnish, Oil Catch Can, Radiator Cap, Cusco Front and Rear Strut Bars
Had a rough couple of weeks personally..but hopefully everything smooths out now. Still managed to squeeze in some upgrades, just havnt updated the build thread. Ill get better pics when the weather clears up and I clean the car.
Rear Painted Garnish - Final
Pretty satisfied with the way it turned out. There is a couple of spots around the "H" that have clearcoat bubbles. I tried to sand them out but started to get pink residue from going to deep and into the paint so I stopped. Im hoping the finish lasts awhile cuz even though it was a somewhat small and basic shaped piece, it took more time and effort than I planned.
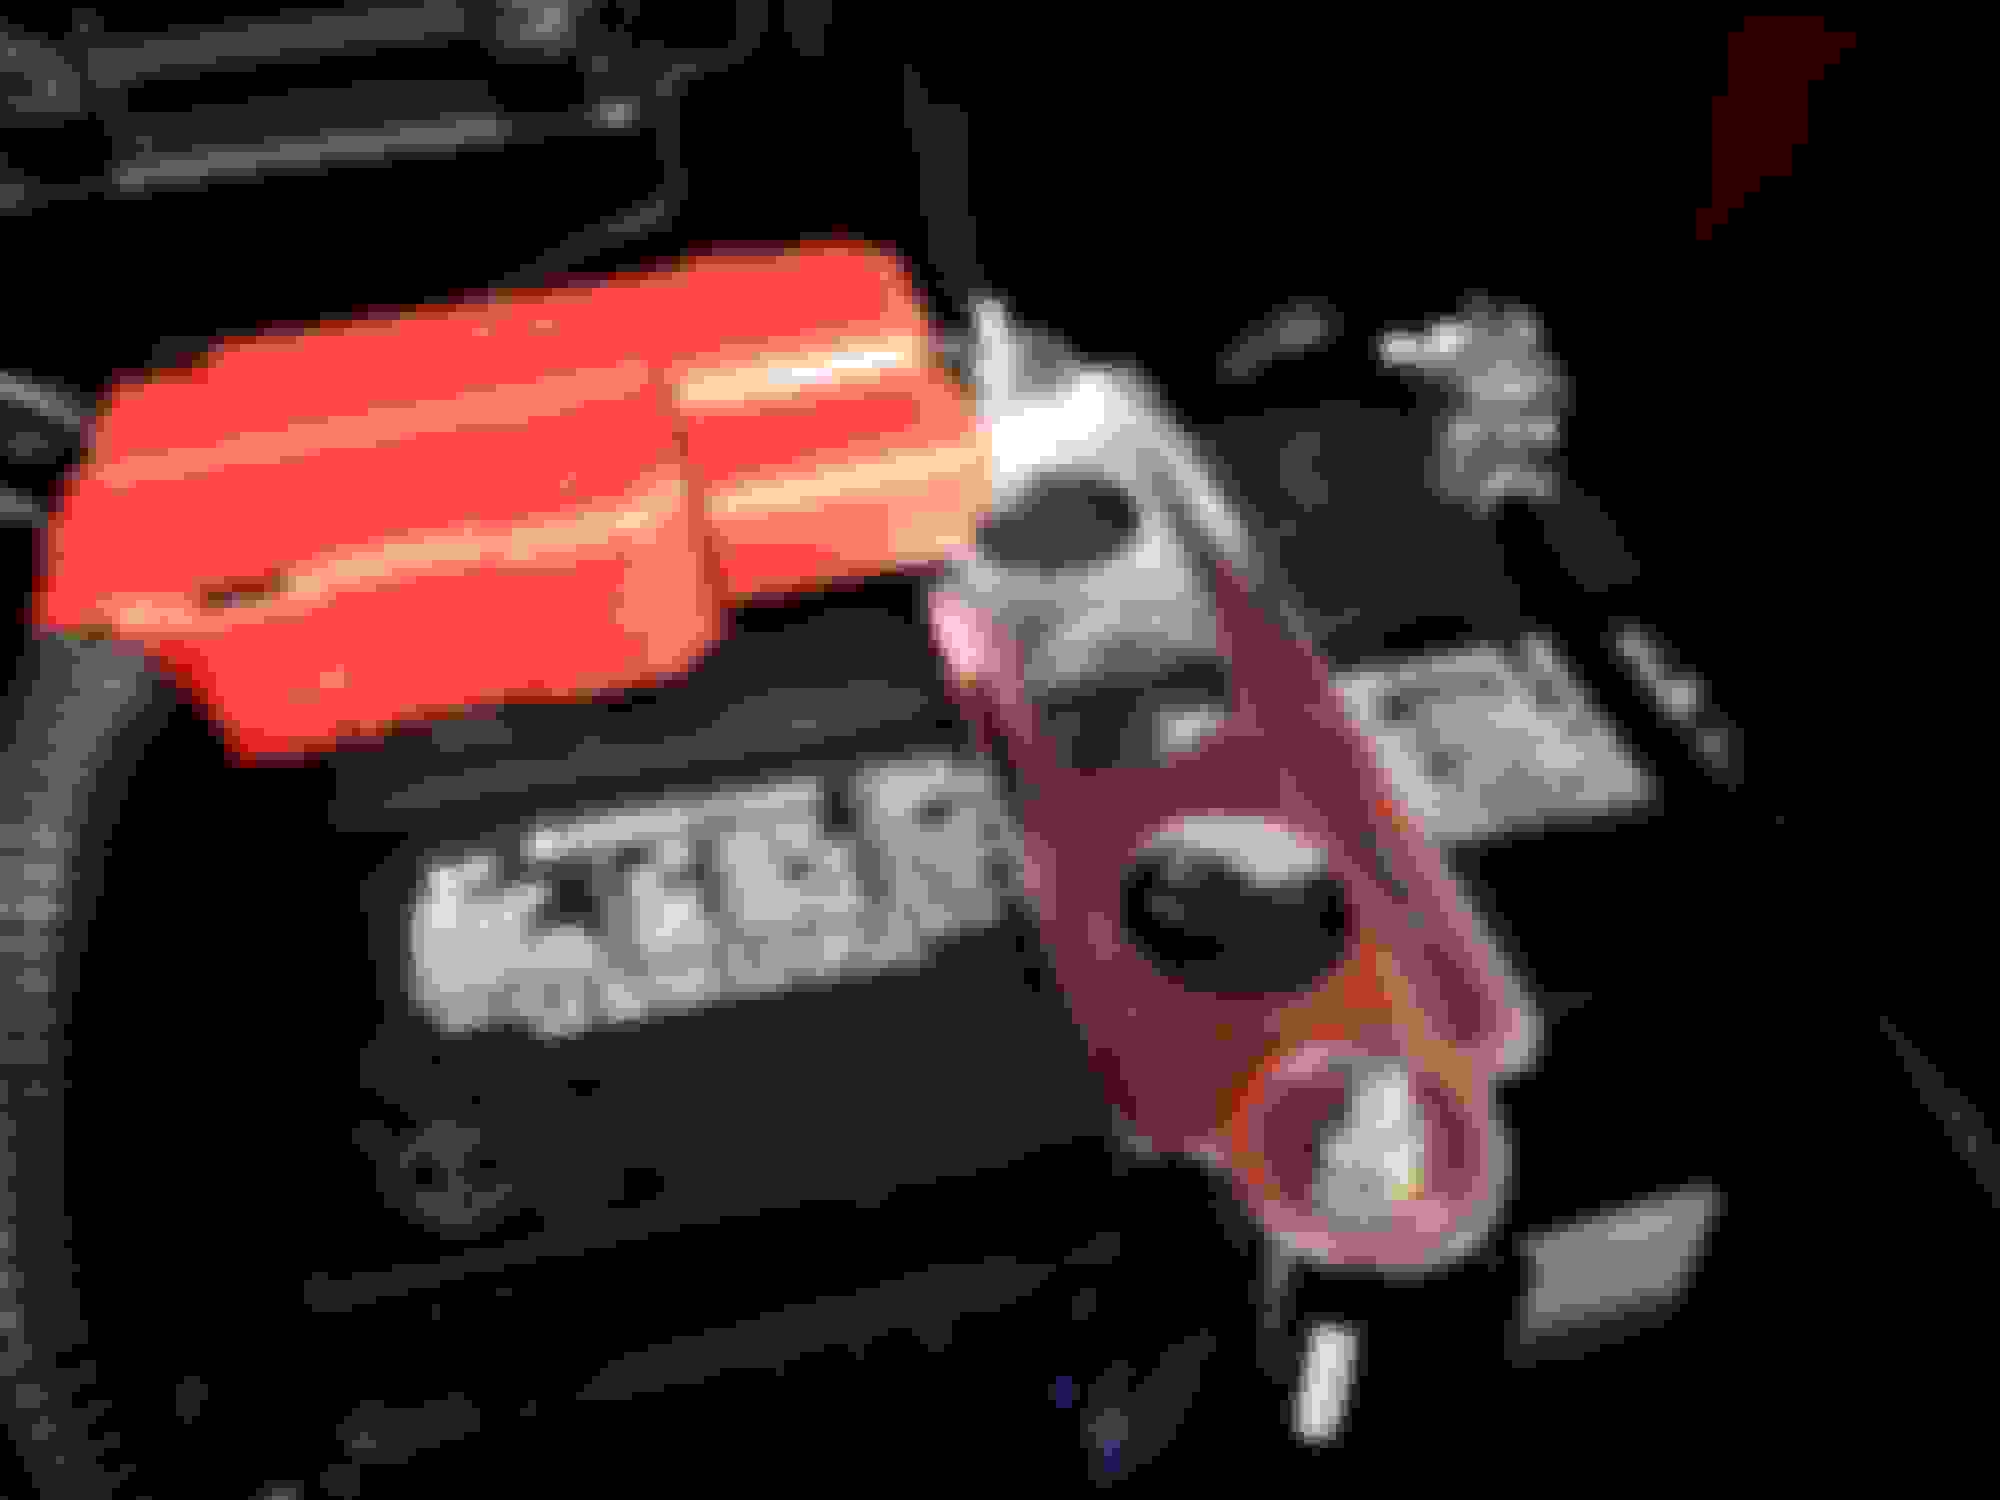
Mishimoto Catch Can/ Steel Braided Hose
I ordered this from ebay china, waited literally a month for it to come. but it was $20. I also replaced the original aluminum fittings (I believe they were 8an) with steel 6an barb fittings. I replaced the bottom plug it had with a brass ball valve to drain it as I dont want to be bothered with unscrewing it every time I want to check it or drain it. I recommend anyone considering this particular catch can to get a drain of some sort, as the baffle inside shifts and jams the bottom cup portion, preventing unscrewing...which required me to stick a kabob stick in the drain hole and wiggle it free from the wall to unscrew the cup. I cut half the threads and barb portion to minimize the length on the third barb, which I installed on the ball valve. I positioned the catch can so I would have room straight underneath to put a water bottle or something similar to catch it's contents. I used 6an stainless steel CPE hose and finished it off with red hose clamp finishers, as well as installed red clamp finishers on the intake's vac hose. I am still waiting on some silver aluminum hose separators to replace the zipties I have on the hoses.The hoses arent contacting anything currently, but I am debating on making a bracket to rest the hoses on, to keep them from possibly drooping onto the radiator hose and rubbing a hole into it.
Mugen Radiator Cap Cover
Yes I know its not real. But it feels real. Especially if I close my eyes.
Cusco Front and Rear "Strut Bars"
Surprisingly these actually made a difference, which I was not expecting. Or maybe just one of them did. I installed them at the same time, and then went for the test ride, so I will never know if one makes no a difference. Regardless, the car does feel flatter in turns. How much flatter? Well, if my Tein coilovers made a 20% improvement over stock, and my Progress RSB made a 15%, improvement, Id say the front and rear Cusco Bars made an 8% improvement. Cost effective? Hell no. Fun to look at for 5 seconds every time I check my oil or put a bag of groceries in my trunk? Yep. Only made a couple of slips on the rear bar, on the passenger side cutout. Cusco recommends cutting one giant 2 inch rectangular hole per side, but I didnt want a 2 inch hole in the event I take the bar out. Now I can get interior trim plugs for the 4 holes I made, if I take the bar out.
The garnish looks great! Definitely worth the work you put in.
I am loving the braided lines as well. They look so beefy in our little engine compartment. I usually see the catch can modifications on the GK - do the GE suffer from the same problems?


 Any tips with getting that tie down to fit right? I need to get a different one since mine is chipping up and rusting.