
Detailer's Domain: 2007 997 Turbo


Thread Starter
|
Banned
Joined: Mar 2009
Posts: 39
From: USA
Detailer's Domain: 2007 997 Turbo
2007 Porsche 997 Turbo full detail:
This was a new car that has 13xx miles on it. Even though the car is new it had some minor imperfections and was never washed. The customer wanted to wait till he could find someone to do a full detail for him...so 4 months after he purchased it he found me [ ]
]
The exterior was definitely dirty, car was never clayed and never polished never been washed!
Interior wasn't all to bad just a wipe down and leather feeding.
Engine not bad at all just cleaned it up.
Products used:
Adam's Car Wash
Shmitt Wash mitt and Shmitt Wheel mitt
1 Bucket with grit guard
Gilmour Foam Gun [up]
Jumbo Waffle Weave Drying Towel
Microfiber Buffing Towels
Boar's Hair Brush
Spoke brush for the inner wheels
Adam's VRT
Adam's Glass Cleaner
Adam's Detail Spray
Adam's Clay Bar
Menzerna 85rd
Swissol Wax [up]
Swissol Pre-Cleaner [up]
P21S Wheel Cleaner Gel
P21S Autowash
Metabo (hi speed rotary)
PC
Firehose Nozzle
Edge pad blue 6 inch
1Z Einszett Leather conditioner/cleaner
1Z Einszett Cockpit
1Z Einszett Detail Spray
Procedure:
1. Rinsed down the wheels (they were cool enough to touch)
2. Sprayed down the wheels with some P21S Wheel Cleaner
3. Brush and cleaned the wheels with a Boar's Hair Brush
4. Rinsed down the wheels
5. Filled the bucket with water for the rinse
6. Filled up the Gilmour Foam gun and proceed to pre soak the car.
7. Used the Shmitt to wash the car, from top to hood to sides to rear.
cleaning the Shmitt after each panel was soaped up by dunking it in the bucket with the grit guard at the bottom, rinse and clean the pad and continue on to the next panel repeat till you finish washing each panel.
8. After your wash the car rinse car off throughly
9. Since there was no sun out and it was cool, I sprayed Adam's Detail Spray on the panels and proceeded to clay the car (Adam's Clay Bar) after each panel and each window was clayed I used the WW Drying Towel to wipe the excess detail spray off.
10. Car is clayed and dried.
11. Used the Metabo with the Menzerna 85rd to polish out all the minor imperfections.
12. After each section was corrected I buffed off the excess polish with a MF Buffing Towel.
13. Proceeded to polished out the headlights and tail lights with the 85rd.
14. With a MF Towel I buffed off the Menzerna 85rd from the lights.
15. Applied the Swissol Pre Cleaner (needed for the Swissol wax to bond to the car)
16. Removed Pre Cleaner
17. Applied and removed Swissol (WOW amazing a super wet/deep/shine....)
18. Cleaned up the windows with Adam's Glass Cleaner (interior/exterior)
19. Dressed the tires with Adam's VRT (did one pass on the applicator and did a pass using the dry side as the customer prefers a matte finish)
20. Used 1Z Detail Spray to do a final wipe down on the wheels.
21. Used the 1Z Detail Spray for a final wipe down on the car.
Interior:
1. Wiped down the door jambs with 1Z detail spray
2. Vacuumed the mats, carpet, etc.
3. Wiped down the interior and used 1Z Leather Cleaner/Conditioner (applied with a MF Applicator pad 1 pass to apply the next pass on the dry side to wipe to a matte finish, no shine for this customer)
4. Wiped down the dash with 1Z Cockpit
5. Cleaned the glass
Engine:
Engine cleaning was done after the wheels, as the engine was still warm
1. Rinsed down the engine
2. Sprayed some P21S Autowash on the engine
3. Brushed the dirt and grime off the engine with a boar's hair brush
4. Sprayed down engine to rinse the P21S off
5. Closed the rear hatch and let it dry
6. Wiped down the jambs and the metal part with 1Z einszett detail spray.
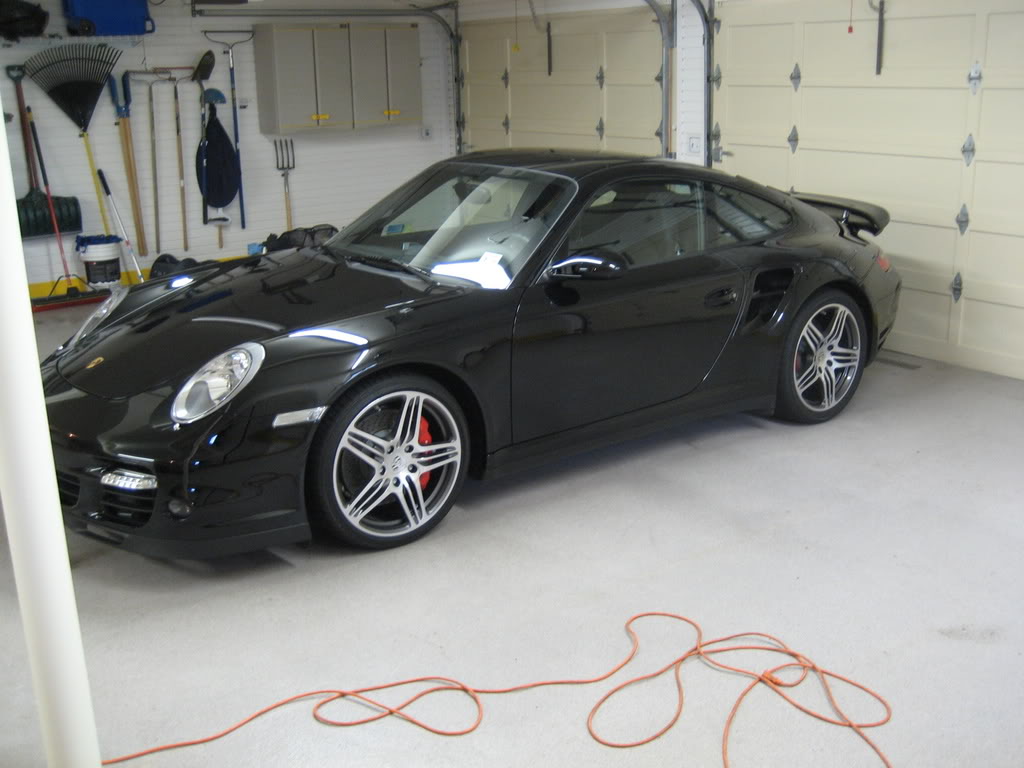
Here are the pictures enjoy:
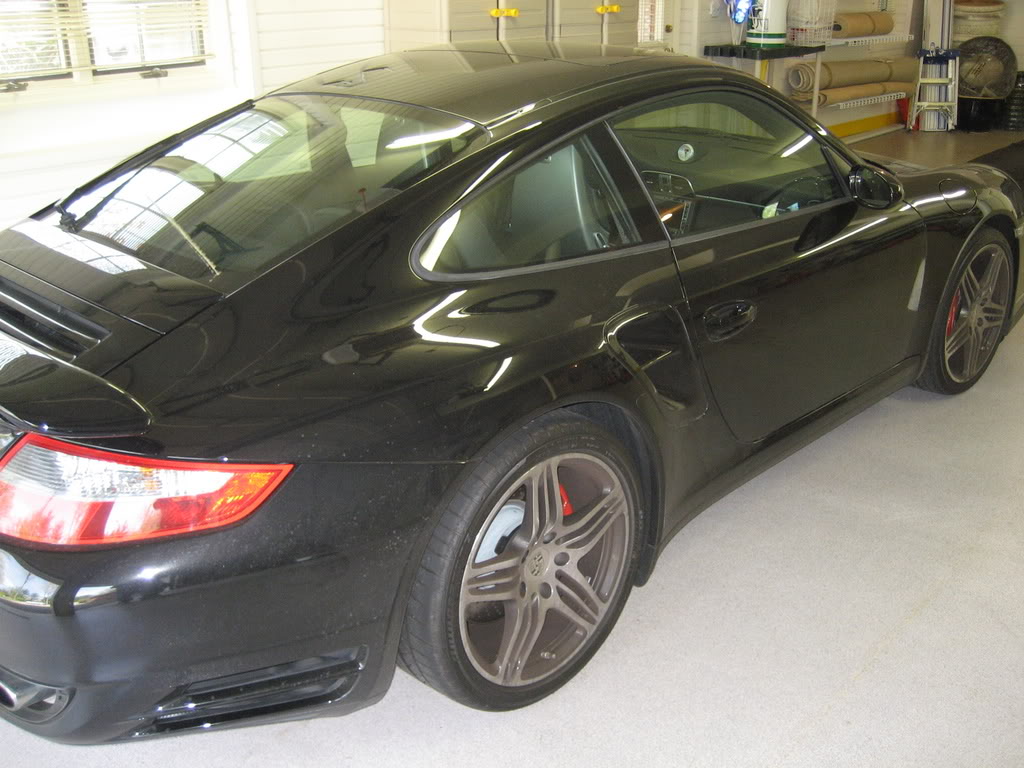
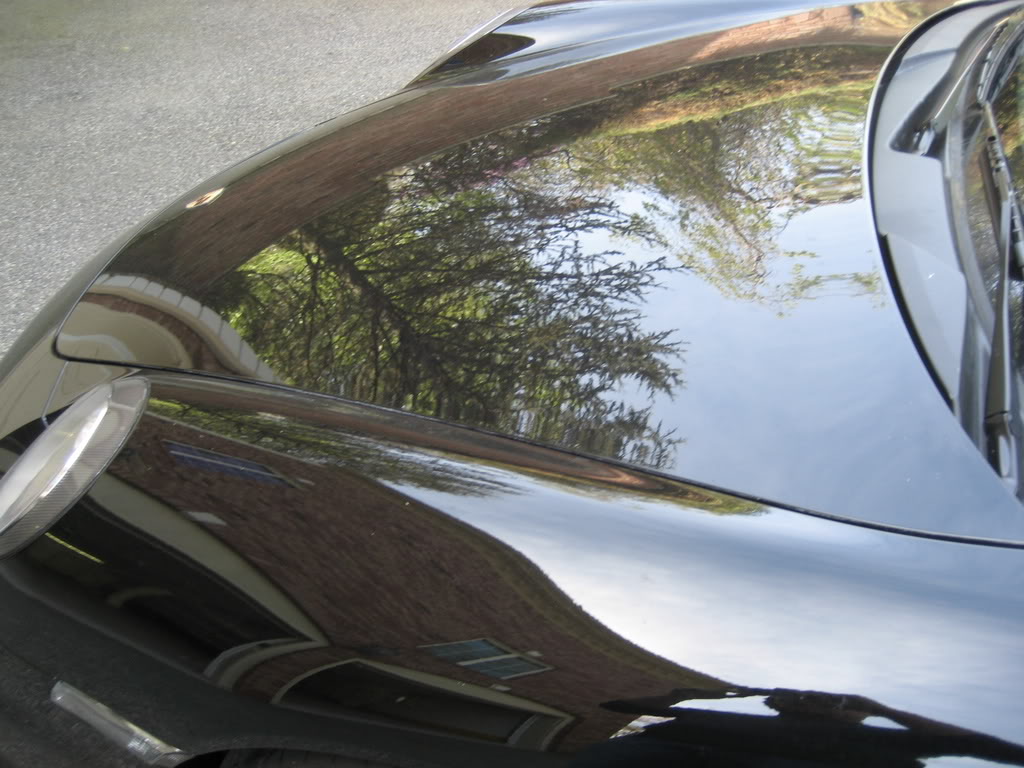
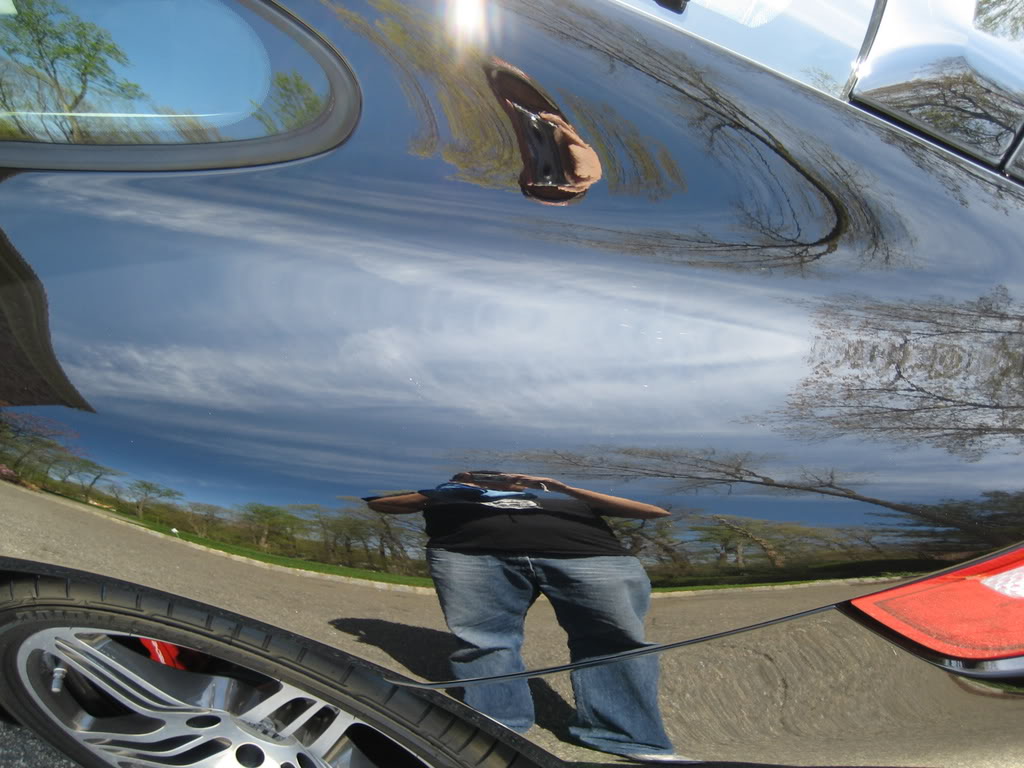
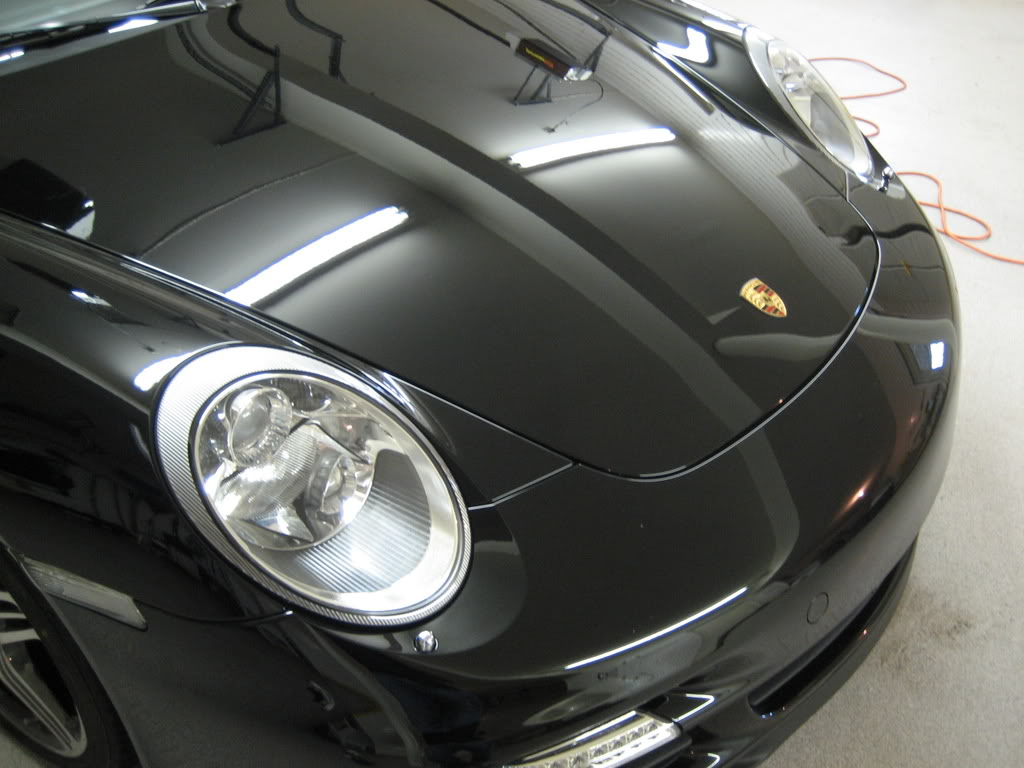
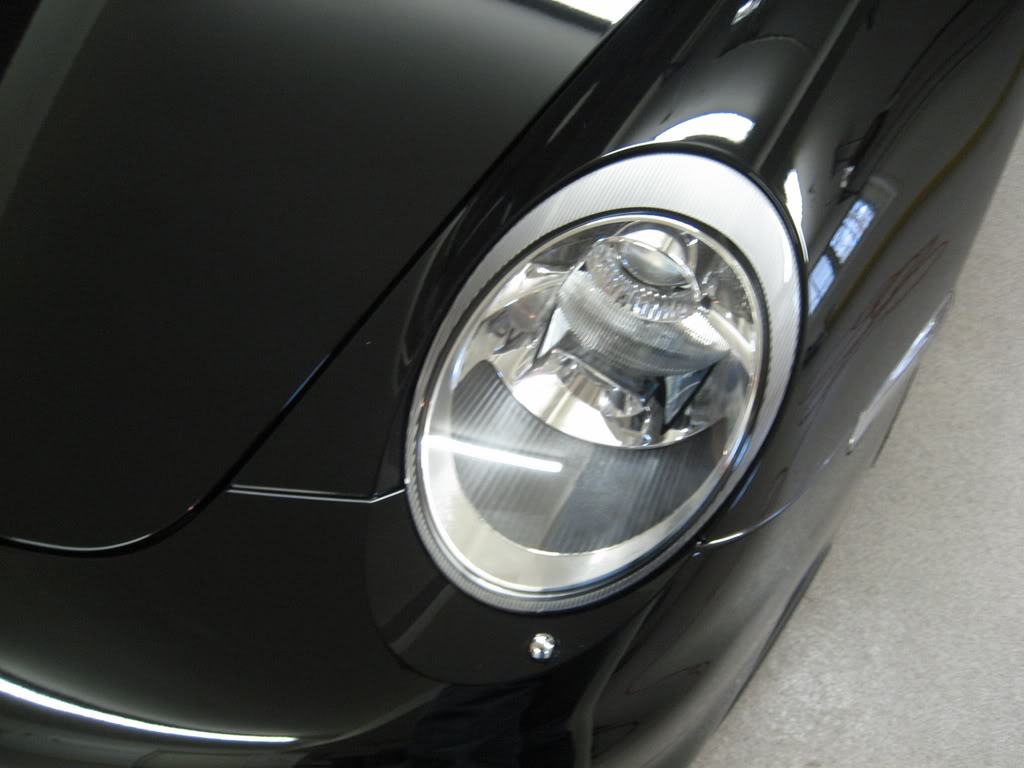
Before shots:
Suds from the Foam Gun:

Before Interior:
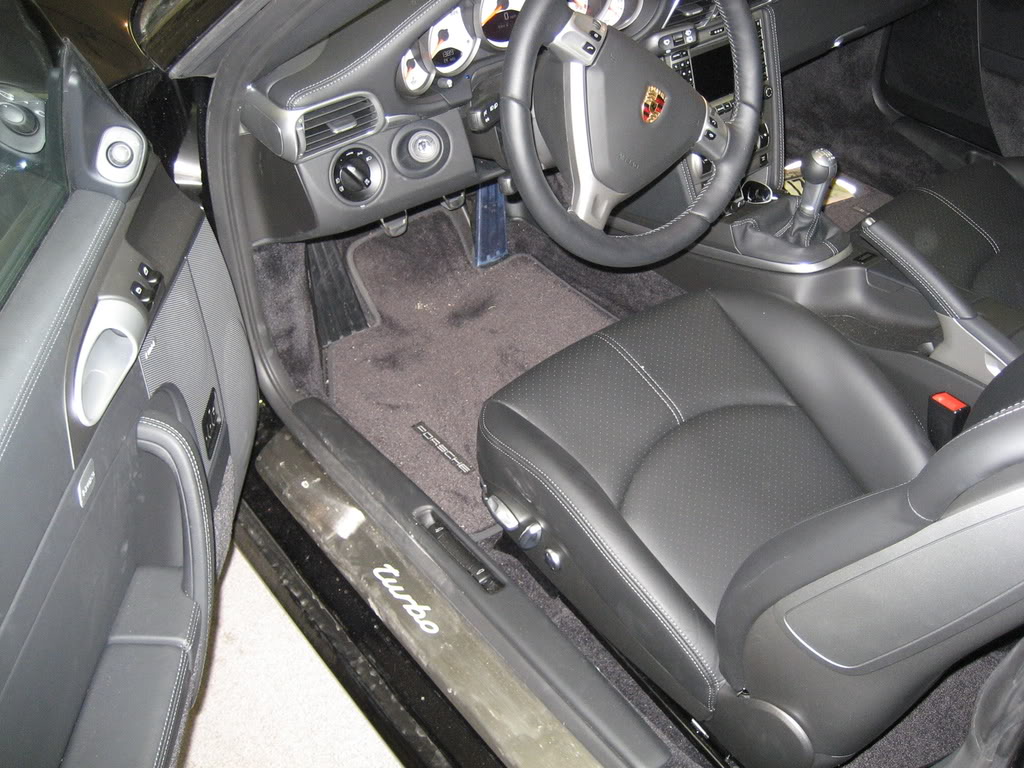
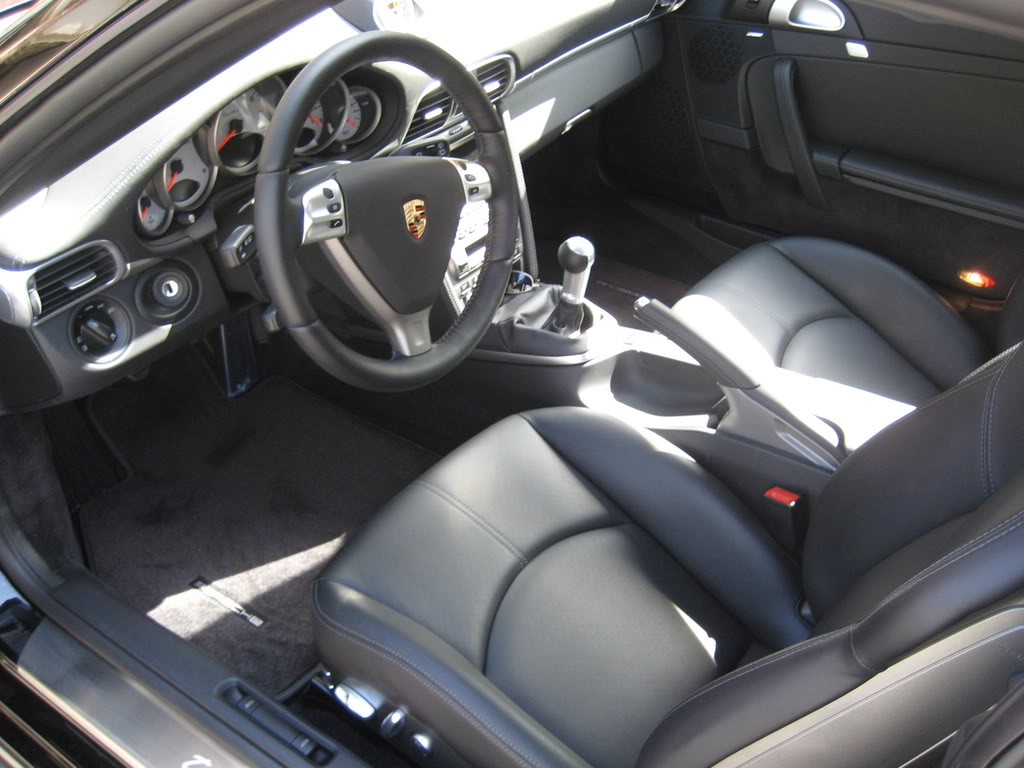
After Interior:
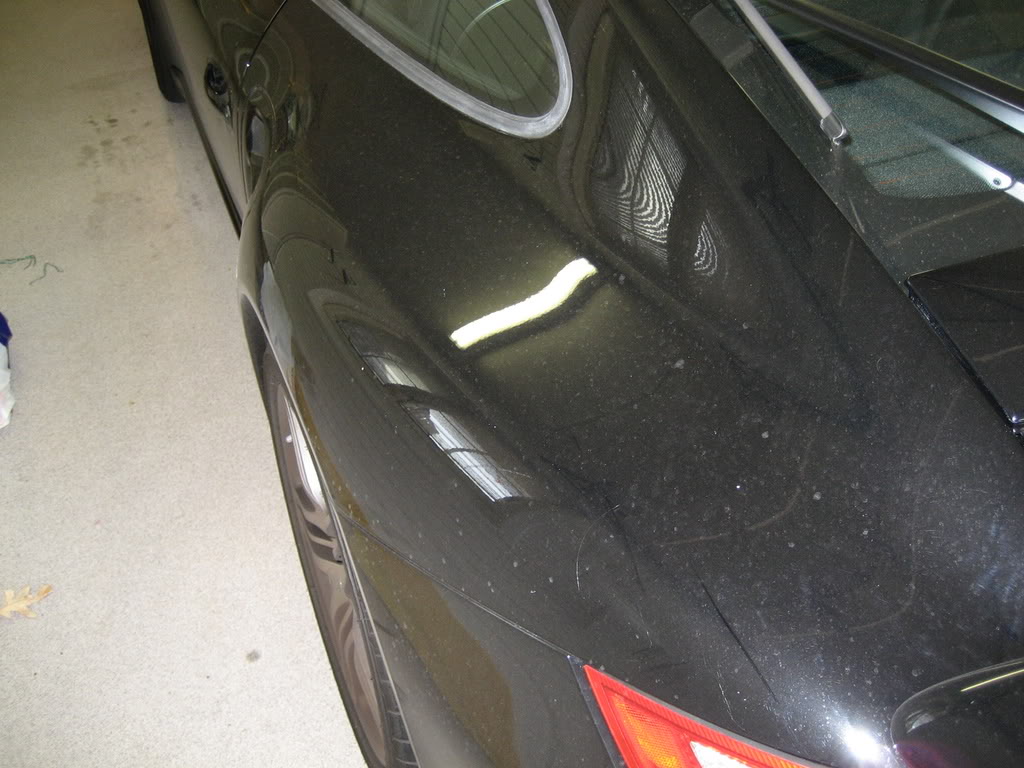
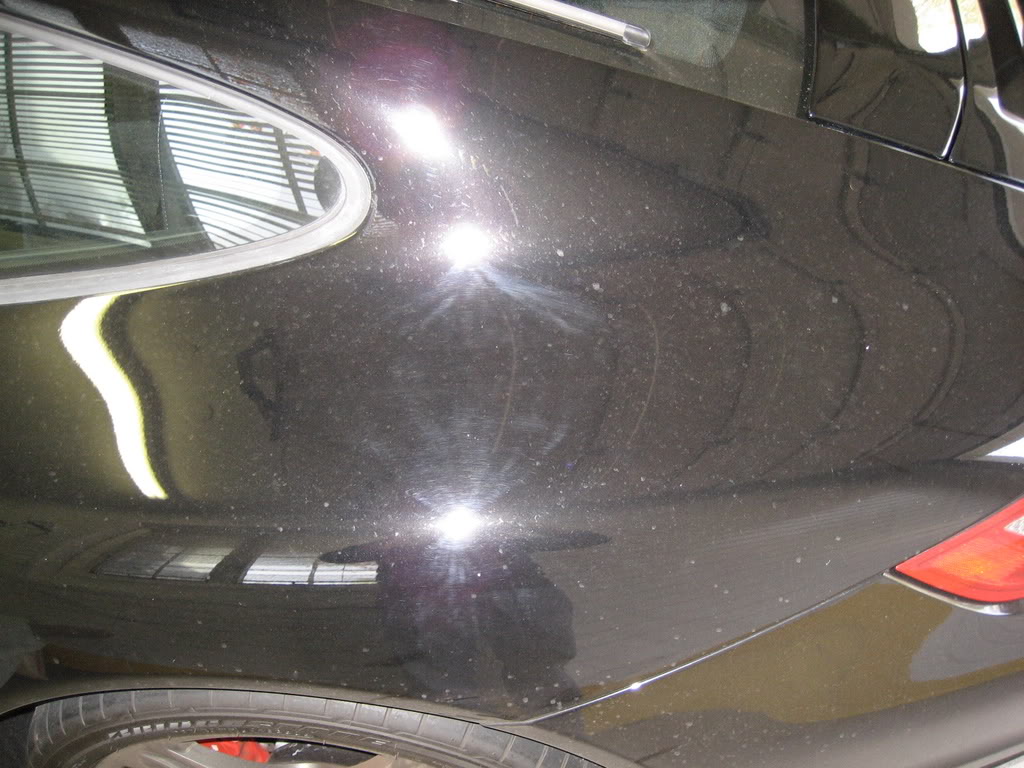
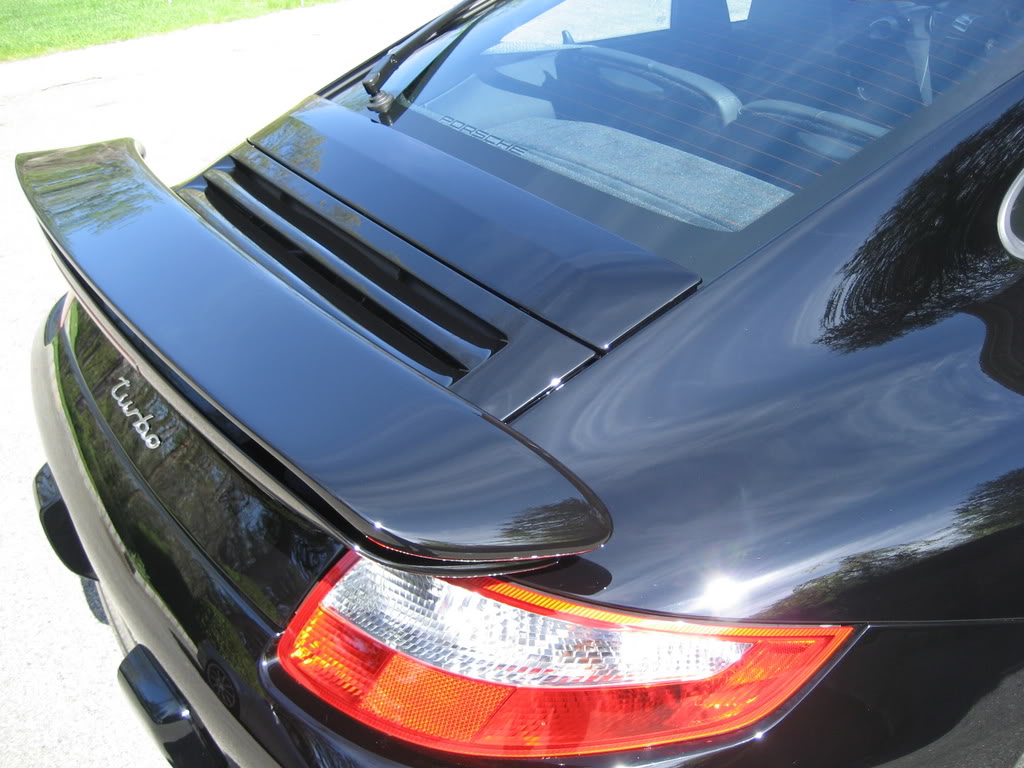
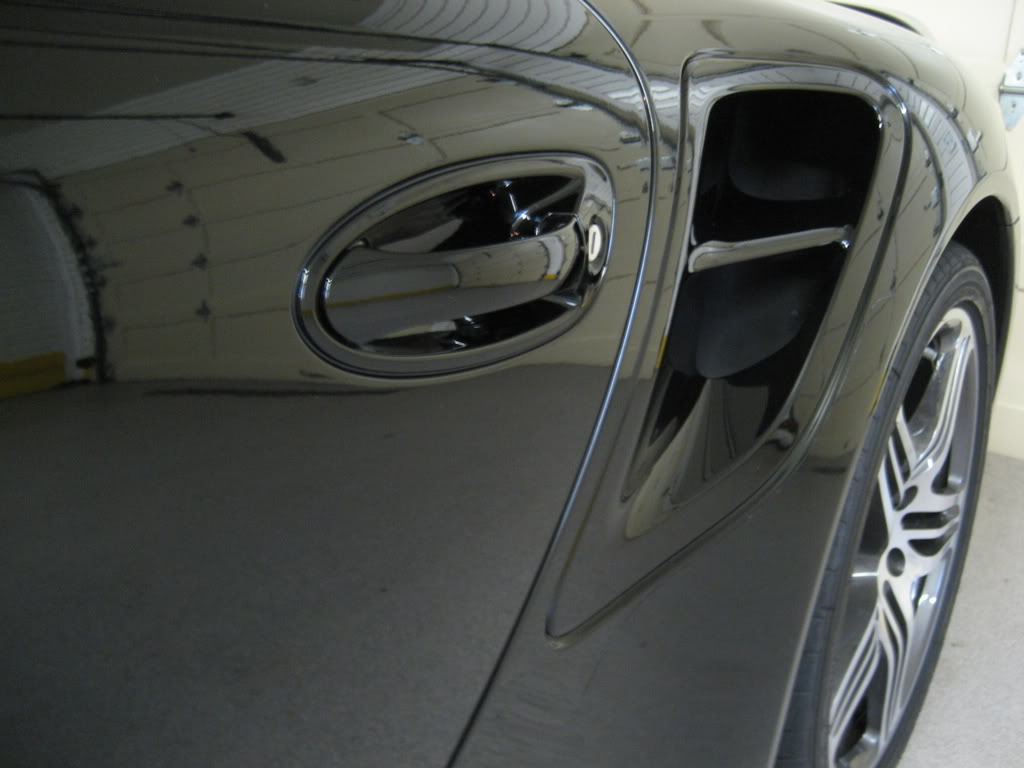
Before Rear Fender:
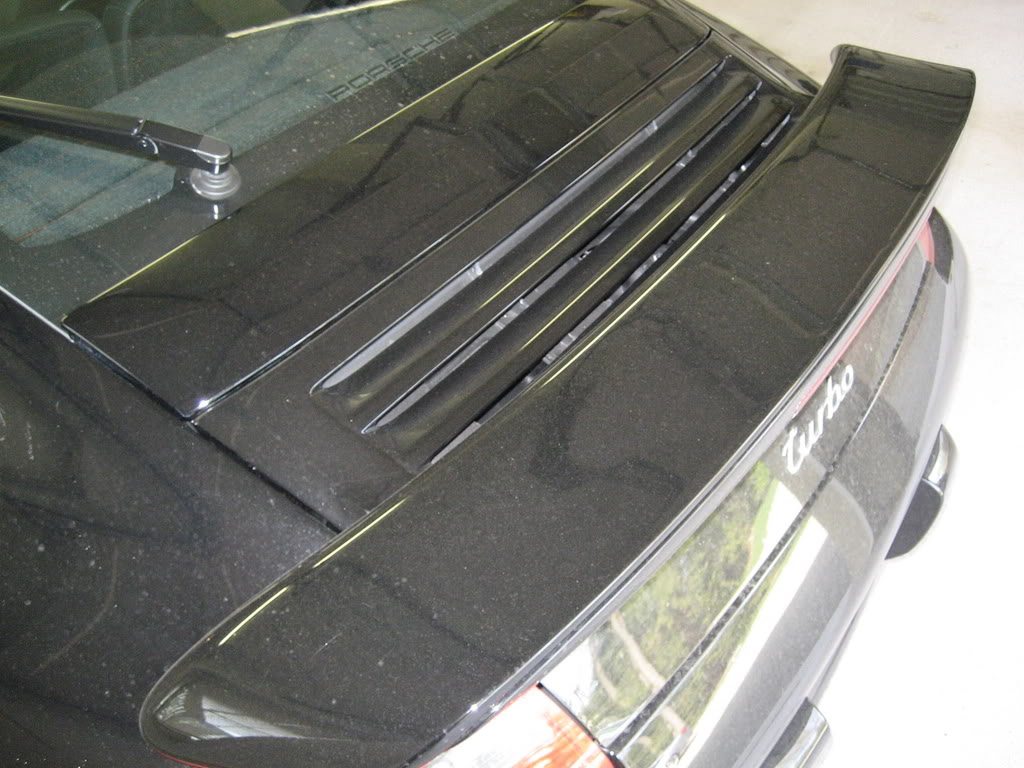
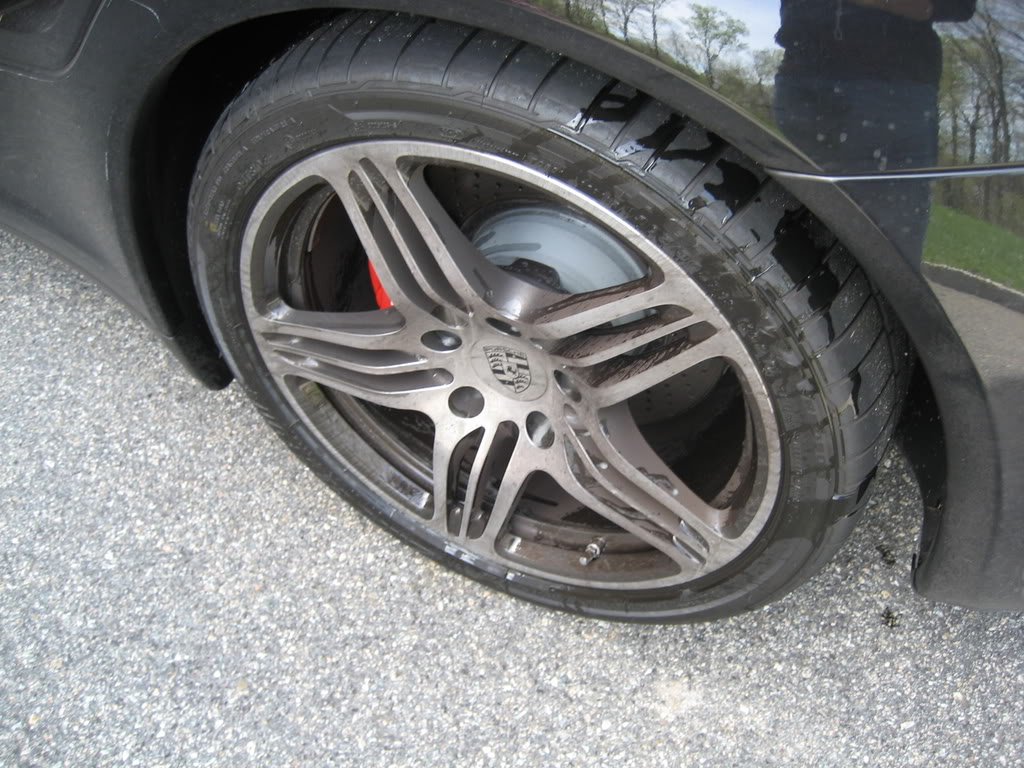
After Rear Fender Inside:
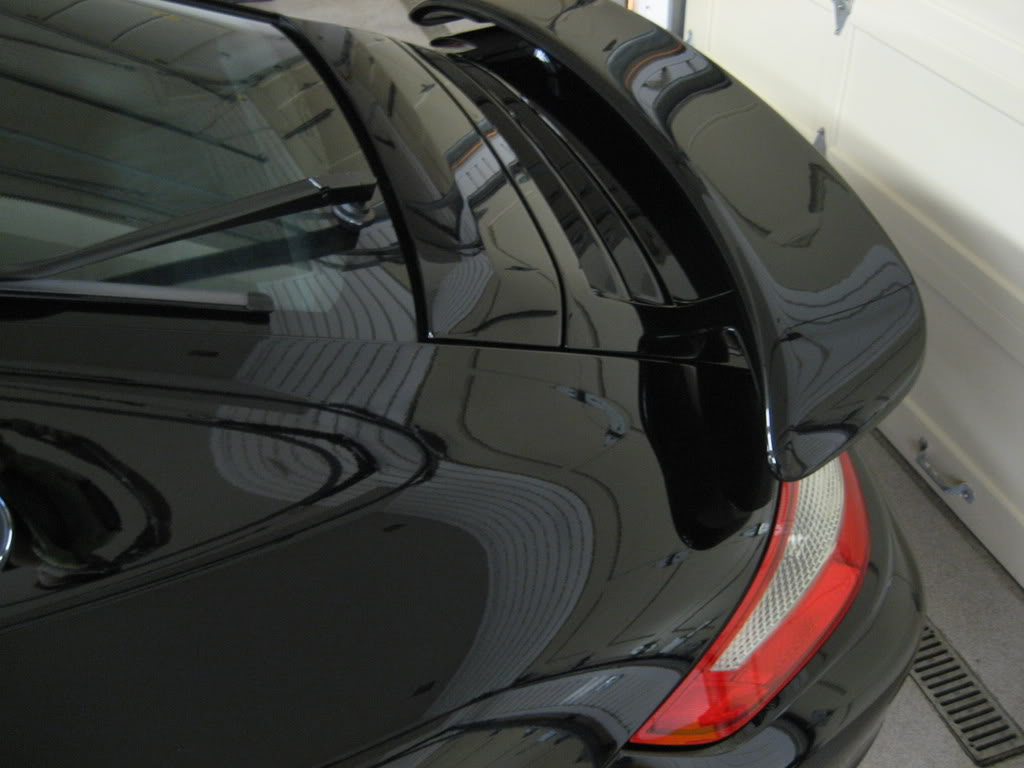
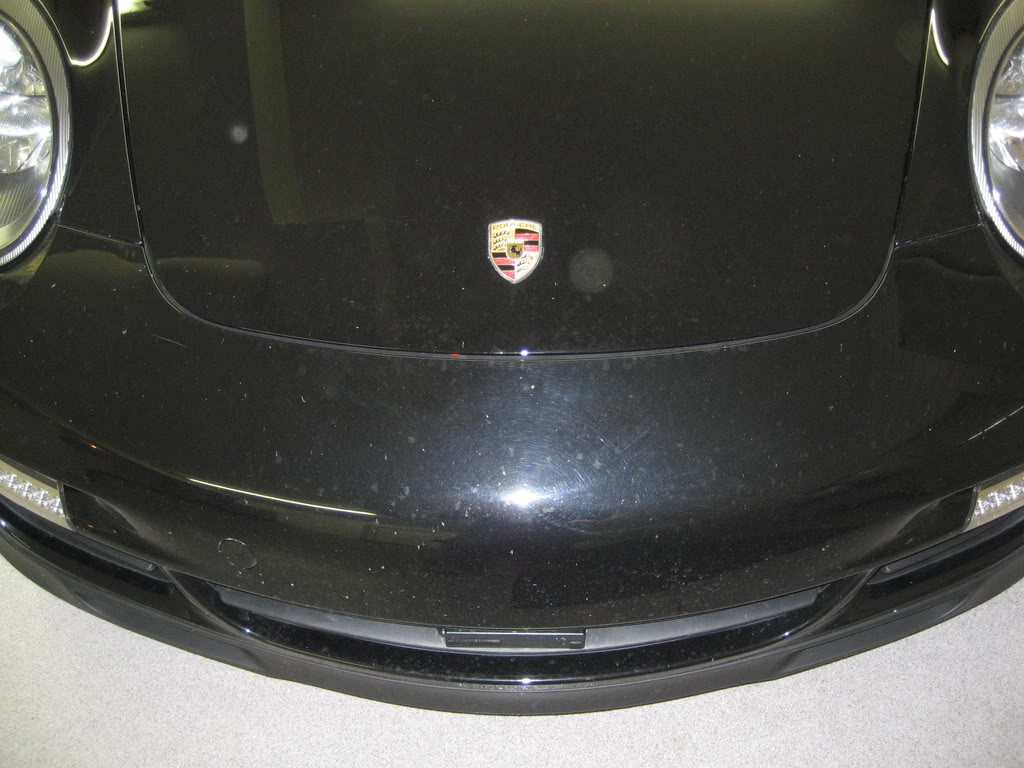
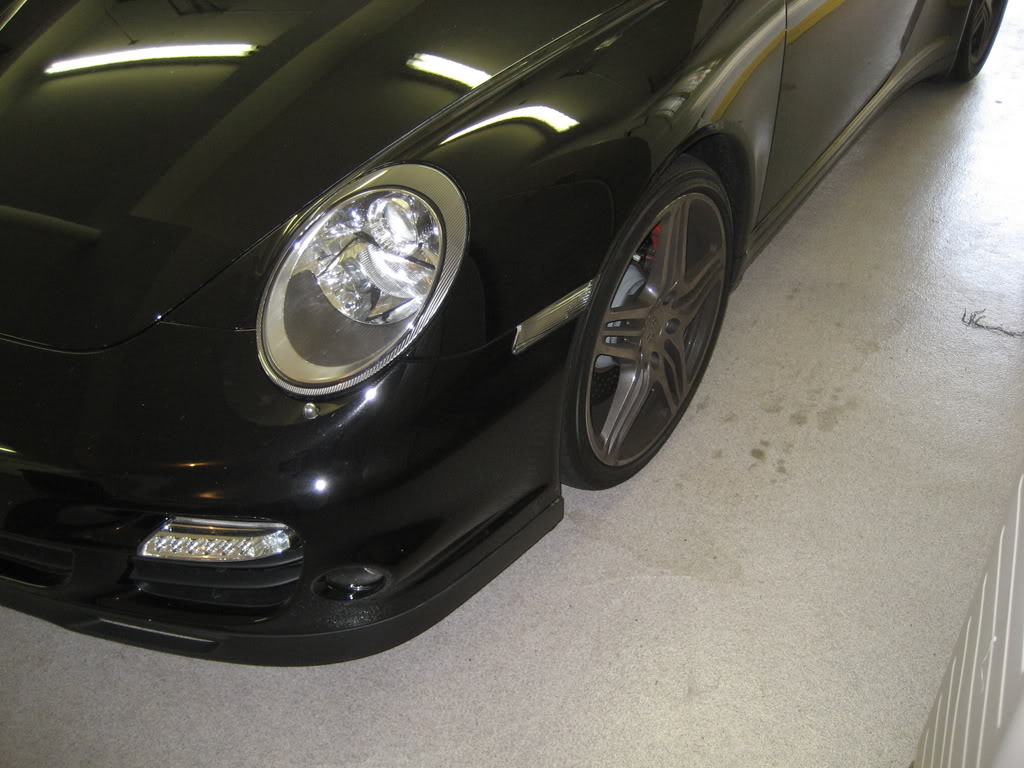
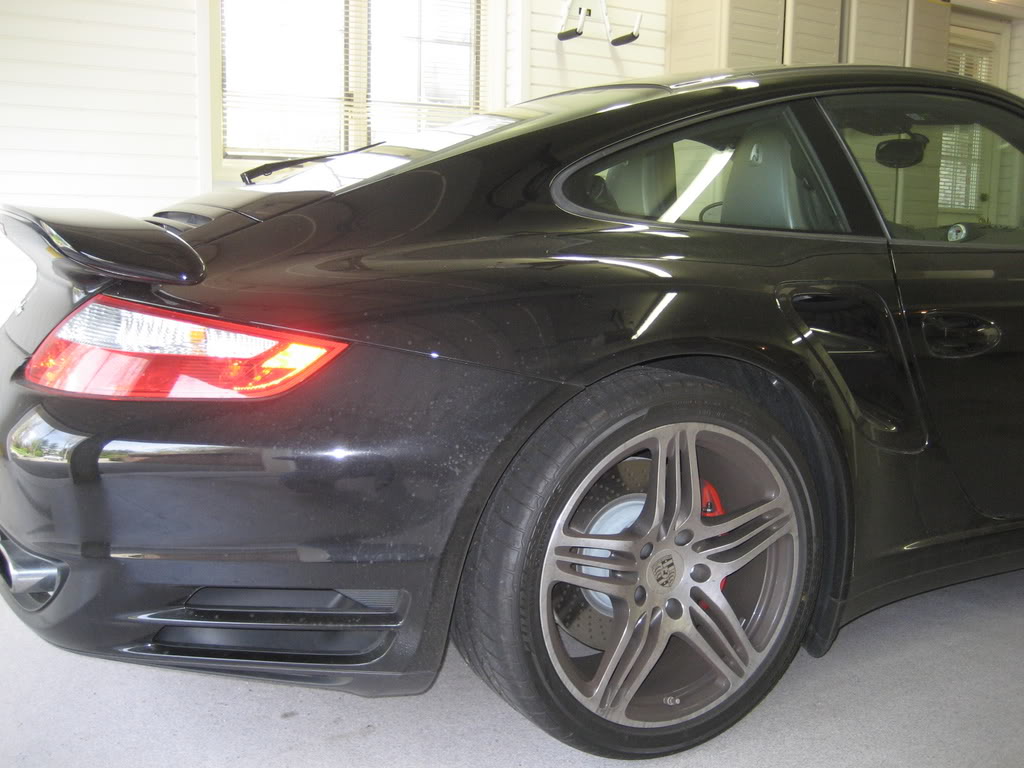
After Fender Outside:
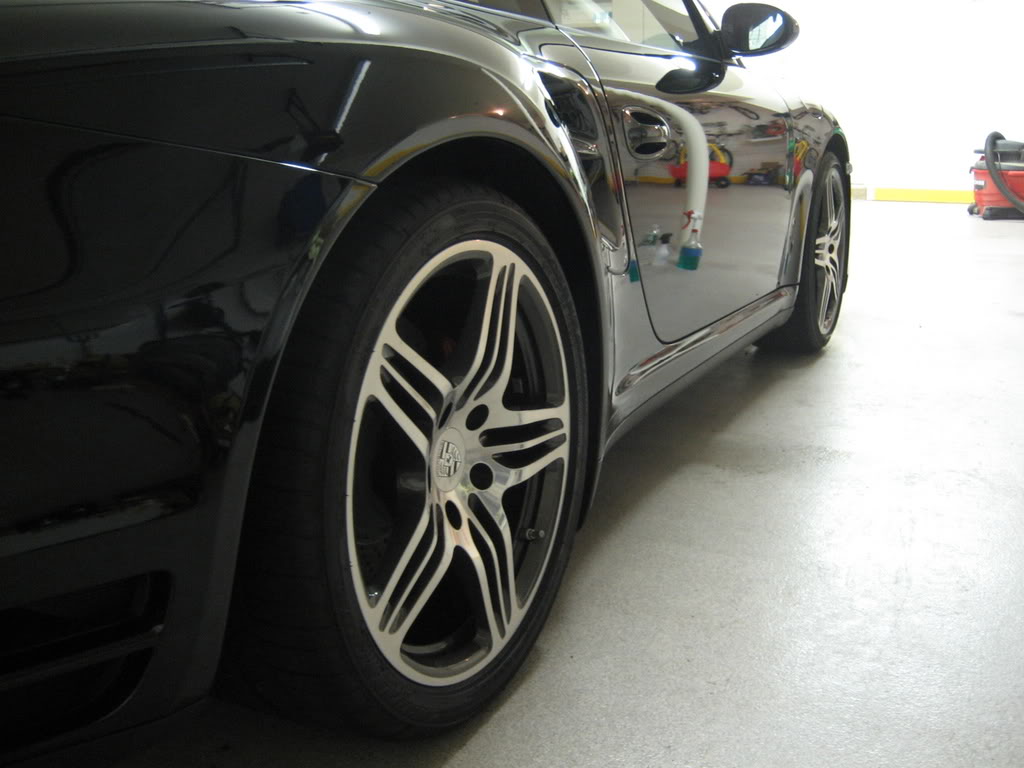
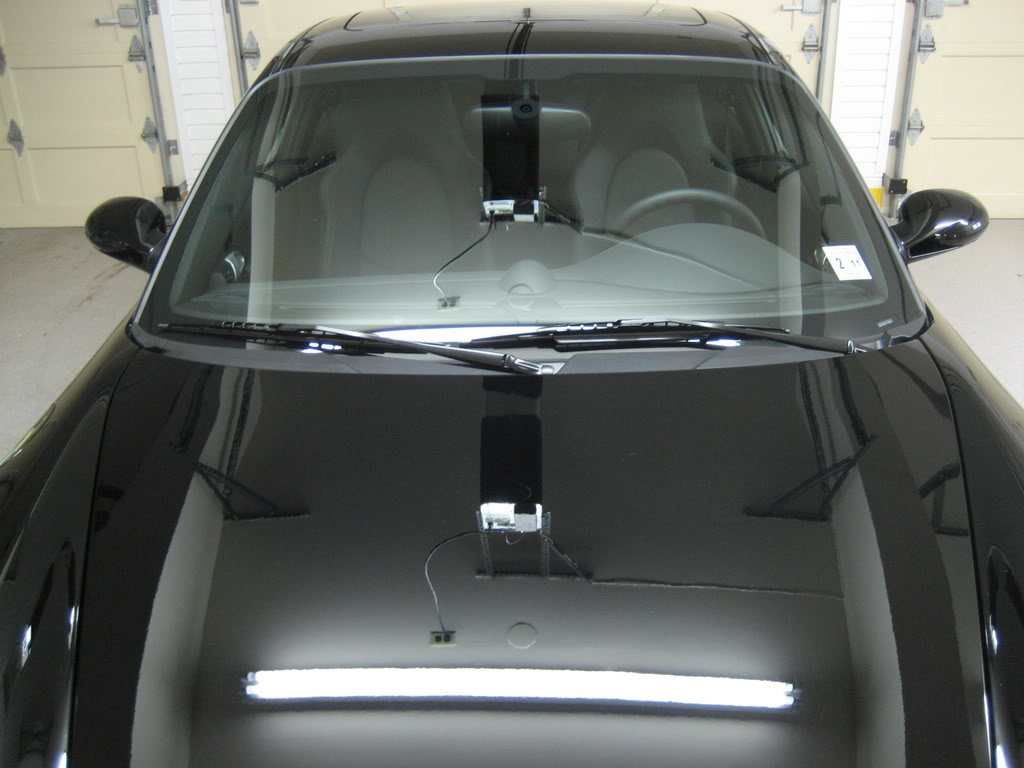
After Inside shots:
This was a new car that has 13xx miles on it. Even though the car is new it had some minor imperfections and was never washed. The customer wanted to wait till he could find someone to do a full detail for him...so 4 months after he purchased it he found me [
] The exterior was definitely dirty, car was never clayed and never polished never been washed!
Interior wasn't all to bad just a wipe down and leather feeding.
Engine not bad at all just cleaned it up.
Products used:
Adam's Car Wash
Shmitt Wash mitt and Shmitt Wheel mitt
1 Bucket with grit guard
Gilmour Foam Gun [up]
Jumbo Waffle Weave Drying Towel
Microfiber Buffing Towels
Boar's Hair Brush
Spoke brush for the inner wheels
Adam's VRT
Adam's Glass Cleaner
Adam's Detail Spray
Adam's Clay Bar
Menzerna 85rd
Swissol Wax [up]
Swissol Pre-Cleaner [up]
P21S Wheel Cleaner Gel
P21S Autowash
Metabo (hi speed rotary)
PC
Firehose Nozzle
Edge pad blue 6 inch
1Z Einszett Leather conditioner/cleaner
1Z Einszett Cockpit
1Z Einszett Detail Spray
Procedure:
1. Rinsed down the wheels (they were cool enough to touch)
2. Sprayed down the wheels with some P21S Wheel Cleaner
3. Brush and cleaned the wheels with a Boar's Hair Brush
4. Rinsed down the wheels
5. Filled the bucket with water for the rinse
6. Filled up the Gilmour Foam gun and proceed to pre soak the car.
7. Used the Shmitt to wash the car, from top to hood to sides to rear.
cleaning the Shmitt after each panel was soaped up by dunking it in the bucket with the grit guard at the bottom, rinse and clean the pad and continue on to the next panel repeat till you finish washing each panel.
8. After your wash the car rinse car off throughly
9. Since there was no sun out and it was cool, I sprayed Adam's Detail Spray on the panels and proceeded to clay the car (Adam's Clay Bar) after each panel and each window was clayed I used the WW Drying Towel to wipe the excess detail spray off.
10. Car is clayed and dried.
11. Used the Metabo with the Menzerna 85rd to polish out all the minor imperfections.
12. After each section was corrected I buffed off the excess polish with a MF Buffing Towel.
13. Proceeded to polished out the headlights and tail lights with the 85rd.
14. With a MF Towel I buffed off the Menzerna 85rd from the lights.
15. Applied the Swissol Pre Cleaner (needed for the Swissol wax to bond to the car)
16. Removed Pre Cleaner
17. Applied and removed Swissol (WOW amazing a super wet/deep/shine....)
18. Cleaned up the windows with Adam's Glass Cleaner (interior/exterior)
19. Dressed the tires with Adam's VRT (did one pass on the applicator and did a pass using the dry side as the customer prefers a matte finish)
20. Used 1Z Detail Spray to do a final wipe down on the wheels.
21. Used the 1Z Detail Spray for a final wipe down on the car.
Interior:
1. Wiped down the door jambs with 1Z detail spray
2. Vacuumed the mats, carpet, etc.
3. Wiped down the interior and used 1Z Leather Cleaner/Conditioner (applied with a MF Applicator pad 1 pass to apply the next pass on the dry side to wipe to a matte finish, no shine for this customer)
4. Wiped down the dash with 1Z Cockpit
5. Cleaned the glass
Engine:
Engine cleaning was done after the wheels, as the engine was still warm
1. Rinsed down the engine
2. Sprayed some P21S Autowash on the engine
3. Brushed the dirt and grime off the engine with a boar's hair brush
4. Sprayed down engine to rinse the P21S off
5. Closed the rear hatch and let it dry
6. Wiped down the jambs and the metal part with 1Z einszett detail spray.
Here are the pictures enjoy:
Before shots:
Suds from the Foam Gun:
Before Interior:
After Interior:
Before Rear Fender:
After Rear Fender Inside:
After Fender Outside:
After Inside shots:

Thread Starter
|
Banned
Joined: Mar 2009
Posts: 39
From: USA
We try very hard to do the best work possible for our customers and maintain a level of quality and service, this relays into our website as we only bring in lines that we believe in and use on our details and everyday.
Let me know if you have any questions and thanks!
Let me know if you have any questions and thanks!

Thread
Thread Starter
Forum
Replies
Last Post
phil@detailersdomain
Fit DIY: Repair & Maintenance
4
Mar 19, 2009 08:20 AM