When you click on links to various merchants on this site and make a purchase, this can result in this site earning a commission. Affiliate programs and affiliations include, but are not limited to, the eBay Partner Network.
Is replacing the idler pulley one of those things that we do "while I'm in there, I might as well"? Or do you know that you have a bad idler pulley?
Thanks.
Clutch release bearing, the two bearings on the countershaft, ball bearing and needle bearing in the clutch case, clutch pilot bearing, and the bearing on the mainshaft. I apologize, @Mister Coffee, for I could not come up with a more elegant way of describing and listing seven different bearings inside of the transmission in my previous post. I have to pull my transmission and decided to set the car up with new bearings, clutch kit, OEM flywheel, and starter for another 100K-worry-free miles.
As for the idler pulley, I pulled my serpentine belt off and inspected all of the pulleys—the idler pulley is, without a doubt, in need of replacement.
In 2022, Hybrid Racing released an updated version of their shifter cable bushings made out of delrin. These new bushings are lighter, provide smoother operation, easier to install, and will not rust. Installation was a breeze compared to the previous iteration of their bushings.
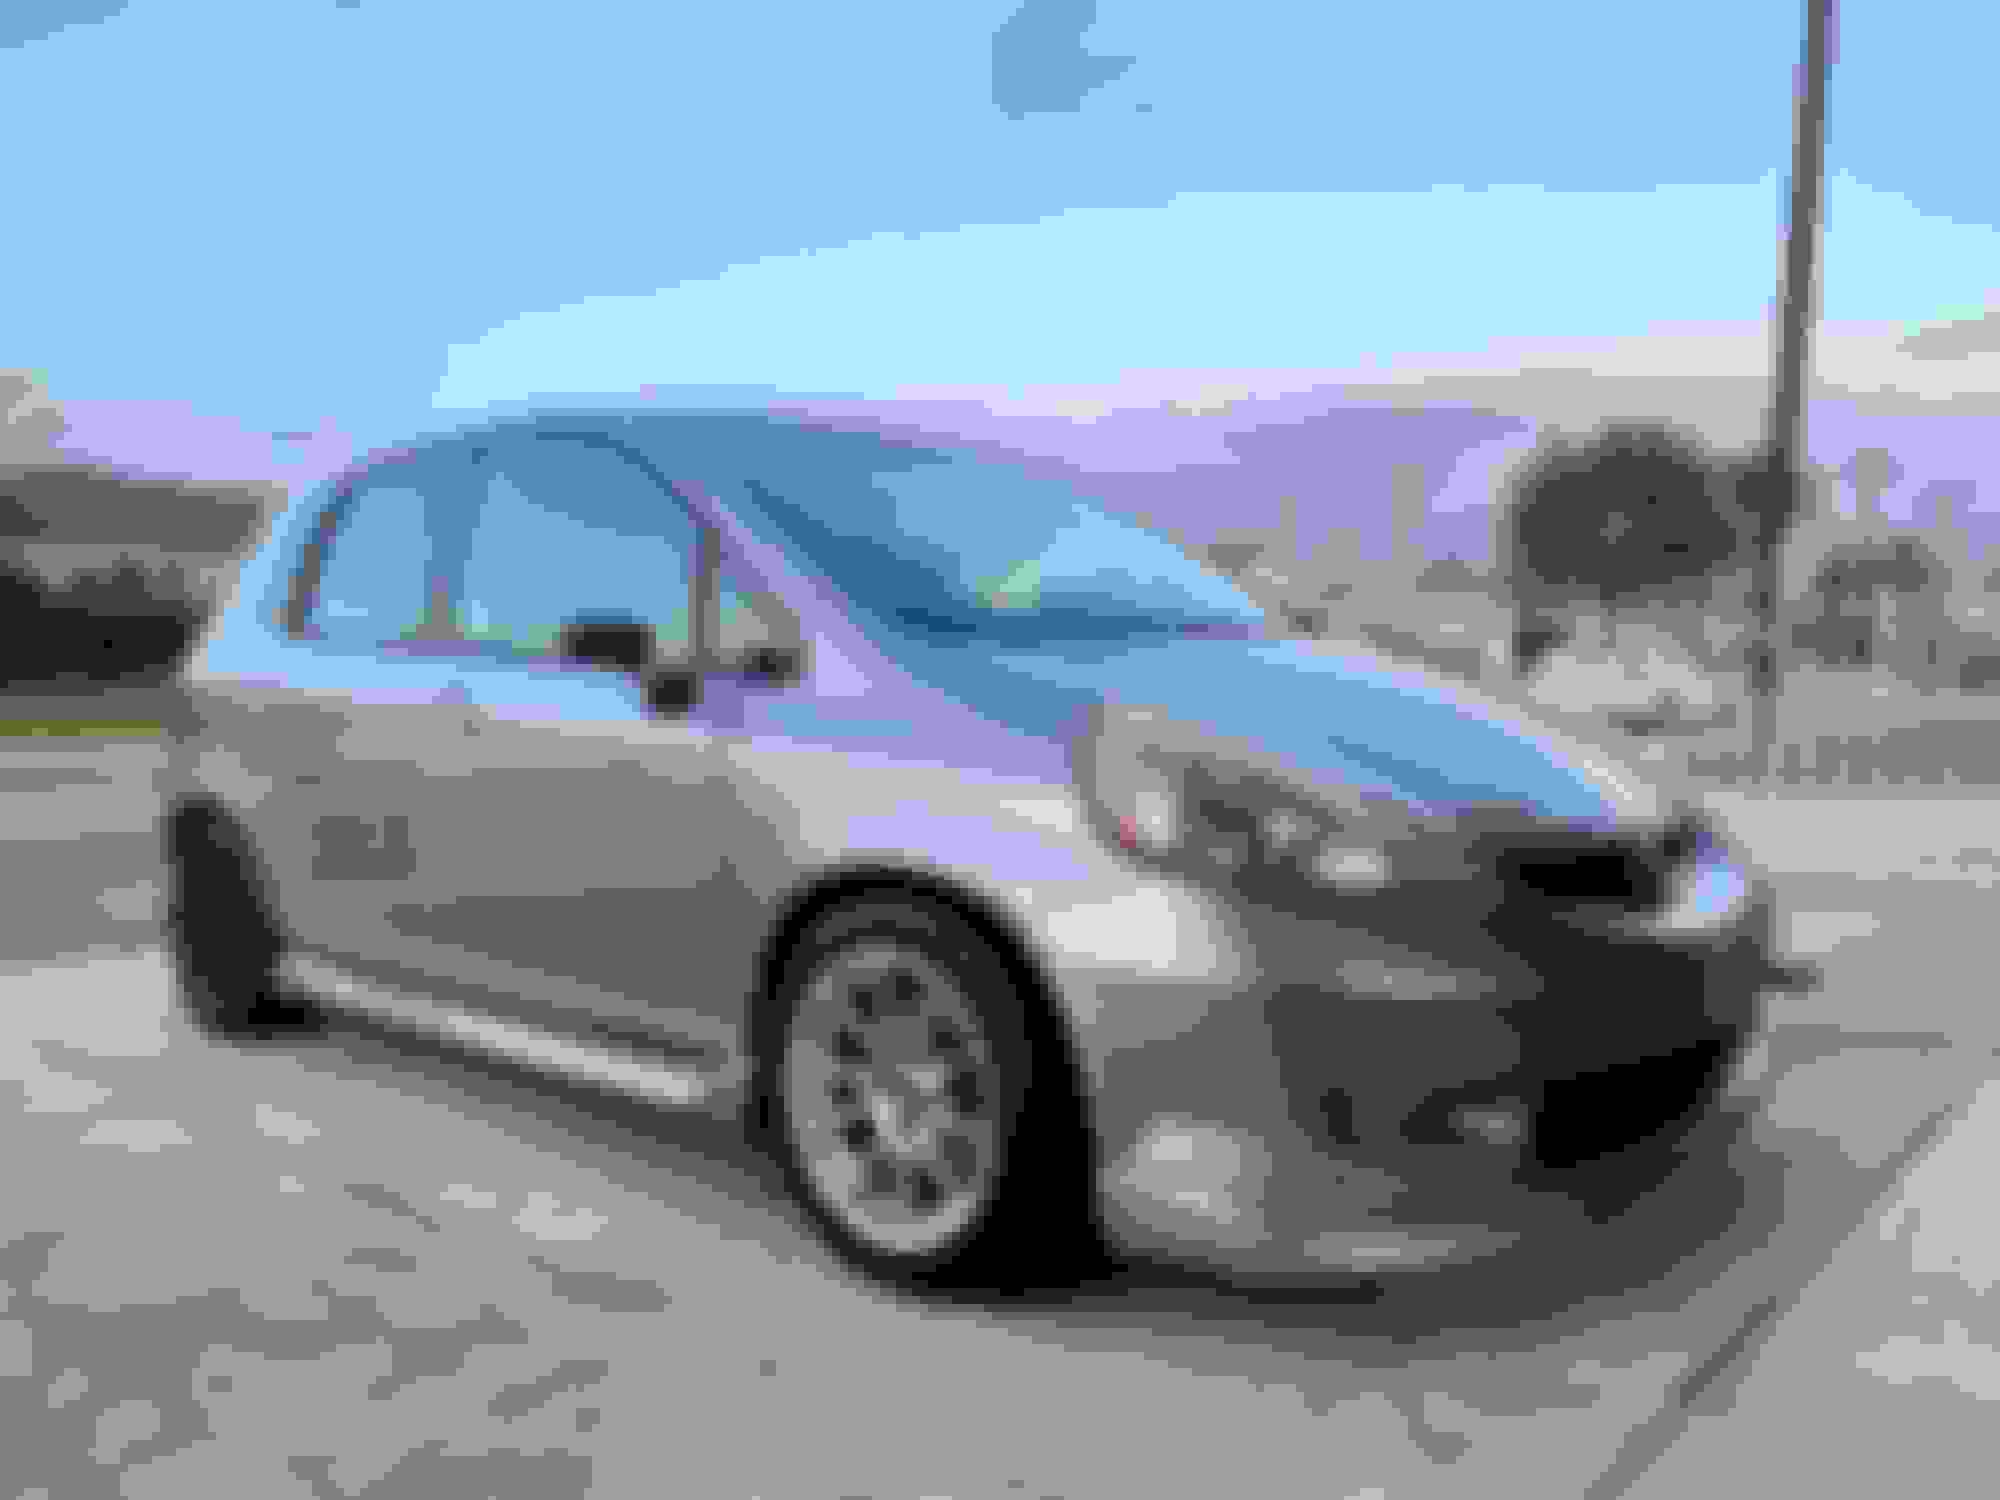
The weather was cooperating today, so I installed the new idler pulley and serpentine belt. I also picked up some new wheels for the front of the car, FFD Motorsport EVO1 in 15x8 +32 sizing.
New versus old idler pulley. The original idler pulley felt crunchy when I spun it, so it was definitely due for replacement.
I also replaced the serpentine belt. Not having the fender liners and splash shield installed really did a number on the belt's longevity. This belt was replaced last year and it already had stress cracks and lots of debris lodged in the belt's ribs.
New wheels picked up...
All cleaned up and ceramic coated for facilitated cleaning in the future.
FFD Motorsport EVO1s installed on the Fit. I think they look pretty good, but I wish I had found them in black. The silver finish against the SSM paint is kind of bland, in my opinion. I am also considering refinishing my front/rear wheels in an entirely different color as well�I haven't fully decided just yet.
Silver’s fine, I feel like a good dark grey could be nice. Get the contrast of black without losing the wheel’s detailing.
Yeah, the silver is nice for sure, but I would prefer a touch more contrast between the car and the wheels. Dark grey is not a bad choice at all. Maybe I'll let the wheels get dirty with brake dust to varying degrees to help me choose a color.
P.S. It won't take long at all with these Hawk HP+ pads.
Oh man HP+. Faster than a can of Krylon for making your wheels dark grey/black.
Oh man HP+. Faster than a can of Krylon for making your wheels dark grey/black.
LOL. I've been running them since they are ideal for autocross which means they have high initial torque and don't need much warming up to really work. The high initial torque makes them a decent contender for street/track duty, but the modulation leaves something to be desired. I haven't decided yet, but I do want to try something other than the Hawk brand.
I've been making good progress on the Fit during the past few days. I purchased and installed new fender liners, splash shield, and the front bumper lower cover. One of my fender liners tore itself apart after an incident with an unavoidable rock which was deceivingly small and the rest followed suit shortly after. I would strongly recommend against removing your fender liners unless you absolutely need to. This is weight savings that was not worth it and was not something I chose to do intentionally.
New splash shield and front bumper lower cover installed and looking good. Having this stuff in place also helps with aero, so there's another reason to keep your liners and splash shield.
Picked up some hub-centric rings from Touge Factory. These wheels have an odd 72.6 mm hub bore rather than the usual 73.1 mm hub bore I am used to seeing. Thankfully, TF shipped these out quickly. Although, it wouldn't be the end of the world to run wheels without hub-centric rings, I prefer to use them.
Also, I finally took my SuperPro bushings to a machine shop and had them modified to fit my GD control arms. Since these bushings were originally meant for a GE Fit, they will not fit without modification. Very happy with the quality of work from the machine shop.
MOOG control arms with SuperPro front/rear bushings fully assembled and ready for installation...
MOOG control arm with SuperPro bushings versus original control arm with original bushings. The small bushings were actually in decent shape, but the larger bushings showed wear. Also, the ball joint boots were absolutely hammered. I knew about the ball joint boots needing replacement, but I kept it on the back-burner because I had intentions to replace my control arms entirely.
Phoebe just received a bunch of transmission-related work and I'm happy to report that the "rocks in the transmission" noise I was hearing was found to be a worn input shaft bearing.
I wanted to future-proof the transmission so as to avoid having to remove it again anytime soon, so I replaced a few other items including:
- Exedy OEM-spec clutch kit
- LuK flywheel
- rear main seal
- clutch release fork boot (original was torn)
- both axle seals
- clutch case ball & needle bearings
- clutch case oil seal
- mainshaft angular ball bearing
- countershaft ball & needle bearings
- throwout bearing
- pilot bearing
- differential bearings
Aside from the aforementioned, the inner tie rods were replaced as there would be no better time to do so since the steering rack and subframe were removed to facilitate the removal of the transmission. I have a new starter, but we did not replace it during this time; I will replace the starter when I do my next valve adjustment as the instructions call for removal of the entire intake manifold which is a few extra bolts on top of the necessary removal of the upper intake manifold to remove the valve cover to access the valves for adjustment.
Transmission internals disassembled. This photo was taken before everything was cleaned up and bearings were replaced, etc.
Transmission reassembled and ready for installation.
Subframe and steering rack were removed to facilitate the transmission work. While the subframe and steering rack were removed from the car, I also had the inner tie rods replaced as this was the best time to do so. Thankfully, I already had the parts ready to go, so there was no additional downtime.
Impressive as always. How difficult do you think it would be to do my clutch at home with a jack, 4 stands, a torque wrench, and a basic socket set? I'm willing to rent specialized tools.
Impressive as always. How difficult do you think it would be to do my clutch at home with a jack, 4 stands, a torque wrench, and a basic socket set? I'm willing to rent specialized tools.
Well, I won't take the credit�my friend did the transmission job for me and I paid him. He did it at his house with two jack stands, a torque wrench, and basic tools. I don't think it's a complicated job, but it's one that I didn't want to make any mistakes on, so I had my friend do it for me.
 12-29-2022, 09:50 AM