When you click on links to various merchants on this site and make a purchase, this can result in this site earning a commission. Affiliate programs and affiliations include, but are not limited to, the eBay Partner Network.
Yup, I'm aware of them. I believe they brought it to market just this year. TCS also made shift cable adapters and stuff this year too. Great for those of us who're waiting to get the easy route to a kswap!
Life would have been easier if I waited longer for sure. I am happy with the hybrid racing shifter with the 9g civic shifter cables though.
Installed the jdm tails and went for a road trip. Can confirm that cruise control also works on my swap (along with traction control and abs)
Intalled GTR CSP Mini H4s. Could've used the more powerful (more lumens) GTR Ultra or the Morimoto 2Stroke 3.0. I decided the less lumens would:
not distract other drivers as much
save me some coin, but I would have liked the Ultra lifetime warranty
the CSP Minis are exact replacements, no heat sink, fan or additional cable
make me less likely to be pulled over for aftermarket headlamps
Then I pulled the DAYLIGHT (DRL) fuse to supress DRL malfunction lamp. No DRLs now but much better lighting at night. Might install some aftermarket LED DRLs to compensate. What dost thou think?
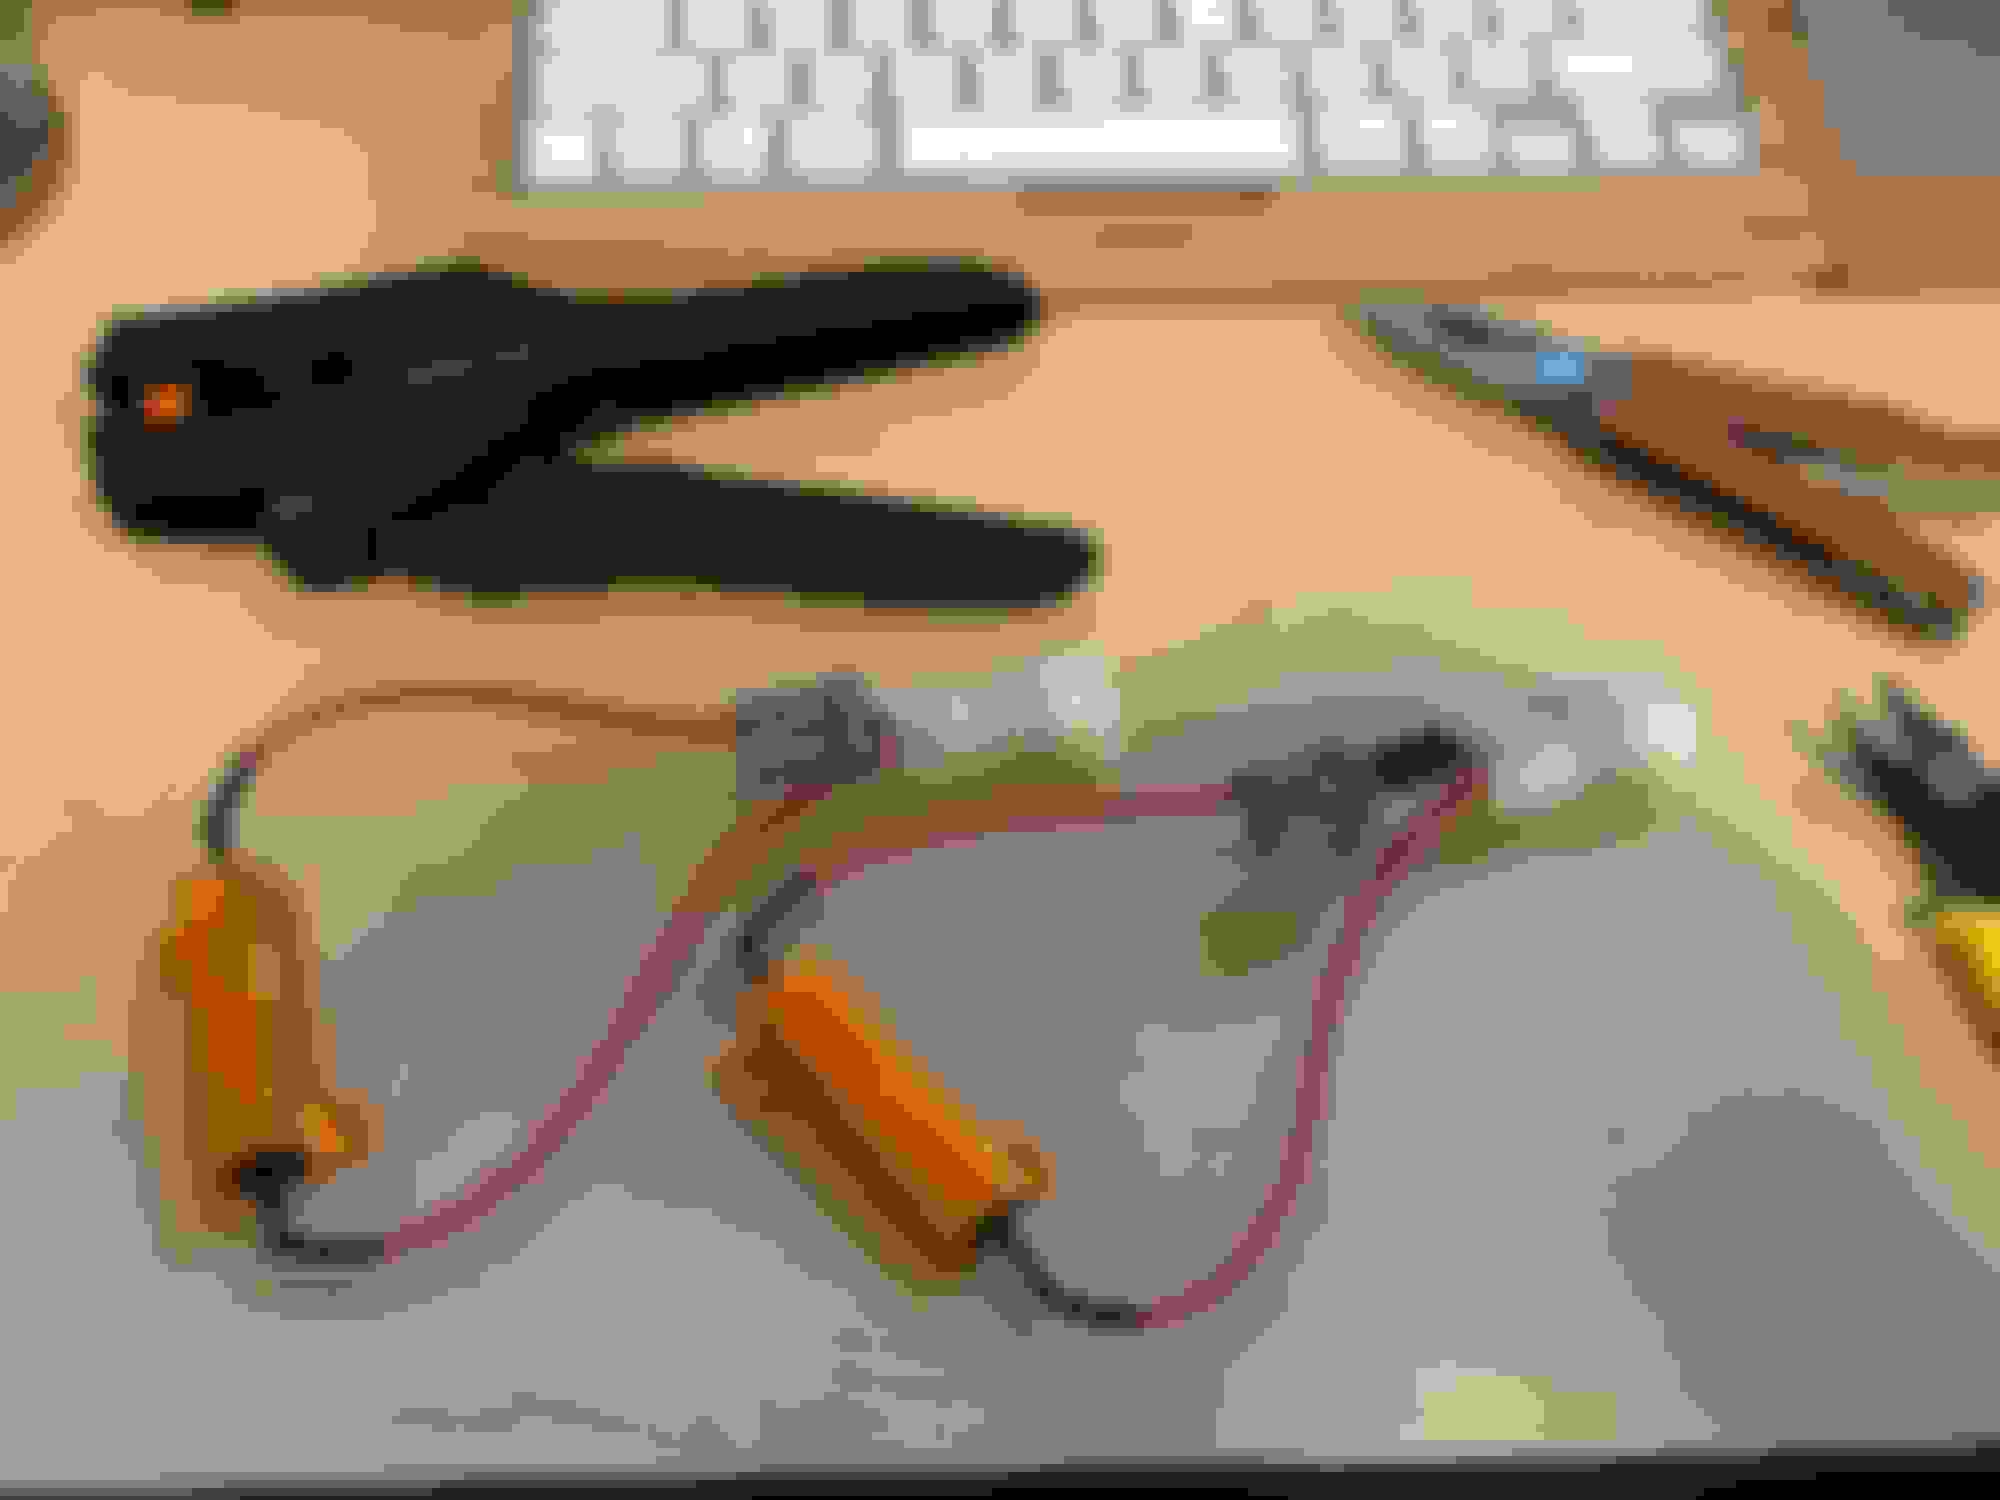
Hi, I'm Sam! New member to the forums here. I recently added a 2012 Fit Sport A/T to our Honda Family (which includes an '07 Civic and a 2013 NC700X). Upgraded the turn signals and brake lights to LED. I like LEDs for the signal lights because they turn on and off instantly and I feel they are more attention-getting. LEDs from SuperBrightLEDs.com. Wired up some load resistors to fix the hyper-flash.
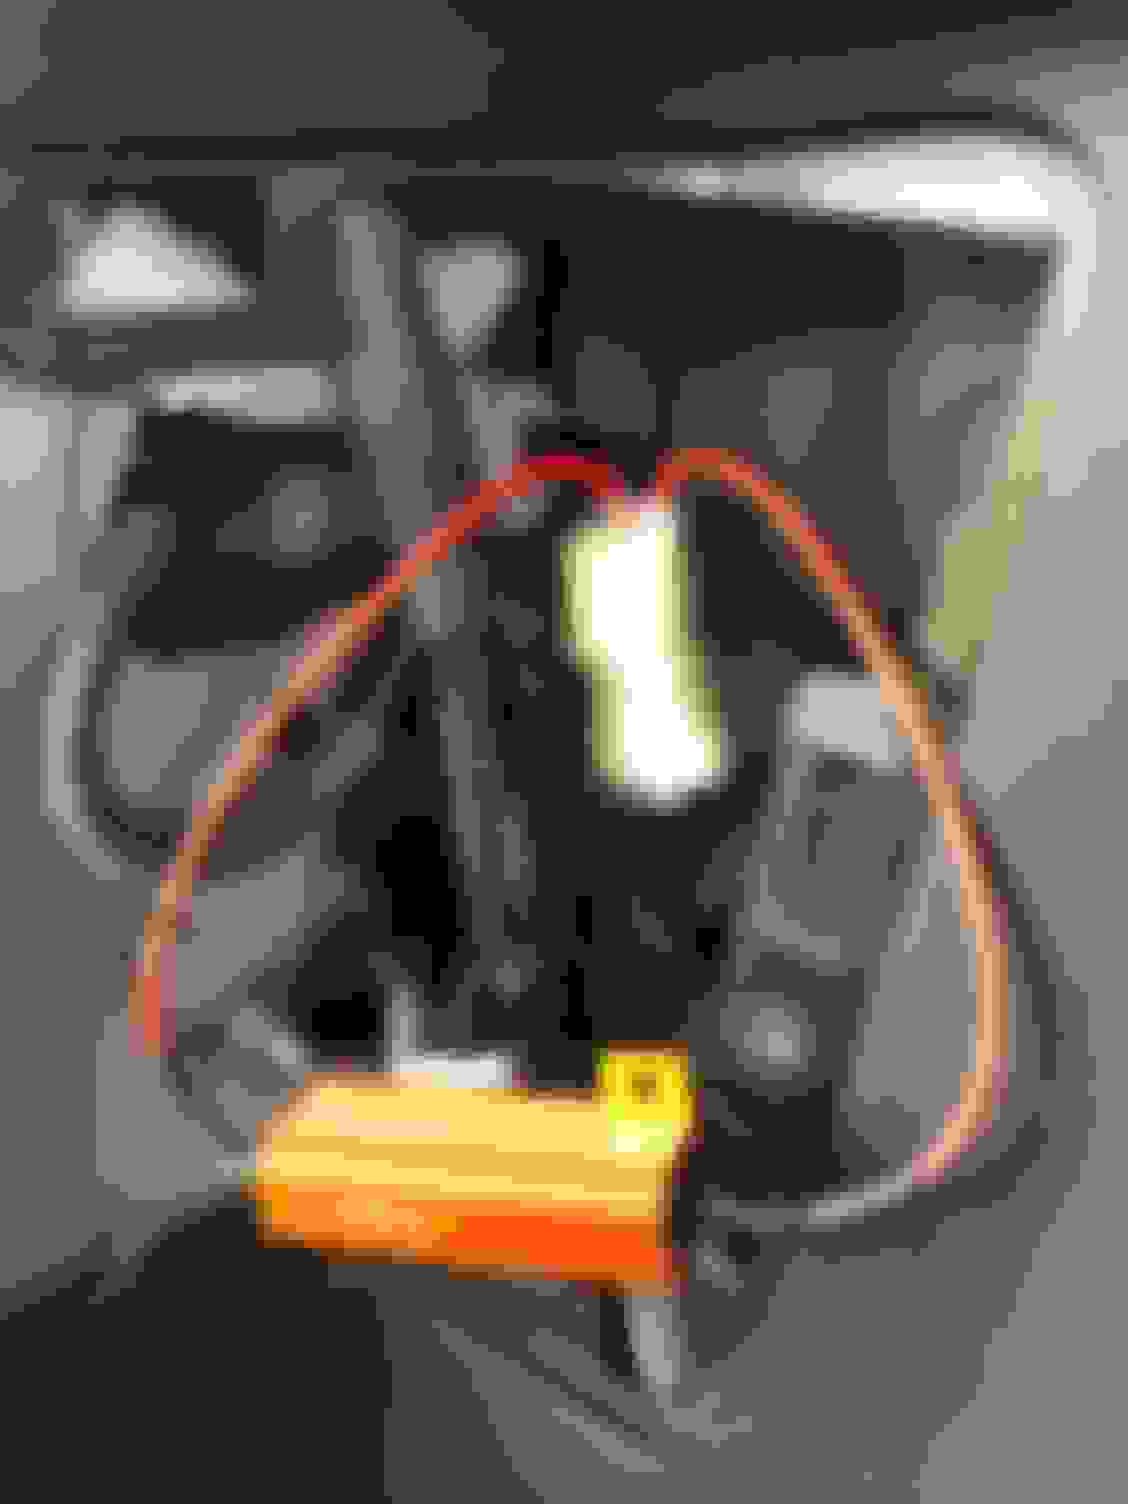
A single 3 ohm resistor on each side (2x total, 1 L 1R), wired into the back light. Instead of using the wire taps, which I hate, I cut the connectors, then crimped the load resistor into a 2-pin Sumitomo HM .090 connector. These are nice automotive grade connectors used on most Honda motorcycles, and resulted in a very clean and secure installation. Mounted up the resistors against the outer metal of the car body.
I had about 20 very little rust spots ready to show up and spread on the roof of my Fit so this week I did a little bit of work everyday on it. It's the first time of my life I tried to get that kind of work done. I watched a lot of YouTube videos related to my project to learn more about how to proceed and what would I need to do the job.
Day one - Grind all the rust spots on the roof. Apply the Bondo, sand it the best I can, and looking at what was done after that first day, there was no way to go back anymore...
Day 2 - I wrapped up the car with a roll of 3m brown paper and plastic underneath the paper to avoid having flakes of dry paint to go stick on the drying surface. The wrap part is very important to avoid having some paint where you don't want it to be so I did take my time to do it well. I then put the filling primer on, the 3 thin layers of paint with another ticker one on the top of it and finally the clearcoat. The result was just horrible! The clearcoat did what it's called "orange peel". You have to wet sand the painted surface with 1500, 2000, 3000 grid sandpaper to get rid of that damn thing...
Days 3 and 4 - sanding, and sanding, and sanding again ... while spraying some water on it all the time when you do the sanding. After 6 to 8 hours of killing each one of my arms one by one a little bit more at the time, I am f**king proud of the work I have done and the final looking results of all my efforts I have put on.
I am now confident that I can do the same thing on the hood without being scared of what would it be looking after! After Day 1 Work completed! Isn't amazing!
Does anyone have any experience with the Wilwood brake kit (pictured below) and Stock 2009 GE Sport wheels?
Trying to determine if they fit ''as-is'' without wheel spacers, grinding etc.
I was considering doing the type-R 11'' upgrade, and though not 100% out of the picture, Ive mostly decided against having frankenstein brakes/rotor washers etc. Plus im not 100% confident the type-r conversion clears the wheel either.
The type r conversion clears the 16' stock wheels just fine. Hell they clear my 15' set. No washers or anything on mine. If you get the right rotor you don't even need hubcentric rings. 2006 mini Cooper 280mm rotors are the way to go, got mine at Napa for less than $100 for the pair. Only mod I had to do was bend the dust shield slightly by hand to give clearance for the bigger rotor.
The type r conversion clears the 16' stock wheels just fine. Hell they clear my 15' set. No washers or anything on mine. If you get the right rotor you don't even need hubcentric rings. 2006 mini Cooper 280mm rotors are the way to go, got mine at Napa for less than $100 for the pair. Only mod I had to do was bend the dust shield slightly by hand to give clearance for the bigger rotor.
hmm. appreciate the info. u didnt have a gap with the studs and rotor? i knew u had the rear disk conversion, i didnt realize u had the fronts bbk too. have the rears still been treating you well?
might have to reconsider the type r since i keep thinking about converting the rear to disk. i keep flip flopping between, type r, wilwood, and just leaving the system alone.
also been considering OE jdm beam with discs. not sure if the crz beam fits. i think i read somewhere awhile back crz has a wider rear track or something. if so im not interested in doing that.
really i dont NEED new brakes...but i have always thought they are weak. driving a different car occasionally reminds me mine kinda suck...even with slotted Centric rotors and Hawk Hps pads. the same setup on my scion xa had much more bite.
sometimes i hate these rabbit holes i go down modding things. hah.
Hawk HPS are just regular street pads. You�d likely gain more from a slightly more aggressive pad than a big rotor and such, unless you�re dealing with brake fade?
Dont have a brake fade problem... as of yet. My car is a commuter...with a random spirited on-ramp turn etc. Right now the brakes seem mediocre. It was one of the first things i noticed switching from my scion xa. Also im sort of planning ahead with a projected 2.4 motor swap next spring.
I guess the most cost effective route would be to have my rotors turned and try a different pad setup.
Does anyone have any experience with the Wilwood brake kit (pictured below) and Stock 2009 GE Sport wheels?
Trying to determine if they fit ''as-is'' without wheel spacers, grinding etc.
No, they will not fit; offset +53 is too high. 3mm spacer should be enough.
. appreciate the info. u didnt have a gap with the studs and rotor? i knew u had the rear disk conversion, i didnt realize u had the fronts bbk too. have the rears still been treating you well?
Not a gap I can discern. Fit like the originals did, just a little bigger outside diameter. I was very happy how it turned out. Rear brakes have been behaved. The rubber bleeder cap and slide covers have perished and I need to replace them, but that's not the conversion's fault. Gonna also replace a home-made brake line with a full length braided steel line. The kit sources the wrong length for the passenger side and we made our own 12 inch length to span the gap along the swingarm. I reckon that makes the car pull very slightly right under extreme braking. Not enough to make it dangerous, but I notice it.
Went with regular carquest medium grade organic pads up front, great stopping power, somewhat moderate dust levels. Ended up replacing the original rear pads with a more street based pad to get them to stop squeaking and making the parking brake stick some times.
appreciate everyones info.
i almost ordered a set of Wilwoods just to try out for myself, but backed out. dont feel like messing with it for right now.
instead i pulled the trigger on a full set of Pvc Clazzio seat covers. (black/black/ light grey stitch). my seats are starting to get a bit faded, and i hate how they attract pet hair. i figure the seat covers will not only look better now, but also preserve the original fabric. i have been wanting to try a set of clazzios for years. now ill just have to wait a couple more months for them to be made. i guess it gives me time to clean the seats.
after ordering the seat covers, and a new set of BC coilovers last weekend...i need to take it easy with the car for a bit!
I test fit my friend�s Volk GT-C and washed the car. I then edited the photo to get a feel for what the car could look like if I hadn�t made the mistake (for my tastes) of buying Swift springs.
Did a 100k km maintenance last week. Changed the belt, the plugs and adjusted the valves. All intake valves were OK. All exhaust valves were out of spec.
Now the motor feels more "peppy" and runs a lot smoother.
The valve adjustment is really needed on those cars!
I had about 20 very little rust spots ready to show up and spread on the roof of my Fit so this week I did a little bit of work everyday on it. It's the first time of my life I tried to get that kind of work done.

 05-09-2021, 02:29 PM