When you click on links to various merchants on this site and make a purchase, this can result in this site earning a commission. Affiliate programs and affiliations include, but are not limited to, the eBay Partner Network.
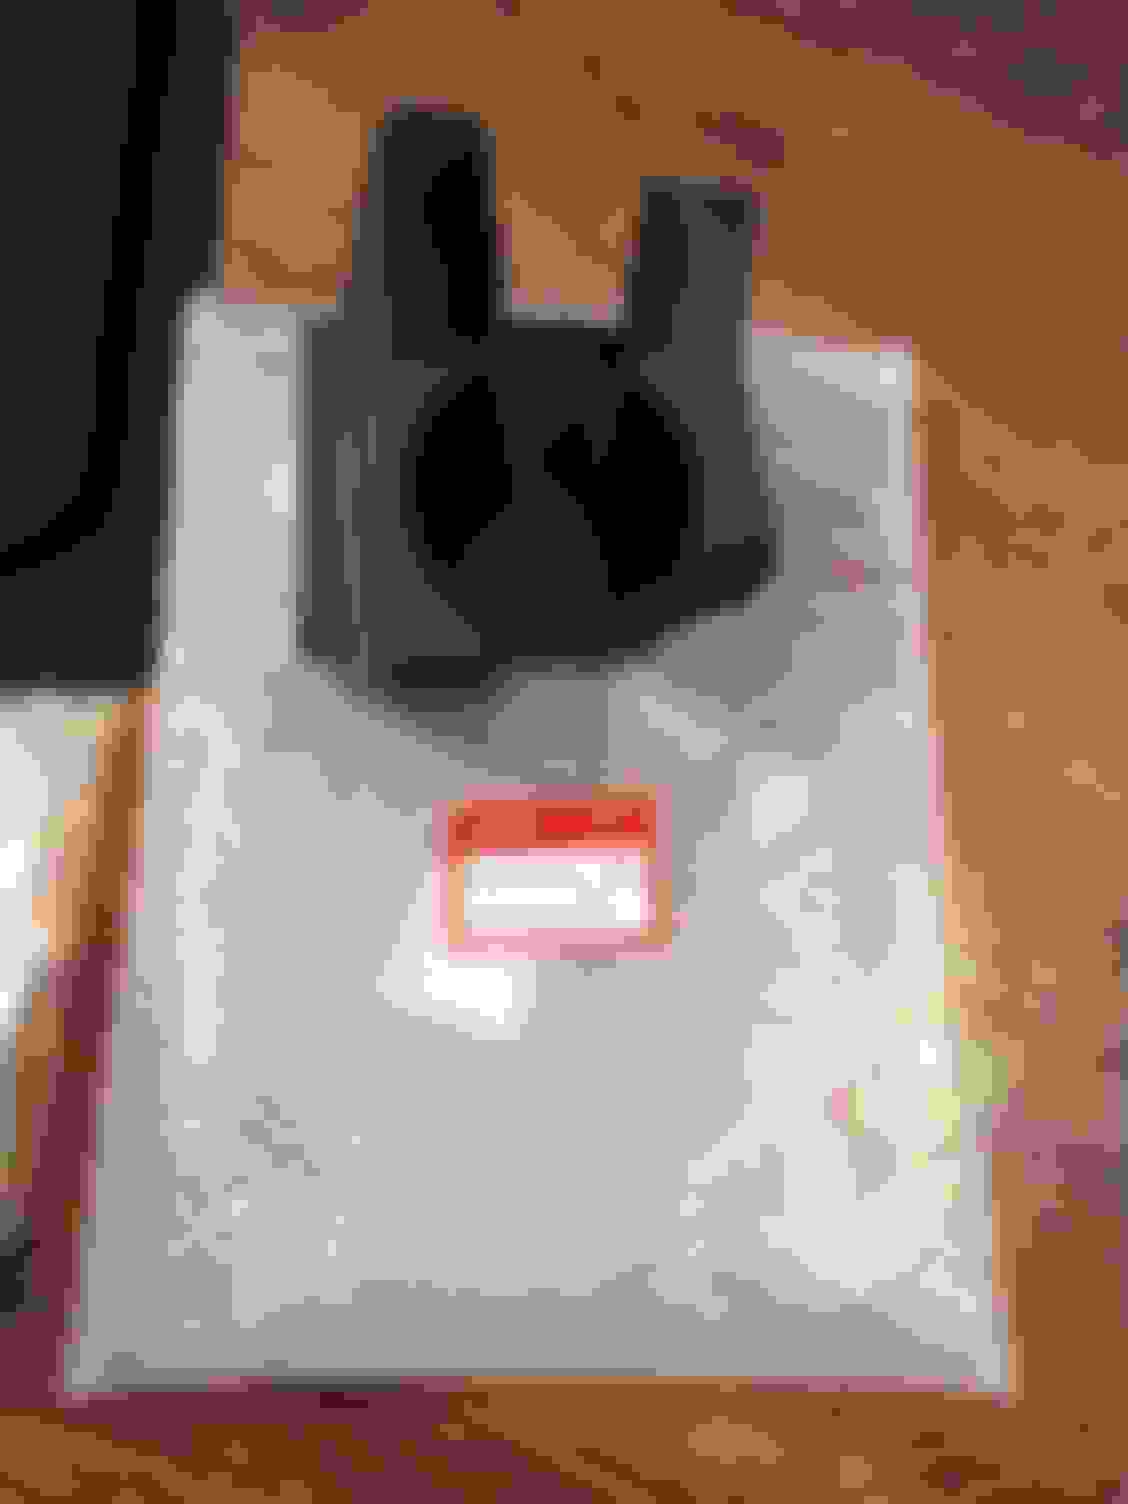
Painted my shifter bezel, as its been bugging me since i bought the car a couple of years ago. i was trying to avoid painting too many pieces, and had plans of trying to find the 12-13 black bezel. kept an eye out off and on over the past couple years, and never really saw any used ones that were in decent shape or a decent price.
next up is the gauge cluster. same story as the shift bezel regarding the rings and wanting black 2012-13 pieces. if i find some ill probably still buy them, but for now they got painted. In the pic they are fresh with wet paint. they will dry the color of the shift bezel.
i accidentally got some 303 Interior Protectant on the clear plastic on the gauges and it got it hazy. also lots of swirl marks from doing quick wipe downs. cleaned up really well with some Meguires Plastx and a small buff pad on the drill. didnt come out perfect swirl wise, but drastically better, and all the hazing from the 303 came out. i also took the clear cover off and blew the inside with compressed air, as it somehow got dusty. i thought about putting something over the TPMS light, as i have no sensors in the Rotas, and i stare at the damn thing every day, but decided against it. for now. i wanted to pull the gauge face off and put a piece of metal tape over the light to permanently block it...but had a flashback of a time I "carefully" did that to my Prelude to put a white gauge face kit on it...and i screwed it up. ill take the TPMS light over doin that again.
the paint i used was Rustoleum Satin Black. it takes forever to dry for some reason. it doesnt lay down very clean either. can get a bit blotchy and cap spits a bit. cant really recommend it. however, it has proven to be durable and sun resistant as its the same paint that i used on the upper glove box a couple years ago...and i also wanted the painted pieces to match in color.
I also got a 2012-13 Climate Control unit..just to swap out the silver 09 knob sleeves for the newer black ones. charcoal. graphite. whatever. always thought the silver ones looked kinda cheap. i swapped my silver knobs onto the 2012-13 unit, and its for sale in the classifieds.
Climate Control Mod
High(er) powered front vent airflow!
So I have been tired of the crappy airflow of the GE8. I use the Head/Foot mode on the Climate control a lot...and when in that mode the airflow to the head drops more than what it should in my opinion. so after a year of thinking about it, i finally decided to act. I Duck Taped the chamber in the center dash that feeds the vents under the front seats. My Fit never has anyone in the back seats, so no loss for me. When done with this mod, your brains wont be blown...but there is a significant increase in front airflow when using the "Foot Mode" in combination with anything else (ie Head Mode, or Defroster).
Very happy with the ease of this mod and the results!
sorry for the crappy pics..
this lower chamber under the power outlet is our culprit. grab it near the yellow cable and pull upwards while pushing downwards on the other end closest to the engine bay...which will separate it from the upper chamber.
here you can see it splits into 2 ducts that go under each front seat .
this is the hole we are going to block off. no wonder our front vents suck. all the air is going down here when using any of the "Foot Combo Modes".
Here is the "Duck Tape Block Off". I think one piece should be fine. a person probably could put more, going the opposite direction, but i didnt want to go too crazy cuz we need to put the chamber back on... and its a tight fit.
Now slide the lower chamber back on, and make sure to push up until it bottoms out on the top chamber. u should be able to feel the notch from the upper chamber mate with the groove in the lower chamber letting you know it is secure. Thats it! put your console back together, turn your air on and enjoy!!!
Last edited by eulogy; Nov 30, 2020 at 11:14 AM.
Reason: cleaned it up
Console Lid (12-13 Cupholder) - part# 83403-TK6-A11ZA Floormats - part# 08PI5 - TK6-110 Door Lining Clips - part # 91560-SLJ-J01
I knew my floormats were getting a bit worn looking, but it wasnt until I saw these new ones, that made me realize they were indeed rough. My carpet where the floormat clips attach on the drivers side is a bit mangled from the original set, which makes the floormats unstable, so I am debating on reinforcing the existing carpet or coming up with a new anchor mount solution. I also am thinking of gluing some carpet to the big plastic pad on the drivers side so the floormats have something to grip on to. the big plastic pad is nice for preventing wear if you dont have floormats, but also is the root of the problem, when it comes to them shifting even with the plastic anchors attached. gonna think about how to secure them better.
Also been jealous and wanting the full cubby compartment that the 2012-2013 Fits have. Not that I have something specific to put in there, but still.
Got some replacement interior clips (mine are not authentic honda brand) to replace a few broken ones on my interior panels.
I have a few more random pieces I want to get for the interior. Overall tentative plan is to move my way towards the front of the car, refreshing and repairing bits and pieces along the way, including a suspension and brake refresh before the final "compartment".
Last edited by eulogy; Feb 13, 2021 at 08:54 PM.
Reason: fix pic
Swapped the 2009 cupholder for the 2012. Tons more cubby room to the back. Didnt realize it was a different, lighter grey. noticeable but i can live with it.
Swapped the floormats and assessed the torn carpet where the right clip attaches. it was hanging on by like 3 strands. Hondas design of anchoring the mats to the carpet is one of the dumbest ideas i have ever seen. i was considering jb welding a screw to the floorboard, threads facing up to stick through the floormat holes to anchor them. problem is, i dont want a regular ugly nut to attach them though. i might swing by Tru Value and check out the hardware. For now i attached the new right side clip reversed, facing the back of the car vs forward as intended. the left side anchor point is mostly fine. i think gluing carpet to the plastic pad to give the mats traction is going to make the biggest improvement. my original mats had almost no spikes left on the bottom, which means there was a lot of plastic on plastic sliding going on.
UPDATE: Installed speaker carpet to the plastic mat as planned. Works great!
Original 2009 cupholder/cubby
Removed, revealing the secret compartment!!
Comparison of design and color. 2012-13 on left, 2009 on right
2012 Cupholder/cubby installed on 09
Matches up perfect (aside from color)
Old Floormat
New Floormat
Left side clip installed in reverse. corner notched to help fit flat due to curve on floor. Left side still in original position.
UPDATE: Installed speaker carpet to reduce slippage
Cupholder Lighting
- 2012-2013 Center Cover Assembly: 77290-TF0-G01ZA
- (1 qty) Blue SMD LED Bulb: Size T5
- T5 Socket, extended pigtail, wire loom
HVAC
- (4 qty) White SMD LED Bulbs: Size: T5 (3 knobs and slider)
- (2 qty) White SMD LED Bulbs: Size: T3 Neo Wedge (A/C Button and Rear Defroster)
Red Hazard Button 35510-SYP-003
Finally got my hands on a discontinued 2012-2013Center Cover Assembly which has a bulb housing to shine light on the center cupholder/cubby. the assembly does NOT come with the socket/pigtail. took my chances and bought some T5 sockets on ebay to try to make it OEM as possible, along with blue (3-SMD) LED bulbs. 20 bulbs. now i have 19 extra. lol. I extended the pigtail and soldered it a couple inches back from the hazard switch's plug (red and grey wires). I decided this was the easiest/cleanest/least important dimming switch to get to. Very satisfied with the results.
I also got some white T5 (3-SMD) LEDs for the HVAC controls.... and some 1-SMD LEDs for the A/C and Rear Defroster buttons. I wanted to have a slightly brighter and pure white light scheme throughout the interior. The A/C and rear defrost buttons require 2 bulbs each (4 bulbs total), but i only changed the main icon bulbs in each one, and left the colored incandescent "switch on" indicator bulbs in place. the 2 buttons using the 1-SMDs are a good brightness, but the 3 knobs and recirculation slider which are using the 3-SMD bulbs are way bright. they look crisp and clean, but are distracting and brighter than everything else on the dash. Good news is they all dim, but not proportional to the gauge cluster. and none of the SMD bulbs turn all the way off like the original incandescent ones did. so i ordered some T5 (1-SMD) bulbs to try out in the knobs. if those end up being too bright my last resort before going back to stock bulbs will be to try white DIP LED bulbs. hoping whatever i end up with lasts and doesnt start flickering soon, as changing the HVAC bulbs sucks.
Finally for this episode, I got a "JDM" Hazard button. aside from the honda box and bubble wrap, Im pretty sure its Chinese since I bought it on ebay, but for this i say whatever. the one I got has a scratch down the center of the face, so I am waiting on a replacement. popped the scratched one in since im already in there for the HVAC/ cup holder lighting. The light looks way brighter in the picture than what it really is in person. It is noticeable, but really soft and non distracting. slightly expensive mod for what it is in my opinion, but I have been wanting to swap this switch for awhile, and I like it (aside from the scratch).
Still waiting on a couple more interior pieces to finish it off. have had the console slightly apart for like a month now, lol. till next time... heres a few pics...
2009-2011 (left) vs. 2012-2013 (right) Center Cover Assembly (socket and bulb not included)
T5 Socket with extended pigtail and SMD bulb
"JDM' Red Hazard Switch box
Installed hazard switch, cupholder light, and Too bright HVAC LED bulbs. sorry, I like to buy crappy phones with crappy cameras.
Last edited by eulogy; Dec 18, 2020 at 09:11 AM.
Reason: clarification
This is great. Such a nice homage to simplistic late 90s to early 2000s builds.
Thanks appreciate u appreciating it...and understanding the vision.
i was fortunate enough to be a teen and a part of the scene during those golden Honda years, before the fast and the furious came along and ruined it all, lol.
had other cars, but this was one of my favs, as u can probably tell. my '97 in ~ 2000.
I'm only 29, but fortunately, my father was building a CRX at the time so I got to vicariously live through it growing up. Love the Civic.
I still have Super Street and Sport Compact Car mags from the late 90s and early 2000s!
I'm only 29, but fortunately, my father was building a CRX at the time so I got to vicariously live through it growing up. Love the Civic.
I still have Super Street and Sport Compact Car mags from the late 90s and early 2000s!
CRXs will always be sweet.
hang on to those magazines! i use to collect magazines too. mostly have lowrider, super street, scc, along with a few oddball car ones I would find.
Its fun pulling out the boxes of them and combing through them...especially now that they are almost obsolete. the few magazines the stores have nowadays are so thin. makes me kinda sad. lol
OEM Armrest - 08U89-TK6-112 Temperature Control Knob Assembly ('12-'13) - 79569-TF0-003ZE Honda Interior Illumination (Blue) - 08E10-TK6-100
Installed the OEM Armrest tonight, pretty quick n simple. Was concerned about large holes that need to be drilled towards back of console, but had a small cheap holesaw that came with my backup camera. worked perfect. I was running the zeta armrest, and although not bad, especially for the price, it cant compare to the quality of the OEM armrest. the OEM one is solid utilizing heavy metal mounting brackets and support beam, and has buttery smooth hinge operation. would be nice if it was like $50 cheaper though. gotta pay for the name and quality i suppose. alongside the armrest, i finally reinstalled my gear shift bezel that i had painted black a couple weeks ago. I was waiting for the armrest as i didnt want to scratch the bezel taking stuff in and out repeatedly. Im sure letting it fully dry didnt hurt either. i have a bad habit installing stuff too soon after painting. while messing with the shift bezel, i tried putting a white LED T5 in the housing, but it made the white letters blue. so i put the stock incandescent back in there.
with the armrest, i ordered a new '12-'13 Hvac Temperature Control knob. the used one i got with the complete unit a few weeks ago had a small crack, that i snagged and ripped off a small piece. i glued it back on but ocd tendencies wouldnt let it be and it cost me $20 just for a knob sleeve. i could have saved a bit ordering one on ebay used, but i didnt want to risk getting one that was damaged again in some way. im tired of taking the HVAC out. i plan to do it one more time when i install dimmer white LEDs when they come in. I ordered both single SMD T5 bulbs along with DIP LEDs.
Final new piece in my Honda box is the Honda Ambient Light Kit. ricey and juvenile? yes. but its a Honda accessory ...so that means its cool by default. just like the cupholder light. the 18 year old in me is excited for these. not sure why, because its not like i do a lot of night time driving.
oh yea, and i got my replacement red Hazard button ready to be installed. the Ebay seller was cool about it and sent a replacement quick with no questions asked.
on a random note....If anyone has a source for the coin holder that fills the blank plugs to the left of the steering wheel on the dash please reach out to me. honda civic and integra ones are too round and long i did some legwork after seeing the old thread of the member on here that was selling them, but have not been able to figure out what they were using. or maybe they were making them...idk. ill still keep digging, and if i figure it out ill share my findings.
HVAC and Cupholder lighting
Got around to putting in all the appropriate brightness bulbs in the Hvac and cupholder. The DIP LEDs are the perfect brightness, the triple and single cobs all were too bright. the only place there is a slight hot spot, is on the recirculating levers horizontal line that lights up, but its not too bad. exaggerated in the pic. i managed to soften the light by sanding the tip of the bulb flat to help diffuse it. i ended up changing out the cupholder light as the first blue triple LED one i used was also too bright. put in a White DIP LED, which matches the ambient floor lights pretty well. better than a blue one anyways. they are different colors, but just barely.
Honda Interior Illumination (Blue) - 08E10-TK6-100
I didnt want the ambient lights to be super bright, but they were definitely too dim out of the box. drilled holes in the caps that diffuse the light to allow more light to pass through, and now they are pretty much perfect. they are about 2-3 times brighter. i wish they were a bit more blue and brighter, but they are fine now. the color is actually a bit more mature and natural looking than a bunch of blue lights anyways. in the pics they look deep blue, but in person they are more of a soft white with a hint of blue. pretty much none of the colors in the pic are accurate. lol.
Radio Bezel and Upper Glove Box & Lower Power Panel
Got in a few more pieces for the dash. Gunmetal Grey '12-'13 Navigation Bezel/cage, and upper glove box. so far i have been running a spray painted black upper glove box to match my black Metra radio bezel. similar in color, but didnt quite match eachother, and the metra kit overall was decent, but it now has a couple of spots where the paint is starting to peel. I decided to replace both the radio bezel and upper glove box since they are so large and in your face. wanted a cleaner OEM look. also got in a new trim piece for the lower Power outlet panel since i had drilled a small hole in my original one for a phone mount, removed the mount, and plugged it with a skewer or something. i was debating on putting in a Honda USB port down there like other markets have, but decided against the loopy cable or usb drive sticking out of the lower dash . instead i plan to block off the usb cable hole in the upper glove box and dangle the cable in the back of the center cup holder cubby, where it will be out of the way and easier to access from the drivers seat.
Wrapping up this Honda shipment are a couple of Genuine oil filters for my now over due fluid change. gonna milk it out another month or 2 as temps are cold outside.
DRILLED DIFFUSER REVEALING LED
DRIVERS SIDE MOUNTED
NIGHT SHOT...EVERYTHING IS MUCH DIMMER IN PERSON
Last edited by eulogy; Jan 19, 2021 at 07:38 AM.
Reason: typos
So I needed a block off of some sort for my stock Usb cable hole in my upper glove box since I will be relocating the plug to the center cubby area. I knew not any old plug would do. I also knew I might want to warm up a Hot Pocket while driving. Luckily, Honda engineers have an answer with one silly mod (i know there is a dedicated fitfreak thread on this already)...the OEM Honda Upper Glove Box Refrigerator (& heater). Ive been trying to track one of these down for over a year. Yay.
Fridge Install
Ok...so after having to buy 10 feet of hose for 5 inches i have the fridge installed. Also hard as hell to install the hose in that tiny space.im actually surprised how much air blows into the upper glove box (with the passenger vent closed anyways). In reality i have zero use for this mod...but lets just throw a burrito in there for fun so it feels less pointless. Are jdm points still a thing?
I installed the new upper glove box lid, but not the new GPS bezel because it was scratched and im waiting for a replacement. Also need to decide which radio trim to use, since the Metra one is too small. I dont want to...but i might just make one because im not to fond of the Honda Pilot one other fitfreak members have used either. It appears to leave a gap and also have a curve i dont like.
And this bonus pic is for those wondering how much gas it takes to go from nearly empty to the very tipety top ready to spill gas down the side of ur car "FULL!!!!!" level. The fuel pump i was using was pumping slow as hell and didnt have the auto stop function working apparently. I thought the car took just under 11 gallons...so when it kept goin i stopped it to do a quick fuel capacity google thinking i was wrong and it takes just under 12? I stopped it 1 second before having it pour down the side of my car because when i took the nozzle out the fuel was right there. I was going to take a pic but envisioned my cheap phone malfunctioning, throwing a spark and blowing everthing up. For anyone that forgot as i did...the GE8 fuel capacity is 10.6 gallons.
This is my favorite thread on this whole dang forum. @eulogy you're the best. Your updates on this car makes my miata seem boring! I had no idea you could do this much to a Fit
This is my favorite thread on this whole dang forum. @eulogy you're the best. Your updates on this car makes my miata seem boring! I had no idea you could do this much to a Fit
Thanks,man! Glad u enjoy the thread...It means a lot!
I know ive said it before, but for me its less about the flex and more about giving back. Even though most times I usually have to dig pretty hard, this site has helped me out a ton with info and saved me loads if time. Not much of what i have done hasnt already been done before, but I still like to post info and part numbers as much as possible to hopefully help someone in the future.
Ps..ive been wanting a miata since they came out...lucky u! Got a link to a build thread?
Replaced Hvac LEDs
Two of the LED bulbs i put in the Hvac burnt out. wasnt expecting them to do so, so quickly. Also my air conditioner had just started acting up, and realized it was the dash switch. So in i went and put all OE incandescent dash bulbs back in and swapped out the AC switch with a spare OE one i had.
Replaced Radio Bezel
finally got around to putting the 11-12 GPS radio bezel in, so now it matches the new upper glove box. at first i was waiting for Honda to send me a replacement since the one they sent was scratched. then i couldnt decide on a new double din to buy to replace my several year old Pioneer double din that acts up in the winter and changes songs and screens randomly. well, now all of the radios are sold out everywhere, so who knows when that will get replaced. it works good enough for now. i ended up using the first scratched radio bezel that honda sent me, and will save the perfect condition one for when i replace the radio. i ordered and used the Metra 95-7861 trim kit for the Honda Pilot. the fit is ok, but nowhere near as good of a fit as the Metra bezel/trim kit made for the ge8. i just didnt like the color or finish on the Metra GE kit. with the Pilot trim piece on the OE Navi Bezel, the radio is recesses about 5mm. ill wait till i replace the radio before modifying anything to get a flush fit.
Oil Change
Changed the oil about a month ago, OE filter and Mobile1 high mileage 5w-20.
New Wipers
All of my wipers were torn.expected them to last longer. I replaced them a year ago with OE Honda ones. Cant say i didnt use them a few times in icy conditions though. but still. anyways, I replaced the fronts with some Bosch Micro Edge economy wipers, and the rear with another OE refill. i dont get too excited buying wipers. i saved the OE blades in case i want to refill them again, but i kinda prefer the look of the old school metal frame wipers anyways.
New Coilovers on order - BC Racing
Decided to pull the trigger on some new coilovers, and OE upper strut mounts/ strut bearings. Was never really happy with the handling of the Tein Street Basis Zs. they dont ride bad, and they have been quiet this whole time which is a plus, but they always felt too soft. 3 years later and they feel extra soft. which i suppose translates to comfortable. not the feel im looking for though. riding on them fully dropped looks great, but smacking the bumpstops regularly has gotten old, especially on my now longer work commute. i knew i wanted more travel, stiffer springs, and adjustable shocks/struts. was considering Cusco coilovers, but they just cost too much, especially with shipping prices and times right now. decided to give BC Racing a try. another deciding factor was factory location in the event i have to replace a blown shock etc.
I went with 7k front/ 6k rear spring rates
By default BC recommends 5k front/ 3k rear.
for reference, Tein Street Basis are 3k front/ 2k rear.
stock is suppose to be 1.7k front/ 2k rear.
Ordered Clazzio seat covers yesterday. Was contacted today and told grey stitching is +$100. Went with all black instead. See ya in 8-10 weeks!
Also contacted by shop i ordered the Bc racing coilovers from and told they will take 6 weeks.
On another note, i noticed i had a screw in my back tire while getting in the car to go to work this morning. Plugged it after work. Not sure why I use to waste my time with Discount tire for this service. So quick, cheap, and easy. Had the plug kit in my car for a couple of years now. 15 minutes later i was done. Would have been quicker if it was the front tire...i had to remove the rear wheel to get to the screw.
My door panel's fabric has began fading to a purple color on the top edge thats exposed to the sun. i ordered some black "jersey fabric" from ebay which can be referenced in this thread...
I thought it would match the Clazzio seat covers I have on order. I didnt hate the Oem fabric pattern, but I wasnt fond of it either. I almost ordered some all black synthetic leather material to match the seats (pic below), but wanted something more neutral in the event i take the Clazzio covers off.
I also have a crack on the back corner of my drivers side arm rest that has been growing, so i will address this too. The plastic is Polypropylene (PP) in case anyone is wondering. pita to glue anything to, but will try some Loctite Plastic glue tomorrow that is suppose to work on PP.
Today I pulled off the door panel to assess the crack, and decided to try grinding off the melted plastic "buttons'' holding the top and bottom door panels together to see how much it is going to suck. wasnt bad at all. was expecting much more work and mess. I fully committed and ripped off the original fabric.
plan is, tomorrow i will buy some glue for the crack, spray adhesive for the new fabric, and some screws and washers to reattach the upper and lower panels back together. the new jersey fabric is suppose to be here Saturday, so in the mean time i will prep the other 3 doors.
VIEWS OF THE CRACK IN THE BACK CORNER OF THE ARMREST - DRIVERS SIDE
well that took longer than i wanted. but its done. not a hard job, but time consuming.
fixed the drivers side crack with some Loctite Plastic Bonding system yesterday, and let dry over night. seems to work pretty good. glued some extra plastic from a milk container to the bottom side for reinforcement.
got the Jersey material in midday today. at first was disappointed. i wasnt expecting it to be so thin. it is literally see through. when i mocked it up on the door panels i could see the brown underneath. just barely, and in direct sunlight. but i could see thru it. i knew this would bother me. i thought it was going to be thicker and textured. its thin and.... spongy? i spray painted one of the door panels flat black to see if it looked better with the jersey material on it. much better....so i decided just to give it a try. pretty sure if i decide to take it off its going to rip all to hell and make a mess since its so thin.
sprayed with 3m 90, attached material, reassembled door panel with screws and washers. hot glued the foam pieces back in and put a drop of glue on each screw to help with vibration. reinstalled panels back in the car. came out better than i thought, but still wish material was thicker and more dense. looks a ton better than the factory fading color/pattern. they are a bit shiny too, which i also wasnt expecting, and not sure i liked at first, but i guess makes sense for them to be shiny, since the interior plastics are shiny after i clean them.
overall im pretty happy. they kinda grew on me as i was installing them. they are a small portion of the interior, but they made it feel a lot different and modern. curious if the holes are going to hold dirt or weird things. lets see how long they hold up.
Plastic Glue for Polypropylene (PP)
thinner than expected jersey door insert
spray painted door panels with flat black so wont see brown thru jersey material holes. more or less works good enough in this application. first of 2 coats of spidey web. sprayed backside of jersey inserts too. fabric applied. got a bit of glue over spray towards right edge. can be cleaned off quickly with rag and rubbing alcohol...before glue dries!
screws with washers to reattach. careful not to screw thru frontside!