
DIY: Innovative MM install/review on MT Trans GD3

Ok, let me first say a little about my experience with "Innovative" the company and these mounts. First I had to have these "special ordered" which was 2 weeks from when they would ship from Innovative because I ordered custom 75A urethane on all of them. No problem, but I would expect them to have been looked after before shipping out. When I got them I was on vacation out of state and had them delivered there. I gave them a quick look over and was very impressed with initial quality and even the effort they put into the box they ship in. Each motor mount was sealed in a plastic bag and had its own cradle in the box sized perfectly.
When I was home and got into the install I gave these new mounts a closer look and noticed that the shank that sits in the urethane bushing on the 2 drivers side mounts was a bit short on ether side by about 1/4".
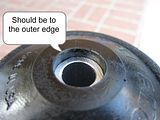
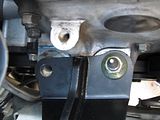
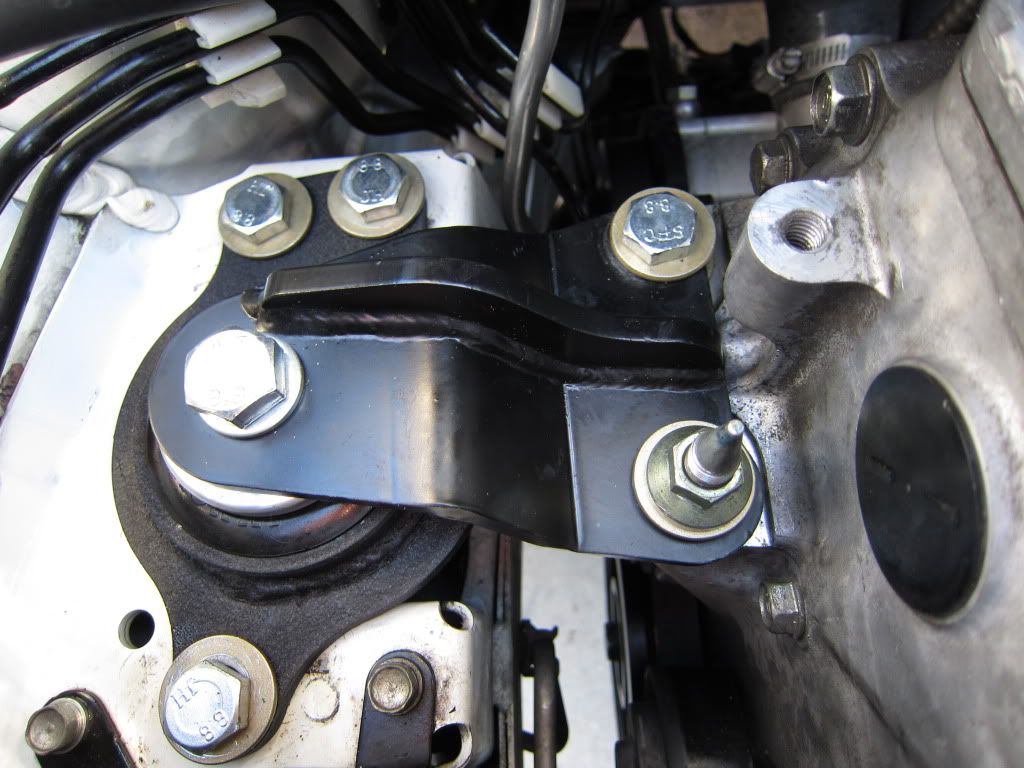
I didn't worry about it to much because the design of these is so much different than the stock mounts. I had no issue with the rear most drivers side mount going in but made a note that it could be "crushed" from over tightening. On the top drivers side mount is where I ran into a problem because of the shank being to short or the urethane being molded to wide. There was just no possible way to get it to sit into the aluminum outer second part of the mount shown here:
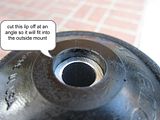
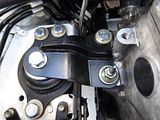
To get the mount to fit I had to use an hobby knife to bevel both ends of the bushing shown here:
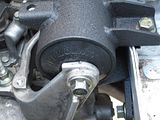
Again I had to make sure this bolt wasn't over tightened or it would be pulling the outer aluminum mount into the innovative mount and probably break the outer part.
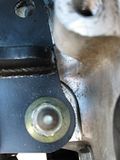
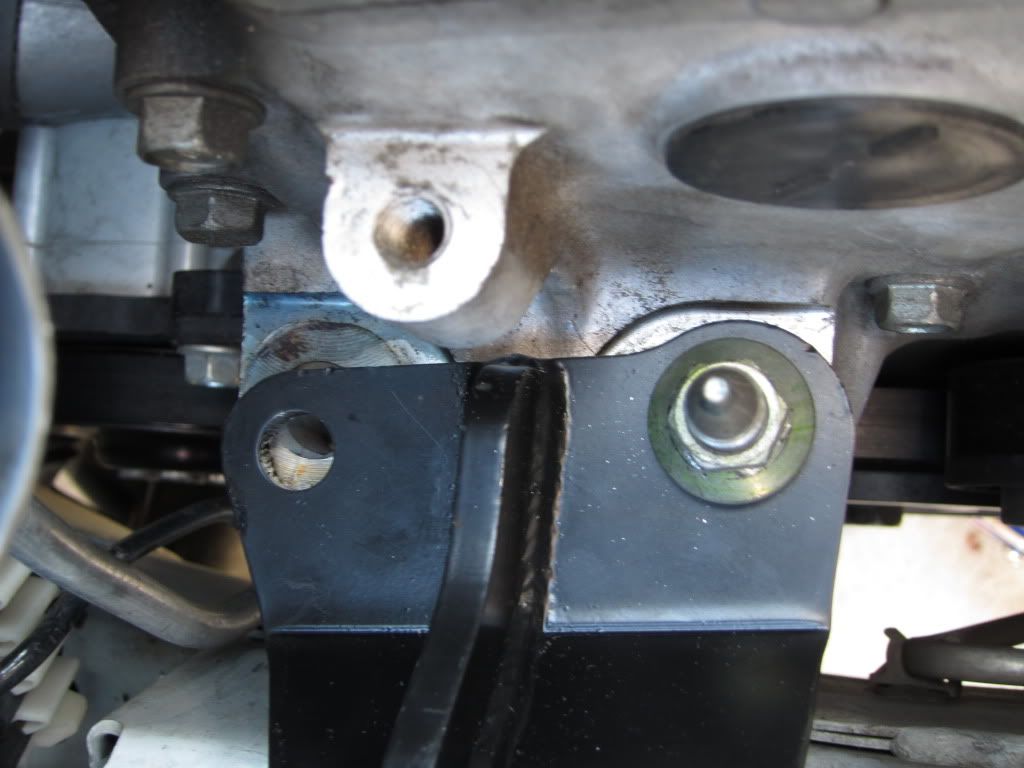
On the original passenger side mount there is a stud that is part of it and the other stud is threaded into the engine block. I re-checked the box to see if I was missing some hardware but there was nothing included. I looked on the Innovative site and hardware is listed. Also you can see that I ran into fitment issues with this drivers side mount with out the hardware here:
I called them to see what the deal was with all these issues. I told the guy over the phone about all these problems and missing hardware and in an apologetic way said to bring them in. Mind you my car is sitting on jack stands stranded with 2 jacks supporting the engine and trans! They are just under 1 hour away from me and I would have hit traffic so I call back and they were closed 15min from when I first called! I left a voice mail with them and left e-mail explaining the issues. I have still not heard from them!!! I ended up getting hardware after work at True value here:
I decided to ditch the OEM upper bracket that is re-used on the innovative mount. factory mount was aluminum, this is a thick piece of steel so IMO its not needed. grade 8 12mm zinc coated bolts were used non-metric grade 8 yellow zinc washers were used as that was all that was available. 2 larger washers were used under the mount onto the engine that cant be seen.
Final thoughts: For the price Innovative charges for these I expect them to come complete or at the very least for them to make it right ASAP when someone has a problem! Between the no hardware and the short shank, These are sub-par quality for the price IMO. Bottom line f**k this company and their product because of there customer service! I'd beg anyone to not buy/support them but unfortunately they are the only option as far as I know to offer mounts for the GD3. I hope others receive a better product than I did that is at least complete...")
For most of the install follow this:https://www.fitfreak.net/forums/fit-...nnovative.html
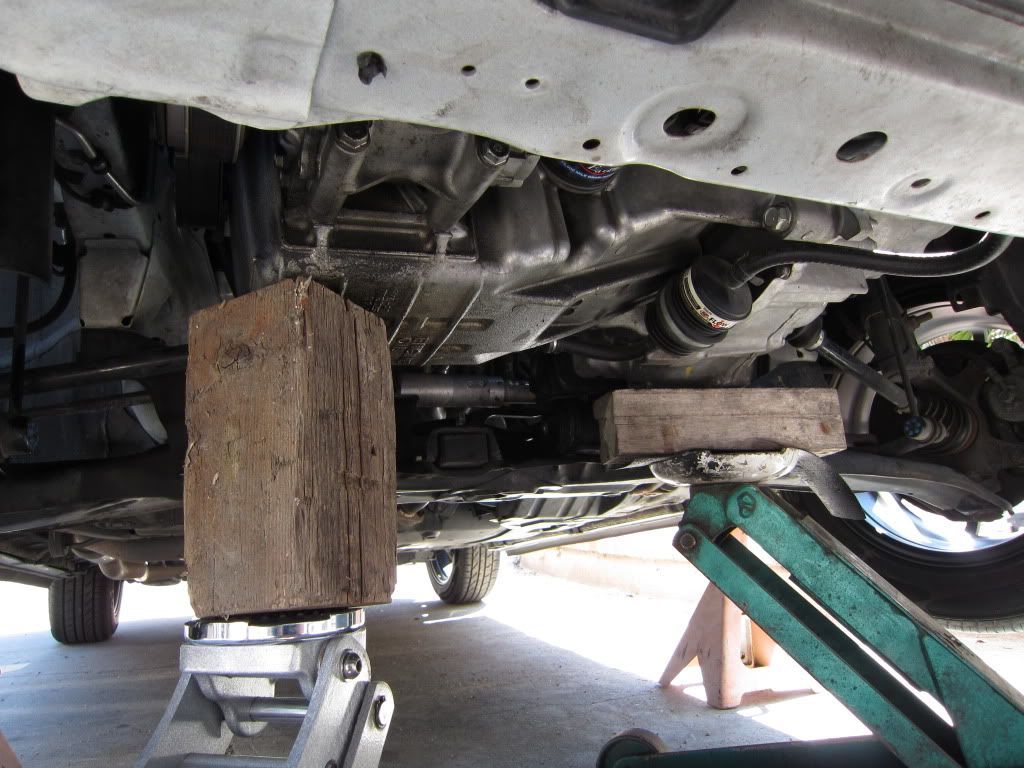
Only thing different for the MT is you will need no less than 2 Jacks to remove/install the rear mount.
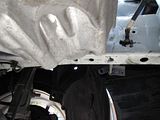
First place the jacks here:
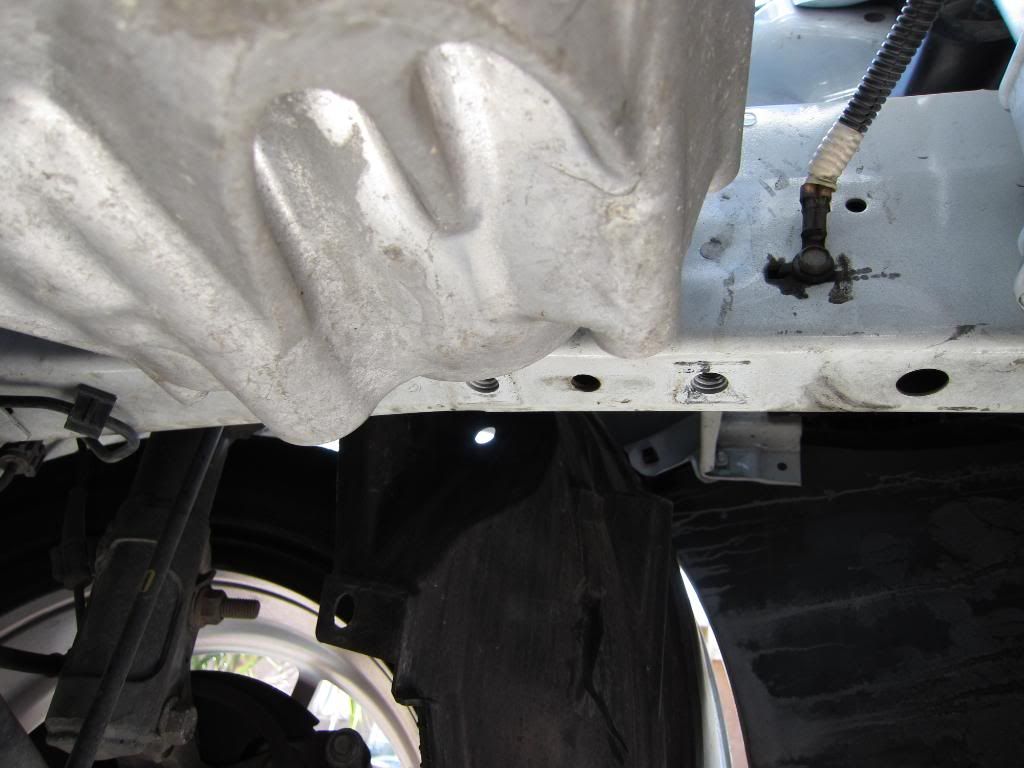
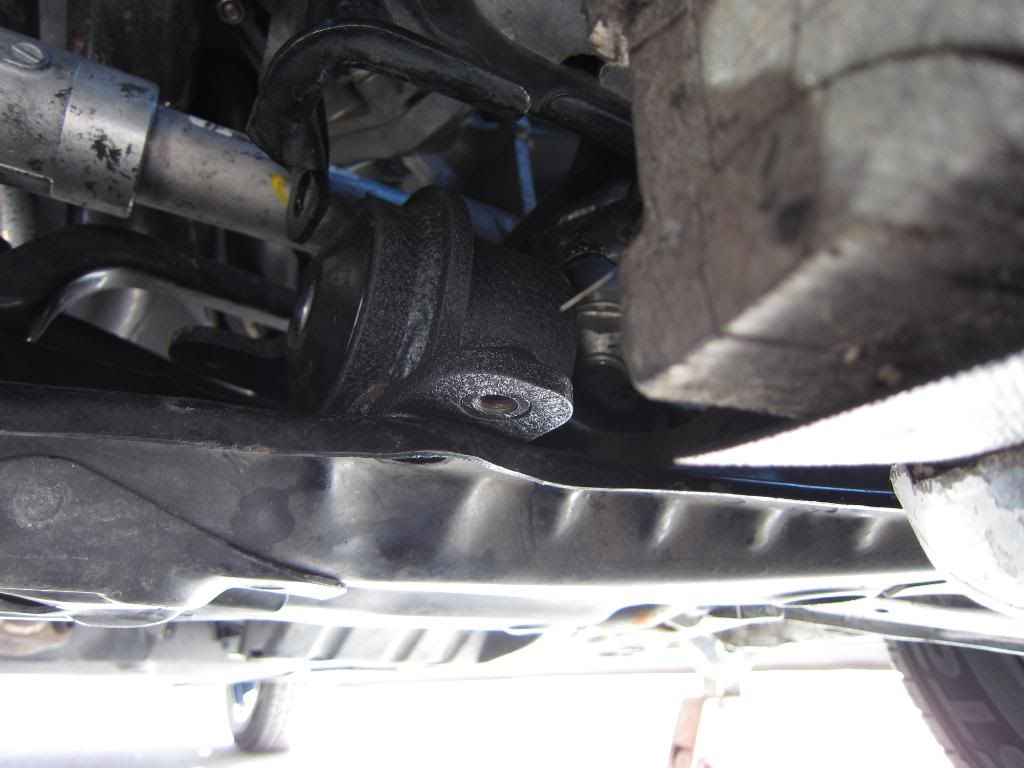
Remove the front and top trans mounts completely. Remove the front trans mount arm as it will stop against the frame when you jack the engine/trans up completely. The part is removed and you can see what I'm talking about here:
Take the 3 bolts out of the passenger side mount on the body as well but leave the 2 bolts/mount attached to the engine block. This will let you jack the motor up but it will still stop it from coming down to far as the mount will sit in the frame and stop it.
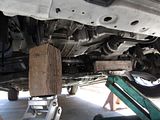
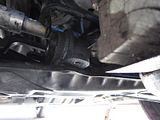
Jack up the motor/trans like shown here:
You will now have access to get the old mount out and the new wider/bigger one in! Once you get that mount in go ahead and bolt it up completely and run the bolt through it that attaches it to the trans.
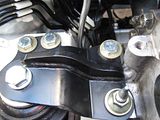
With the rear mount in, move on to the passenger mount and get it into place. Start threading all bolts/nuts but leave them loose so you can move the engine trans around if needed to get the top drivers side in. Assemble the aluminum portion onto the new Innovative mount out of the car then install as one unit shown here: (3 bolts hold it to the trans and 3 bolts hold the new mount to the body)
Go ahead and tighten the passenger side mount down completely now. Last thing to do is re-install the OEM lower front drivers side mount and bracket back on. Do the bracket then the mount to it then the 2 bolts to the body. Install the battery, tray battery, air box and under tray.
You are done go drive!
When I was home and got into the install I gave these new mounts a closer look and noticed that the shank that sits in the urethane bushing on the 2 drivers side mounts was a bit short on ether side by about 1/4".
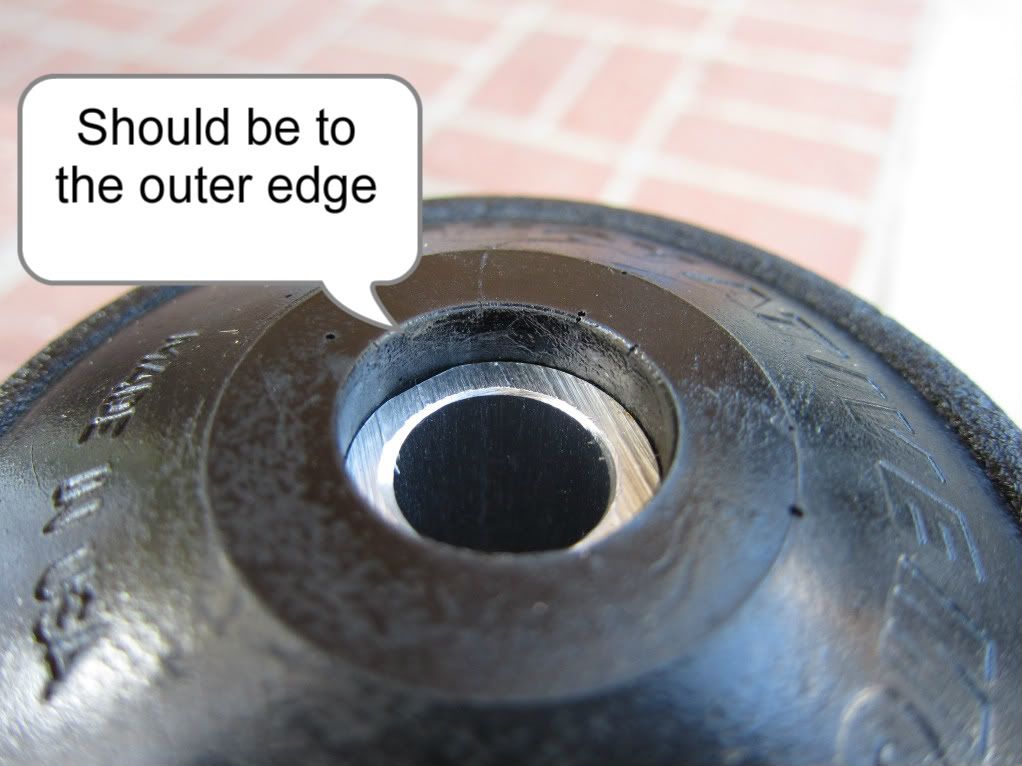
I didn't worry about it to much because the design of these is so much different than the stock mounts. I had no issue with the rear most drivers side mount going in but made a note that it could be "crushed" from over tightening. On the top drivers side mount is where I ran into a problem because of the shank being to short or the urethane being molded to wide. There was just no possible way to get it to sit into the aluminum outer second part of the mount shown here:

To get the mount to fit I had to use an hobby knife to bevel both ends of the bushing shown here:

Again I had to make sure this bolt wasn't over tightened or it would be pulling the outer aluminum mount into the innovative mount and probably break the outer part.
On the original passenger side mount there is a stud that is part of it and the other stud is threaded into the engine block. I re-checked the box to see if I was missing some hardware but there was nothing included. I looked on the Innovative site and hardware is listed. Also you can see that I ran into fitment issues with this drivers side mount with out the hardware here:

I called them to see what the deal was with all these issues. I told the guy over the phone about all these problems and missing hardware and in an apologetic way said to bring them in. Mind you my car is sitting on jack stands stranded with 2 jacks supporting the engine and trans! They are just under 1 hour away from me and I would have hit traffic so I call back and they were closed 15min from when I first called! I left a voice mail with them and left e-mail explaining the issues. I have still not heard from them!!! I ended up getting hardware after work at True value here:
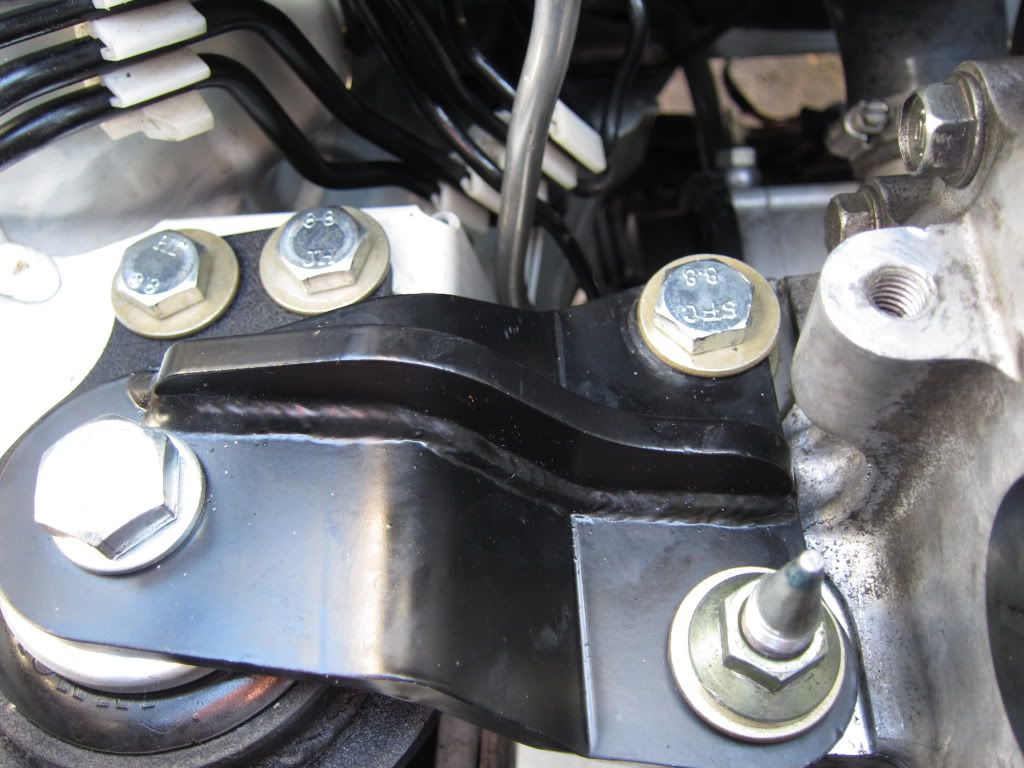
I decided to ditch the OEM upper bracket that is re-used on the innovative mount. factory mount was aluminum, this is a thick piece of steel so IMO its not needed. grade 8 12mm zinc coated bolts were used non-metric grade 8 yellow zinc washers were used as that was all that was available. 2 larger washers were used under the mount onto the engine that cant be seen.
Final thoughts: For the price Innovative charges for these I expect them to come complete or at the very least for them to make it right ASAP when someone has a problem! Between the no hardware and the short shank, These are sub-par quality for the price IMO. Bottom line f**k this company and their product because of there customer service! I'd beg anyone to not buy/support them but unfortunately they are the only option as far as I know to offer mounts for the GD3. I hope others receive a better product than I did that is at least complete...
For most of the install follow this:https://www.fitfreak.net/forums/fit-...nnovative.html
Only thing different for the MT is you will need no less than 2 Jacks to remove/install the rear mount.
First place the jacks here:
Remove the front and top trans mounts completely. Remove the front trans mount arm as it will stop against the frame when you jack the engine/trans up completely. The part is removed and you can see what I'm talking about here:
Take the 3 bolts out of the passenger side mount on the body as well but leave the 2 bolts/mount attached to the engine block. This will let you jack the motor up but it will still stop it from coming down to far as the mount will sit in the frame and stop it.
Jack up the motor/trans like shown here:
You will now have access to get the old mount out and the new wider/bigger one in! Once you get that mount in go ahead and bolt it up completely and run the bolt through it that attaches it to the trans.
With the rear mount in, move on to the passenger mount and get it into place. Start threading all bolts/nuts but leave them loose so you can move the engine trans around if needed to get the top drivers side in. Assemble the aluminum portion onto the new Innovative mount out of the car then install as one unit shown here: (3 bolts hold it to the trans and 3 bolts hold the new mount to the body)
Go ahead and tighten the passenger side mount down completely now. Last thing to do is re-install the OEM lower front drivers side mount and bracket back on. Do the bracket then the mount to it then the 2 bolts to the body. Install the battery, tray battery, air box and under tray.
You are done go drive!
Last edited by lcq4blackstar; Apr 20, 2012 at 06:00 PM.
Same as the 80a stock ones I made. Did you make yours from my old how-to? The center shanks on both drivers side mounts broke loose from the urethane. I used the proper primer and everything, I'll try and put up some pic's of my old ones.
i went the cheap route and did window weld... i've only replaced the front trans mount so far, and once i'm driving the car full time, and not my wife, i'll replace the bottom rear one as well...
don't think i'm going to replace the side mounts... i'm largely staying stock, and the front and rear ones do most of the "pitch control" anyway...
that's creepy about the urethane not holding up... i would've thought they would've been good for a long time...
don't think i'm going to replace the side mounts... i'm largely staying stock, and the front and rear ones do most of the "pitch control" anyway...
that's creepy about the urethane not holding up... i would've thought they would've been good for a long time...
i got an extra set of mounts, and i got busy, so my windowweld-filled mounts had over a month to dry... i think that's about the only way to do it unless you fill a little bit and let it cure... then put in some more and let it cure... etc... a pain for sure...
at least you finally got a set of mounts in that will hopefully stay nice for a while...
at least you finally got a set of mounts in that will hopefully stay nice for a while...
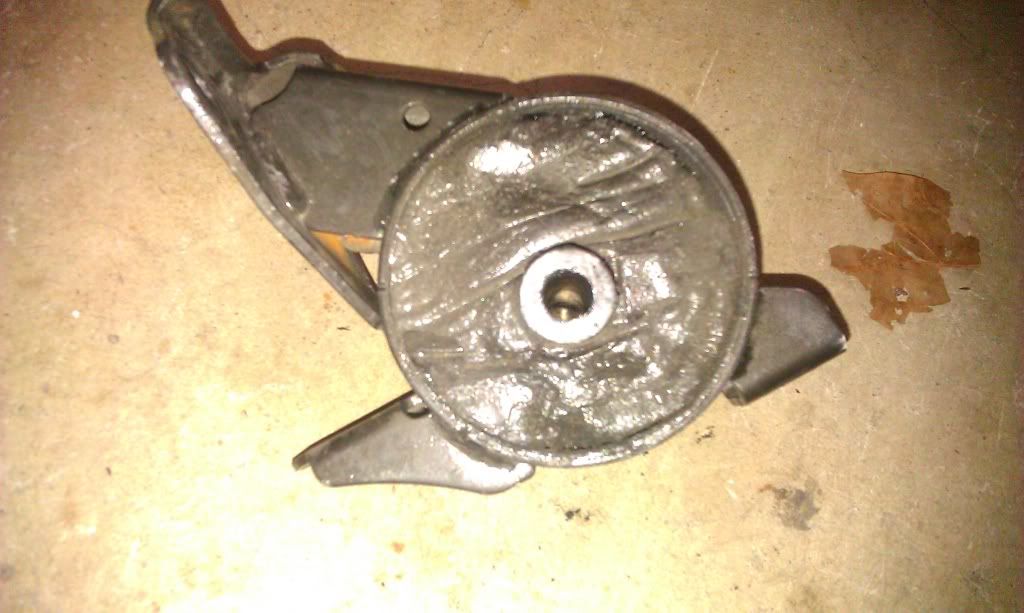
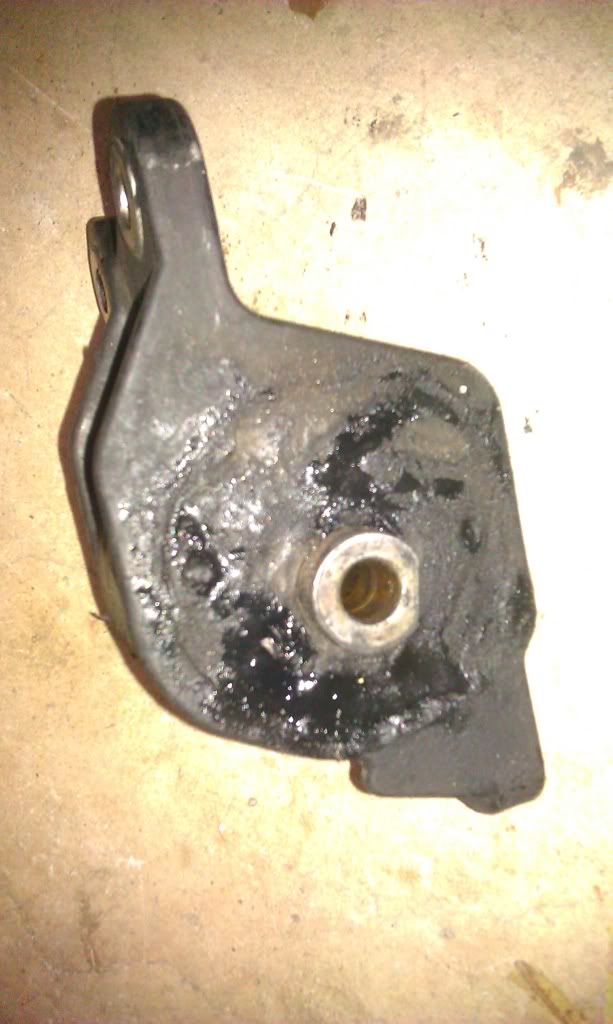
Here are the 2 mounts that failed. It may be hard to see but the center shank broke loose on both.
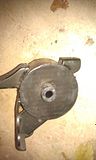

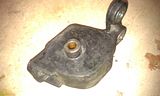

The smooth side is the urethane and the bad looking side is where I had to fill the rest up with "window-weld".
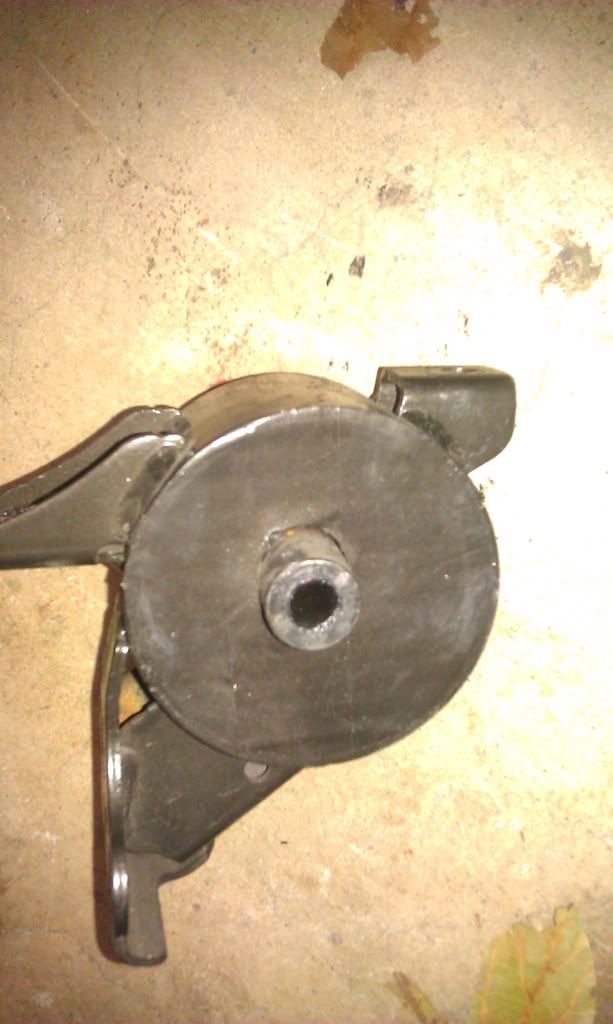

The smooth side is the urethane and the bad looking side is where I had to fill the rest up with "window-weld".

I have dura mix and the gun to fill the mounts with .. Koi used this method on one or two of his mounts.. It drys and cures fast.. If I can get my brain and body syncronised for a couple of hours a day I'll be getting around to getting this and many more things done. I am debating the need for a weaponR Race header since I'm installing their intake manifold.
I have dura mix and the gun to fill the mounts with .. Koi used this method on one or two of his mounts.. It drys and cures fast.. If I can get my brain and body syncronised for a couple of hours a day I'll be getting around to getting this and many more things done. I am debating the need for a weaponR Race header since I'm installing their intake manifold.
FYI I've got a DIY on it somewhere on the forum.
Texas look up my DIY!
https://www.fitfreak.net/forums/fit-...on-mounts.html
Last edited by lcq4blackstar; May 7, 2012 at 06:03 PM.

I know tho sis an old thread but I had even worse luck with my Innovative mounts I just bought. All the mounts didn't line up and there was no hardware. WTF! Completely agree for the price paid the fitment should be spot on.
Member
Joined: Mar 2008
Posts: 447
From: Central FL

I'm a bit surprised after this amount of time the problems are still there. I guess innovative just doesn't give a damn.

Thread
Thread Starter
Forum
Replies
Last Post
evilchargerfan
Fit Suspension & Brake Modifications
11
Sep 28, 2019 06:28 PM
lcq4blackstar
Fit Engine Modifications, Motor Swaps, ECU Tuning
8
Jul 13, 2011 06:04 PM