


Yellow fog light vinyl film Installation, questions, answers


so i got the drivers side out, after 2 hours messing around with the bulb and the clip. i gave up for the day. (and put the drivers side back on, watch i wont get it off again.) is there some sort of trick to this. i took the fender lining off and the splash gaurd underneather. i have plenty of room to work with, the bulb just wont twist out. and the clip is nearly impossible to remove. thats how i got the other 1 off, i poped a screwdriver in and it unclipped. this side wont do that....is there some kind of trick to this? i can pop a motor in.... but i cant take foglights off.... very fustrating...


Member

Joined: May 2009
Posts: 211
From: Western NY
Put the films on yesterday. Glad we did the wet method, as we had more time to get the placement right.
For the 09's, there's 1 10mm screw in the upper corner of the housing. Take that out, then swing the foglight out. The side closest to the grille swings toward the fenders a couple inches, then you're able to pull the foglight out. Take off the clip for the bulb, and the foglight is free. To get to the light, take out the three screws holding the housing to the light.
Installation is the same as removal. After re-assembling the light and housing, re-connect the bulb sockets. Then, angle the foglight just like you took it out, then slide it back in a couple inches. Push the inside corner in. This should make the outside clips catch, and get the single inside clip to catch. You'll know it's clipped in when the foglight can be gently wiggled without moving much. Don't forget to put back the 10mm screws to finger tight.
This is posted as a guide for foglight removal on the 09's, we take no responsibility for any damages incurred following this guide.
For the 09's, there's 1 10mm screw in the upper corner of the housing. Take that out, then swing the foglight out. The side closest to the grille swings toward the fenders a couple inches, then you're able to pull the foglight out. Take off the clip for the bulb, and the foglight is free. To get to the light, take out the three screws holding the housing to the light.
Installation is the same as removal. After re-assembling the light and housing, re-connect the bulb sockets. Then, angle the foglight just like you took it out, then slide it back in a couple inches. Push the inside corner in. This should make the outside clips catch, and get the single inside clip to catch. You'll know it's clipped in when the foglight can be gently wiggled without moving much. Don't forget to put back the 10mm screws to finger tight.
This is posted as a guide for foglight removal on the 09's, we take no responsibility for any damages incurred following this guide.

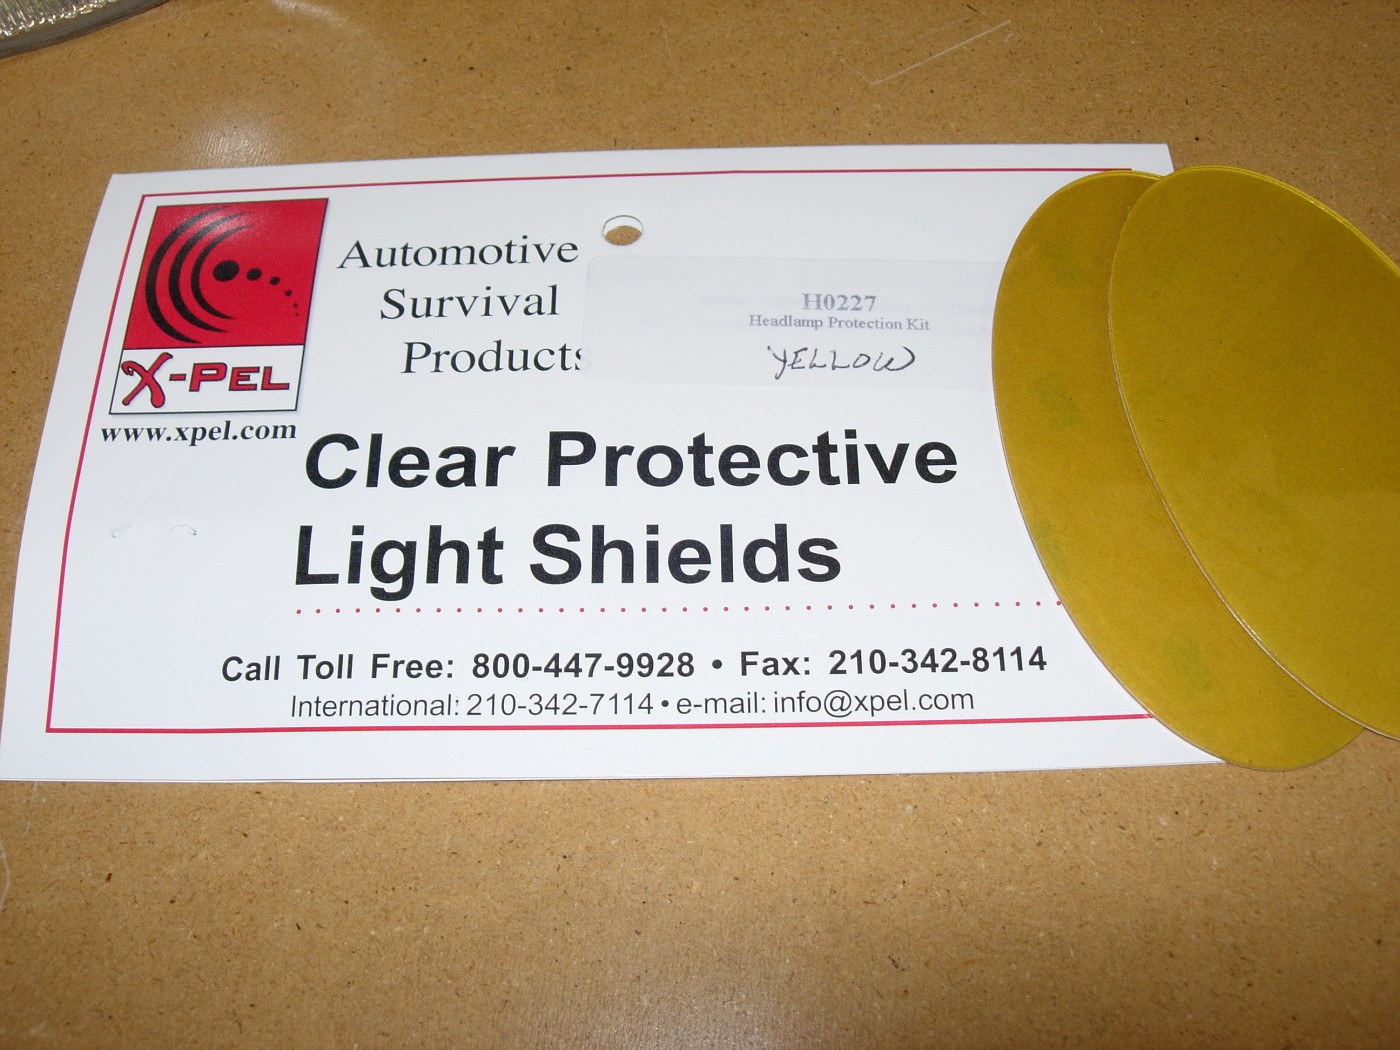
I ordered a kit from X-Pel - (H0227) - specifically pre-cut for the Fit fog lights. Extremely easy install, I like the look! (And feel better now that I know I'm protected from those rocks that may damage them.)
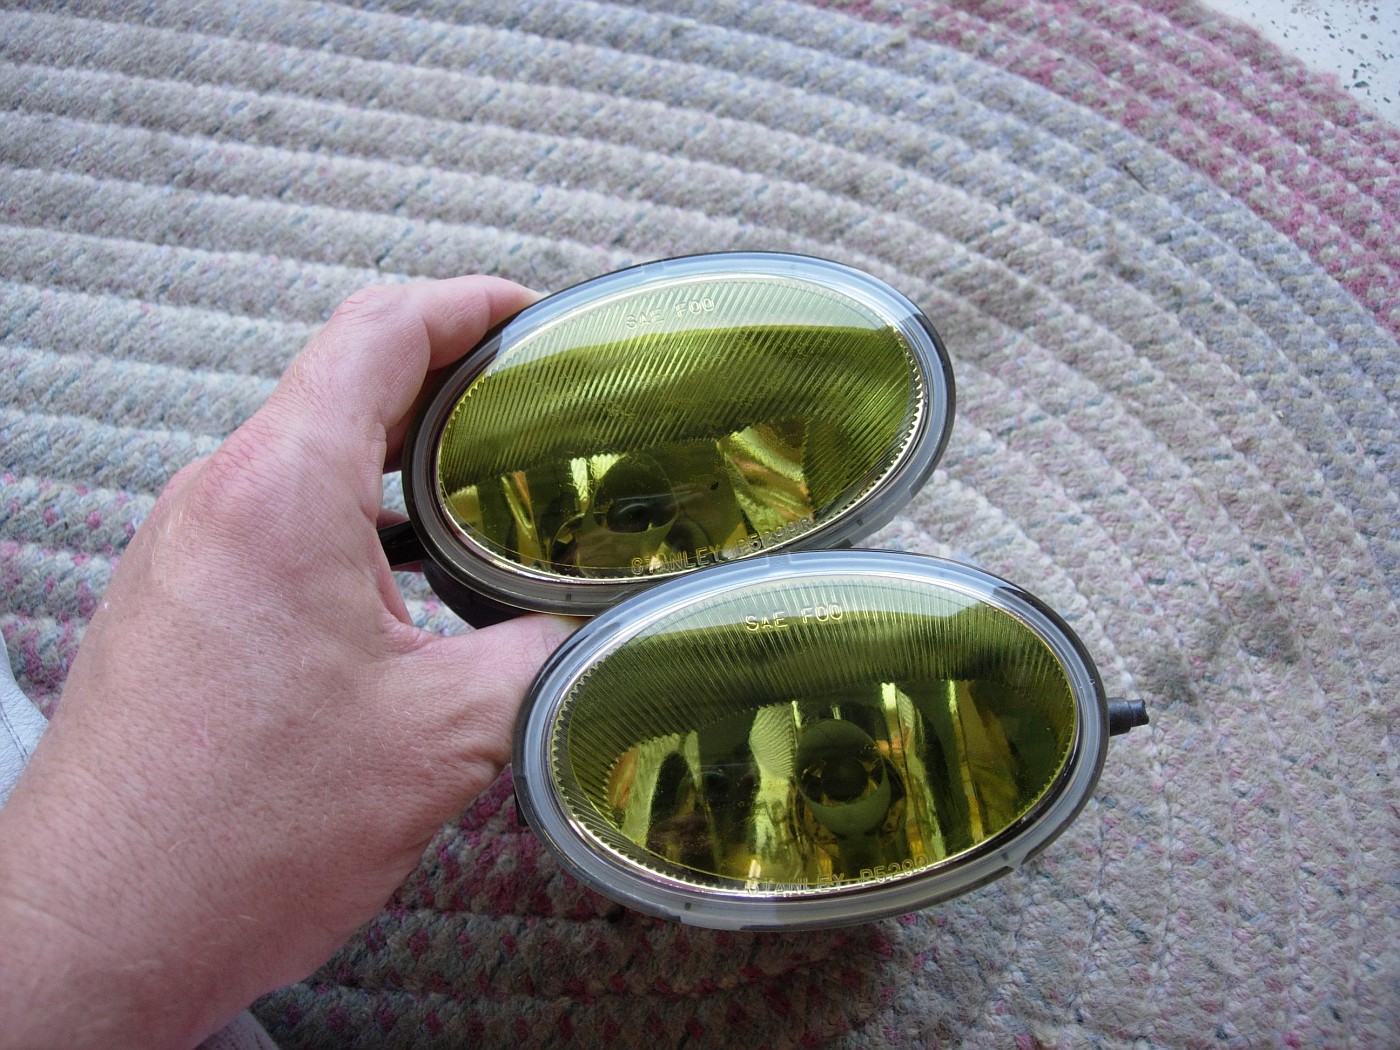
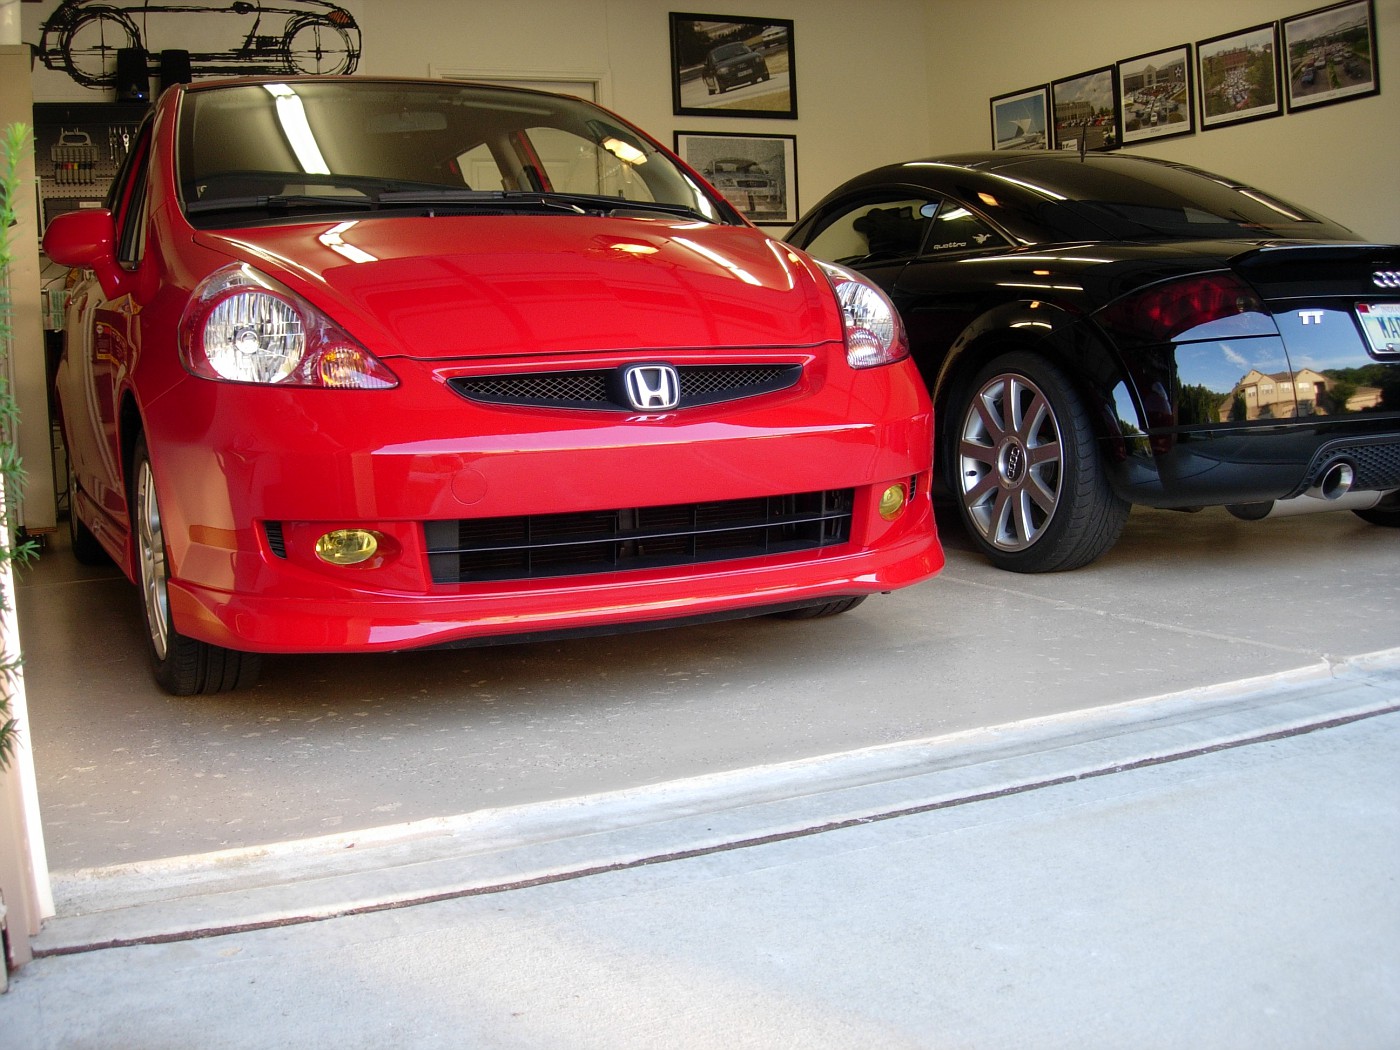
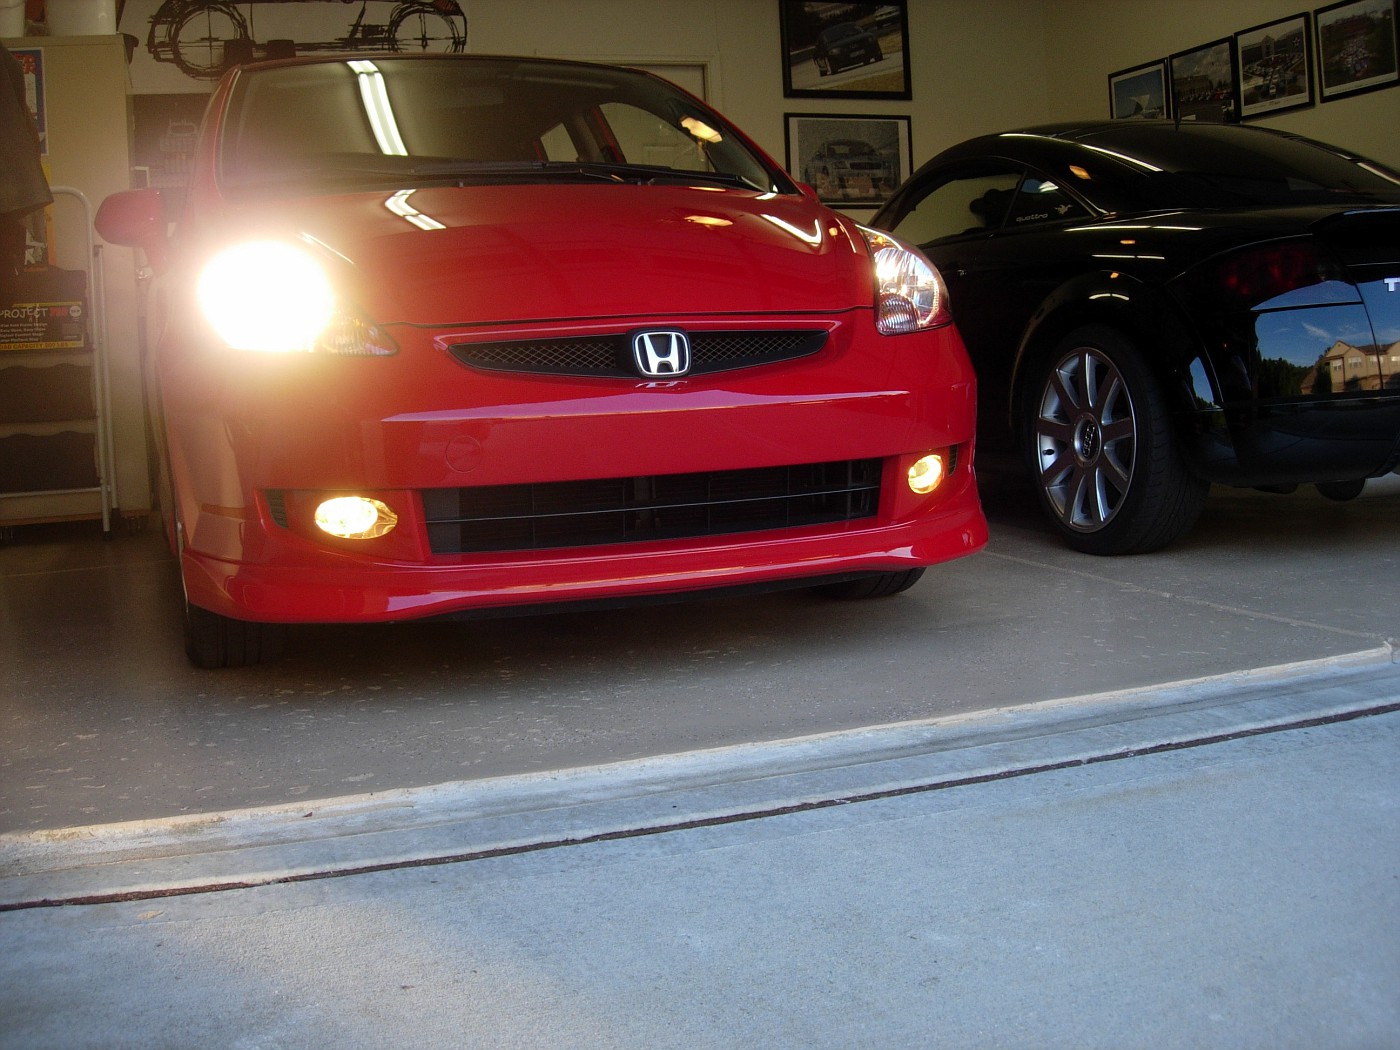
More photos with instructions here.
More photos with instructions here.
sup how much does the kit cost? i want like a set of 5 pre cut for the fog lights
Member
Joined: Feb 2009
Posts: 174
From: New Jersey
go with both film and bulbs. thats what i did, the lights are protected, the look hot when off, and on.
Well people are saying the film will burn with aftermarket bulbs. I'm just wondering how long does the film last with some PIAA bulbs. I don't mind changing the film every other month but if it lasts a week then no thanks.
If the PIAA are 55watt they will last for about year or more it depend on the how thick the vinyl are....for me it has been over 2 years now with the film and stock bulb....
Member
Joined: Feb 2009
Posts: 174
From: New Jersey
i have 55 watt yellow bulbs with yellow lamin-x film. its been 7 months since ive had them in, and no signs of any burns. they do get hot, but all is going well. i have never actually felt the stock bulbs, so i cant tell you exactly how much hotter they get. just when you put the film on make sure you do it right and dont cover the entire lens
OH btw i have both the yellow and clear precut films for the 09. let me know if u want a set. For the precut pieces, it's $10 shipped. cheaper then ANYBODY.
i have 55 watt yellow bulbs with yellow lamin-x film. its been 7 months since ive had them in, and no signs of any burns. they do get hot, but all is going well. i have never actually felt the stock bulbs, so i cant tell you exactly how much hotter they get. just when you put the film on make sure you do it right and dont cover the entire lens
Last edited by koolkevin1107; Jul 16, 2009 at 05:36 PM.
Member
Joined: Feb 2009
Posts: 174
From: New Jersey
buy em from kev. for the price, and the gaurenteed perfect fit, you cant beat it.

Member
Joined: Feb 2008
Posts: 46
From: laguna hills
80watt fogs and xpel film do not mix!!!! just went through my second set of yellow film. I am gonna go for the piaa bulbs and order some more film, I just hate wasting money like this. You live and you learn.

Member
Joined: May 2009
Posts: 211
From: Western NY
The Xpel films already protected the foglights on J's Fit. Debris flew out of a truck and smashed into the foglight. The lens cracked, and there are pieces of lens inside the housing. The film is holding everything together, and doing just fine! It's even been through the carwash a bunch of times and is water-tight. We're not worrying about the foglight, needless to say.
Get the films, they work!
Get the films, they work!

Put the films on yesterday. Glad we did the wet method, as we had more time to get the placement right.
For the 09's, there's 1 10mm screw in the upper corner of the housing. Take that out, then swing the foglight out. The side closest to the grille swings toward the fenders a couple inches, then you're able to pull the foglight out. Take off the clip for the bulb, and the foglight is free. To get to the light, take out the three screws holding the housing to the light.
Installation is the same as removal. After re-assembling the light and housing, re-connect the bulb sockets. Then, angle the foglight just like you took it out, then slide it back in a couple inches. Push the inside corner in. This should make the outside clips catch, and get the single inside clip to catch. You'll know it's clipped in when the foglight can be gently wiggled without moving much. Don't forget to put back the 10mm screws to finger tight.
This is posted as a guide for foglight removal on the 09's, we take no responsibility for any damages incurred following this guide.
For the 09's, there's 1 10mm screw in the upper corner of the housing. Take that out, then swing the foglight out. The side closest to the grille swings toward the fenders a couple inches, then you're able to pull the foglight out. Take off the clip for the bulb, and the foglight is free. To get to the light, take out the three screws holding the housing to the light.
Installation is the same as removal. After re-assembling the light and housing, re-connect the bulb sockets. Then, angle the foglight just like you took it out, then slide it back in a couple inches. Push the inside corner in. This should make the outside clips catch, and get the single inside clip to catch. You'll know it's clipped in when the foglight can be gently wiggled without moving much. Don't forget to put back the 10mm screws to finger tight.
This is posted as a guide for foglight removal on the 09's, we take no responsibility for any damages incurred following this guide.
I had trouble getting them disconnected from the wiring. I used a small flat screwdiver and inserted it. It depresses the catch and they slip right off.
Washing at the kitchen sink is good and when in the kitchen sit down at table to do the vinyl. You fogs are at room temp then. It is in the 50s here today. It is easy to hold them and sloooooowly work the vinyl from the center outwards. Take 5 minutes instead of two. I have only the odd tiny tiny bubble.
These are Kool Kevs vinyl.
The pics eh
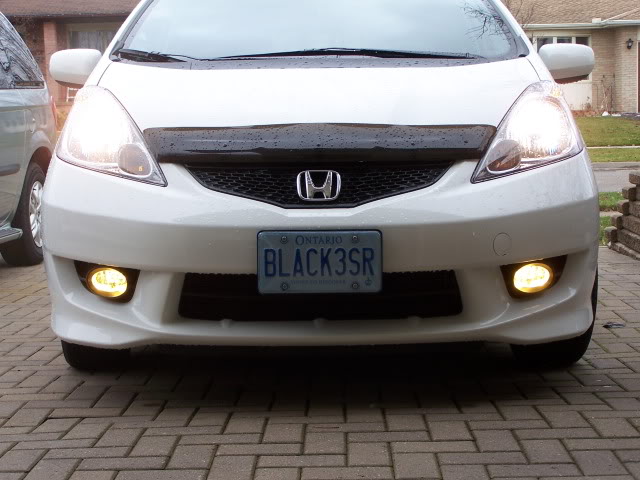
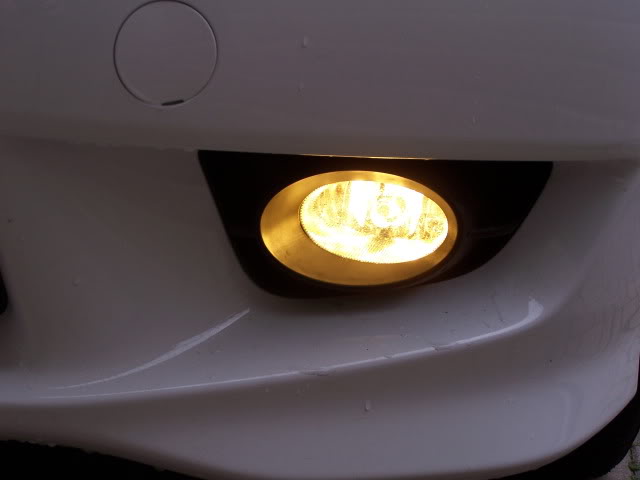
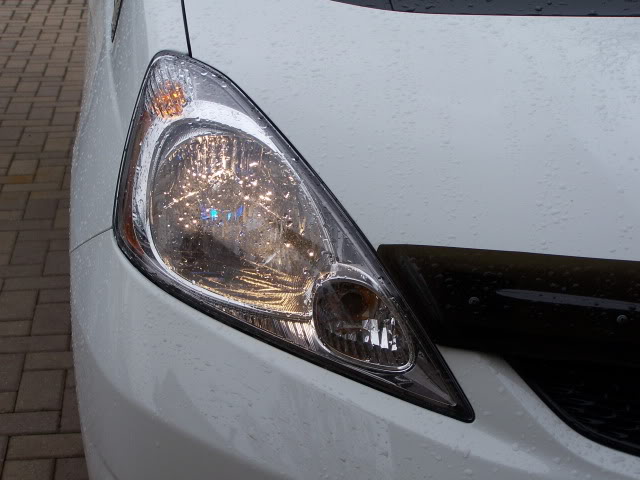
I added this one as it shows the blue in my white Nighthawks. They work well - Crappy Tire purchase that they are flogging on TV here.
Member
Joined: Jul 2009
Posts: 837
From: Atlanta, GA
After procrastinating for a long time, I finally got around to this mod today; it could hardly be easier, and because the foglight itself is larger than the plastic housing, cutting a piece of protective film to fit isn't critical, as you can't see the edge. I used this stuff: 14 Mil Headlight Shield. It's also available in a 60 Mil thickness, but the thicker film may be more difficult to conform to a compound curve. The only thing I would add to the procedure is cut small V notches at 0.5" intervals around the perimeter of the film before applying.
I've been using this stuff on motorcycle headlights for more than 10 years, and I can state from experience that it won't discolor, and that it's easy to remove after many years, without leaving any trace of gummy adhesive behind. Three summers ago, I rode 11,000 miles to Alaska and back, and my headlight survived intact, despite about 150 miles of gravel roads at 50-60 mph. Great stuff.
I've been using this stuff on motorcycle headlights for more than 10 years, and I can state from experience that it won't discolor, and that it's easy to remove after many years, without leaving any trace of gummy adhesive behind. Three summers ago, I rode 11,000 miles to Alaska and back, and my headlight survived intact, despite about 150 miles of gravel roads at 50-60 mph. Great stuff.