
2003 Honda CBR 600RR First time detailed since 2003

2003 Honda CBR 600RR First time detailed since 2003
Hey to all my FitFreak people out there
 I havn't seen you guys in forever! Ive been Crazy busy getting my business going and it it GOING good. anyways here is my last detail.
This bike was my first full detail in the motorcycle category. My client wanted it to look brand new, so I striped this bad boy down and got into the nitty and the gritty.
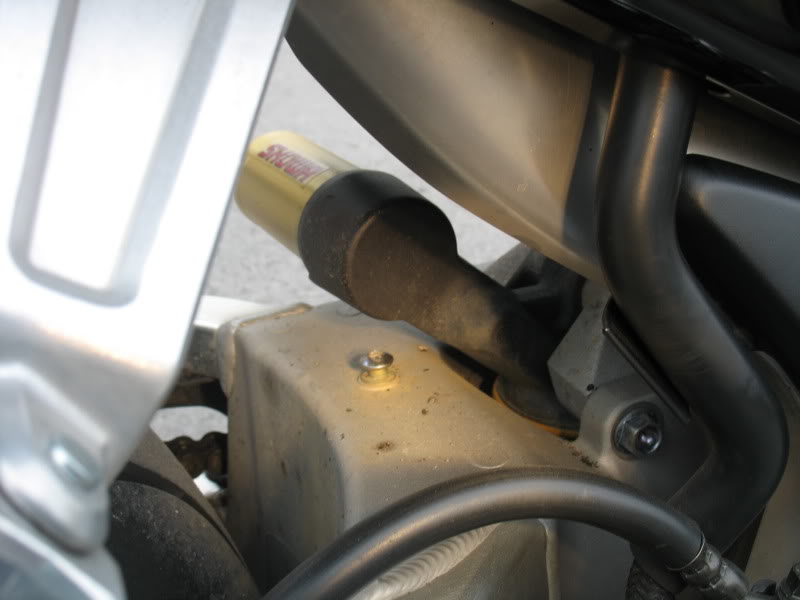
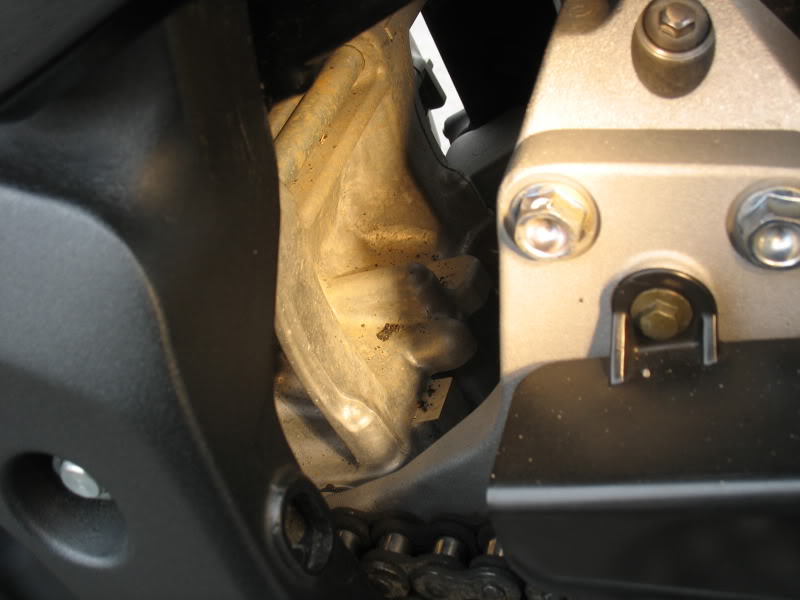
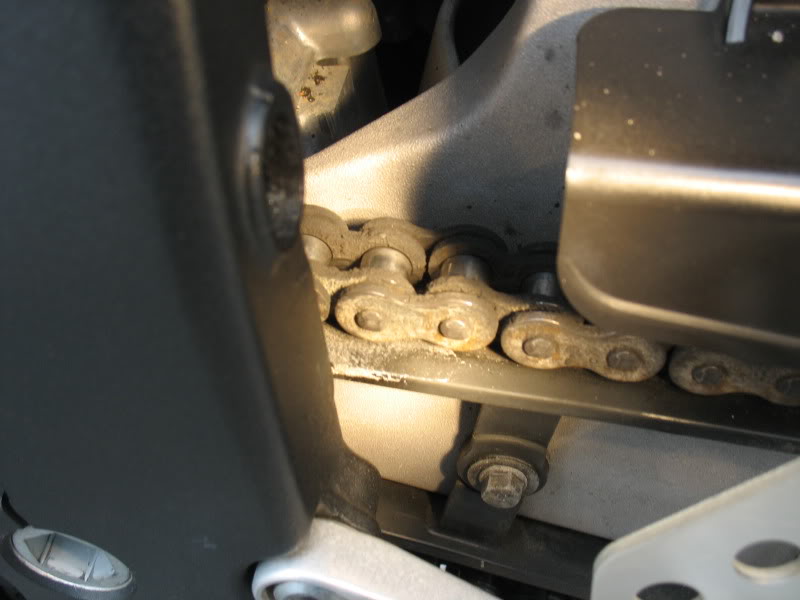
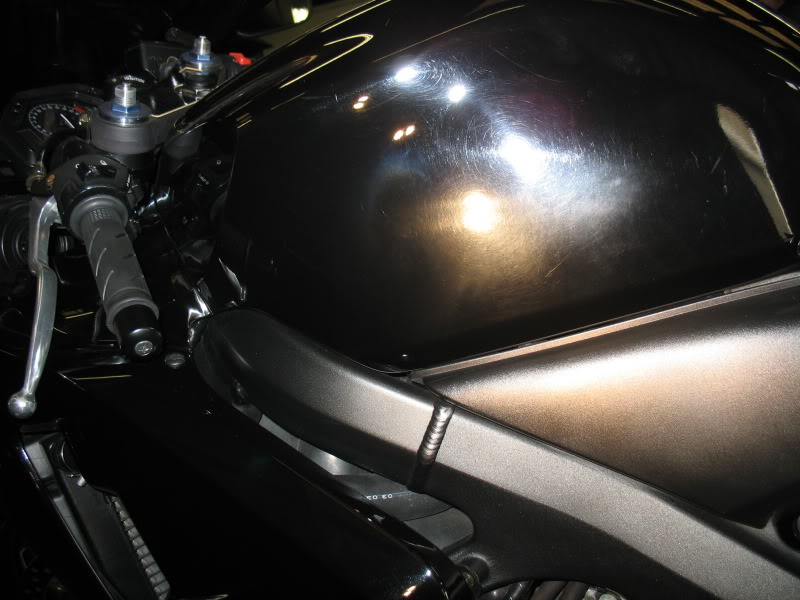
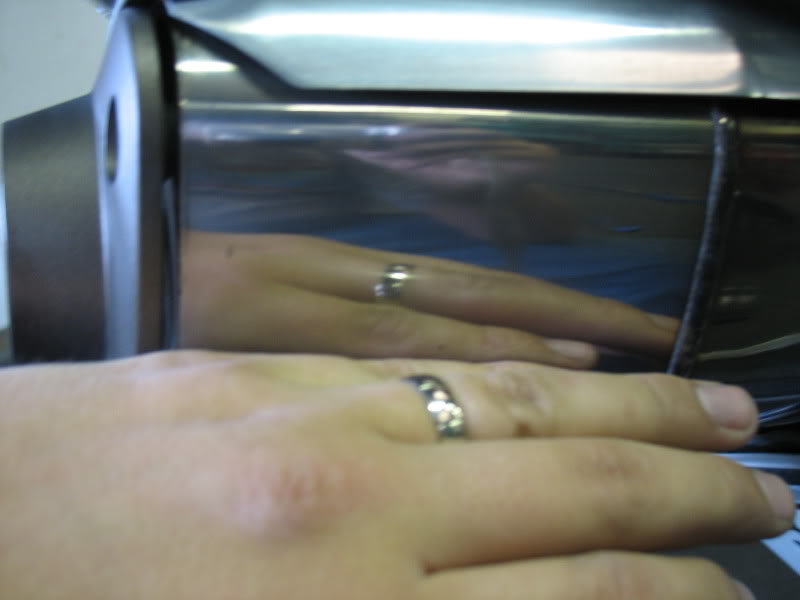
The bike came to me looking pretty good to the naked eye. But taking a closer look at things you could tell it needed some TLC.
Tools:
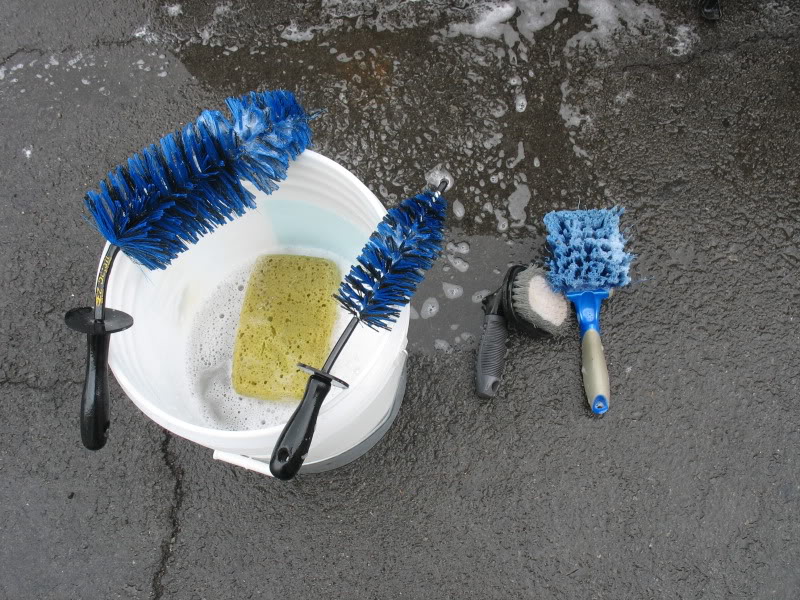
5gal bucket w/ grit guard
EZ detail brush, small and large
Lowes grout sponge
ONR clay lube
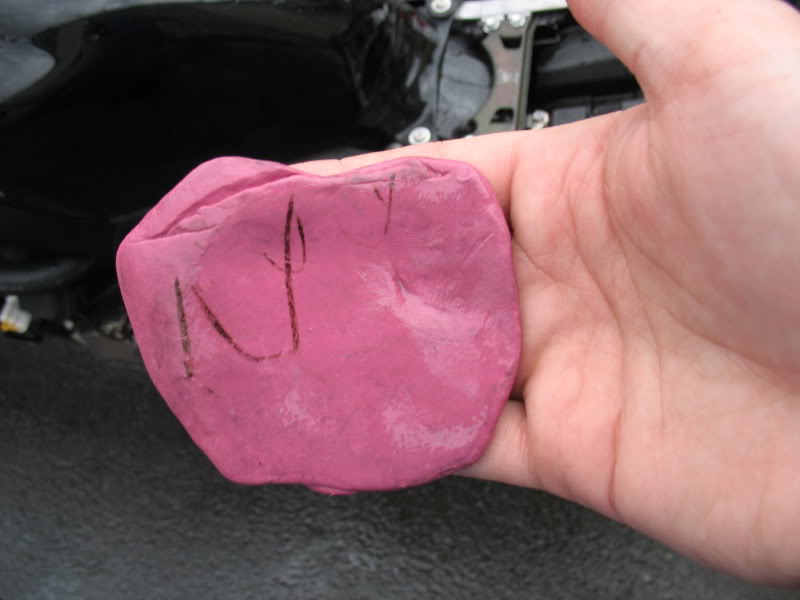
Automagic Red Claybar
Little tooth brush
Griots Garage 3" orbital
Harbor Freight Rotary w/ 3" BP
LC Orange,White,Green 3" pads
HD UNO
Megs One step leather care
White Diamond aluminum Polish
MEGS 105/205
Xenon Dual Swirl Finder light
BlackFire Wet Diamond
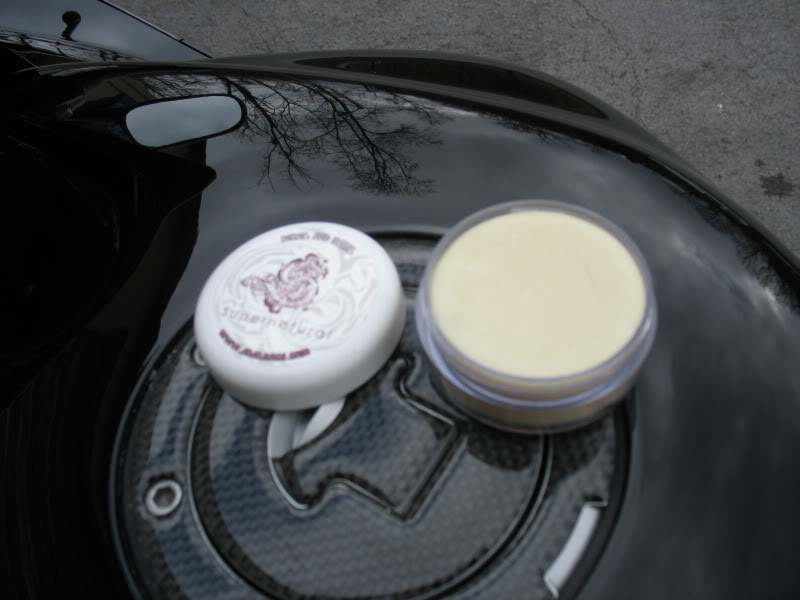
Dodo Juice Super Natural
OPT opti-seal (on the wheels)
Process:
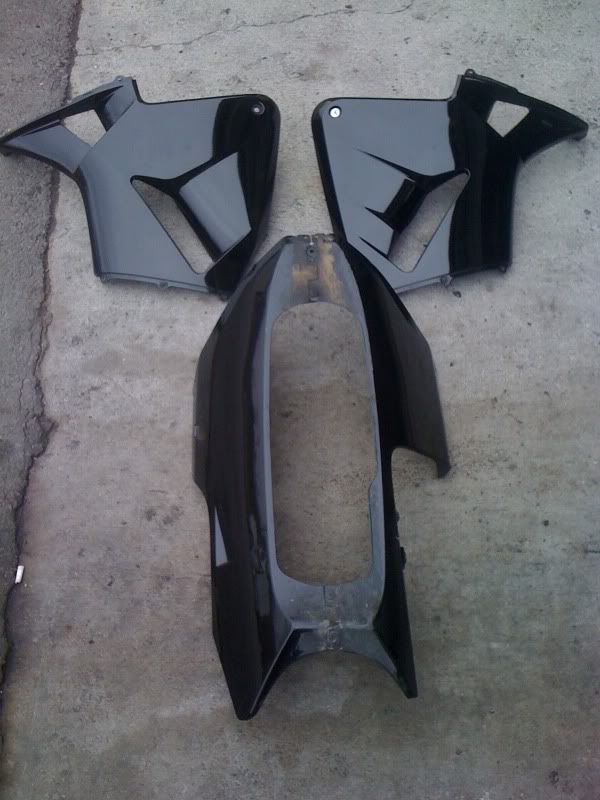
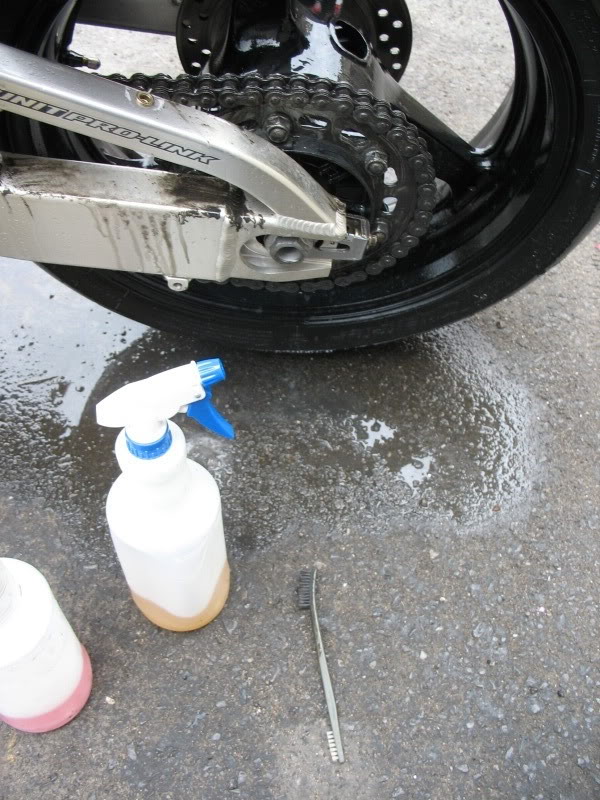
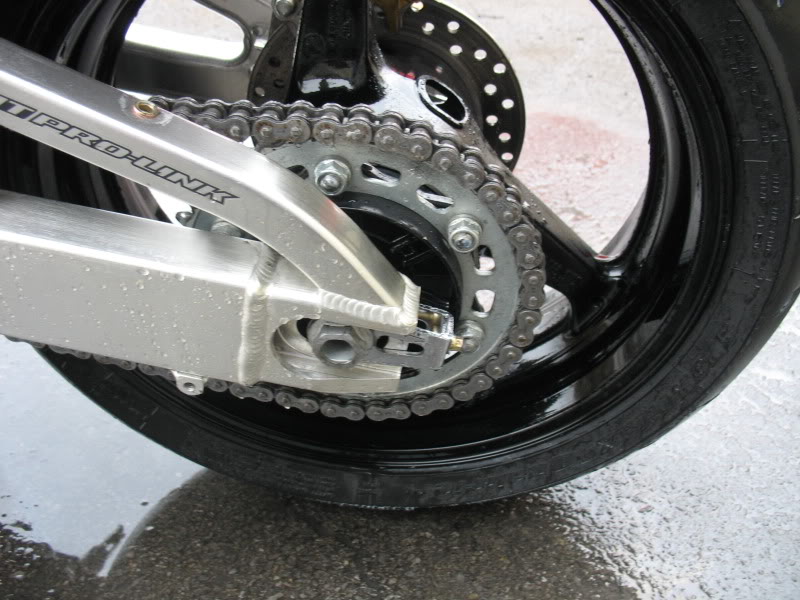
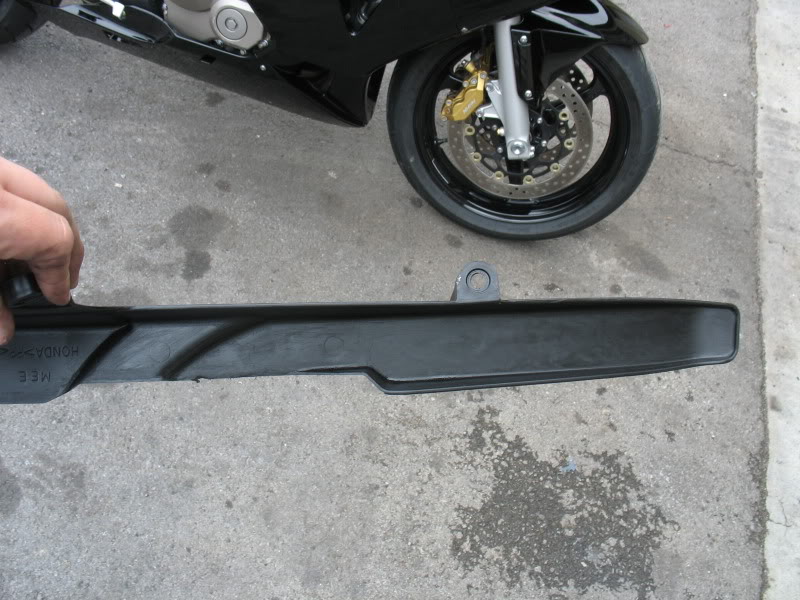
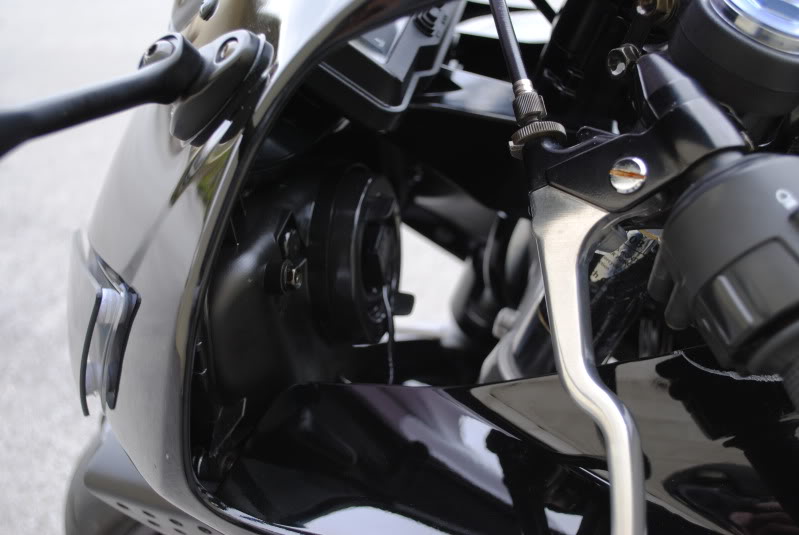
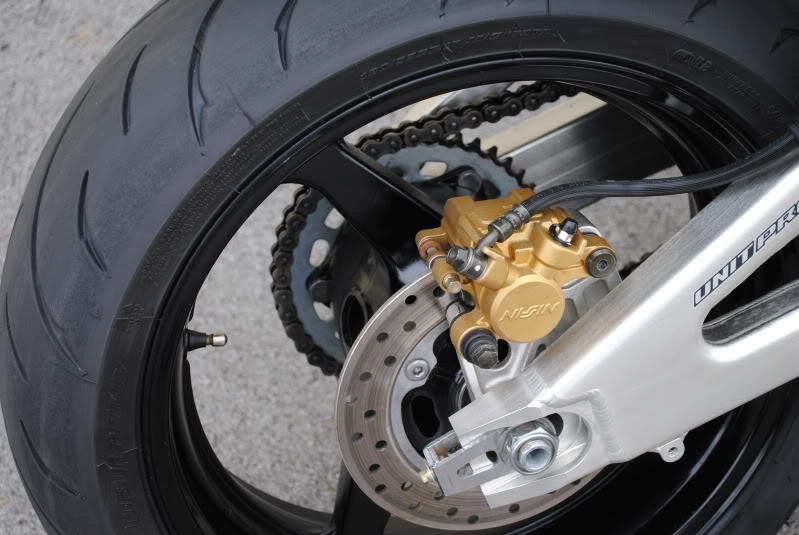
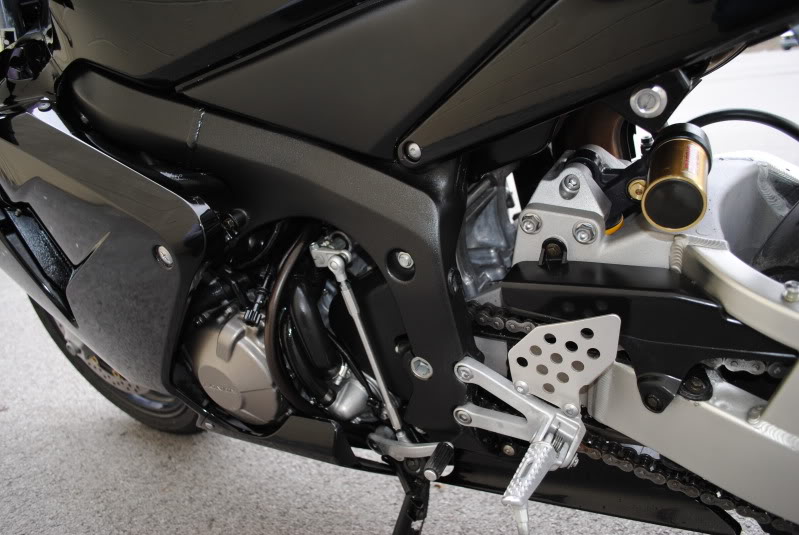
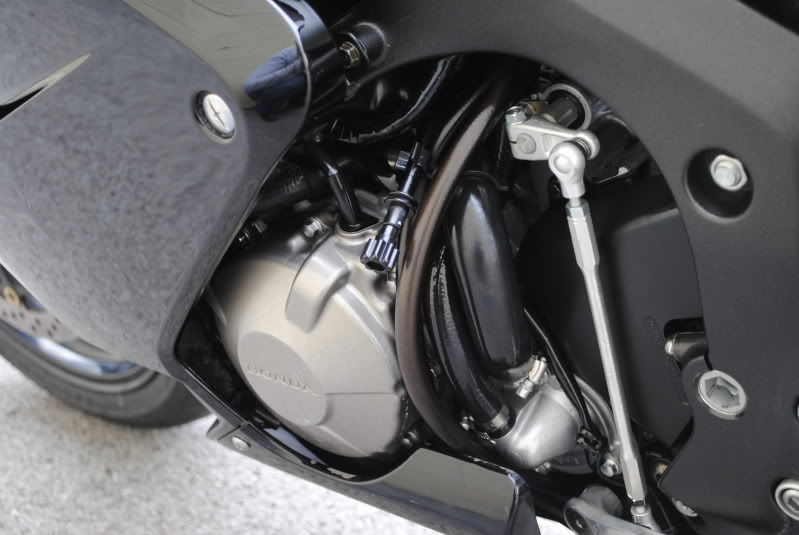
I removed most of the body panels and the seats so I could get into all the tight places. I used my new Troybilt pressure washer to knock off all the bad stuff and used my EZ detail brushes to get in all the tight spots. I let some WD-40 soak on the chain and sprocket for a little bit to soak in and eat at all the clumped up grease. after lots of scrubbing I went back over with some degreaser to get all of the WD-40 off. I used the 1 bucket method w/ grit guard and the lowes Grout sponge with some RainX Wash and wax that was laying arround. After the good thorough wash and degrease I clay bared it With the Red automagic clay using the diluted ratio of ONR.
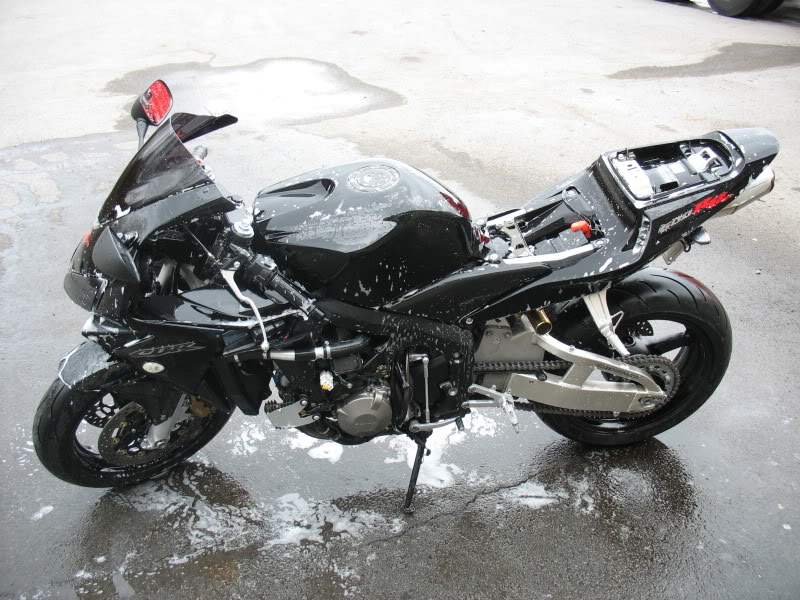
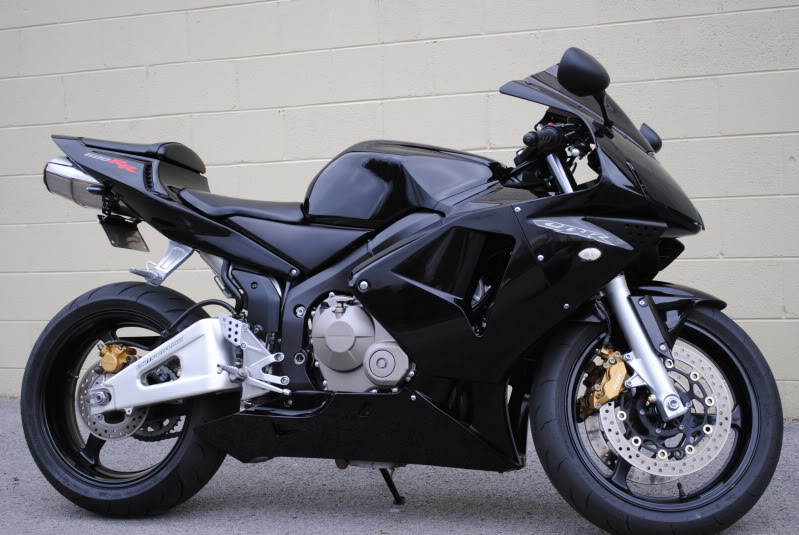
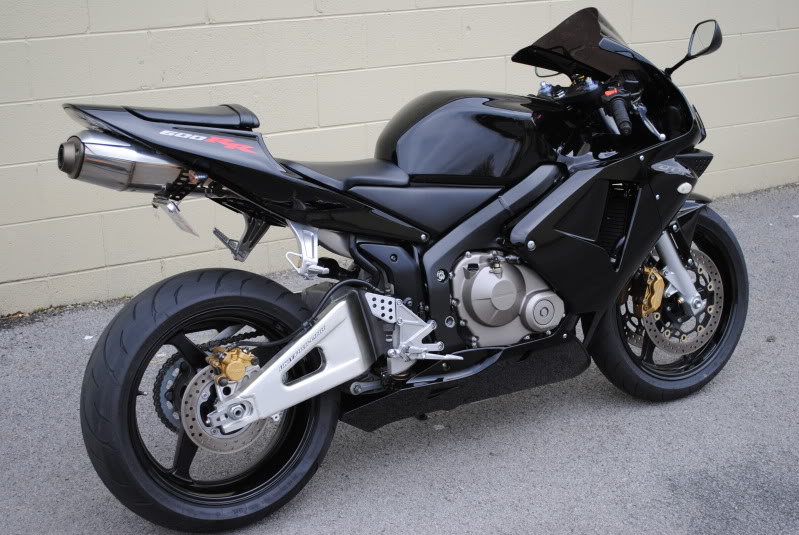
So it came to me like this
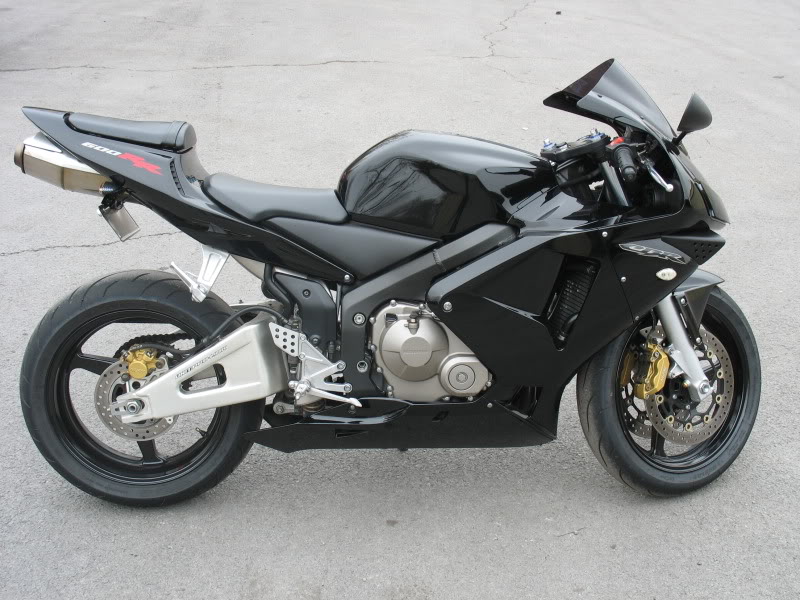
and your thinking wow thats a clean bike huh? just wait!


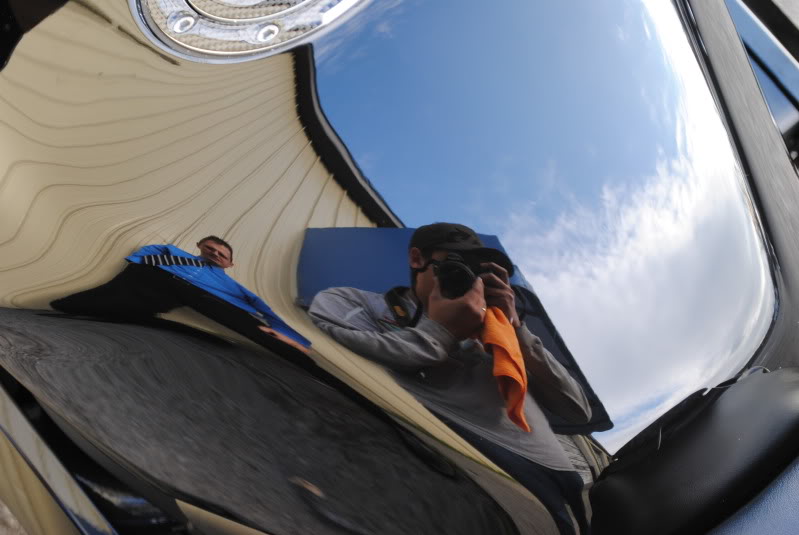
To this!
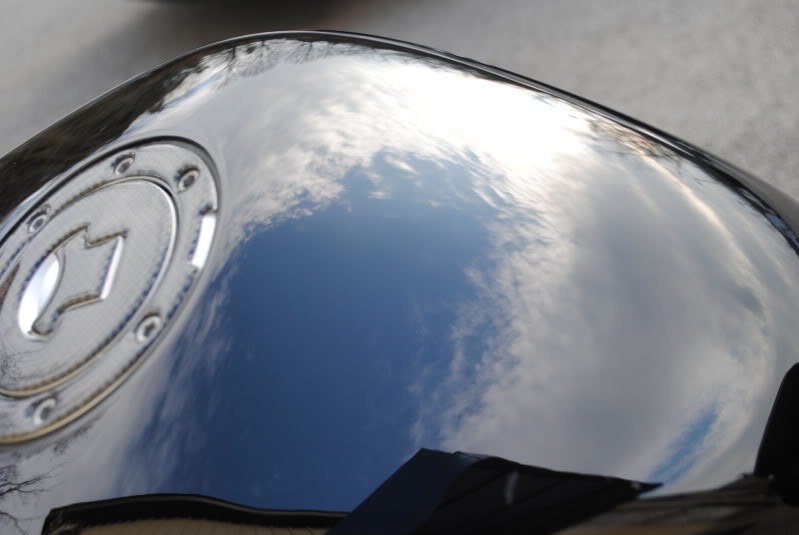
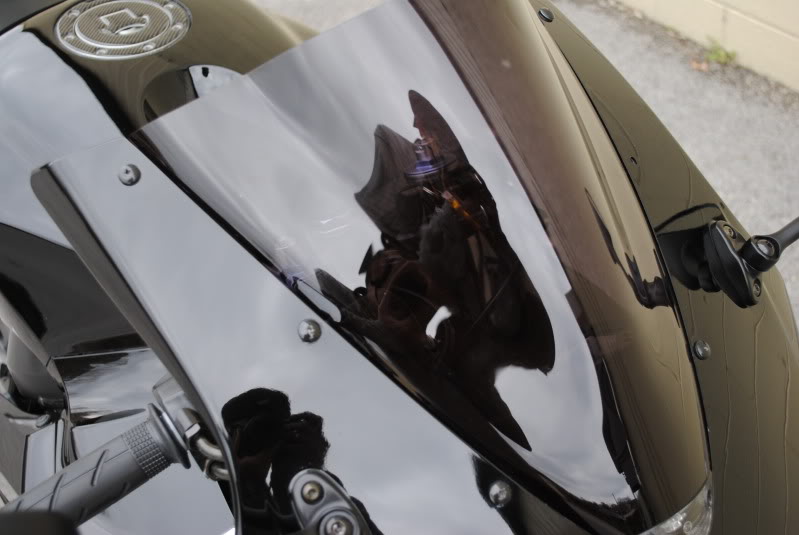
After the wash I pulled it in and clayed it
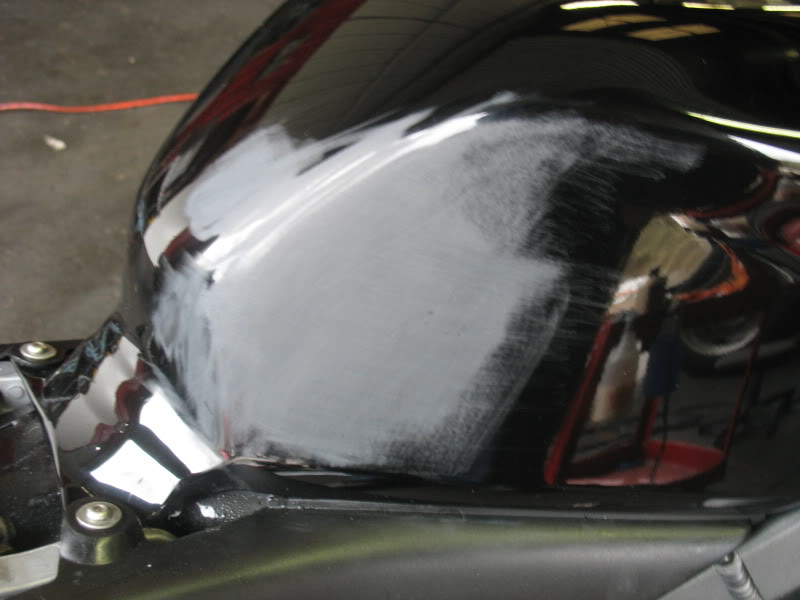
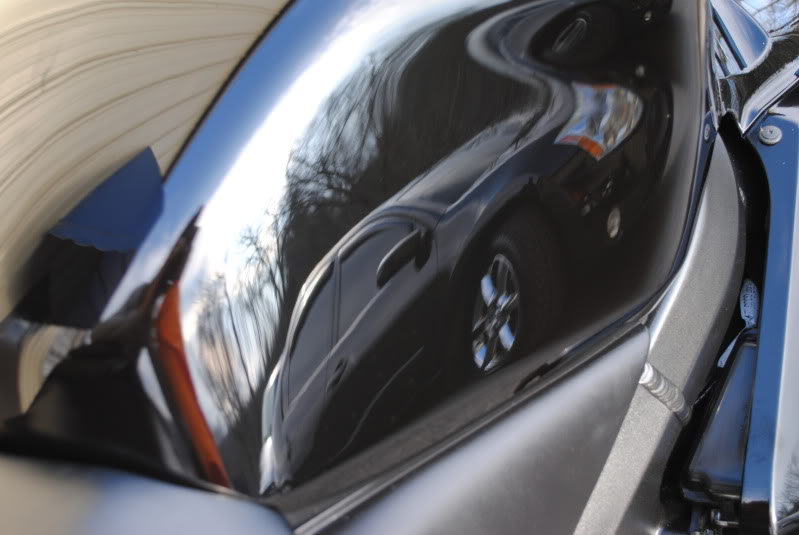
Now the real surface is revealed!
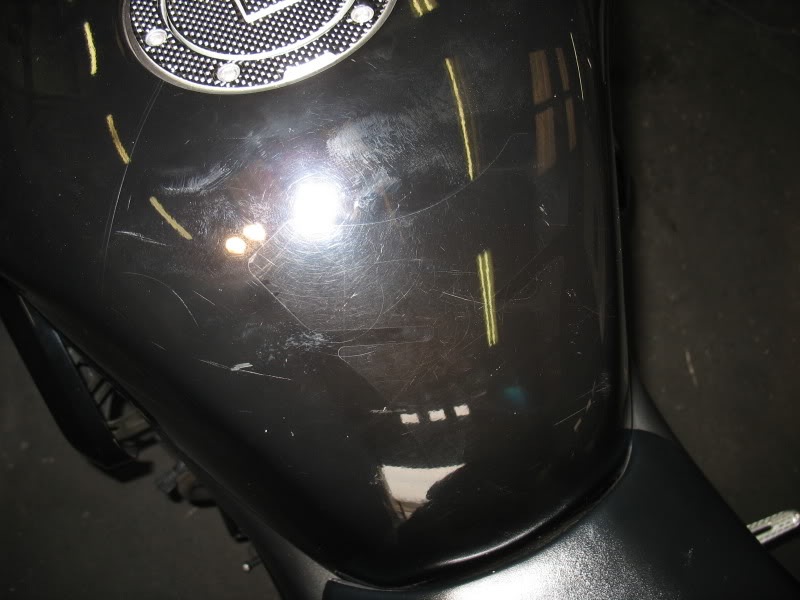
I wet sanded the scratches with 2000 grit paper and followed it up with some 4000 on my DA backing plate with the interface foam pad. I tried somthing new with my Griot's 3" Orbital. I usually use my Pneumatic Orbital for wetsanding. but I wanted to know if it would work with the Griots orbital, and it worked AMAZINGLY
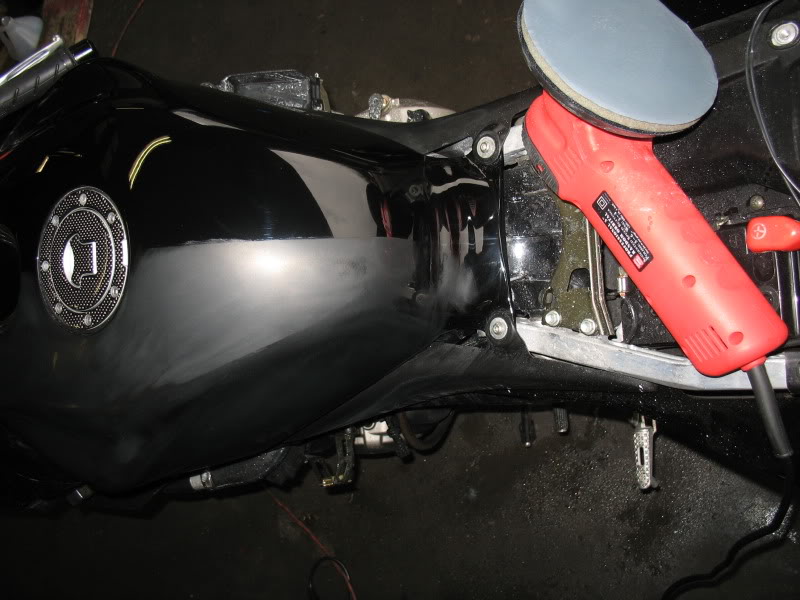
I tried out the HD UNO for the first time on this bike. I liked it, It was nice just changing out only the pads. After a few passes with the orange just pop on the green pad do a few passes with it then pop on the White finishing pad and wipe off. Thats alot better then compounding then wipe, change pad, polish then wipe, and change pads and finish down, wipe and then check it. BUT.......I wasn't happy with the final finish after all that. so I would go back and correct it with M105 and M205. I also had to pull out the Rotary for some of those sand scratchs and UNO let me down on those too. So I am just going to stick with the Meg Twins.
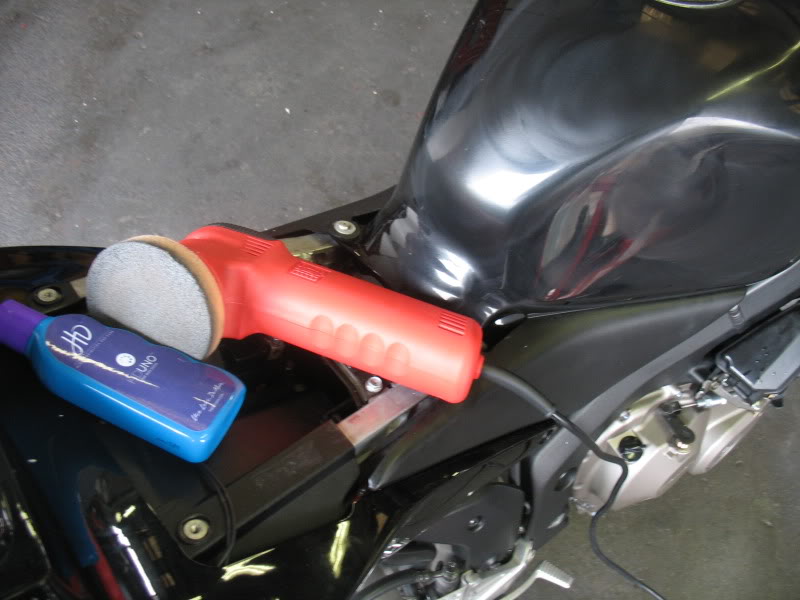
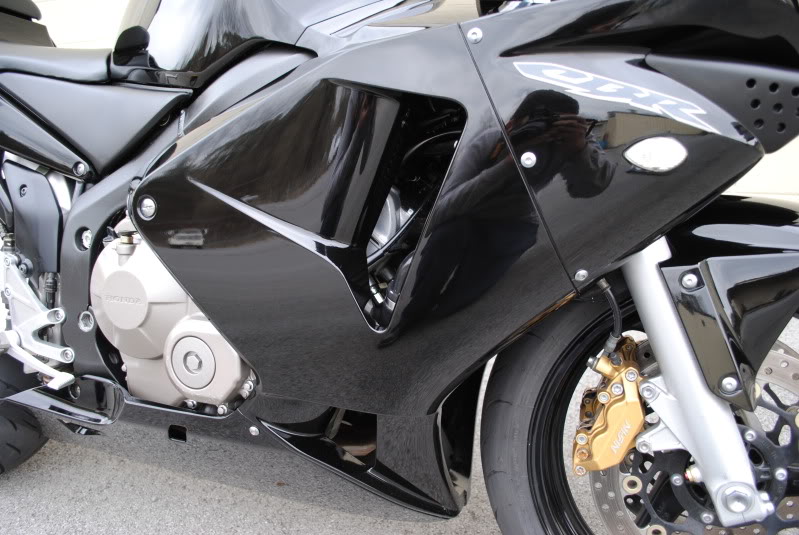
Then after everything was polished down I applied a coat of BFWD with the griots 3" orbital w/ LC Blue pad

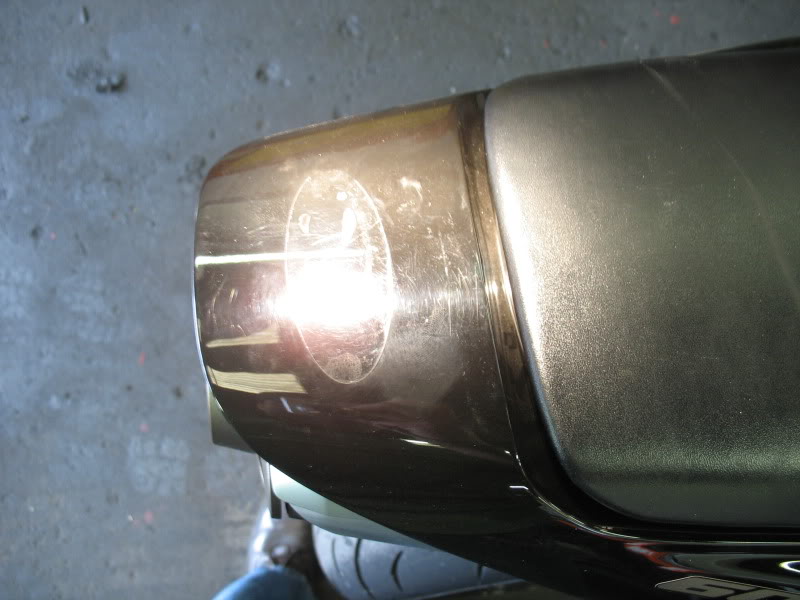
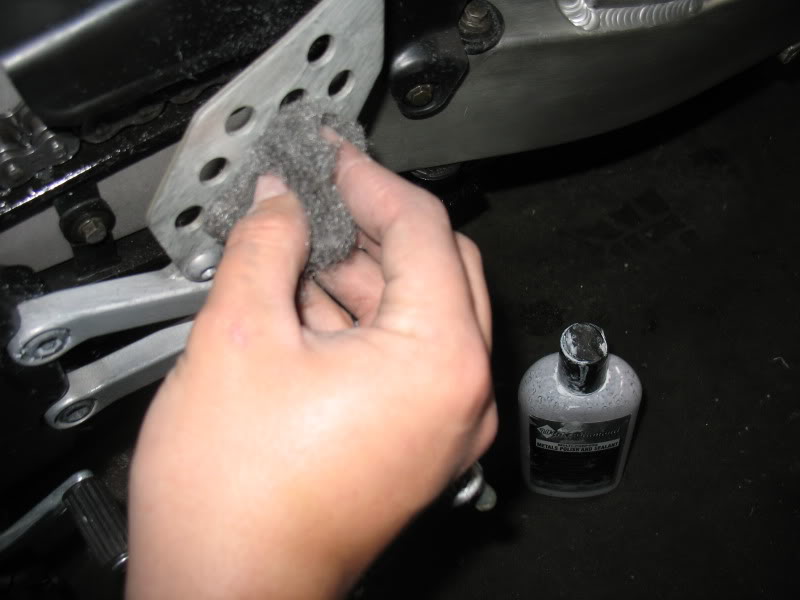
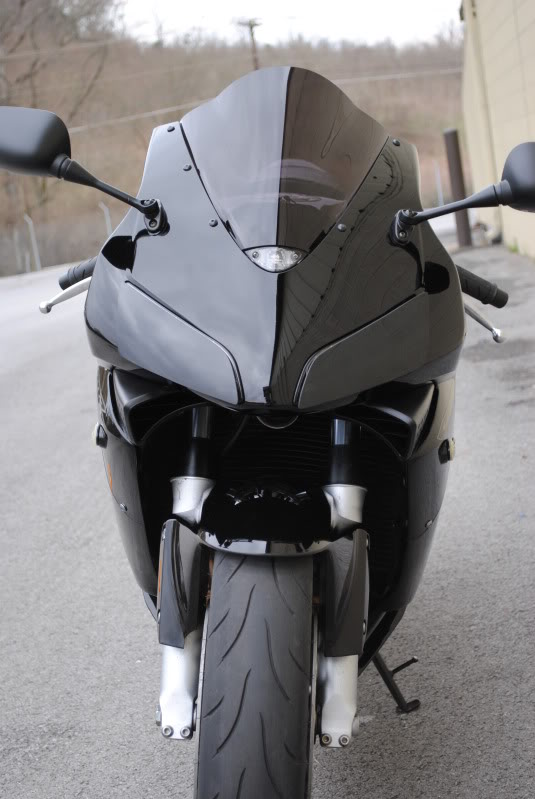
While that was curing, I polished out the muffler and all the aluminum pegs and brackets using White diamond polish.
After all that, I removed the BFWD and applied a thin coat of DoDo Juice SuperNatural.
To be Continued..........


Member
Joined: Jan 2008
Posts: 449
From: Allen (Dallas), TX

Nice detail... but one question. You used a degreaser on the chain? Hope you didn't let it sit on the chain for long at all, because it will break down the O-rings in the chain. I've seen too many people ruin chains prematurely doing this.
i was just going to say that-------^
wd-40= no bueno for chains. they make chemicals to degrease it but you spray it on, scrub it off with a grunge brush and rinse.
bike looks good though. ive had my bike for over a year and have never washed the dam thing 17k miles in one year i figured im a ryder who needs to keep the bike clean!
wd-40= no bueno for chains. they make chemicals to degrease it but you spray it on, scrub it off with a grunge brush and rinse.
bike looks good though. ive had my bike for over a year and have never washed the dam thing
17k miles in one year i figured im a ryder who needs to keep the bike clean!

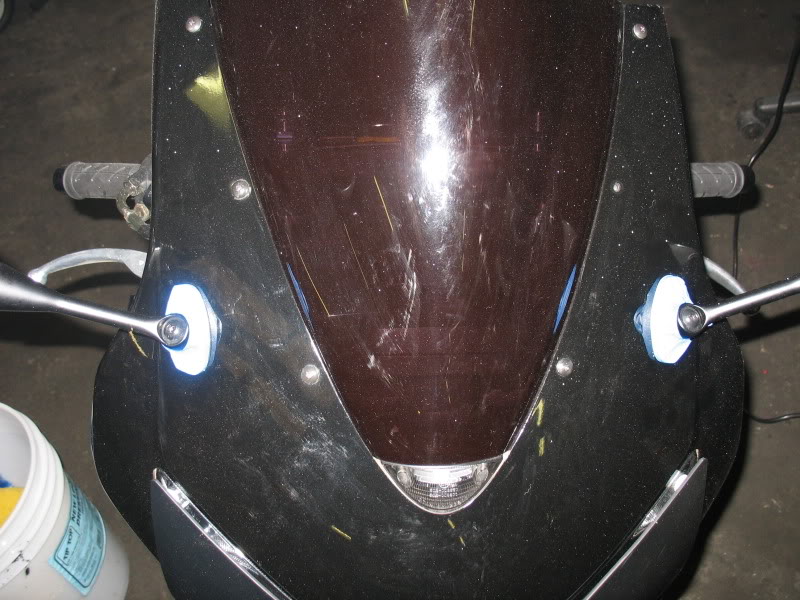
With disassembly of all the fairings and degreasing and relubing the chain, polishing the plexiglass, wetsanding scratches and giving it a swirl free finish= about $200
I just dont want to scare off customers with crazy prices but the more I look at it, it is pretty low for what I am bringing to the bike. Increased value and peace of mind knowing what condition it is in after i am done
We can share the crown! because If it wasn't for you I might have not been nudged over the edge to where I am now. thanks bud. One day I want to come down the Orlando and Do a detail with you! and we can make a sweet write up!

and we can make a sweet write up!

Thread
Thread Starter
Forum
Replies
Last Post