
DIY - Torque Solutions shifter bushing install


DIY - Torque Solutions shifter bushing install
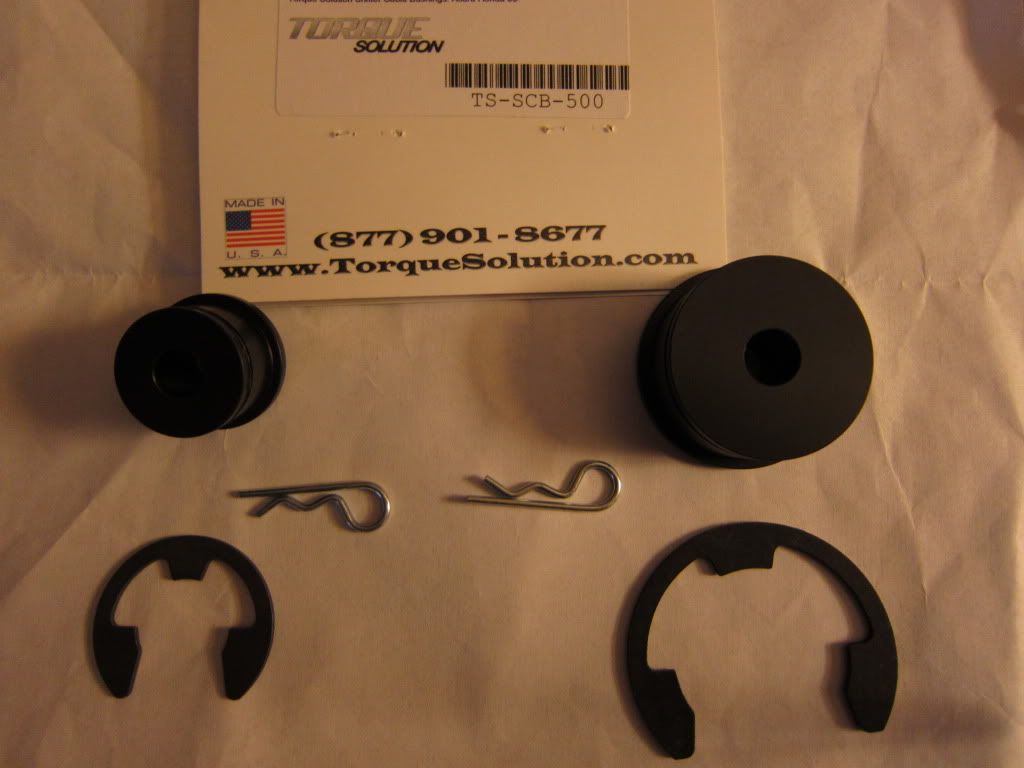
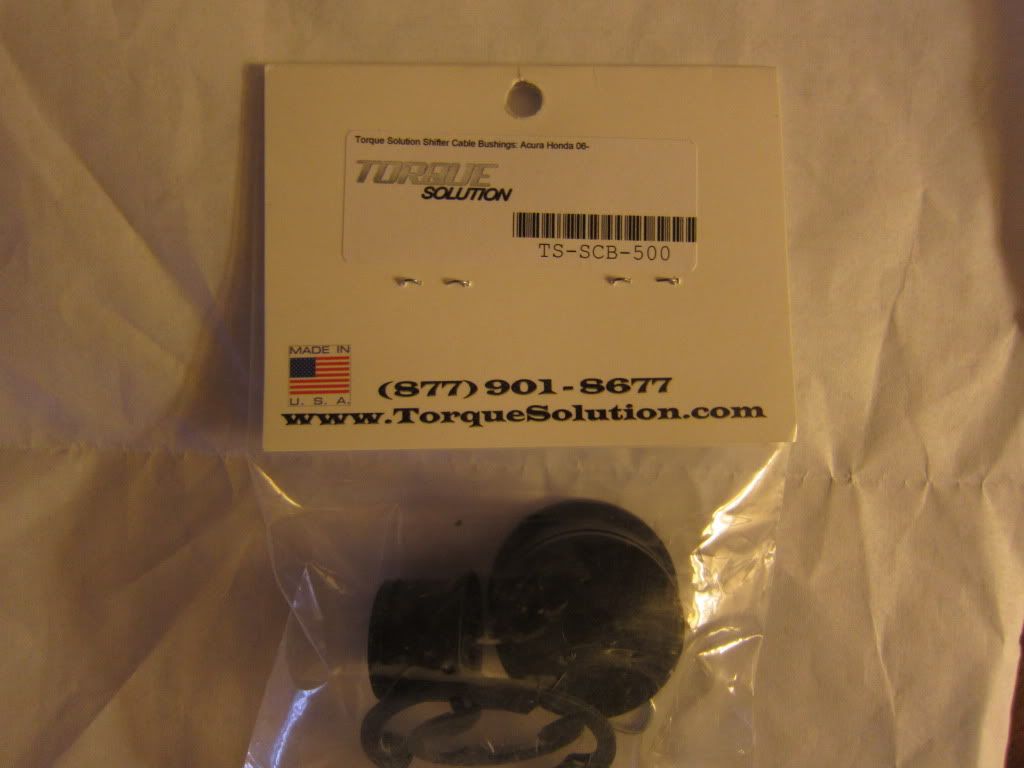
Ok, I got these installed last night. Total time took about 30min (give yourself up to an hour). They came with no instructions or tips so I'll do a kind of "how-to".
- Remove intake box if you have one
- Remove Battery and the tray under it
Bigger Bushing
- Start with the bigger bushing on top of the trans, this is the easy one to do and will let you get an idea of what all it takes.
- Remove the cotter pin on the top of the bushing. Use needle nose pliers and a small flat blade screw driver to bend it straight and slip it through the hole. I found it easier to just bend one of the tabs back and forth until it broke off then it was easy to straighten the other straight and back it out of the hole.
- With the pin out remove the steel washer and the thin plastic one that keeps friction down.
- Pull the shift cable just off of the shaft(should be easy). place it so the shaft is just offset of the hole its supposed to go into on the bushing(should be resting on the rubber bushing).
- Using your thumbs, push the cable/bushing against the shaft so that the shaft forces the bushing out the top of the cable end (again, should be pretty easy)
- Now take the new bushing and place it from the bottom of the shift cable up(lip side of bushing is on the trans side of the cable). I suggest to grease the shaft for smoother operation.
- Now place the C-clip on the groove of the bushing on the top opposite side. Use your thumbs to slip the clip in the groove(not to hard).
- Reuse the factory thin plastic washer on top of the C-clip if you can
- Insert the new press style pin that keeps it in place
Smaller Bushing
- This one is much harder to do because the space for tools or your hands is a PITA! Also you are working blind with the stock cotter pin so you will need a small mirror. I couldn't find one I have on a telescoping stick so I found one of my wife's old makeup compacts!
- Everything is the same as the big one just a lot harder because of space and because you are working blind.
Product Impressions
Well once I got the factory bushings out of the cables I really didn't have high hopes for this product to give a better feel. The factory bushings have a steel shank in the center that slips over the trans shaft and is encased with a rubber that makes up the rest(not bad at all compared to others I've replaced in the past).
I'm happy to say that I was wrong. While these didn't take out the initial play that can be felt in the shifter(like while in neutral there is 1/4" of play in all directions). It did however change the way the shifter feels when going into every gear. It now has a solid "gated" feel as if the lever was being stopped by metal once the shifter makes it into place(before was a vague rubbery feeling).
I'd say it was definitely worth the 20ish dollars they cost. Although I've seen that they used to make them out of metal instead of the delrin/plastic material. I'd have to say I would much rather prefer the metal version because it would give the shift a more of a substantial/weighted feel while shifting. As it is now it take the same amount of effort which is too light IMO. What makes these bushings work better than the OEM bushing is a much tighter tolerance between the shaft hole in these compared to the looseness of the steel shank in the OEM bushings.
Thanks, I also plan to get the "race" spring set offered by Mtec that are discussed in this thread: https://www.fitfreak.net/forums/cali...ndustries.html
If they are available I should be able to get them installed within the next couple weeks as I'll have my trans out for a new clutch along with other goodies.
 (of which I'll be doing write ups about)
Just an update, I've been working with Mike from Mtec on the shifter spring. I have it in my car (race one) and it is exactly what was needed. He has been preoccupied with the scion community lately as well as his regular job. From what he said there is one other fit that has a softer spring installed. Mike was happy with the feel after testing it in my car but wants to finalize the spring a little more before offering it up for us. I should hear back from Mike with a final version and I'll let people know when its available.
Happy to say Mike's Mtec spring took care of the "weighted" feeling and now feels like a true direct mounted rear wheel drive shifter.
"how it feels" is you no longer have to guide the shifter from 1-2 2-3 3-4, just pull back or forward and the spring takes care of the rest. as for 4-5 you will need to guide it as you are going against the spring so there is effort to make that happen. There is also effort needed to get it into 1st from neutral as well as reverse from neutral, all of which are against the springs tension.

Thread
Thread Starter
Forum
Replies
Last Post
pearl
1st Generation (GD 01-08)
3
May 24, 2014 07:31 PM
Funkster
Fit DIY: Repair & Maintenance
40
Feb 1, 2013 10:14 AM