
What did you do to your GE fit today?

We will have to compare seats at the next meet and I can show you a trick I used to get them to sit tighter on the bottom section.
in a weird way I like the little silver lock, lol
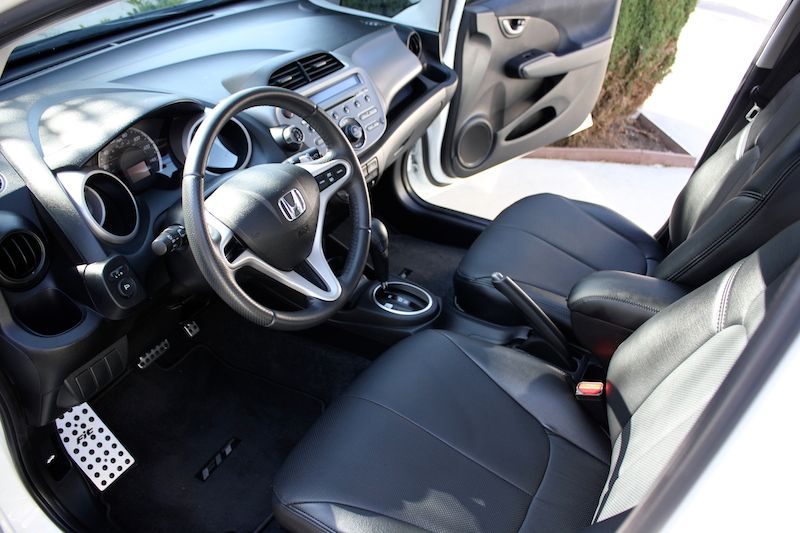
my clarion cx501 headunit is a 2011 model and didn't play nice with my 2014 phone's bluetooth, so I went ahead and installed a budget system. Tough part was the cx501 put out more power stock than other double din's out today and had it's microphone integrated into the headunit so I didn't have to have some random mic somewhere.
So I went with
Pioneer x2600BT and decided to integrate the mic into the trim kit.
And since I was adding power, I threw in some cheap pioneer components ($70 ts-1605c) and cheap pioneer coaxes in the back ($27 ts-g1644r). They're rated at the amp's output and sound great. I didn't get more expensive components or speakers because it would be a snowball effect. "better components? more powerful amp! more powerful amp? new wiring! new wiring? might as well throw in a second amp and sub! second amp and sub? custom fiberglass build! custom fiberglass build? etc etc" happened with me and my rsx lol
What radio kit was this that you used, it looks very clean


Member
Joined: Mar 2009
Posts: 201
From: Los Angeres

thanks! it's the metra 7877. comes in black or silver. the silver doesn't match quite as well to the compartment door as the one I got back like 3 years ago, BUT i think the silver compartment door and old silver dash kit just faded together over the years. you can barely tell either way, and i'm fine knowing that a new dash kit and a 4 year old dash are going to be slightly different
Where did you get the new gauge cluster lense? How much? DIY for the install? Lol...mines scratched too...would love to replace it!
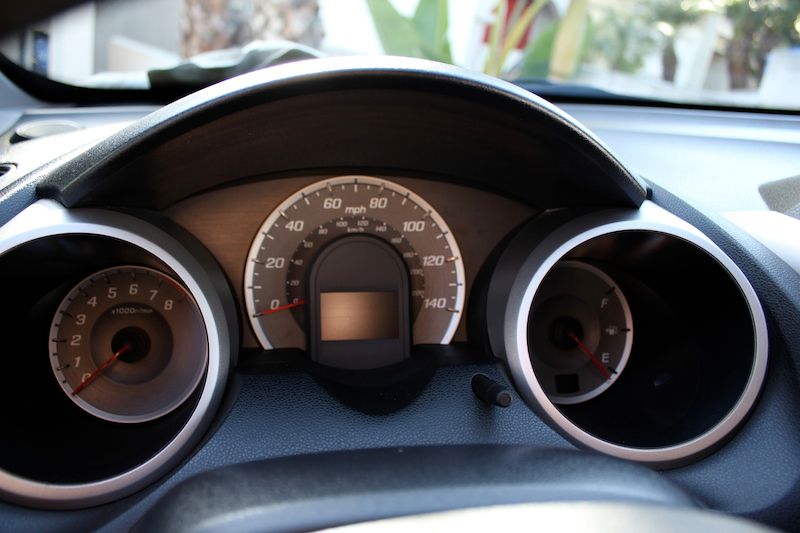

https://www.fitfreak.net/forums/2nd-...cluster-2.html
Just make sure you only clean it with water and a clean Microfiber towel
Yep thats what I paid
If I went through the trouble of replacing the cluster lense I'd put a piece of clear vinyl over the new one before installing. Granted that stuff scratches too, but at least you wouldn't be ruining the plastic.
I blow off most of the surface dust and loose particles using this:
Giottos AA1903 Rocket Air Blaster Large-Red:Amazon:Camera & Photo
Then I take a clean microfiber towel and I put a little water on it and thats what I use to clean the lens. Don't use anything else on it since it scratches very easily
Giottos AA1903 Rocket Air Blaster Large-Red:Amazon:Camera & Photo
Then I take a clean microfiber towel and I put a little water on it and thats what I use to clean the lens. Don't use anything else on it since it scratches very easily


Member
Joined: Apr 2013
Posts: 205
From: Cali
Nice. I had the diy but on my way back from sf the check engine light came on so I took it off. I've been meaning to install it like yours with a 90deg elbow. What did you use to hold up the intake?
I had run at least 100+ miles with the short ram(without the 90 degree bend) last week and no check engine light. I have a feeling there shouldn't be any problems with the stock maf as long as everythings tight and snug.
As for the intake, I have nothing holding it up haha-- I might make a bracket using the old airbox bracket spots but it doesn't move anyhow. My air filter gently rests near the radiator cap at the moment haha


Thanks Wais-- and definitely, more than welcome to at the next meet!
Oh I see-- a week ago I was missing parts so I had to put the airbox back on and I got a check engine light on the stock air box when I forgot to tighten the clamp to the throttle body; so with the diy I made sure everything was as tight as can be without cracking the plastic tube that holds the maf.
I had run at least 100+ miles with the short ram(without the 90 degree bend) last week and no check engine light. I have a feeling there shouldn't be any problems with the stock maf as long as everythings tight and snug.
As for the intake, I have nothing holding it up haha-- I might make a bracket using the old airbox bracket spots but it doesn't move anyhow. My air filter gently rests near the radiator cap at the moment haha

New Member
Joined: Apr 2014
Posts: 6
From: Sacramento
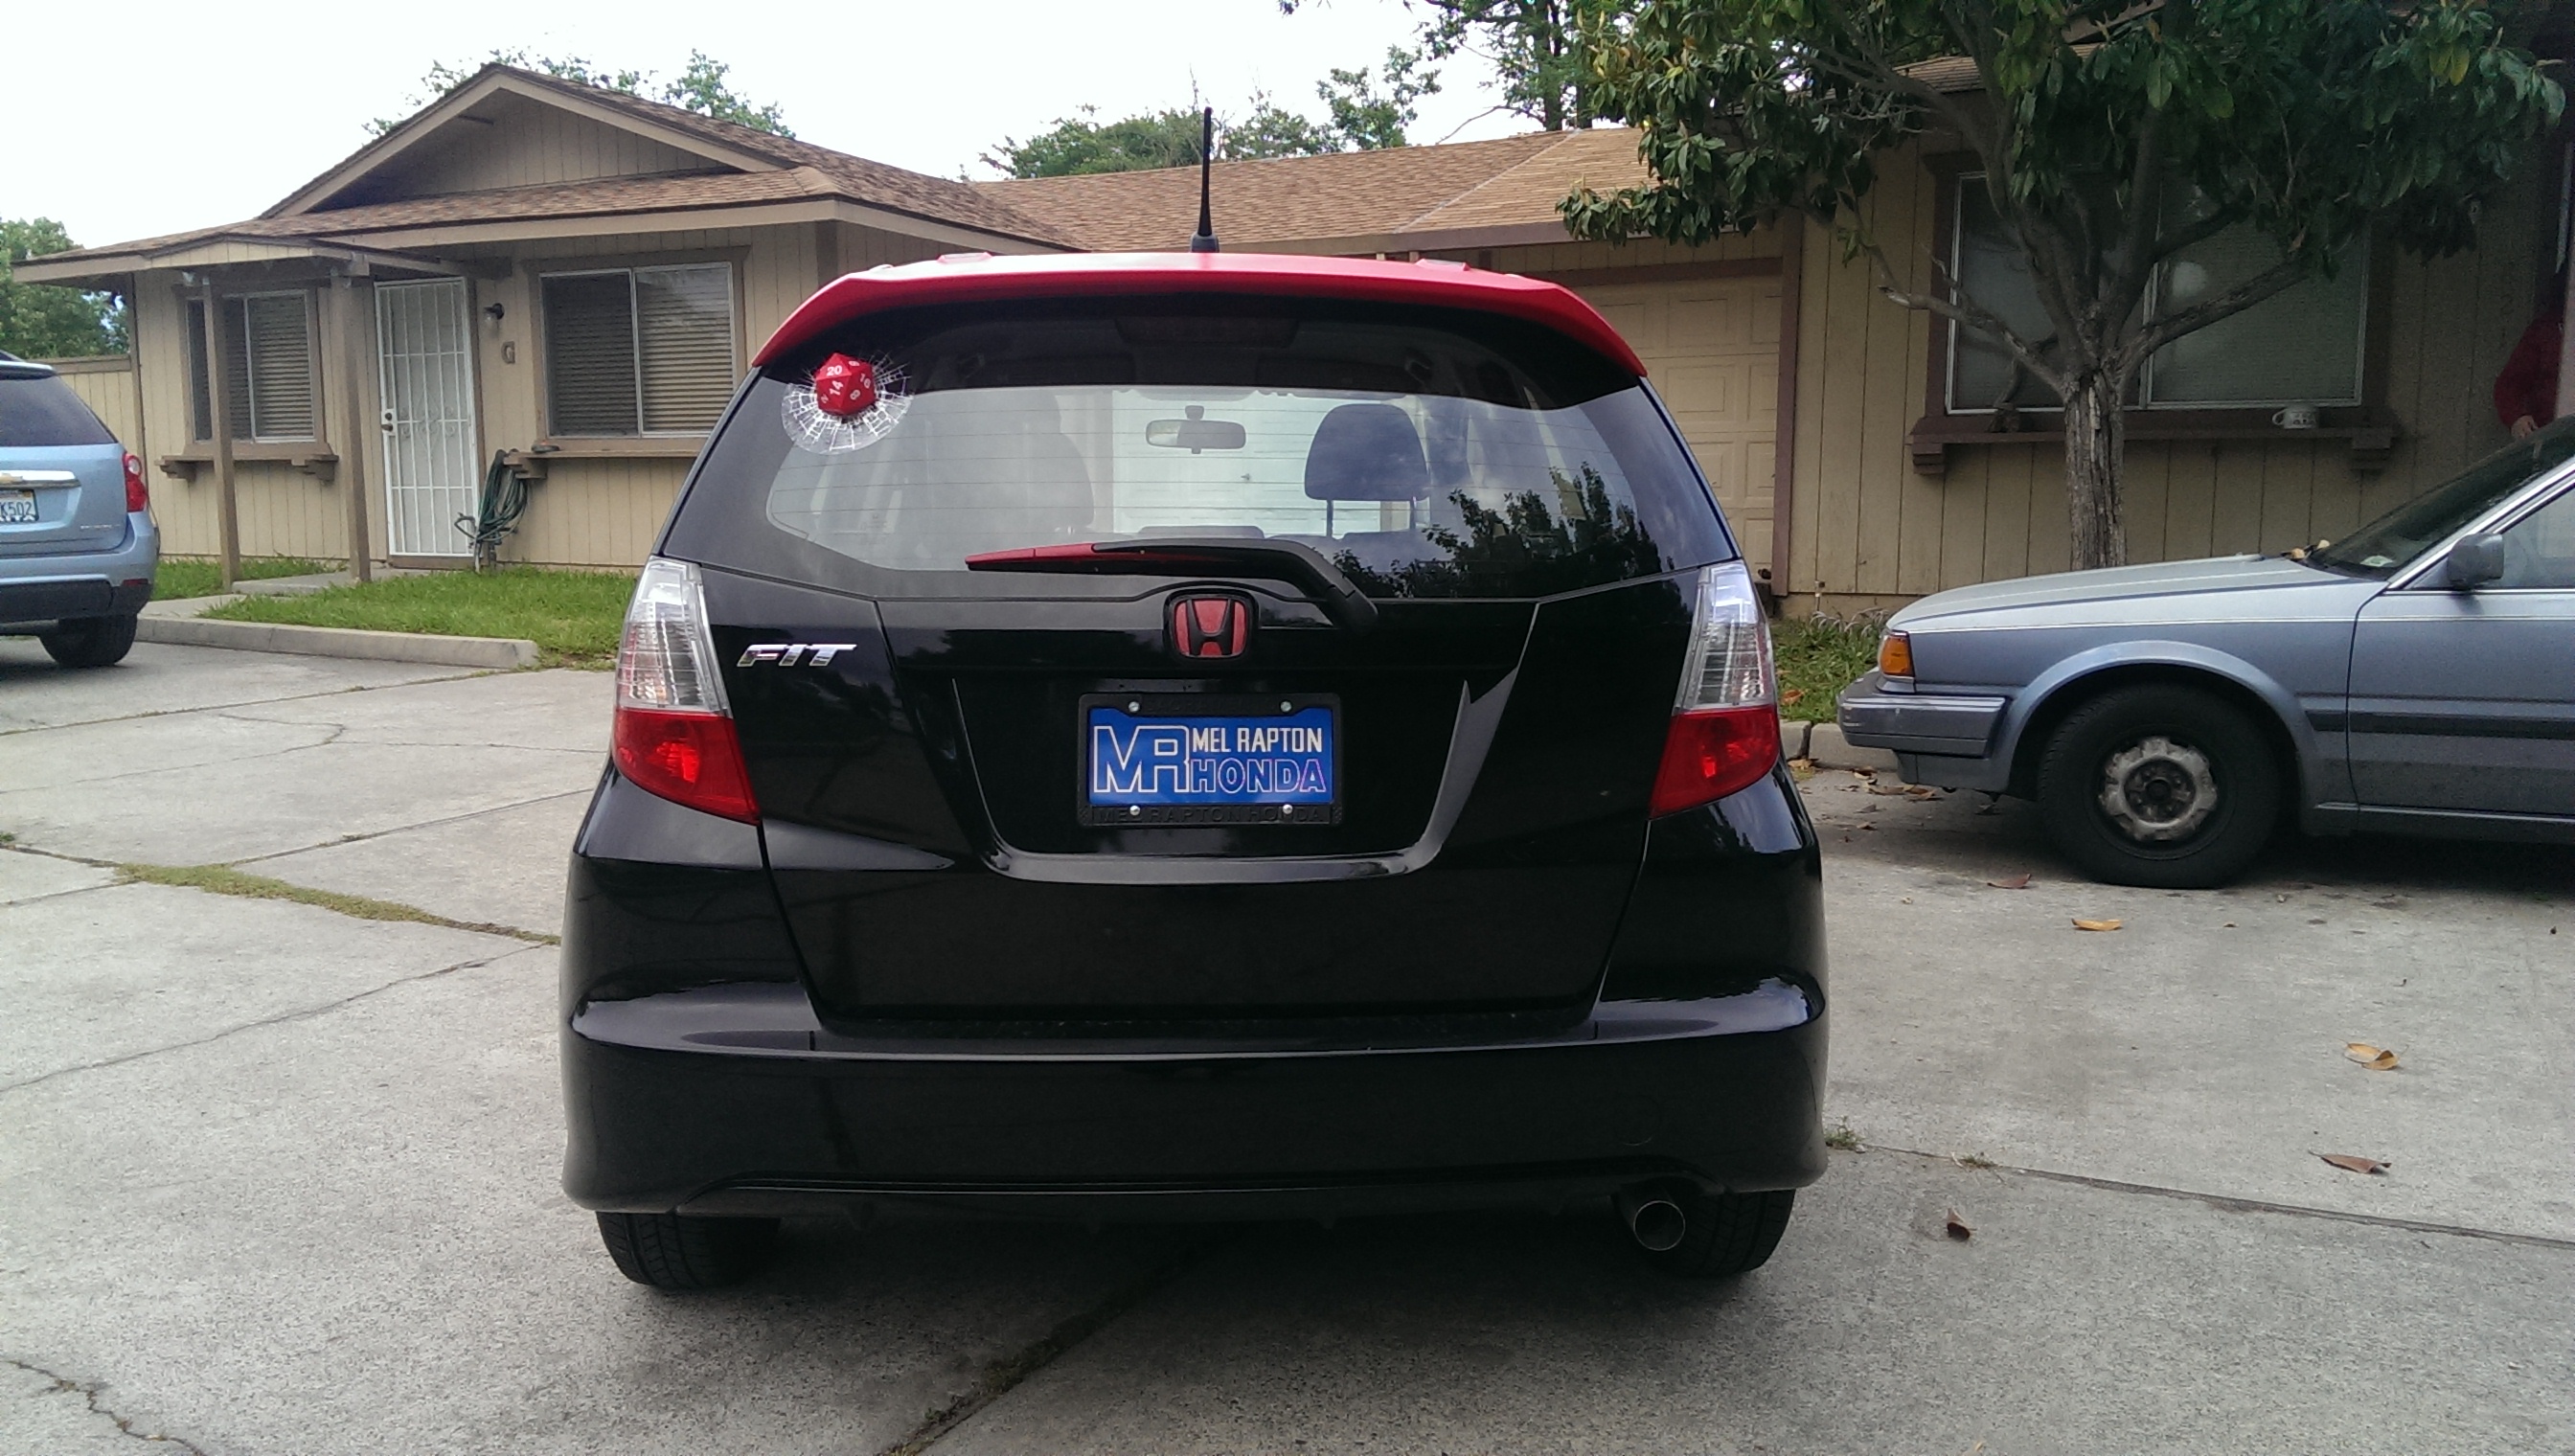
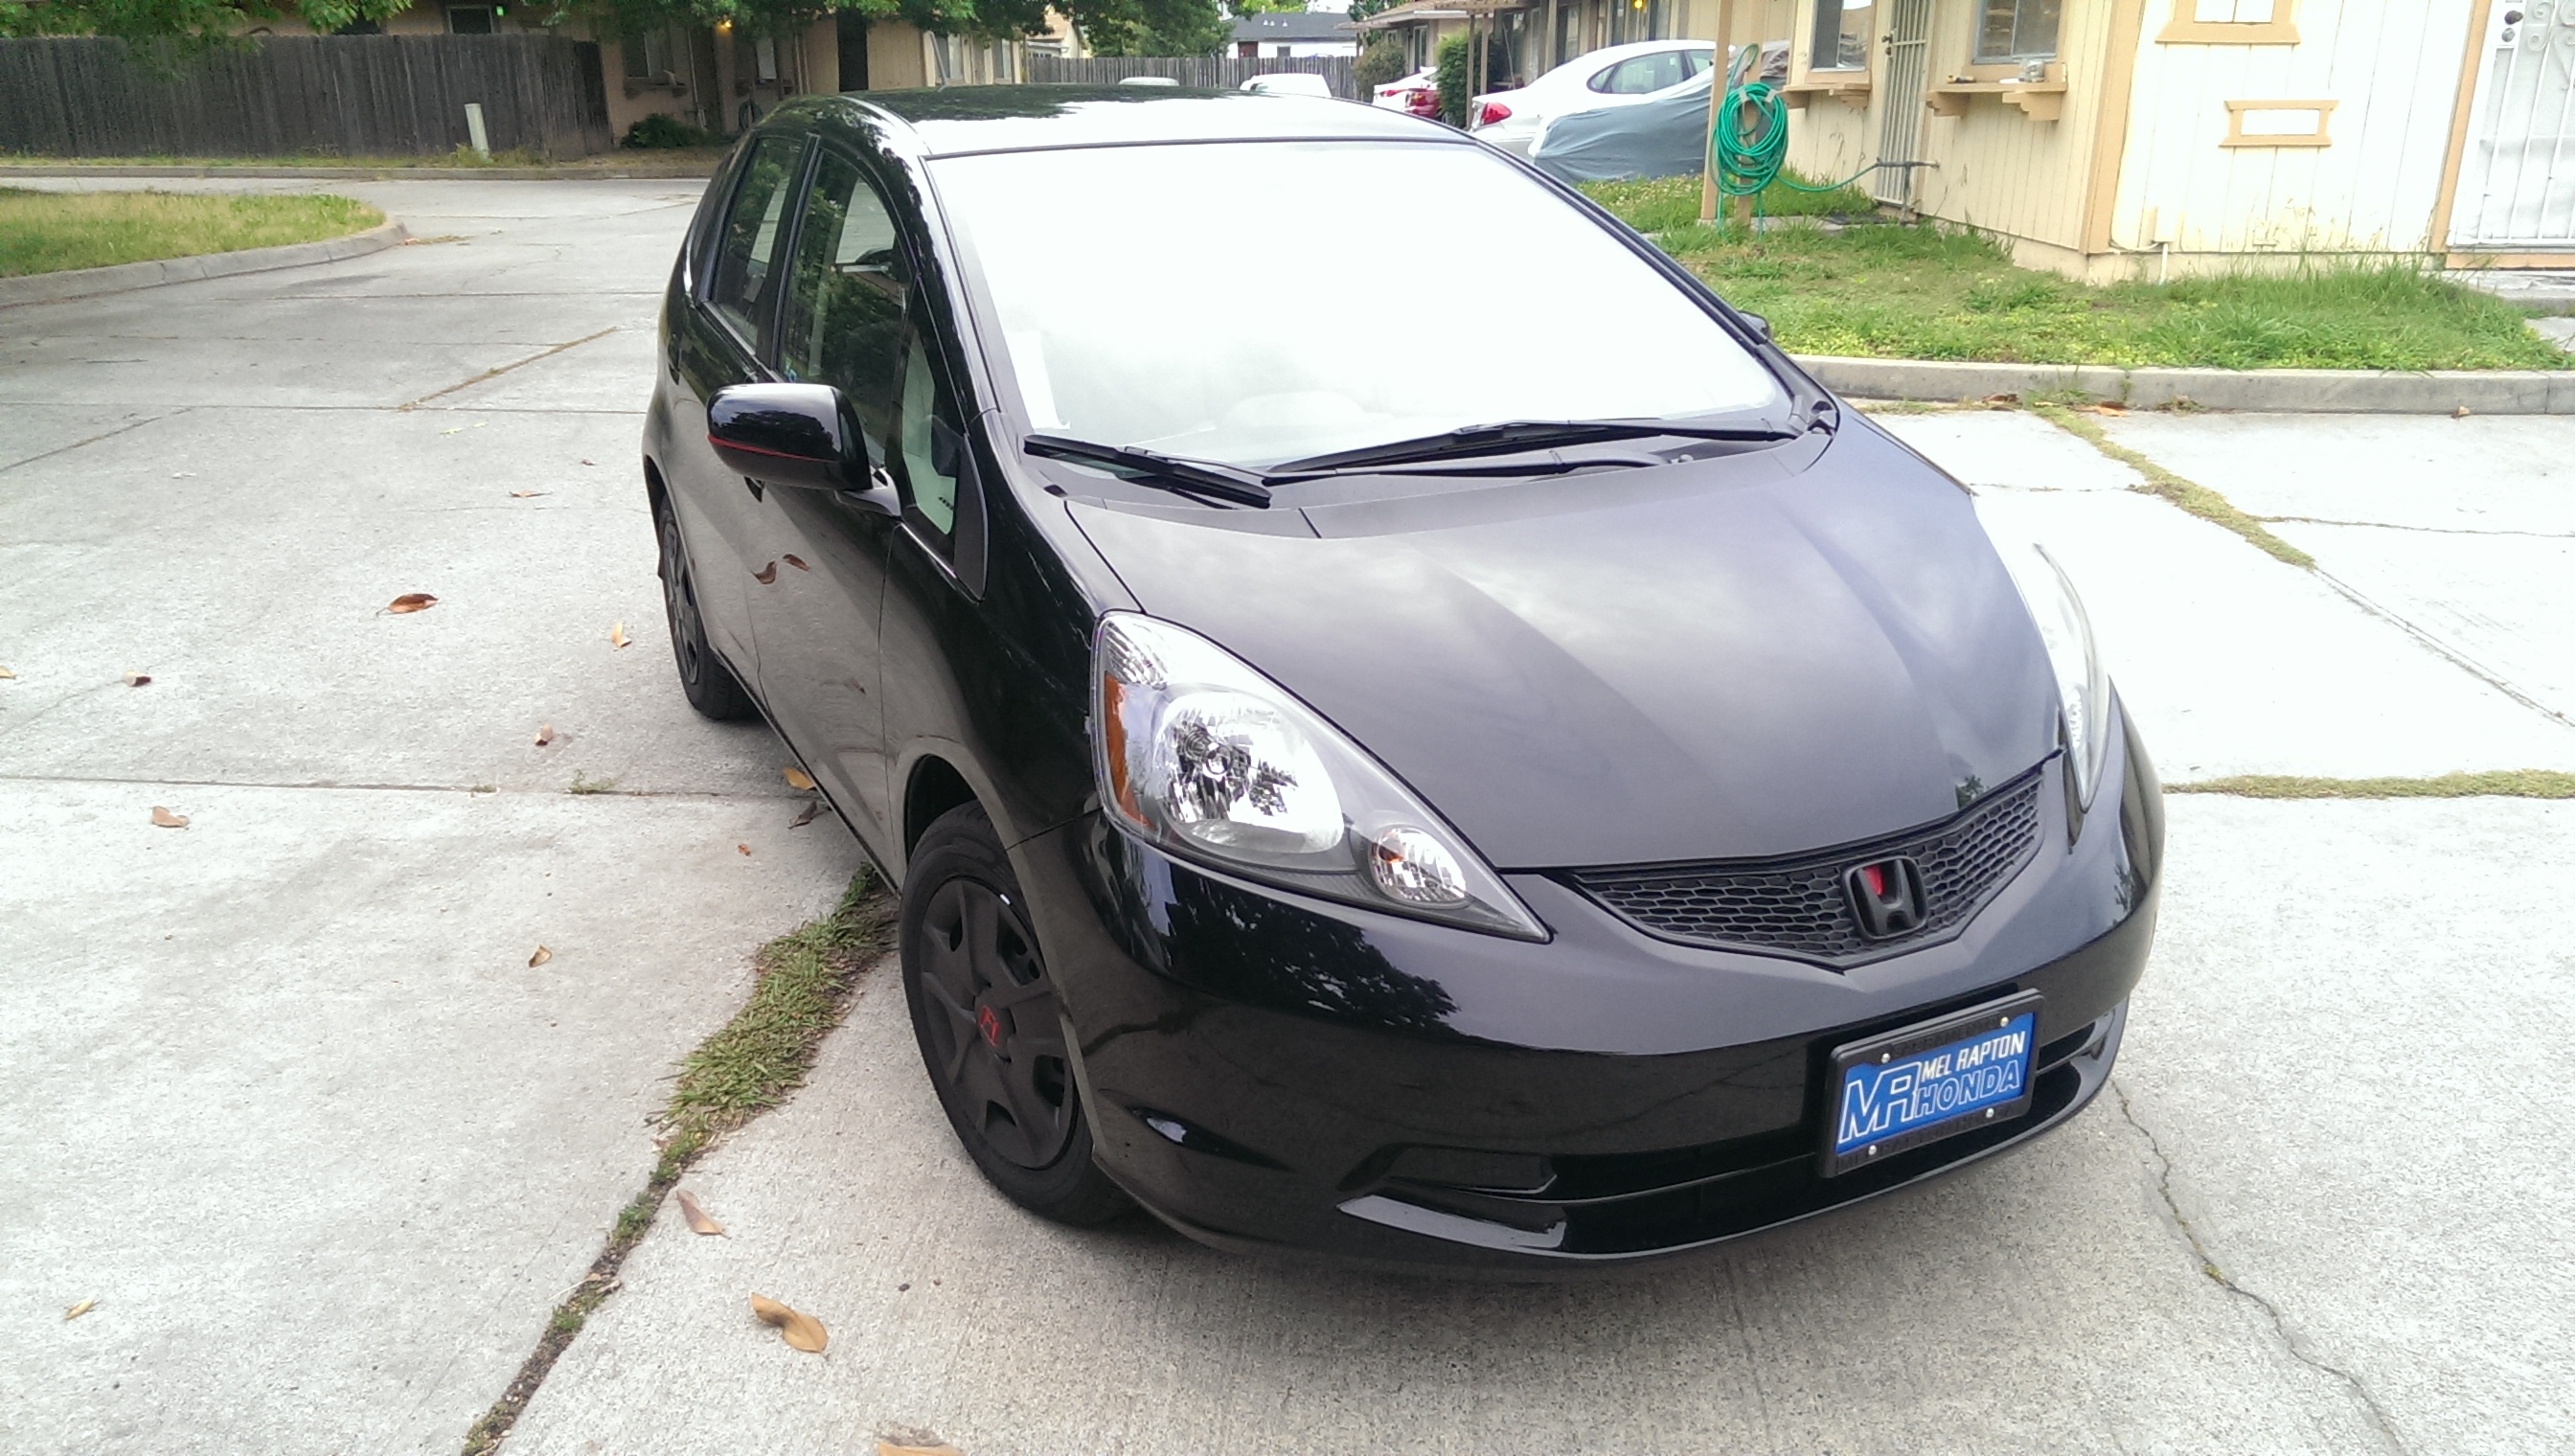
Plasti-dipped a few bits here and there. Also, added the Sport spoiler to my Base model. Swapped out some of the interior lights with LEDs (red for cargo area and cup holder, bright white for dome), but didn't take any pics yet.
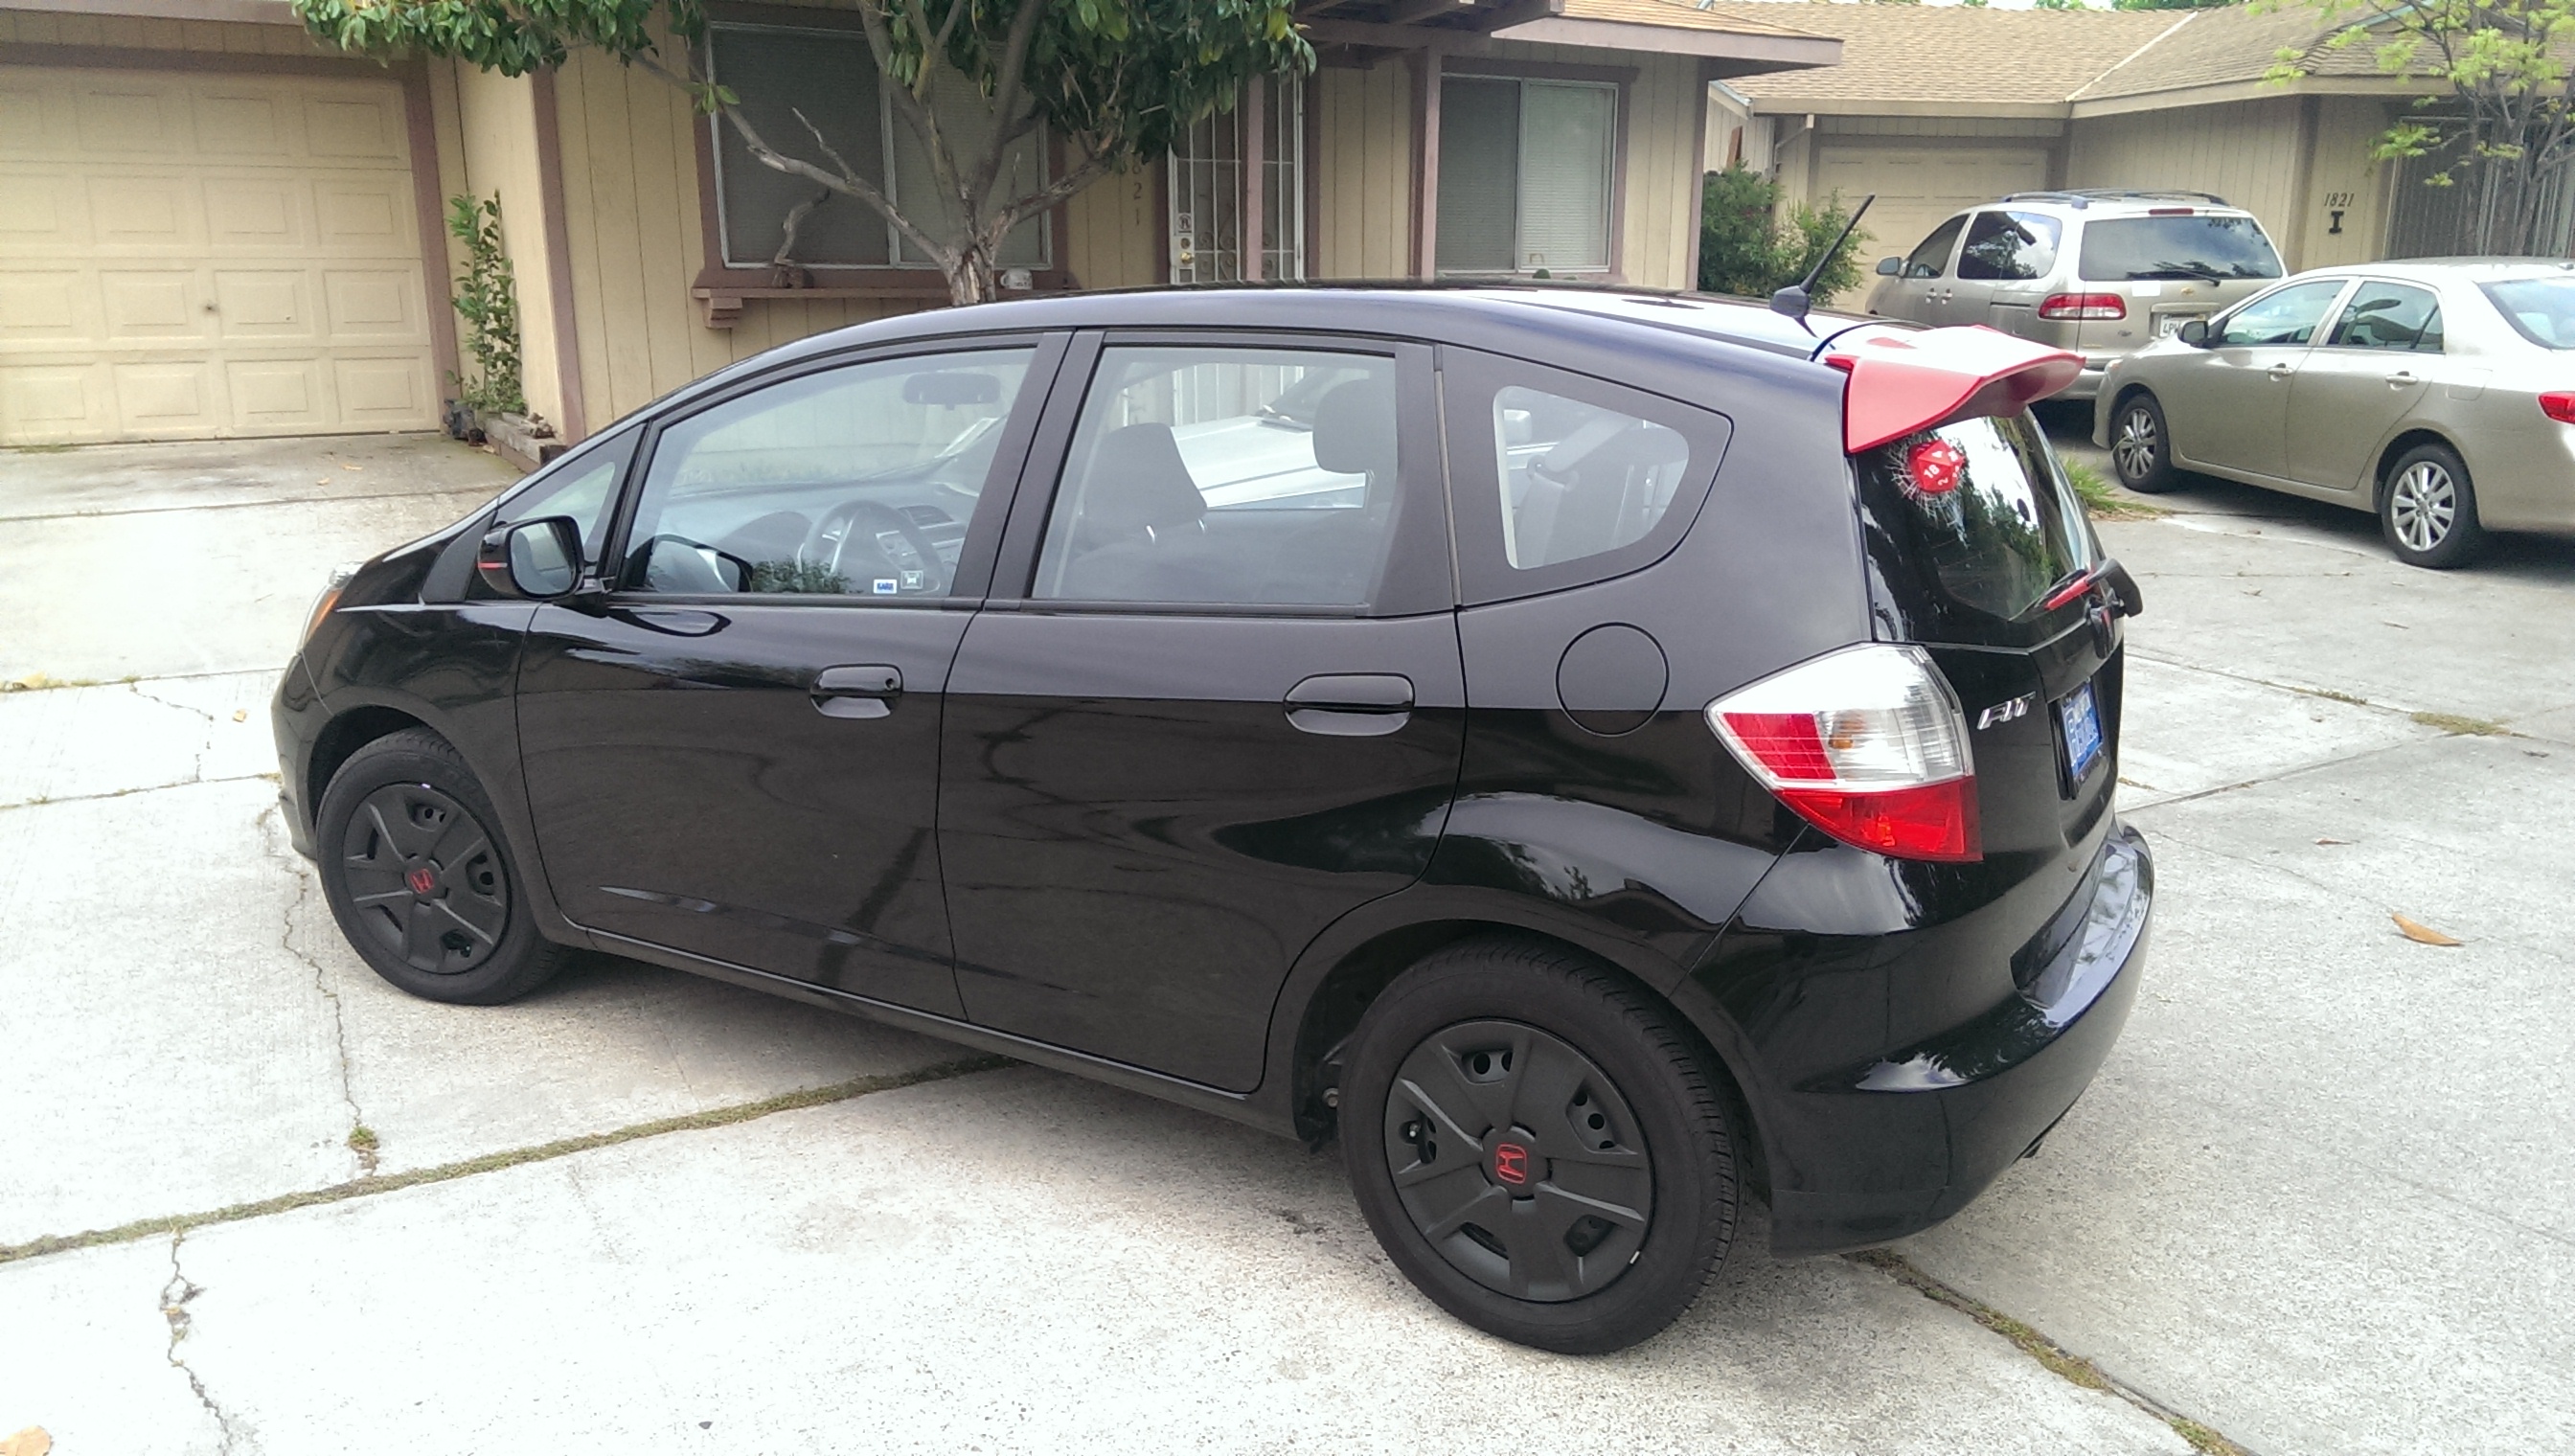
Last edited by EdgarAllanPWN; Apr 28, 2014 at 09:32 PM.


