
DIY lower your GE8 Fit

Hey I was just curious with the lowering springs for the REAR. After you put the oem bushing back on the lowering spring, how do you know which hole the little nipple thing on the bottom of the bottom bushing is supposed to go in? Cause there's multiple holes to fit the nipple on the bushing. I have tein s techs and just worried if I installed wrong. Thanks!
only one hole works!
Member
Joined: Nov 2014
Posts: 114
From: SoCal
Thanks! I thought the part of the spring where it had letters was supposed to be showing when looking at it from the rear loool
Member
Joined: Nov 2014
Posts: 114
From: SoCal
Popping axle back in
Just a note to those who are installing coilovers or doing suspension work and the axle pops out.. Hopefully this could be helpful:
Tbh it's not to hard. The way to do it is first hold brake disk part (the place you put the wheel on) up right and as if you're trying to push it back in straight.. And as you're doing this along with holding pressure against it (trying to push it back in), rapidly spin the brake disk part left and right like a crazy driver turning the steering wheel left and right as you're putting pressure against the brake disk part up right (like in the way you would try to force it back in making it look normal). If you do this according, it should pop back in within matter of seconds as this method works for me and others. This happened to me good amount of times, now it seems I'm good at it. Hope it works lol
Tbh it's not to hard. The way to do it is first hold brake disk part (the place you put the wheel on) up right and as if you're trying to push it back in straight.. And as you're doing this along with holding pressure against it (trying to push it back in), rapidly spin the brake disk part left and right like a crazy driver turning the steering wheel left and right as you're putting pressure against the brake disk part up right (like in the way you would try to force it back in making it look normal). If you do this according, it should pop back in within matter of seconds as this method works for me and others. This happened to me good amount of times, now it seems I'm good at it. Hope it works lol
Member
Joined: Feb 2014
Posts: 137
From: USA
If your talking about the metal things that is holding the plastic sleeves in place, I used a metal cutting disc power tool to cut them off, I tried using hammer and screw driver but it wasn't working for me. The power tool did it in no time. Good luck!
thanks i got it off using a plumbers wrench, & an allen wrench, a vise, and some elbow grease.
now that i have taken out:
~ 75% of the front bump stop(s)
~ 60% of the rear bump stop(s)
my car is finally starting to feel as smooth as stock. but I'm lowered 2" all around!
woot woot!
now that i have taken out:
~ 75% of the front bump stop(s)
~ 60% of the rear bump stop(s)
my car is finally starting to feel as smooth as stock. but I'm lowered 2" all around!
woot woot!

Member
Joined: Apr 2013
Posts: 205
From: Cali

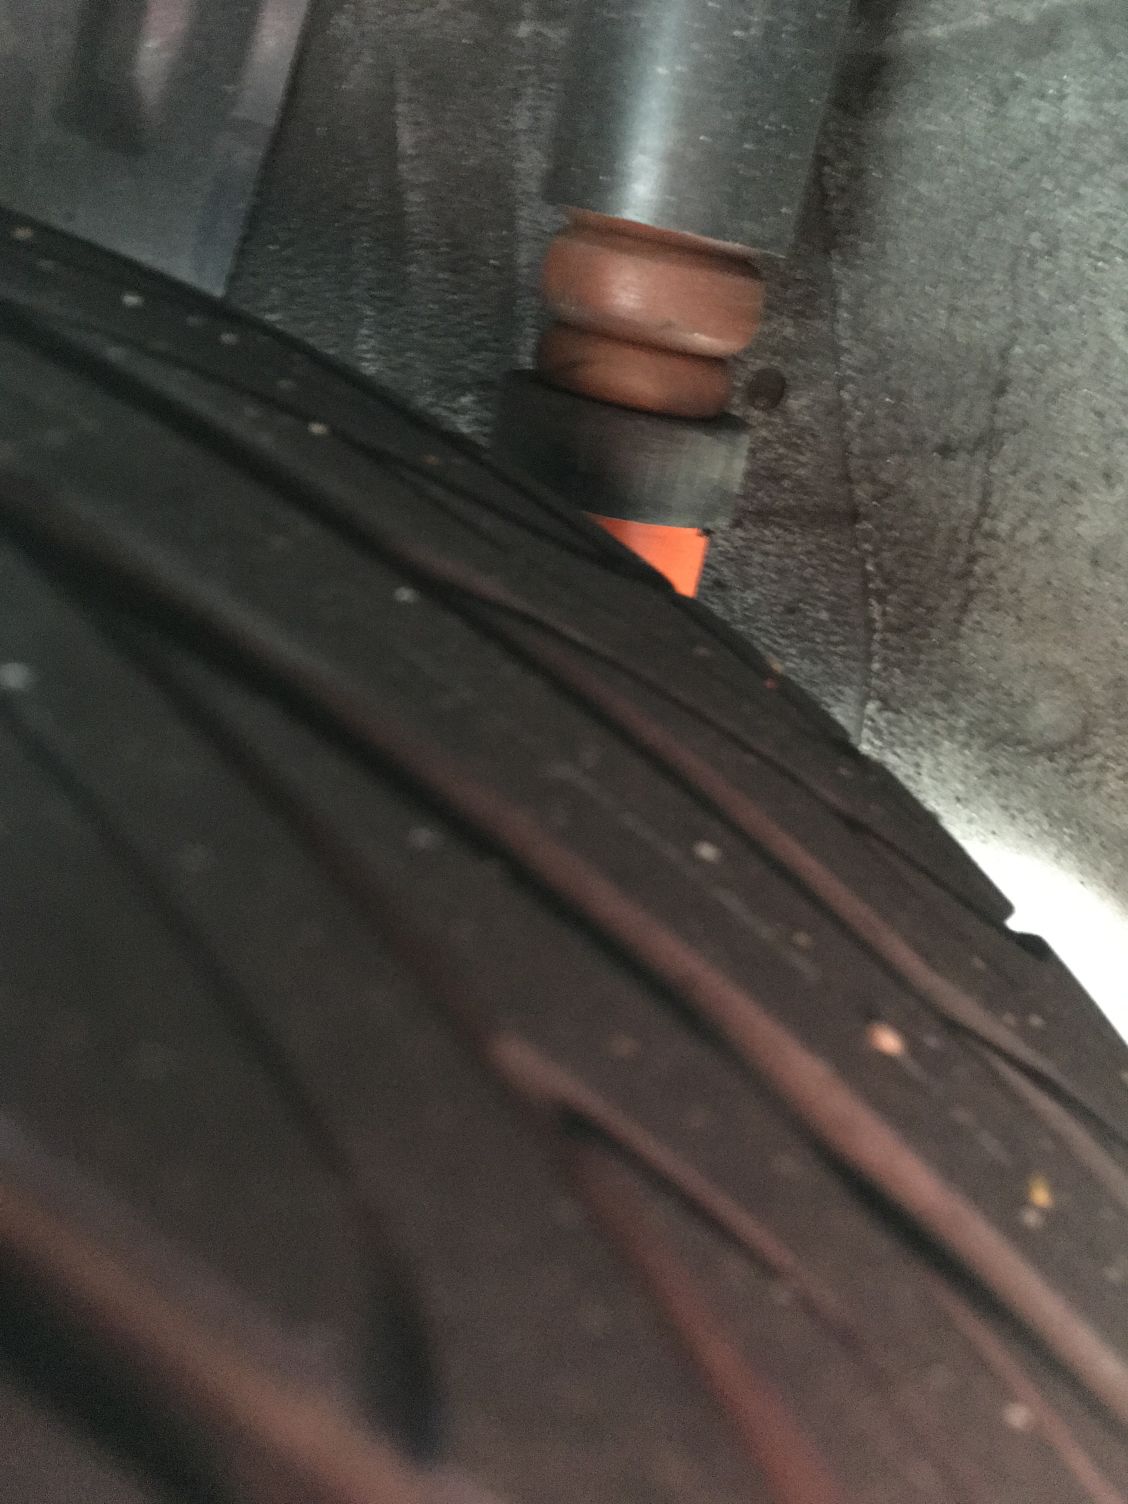
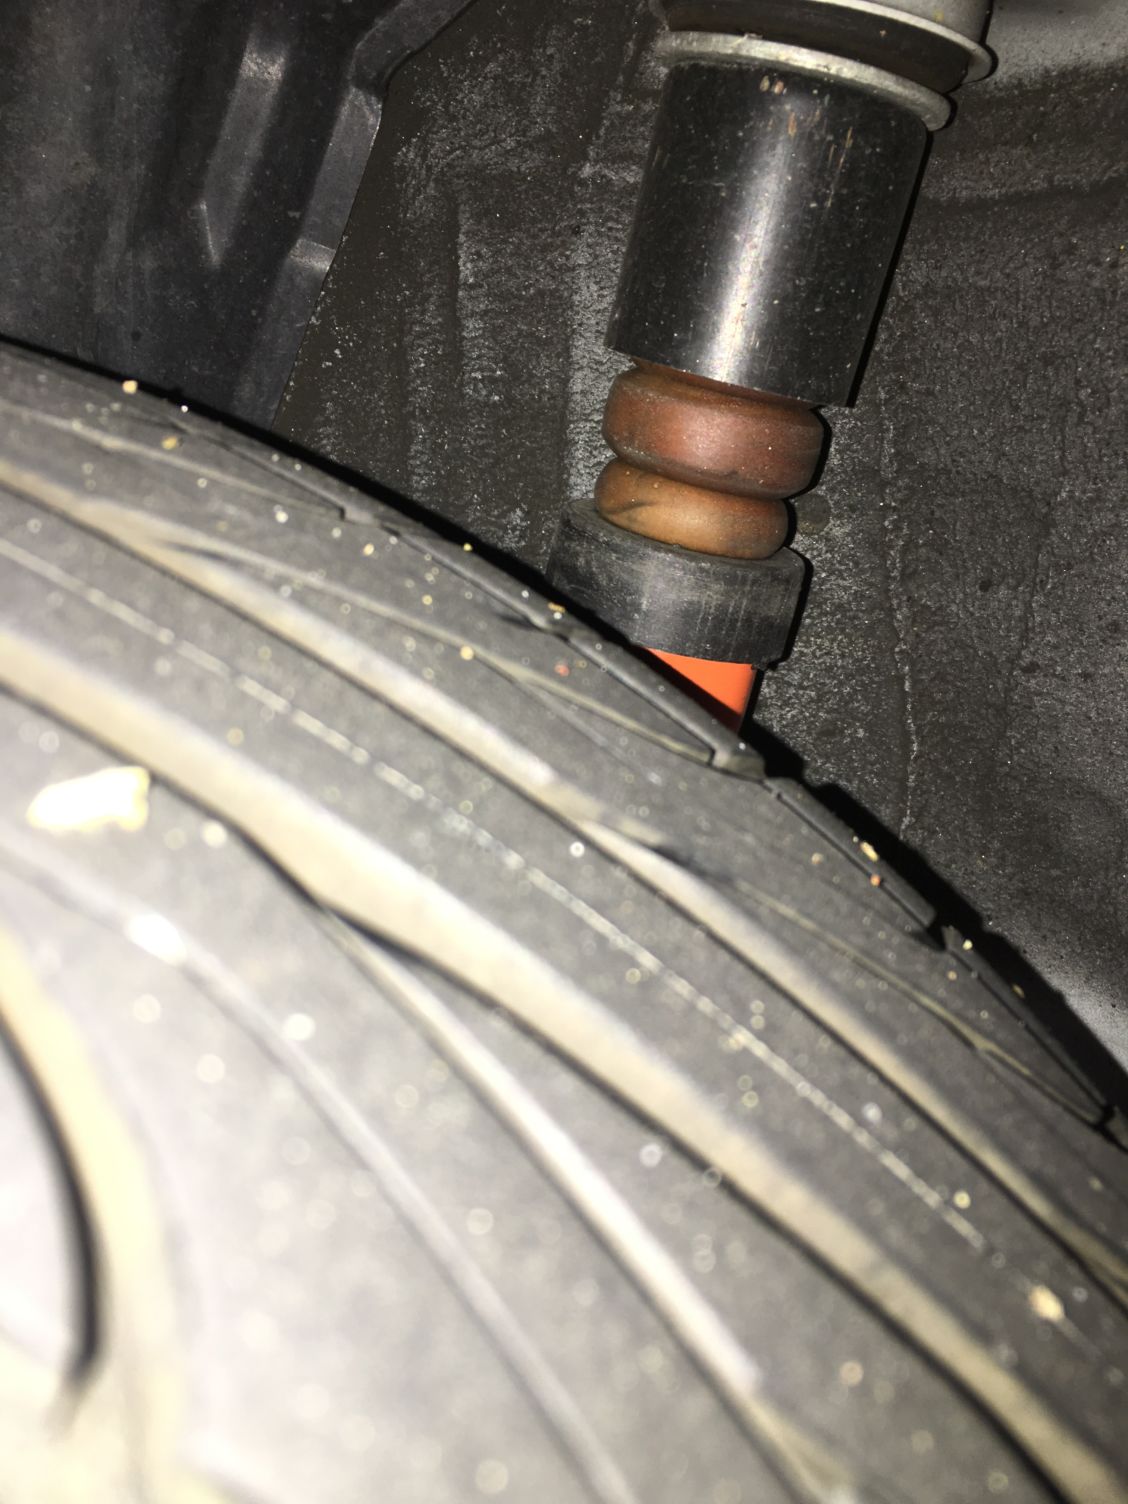
I have sportlines and Koni Orange on my ge8. Has anyone had issues with the plastic on the dust boot. Mine had broken off and settled at the bottom of the shock. My shock is resting on the bump stop and I will be cutting it in half tomorrow. My question is has anyone removed the dust boot and will I have problems if I leave the top metal part of the dust boot on my car if I cut the bump stop.
Member
Joined: Apr 2013
Posts: 205
From: Cali
Did you cut the front boots off. I couldn't pull off the front bumpstop. The picture is of the rear. The plastic boots ripped off the metal collar so I cut them off. Should I take the metal collar off also in the rear?
Member
Joined: Apr 2013
Posts: 205
From: Cali
I just cut the bumpstops a on the rear. I may cut the front boots off to get to the bumpstops.

New Member
Joined: Jul 2016
Posts: 3
From: Levittown PA., USA
Trying to to build a quick change out setup
New to the Honda product. 2010 fit GE8 this thread was a great help thanks. Can I the stupid question of the week. Everybody talking bumps stops trimming and such I assembled my new R sr springs .8/1.0 spring with Koni oranges str.t. Shocks.
my question for the front struts I preface this with never doing strut on any Honda let alone the odd setup of a fit. Are the bumpstops exposed or hidden inside the bellows . At the top or bottom of strut. Kyb sb 102boot kit build quick change setup. Thanks
Last edited by Ranger; Aug 7, 2016 at 08:25 AM.

New Member
Joined: Sep 2016
Posts: 5
From: Fl
Great job!
BEFORE WE START I AND FITFREAKS ARE IN NO WAY RESPONSIBLE TO DAMAGE OR LOSS OF WARRANTY DUE TO LOWERING YOUR CAR.
For this install we are using the RS*R suspension sytem.
this install can apply to all springs also.

Thank for the early christmas present Dave
one thing just amke sure you have lots of tools just in case
more coming soon
For this install we are using the RS*R suspension sytem.
this install can apply to all springs also.
Thank for the early christmas present Dave
one thing just amke sure you have lots of tools just in case
more coming soon

Thread
Thread Starter
Forum
Replies
Last Post