
DIY lower your GE8 Fit

 plus rep to you

Member

Joined: Dec 2010
Posts: 34
From: Miami, FL
Hello there my fellow fit freaks  I'm new on this forum and the first thing that sparked my interest is dropping my car since I did receive today from fedex, my eibach sportlines. Now I love this write up! But I do have a few questions, first, is it necessary to cut or do anything at all to the bump stops? What happens if you do nothing to them? Ride height affected?
My second concern would be the front suspension, is it really necessary to use spring compressors to remove the old springs? I read somewhere they were not too tight and would be safe to remove without the use of them.
I'm new on this forum and the first thing that sparked my interest is dropping my car since I did receive today from fedex, my eibach sportlines. Now I love this write up! But I do have a few questions, first, is it necessary to cut or do anything at all to the bump stops? What happens if you do nothing to them? Ride height affected?My second concern would be the front suspension, is it really necessary to use spring compressors to remove the old springs? I read somewhere they were not too tight and would be safe to remove without the use of them.

Member
Joined: Jan 2011
Posts: 118
From: MA

Great write-up! Put in a set of Eibach pro-kit springs last night without much trouble at all! (Man, this is my first experience wrenching on a car without rust... only 1kmi on it... what a joy!)
Since this info was so helpful, I feel a little compelled to share some lessons I learned while doing this install:
1) When taking of the rear strut-tower bolts, be careful not to drop the nut/washer when hey come off the threads. I got distracted just as I took the right one off and it fell down into the bodywork... not the end of the world, but I had to waste time trying to get the plastic cladding off the side of the cargo area.
2) taking the cowl off isn't all that difficult if you take your time. I didn't take photo's, but once you know where the clips are, you can do it easily. Here's some feedback on clip location based on my experience... thanks for the original photos:
the large cowl piece is held on by two rows of clips. The 'rear' clips are along the windshield. and pop out pretty easily. I snapped half of one, but it still went back together pretty easily. The 'front' clips are on the very edge of the cowl and wrap around the edge of the metal cross-member:

The triangle pieces I found to be easier to remove with the hood closed. They're held on by two clips. First, along the top, there's a lip that tucks under the metal. Then there's a single stab-thru clip (for lack of better word), towards the bottom. Be careful if you use a screwdriver here, the edge of the glass is right there and you can easily make a little chip:

3) To get the metal sheath of the top of the rear struts, the allen-wrench and vice-grip combo worked great! Just be careful - you barely need to squeeze with the vice-grips... it spins really easily. If you grip it too tightly, you'll just make it hard to unscrew as the sleeve will be grabbing against the threads resisting twisting.
4) On the front struts, the rubber accordion-type shock-protector is lightly clipped around a flange along the 'bottom'.
5) I cut the bump-stops off the fronts while they were still attached (I couldn't figure out how to get them off It's pretty easy to do. You just 'scrunch up' the rubber shock-protector, and lay it across the edge of a table/bench. Use the vertical edge of the table to hold the rubber boot back while you cut.
Since this info was so helpful, I feel a little compelled to share some lessons I learned while doing this install:
1) When taking of the rear strut-tower bolts, be careful not to drop the nut/washer when hey come off the threads. I got distracted just as I took the right one off and it fell down into the bodywork... not the end of the world, but I had to waste time trying to get the plastic cladding off the side of the cargo area.
2) taking the cowl off isn't all that difficult if you take your time. I didn't take photo's, but once you know where the clips are, you can do it easily. Here's some feedback on clip location based on my experience... thanks for the original photos:
the large cowl piece is held on by two rows of clips. The 'rear' clips are along the windshield. and pop out pretty easily. I snapped half of one, but it still went back together pretty easily. The 'front' clips are on the very edge of the cowl and wrap around the edge of the metal cross-member:
The triangle pieces I found to be easier to remove with the hood closed. They're held on by two clips. First, along the top, there's a lip that tucks under the metal. Then there's a single stab-thru clip (for lack of better word), towards the bottom. Be careful if you use a screwdriver here, the edge of the glass is right there and you can easily make a little chip:
3) To get the metal sheath of the top of the rear struts, the allen-wrench and vice-grip combo worked great! Just be careful - you barely need to squeeze with the vice-grips... it spins really easily. If you grip it too tightly, you'll just make it hard to unscrew as the sleeve will be grabbing against the threads resisting twisting.
4) On the front struts, the rubber accordion-type shock-protector is lightly clipped around a flange along the 'bottom'.
5) I cut the bump-stops off the fronts while they were still attached (I couldn't figure out how to get them off
It's pretty easy to do. You just 'scrunch up' the rubber shock-protector, and lay it across the edge of a table/bench. Use the vertical edge of the table to hold the rubber boot back while you cut.

Member
Joined: Apr 2010
Posts: 238
From: Houston, TX
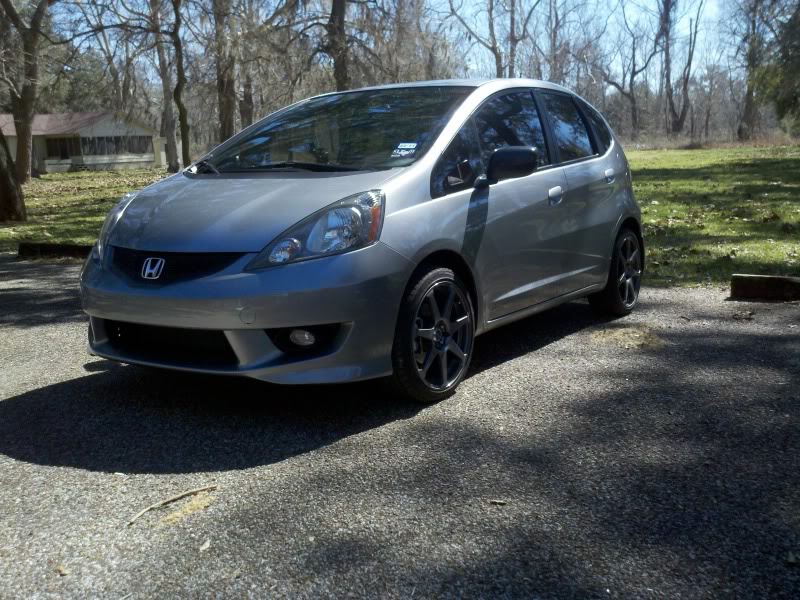
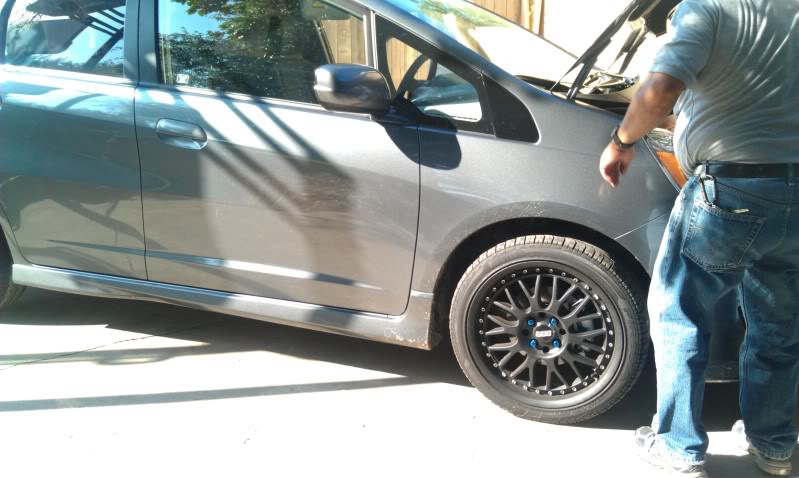
Mine is finally done!
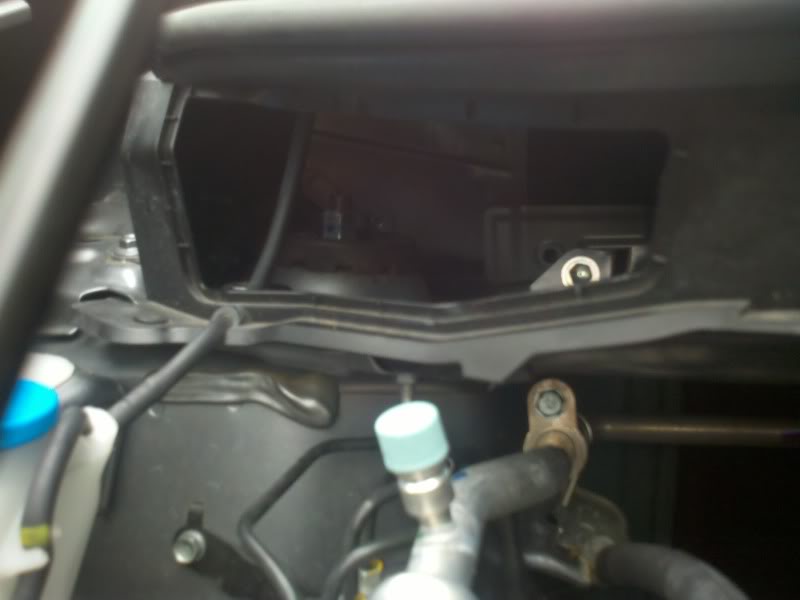
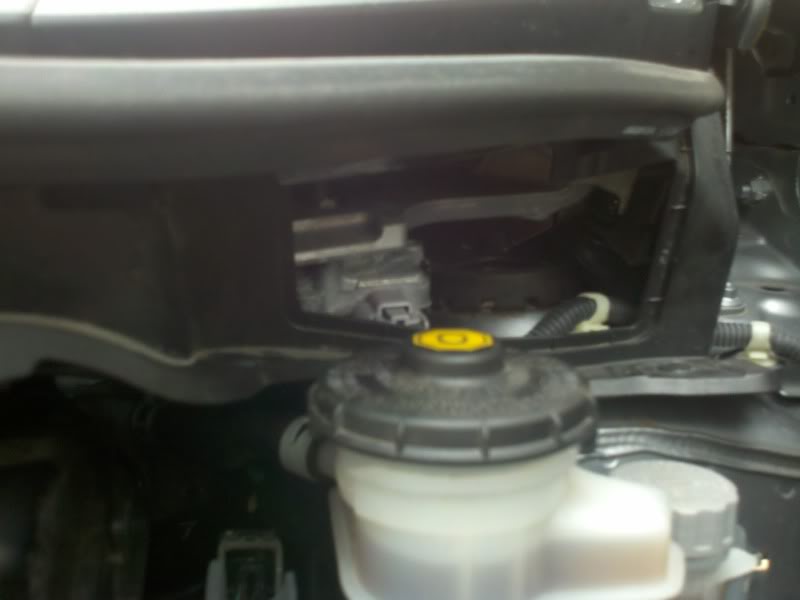
I got DZ springs for Christmas and I've been waiting till I have two days off consecutively in case I ran into an issue. After much research I decided to try to do this without removing the cowl! YES it can be done! I did it using a ratcheting boxend wrench...
I'll spare most of the pics. If you want them click on the link in my signature. It's my progress thread.
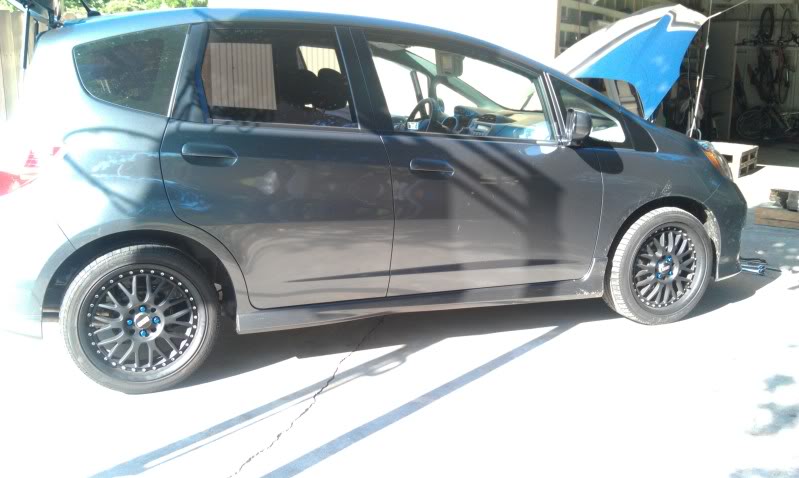
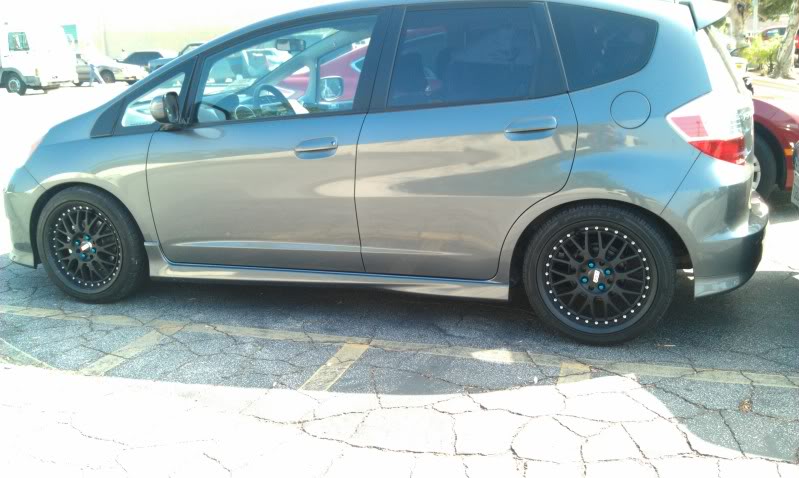
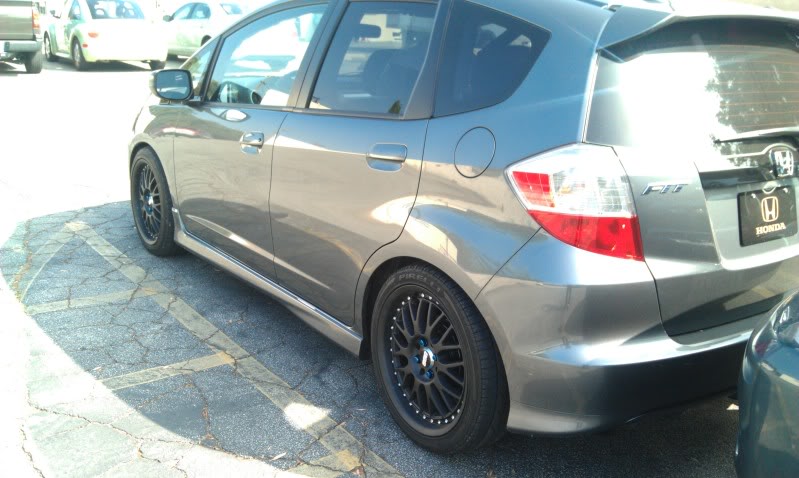
Before
After
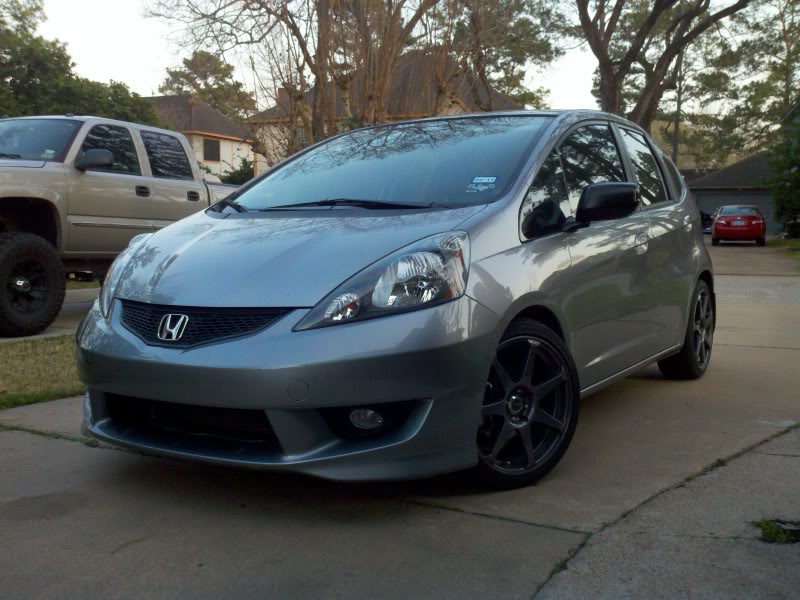
The ride is better than I expected! A bit stiffer than stock but that's what I like. I feels like it handles better, and I liked how it handled to begin with. I just wasn't looking to rally race! It looked like an SUV with little tires.
Thanks for everyone with the info and suggestions.
-Ray
I'll spare most of the pics. If you want them click on the link in my signature. It's my progress thread.
Before
After
The ride is better than I expected! A bit stiffer than stock but that's what I like. I feels like it handles better, and I liked how it handled to begin with. I just wasn't looking to rally race! It looked like an SUV with little tires.
Thanks for everyone with the info and suggestions.
-Ray
Member
Joined: Oct 2009
Posts: 4,295
From: Wandering around.
When I installed the Swifts, I also did it without taking off the cowl.
Unfortunately for me... I didn't have a ratcheting boxend. It took so long using a regular combo wrench... I probably could've gone to sears to buy the ratcheting boxend... come home, decided I didn't like it, go back to sears and exchange it for another one, come home to find it doesn't fit, exchange again... and still finish the job in half the time than the way I was doing it.
Unfortunately for me... I didn't have a ratcheting boxend. It took so long using a regular combo wrench... I probably could've gone to sears to buy the ratcheting boxend... come home, decided I didn't like it, go back to sears and exchange it for another one, come home to find it doesn't fit, exchange again... and still finish the job in half the time than the way I was doing it.
Don't you hate it when you think you find a shortcut and it just takes ten times longer?

Those flex head ratchets are worth their weight in gold sometimes! The "crows feet" for socket extensions too!
while disassembling, i've some how manage to strip the top of the struts. Now i can't finish the passenger side. Can anyone think of a solution to this problem?

thanks, i'm putting everything back together for now.
thanks, i'm putting everything back together for now.


Member
Joined: Jul 2007
Posts: 93
From: Kansas City, MO
thanks
Niko & WhiskeySix,
Thanks for taking the time to take pix & post up your DIY & tips. Both very helpful. I put in Swifts on my 09 today, took about 3 hours total. First time spring-changer... no probs with dropped axles thank doG.
Thanks again
Lee
Thanks for taking the time to take pix & post up your DIY & tips. Both very helpful. I put in Swifts on my 09 today, took about 3 hours total. First time spring-changer... no probs with dropped axles thank doG.
Thanks again
Lee

New Member
Joined: Jun 2011
Posts: 16
From: Norithdge, CA USA
THANK YOU FOR THIS DIY!!!!! IT WORKED REALLY WELL! i decided after reading through this thread that i was going to use the box-ended ratcheting tool! took a little while bit it worked. the process took me about five hours( im not a big tech guy and this was my first job without someone else knowing exactly what to do) the first front driver side took about three hours. the other side and the back took about 2 hours( obviously i didnt know what to do on the first one and i was going back and forth looking at the computer screen) all in all the drop is great although i might have to roll my fenders, we will see after i do the alignment.
thanks again OP.
by the way i had n extra set of hands helping me and i highly recommend having someone else help you to run things a bit faster. pics up tomorrow!!
thanks again OP.
by the way i had n extra set of hands helping me and i highly recommend having someone else help you to run things a bit faster. pics up tomorrow!!
Joined: Aug 2008
Posts: 1,929
From: Palm Coast FLA
THANK YOU FOR THIS DIY!!!!! IT WORKED REALLY WELL! i decided after reading through this thread that i was going to use the box-ended ratcheting tool! took a little while bit it worked. the process took me about five hours( im not a big tech guy and this was my first job without someone else knowing exactly what to do) the first front driver side took about three hours. the other side and the back took about 2 hours( obviously i didnt know what to do on the first one and i was going back and forth looking at the computer screen) all in all the drop is great although i might have to roll my fenders, we will see after i do the alignment.
thanks again OP.
by the way i had n extra set of hands helping me and i highly recommend having someone else help you to run things a bit faster. pics up tomorrow!!
thanks again OP.
by the way i had n extra set of hands helping me and i highly recommend having someone else help you to run things a bit faster. pics up tomorrow!!
no problem. just trying to make it easy


Member
Joined: Oct 2009
Posts: 4,295
From: Wandering around.
BUT
The old spring is under enough force that you should the use the spring compressor to UNINSTALL it. If you don't, the nut will SHOOT itself from the strut is high enough velocity to break stuff.
I didn't use a spring compressor. But I knew it would shoot off from the strut, so I aimed it at a piece of wood... it deflected of the wood, back at me. It barely missed me and rolled itself under some crap in the garage.
So yeah... you should use a spring compressor.
Note: I'm not saying it's safe to do this without a spring compressor, so please don't hurt yourself and blame it on me.
But if you're not going to use a spring compressor, choose better objects for energy absorption. I've used cardboard boxes several times, they're pretty much my favorite now because they're pretty good at retaining the nut, and if it does get out, it usually doesn't get far.
You could try pointing it into a hamper of dirty (or clean) laundry, a pile of rags, etc. Don't choose rigid objects though unless you want the nut ricocheting through your work space.
Wear glasses/goggles if you have them, and keep your legs/shins out of the line of fire, or line of ricochet. If you do get hit on the ricochet, it's not that bad really, in my opinion, getting hit with an airsoft BB is more painful.
And that my friends, is a safer way to do something unsafe. LOL.
Again, this is just something that has worked for me. It is still not a recommended method - using proper tools is still the safest way.
If you use a cardboard box, have one end open and lay the box on its side. Don't brace the box against the wall or anything like that, just let it absorb the impact and slide/jump on the ground, that's energy it's taking away from the nut's ricochet.
Point the strut into the box and close the flaps as much as possible to retain the nut after it hits the far wall of the box. The bigger the box, the better, and the further the distance from the strut to the far wall of the box, the better. Just make sure the nut goes into the box initially.
Keep in mind that the nut can still ricochet out of the box, so assume that it will do so and prepare accordingly. That means, don't do this right next to your car, a bunch of wine glasses, a gigantic mirror, some spare windshields, etc.