When you click on links to various merchants on this site and make a purchase, this can result in this site earning a commission. Affiliate programs and affiliations include, but are not limited to, the eBay Partner Network.
Thanks dude! You & I representing the one year sport only colors haha
I rarely see Orangeburst Metallic to be honest. It's such a delightful color. Midnight Plum Pearl just looks like black unless you look at it in the right lighting, haha.
It's going to take some practice for me to learn how to properly photograph the unique attributes of MPP.
Bought a cheap spoiler from eBay, it was cheap for a reason!
You need to prep it yourself and putty the holes and scratches.
I tried painting it yesterday but since the plastic is too thin, I need to repaint it thicker.
I have come to the conclusion, I need new brake shoes... I get unpleasant grinding when braking. The checked the front and there’s lots of pad material left. In addition, if I pull up on the hand brakes while moving, I get the same grinding noise.
Although I’ve replaced he pads a few times on the Fit, I’ve never replaced brake shoes on any car. If I was only 30k miles or something, I’d just do the shoes themselves, but with close to 160k miles, I’m wondering if there’s anything else I need to replace (springs?). In addition, because I’ve been grinding it for a last few days (or two weeks?), I question the condition of the drums themselves.
On the other hand, I’m also debating re-attempting the rear disc conversion.
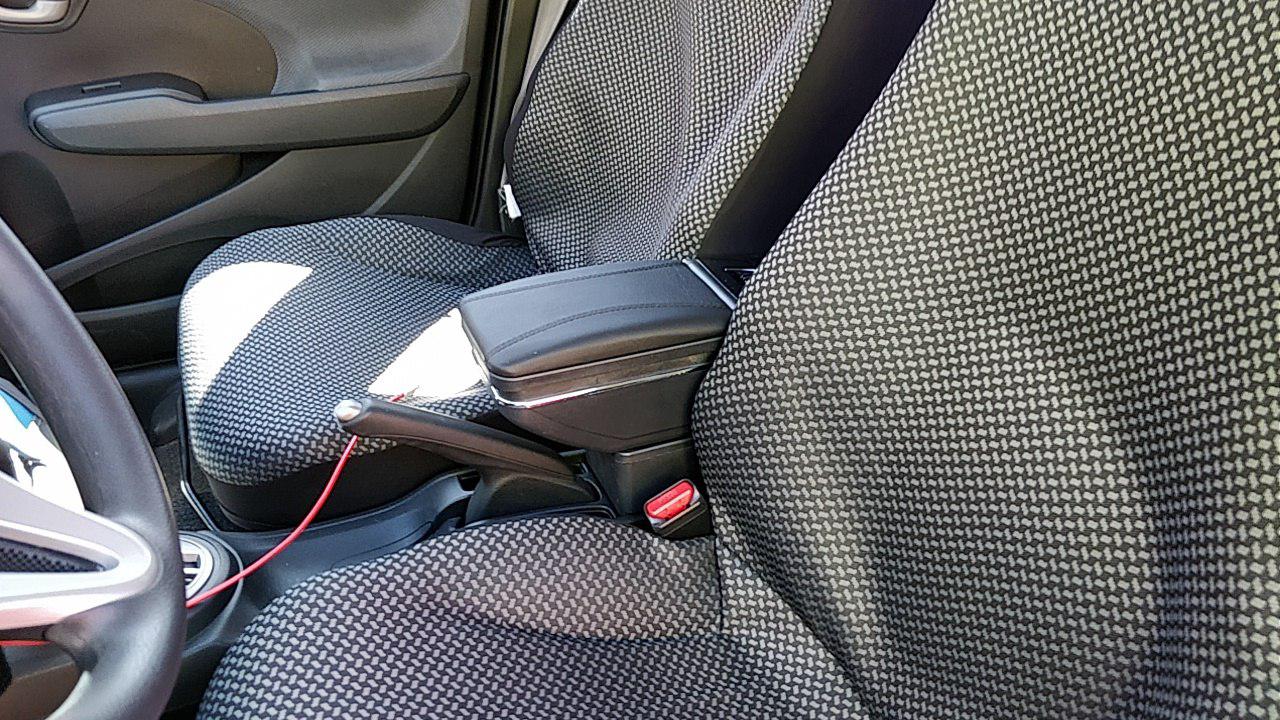
Well this has been a very long, painful process. I installed Recaro's out of an Evo VII, and have been working since to get the front passenger side working. My Fit is a 2013, and I got a seat out of a 2009 Fit assuming they were the same. Unfortunately I was wrong, and the ODS is different. Anyway, I was able to tear down the 09 seat for the weight sensors, and back (temperature?) sensors to transplant them into the Recaro's, and then recover my 2013 ODS unit. I hope this post will help someone out!
Before and after, 2009 seat tear down. You will need torx sockets to get at the weight sensors in the bottom. This didn't make sense for me to buy a whole set to do the job so I left the bottom end teardown to my mechanic.
Seat carcass and temperature (?) sensors:
Each of the four weight sensors were put in their own cage, and welded horizontally to the bottom of the seat rail (Bride RO). A bolt was placed on each sensor to replicate the weight of a person, tricking the system so that the airbag will go off in the event of a crash.
View on the bottom of the seat. it took a couple of tries with the welds to get the sensors to clear to the floor. Keep in mind that I am running a 2.2ohms resistor on the airbag cable on the driver and passenger side.
Now this is where the real pain begins. After installing the correct ODS unit, the airbag light was still on (back/strip sensors have been reinstalled as well, underneath the Recaro fabric). I ended up taking it to the dealer to try and reset the light and the weight sensors are reading at 249lbs (maxed out). This basically means that the bags will deploy, but I am not sure at what stage (1 or 2). Either way I wouldn't have a kid up front. They tried loosening the bolts on the sensors and that made no difference. Any insight is appreciated! I might just leave it like this and cover over the airbag light, knowing that the bags will deploy. Still would be nice to get it right.
Edit: I tried a Honda Diagnostic Tool off Amazon, but it required Windows XP to run...
Last edited by Chantastic; Mar 28, 2019 at 01:12 AM.
I've been preparing for a busy car weekend:
Rear drums and brake shoes (plus tpms if enough time), bleed rear brakes, coolant change, clean MAF, clean EGR, new thermostat, new pcv, clean throttle body, and finally seafoam (via vacuum line),
More room than expected if you peel back the splash shield Not too bad for the original belt @ 126,000 miles Remove 2 clips + 3 screws and fold the shield down out of the way
I finally got this done with the help of a friend. Wasn't sure how big of a challenge getting the plastic splash shield out of the way would be. Turns out it was much easier than expected. Be sure to get a bag of the push-pin "clips" Honda uses in areas like this. You are almost certainly going to break a few during removal. Used a trim removal "fork", works well. Pulled the passenger tire, remove 2 clips from the upper fender well area + 3 Phillips screws at the edge of the bumper. I just kind of folded the plastic under to get enough access. 19mm offset wrench works good to lift the tensioner, slipped the new belt on all grooved pulleys first, then slide over water pump last. Helps to let it heat up in the sun and relax, very little extra give to slip it on. Old belt was still in fair shape, no cracks, just oxidized. 126,000 miles, still plenty of depth in the grooves. Also a good time to treat the CV and steering rack boots with ArmorAll Extreme to keep them soft and pliable
Last edited by gkitf16; Mar 30, 2019 at 07:14 PM.
Reason: Add photos
More room than expected if you peel back the splash shield
Not too bad for the original belt @ 126,000 miles
Remove 2 clips + 3 screws and fold the shield down out of the way
I finally got this done with the help of a friend. Wasn't sure how big of a challenge getting the plastic splash shield out of the way would be. Turns out it was much easier than expected. Be sure to get a bag of the push-pin "clips" Honda uses in areas like this. You are almost certainly going to break a few during removal. Used a trim removal "fork", works well. Pulled the passenger tire, remove 2 clips from the upper fender well area + 3 Phillips screws at the edge of the bumper. I just kind of folded the plastic under to get enough access. 19mm offset wrench works good to lift the tensioner, slipped the new belt on all grooved pulleys first, then slide over water pump last. Helps to let it heat up in the sun and relax, very little extra give to slip it on. Old belt was still in fair shape, no cracks, just oxidized. 126,000 miles, still plenty of depth in the grooves. Also a good time to treat the CV and steering rack boots with ArmorAll Extreme to keep them soft and pliable
You did it the smart way!
I put mine in at the end of October, just by going from the top. Took a lot of effort, but I managed by myself.
Speaking of effort I worked on my rear brakes Saturday. Took me about 7 and a half hours. Replaced both drums, changed drivers side brake shoes and some of the hardware.
Was going to change the brakes on the passenger side but the drivers side was a nightmare and I was out of energy.
Hardware was half bad on the drivers side, all good on the passenger side. Brake bleeder loosened easy on the passenger side and was horrible on the drivers side. Even broke a little 8mm wrench. Caliber popped out of the drivers side. I can go on and on about the problems I had. Was supposed to do more stuff on Sunday, but that is now on delay. 4 ibuprofen helped.
Oh and the end result was the brake pedal a little harder, good. Emergency brake looser, bad.
If I had it to do over again I would have just changed the drums, retainers, put some anti-seize and be done.
So... one corner was roasted while the rest had plenty of material.
Passenger side was "perfectly" even all around, with material being about average of the driver's side mess.
And yes, I replaced the drums too.
Odd so my situation isn't unique. Maybe the drivers side just gets a lot more wear. I thought the dealer I bought it from last year replaced some of the springs. Maybe they didn't.
Today I replaced the coolant, cleaned MAF, EGR, and changed the thermostat and pcv valve.
Not sure why but the old pcv didn't have a washer on it. I put one on the new one. It is the same crush washer for changing the oil.
Whatever I did the engine seemed to get a lot quieter during the test drive.
Might clean the throttle body tomorrow and finally put some Seafoam in the vacuum line.
Well this has been a very long, painful process. I installed Recaro's out of an Evo VII, and have been working since to get the front passenger side working. My Fit is a 2013, and I got a seat out of a 2009 Fit assuming they were the same. Unfortunately I was wrong, and the ODS is different. Anyway, I was able to tear down the 09 seat for the weight sensors, and back (temperature?) sensors to transplant them into the Recaro's, and then recover my 2013 ODS unit. I hope this post will help someone out!
Before and after, 2009 seat tear down. You will need torx sockets to get at the weight sensors in the bottom. This didn't make sense for me to buy a whole set to do the job so I left the bottom end teardown to my mechanic.
Seat carcass and temperature (?) sensors:
Each of the four weight sensors were put in their own cage, and welded horizontally to the bottom of the seat rail (Bride RO). A bolt was placed on each sensor to replicate the weight of a person, tricking the system so that the airbag will go off in the event of a crash.
View on the bottom of the seat. it took a couple of tries with the welds to get the sensors to clear to the floor. Keep in mind that I am running a 2.2ohms resistor on the airbag cable on the driver and passenger side.
Now this is where the real pain begins. After installing the correct ODS unit, the airbag light was still on (back/strip sensors have been reinstalled as well, underneath the Recaro fabric). I ended up taking it to the dealer to try and reset the light and the weight sensors are reading at 249lbs (maxed out). This basically means that the bags will deploy, but I am not sure at what stage (1 or 2). Either way I wouldn't have a kid up front. They tried loosening the bolts on the sensors and that made no difference. Any insight is appreciated! I might just leave it like this and cover over the airbag light, knowing that the bags will deploy. Still would be nice to get it right.
Edit: I tried a Honda Diagnostic Tool off Amazon, but it required Windows XP to run...
As you know, I had all the parts above including the torx tools and the weight sendor, and even pair of the Recaro Seat Rail, unfortunately, I haven't bought the Recaros yet
There is always something that is more urgent that require me to delay buying the Recaro seats...
My question, is the airbag light that turn on the one on the center console (near the radio/CD player)? if yes that should mean the airbag will not deploy...
I am really curious with your situation too. unfortunately, not much I can suggest until I experience it (and try to troubleshoot) my self...
Oh wait,...
if the airbag light that turn on is the one on the center console,... then I manage to get that light turn on with my stock passenger seat if I put my laptop bag on my seat while I am driving...
This mean, if you put a fake load on the load sensor using the screw but the thin sensor (behind the fabric) did not sense a body touching it then the airbag off light will be turn on.
Have you try with a person sitting and resting their back on the back rest of the seat? if the light turn off, that means your thin sensors works, if not, then you might damage the thin sensor when you are taking it out from the original seat foam,
or the value (I am not sure either capacitive or resistive) of the thin sensor between the 2009 seat do not match your OPDS requirement...
Last, have you ask Honda dealer to reset the system as if you are installing a new OPDS sensor?
Last edited by BMW ALPINA; Apr 6, 2019 at 03:34 PM.
- Replaced key fob batteries in both fobs .
- Disconneted hood latch sensor since alarm was going off randomly last night.
- replaced cabin air filter and removed 3 acorn husks from blower motor, fan sounds much better now !
- Honda dealer replaced the claymore Takata airbags with less deadly ones under recall.
Saturday:
Objective is to change front rotors and brakes. Tried to jack up the car using the front jack point behind the oil pan. Jack wouldn't fit. Bought a low profile jack from Harbor Freight.
Sunday:
Low profile jack still wouldn't fit from front or sides. Used old jack on side jack point, then new low profile on the front. Success. Took off tires, realized salt corrosion is pretty bad here.
Supposed to be two screws holding in each rotor. Each side only had one screw and even with a spray loosener I stripped them worse than they already were. At this point I realized they need drilled out.
Gave up and had enough frustration. Always next weekend.
If you're replacing the rotors anyway... you can try using a dremel or anything thin saw and slice into the head of the screw and make it a flat tip screw. That's what I did, then I used one of my larger screw drivers and it came out. Better if you have something that adapts to a socket wrench. The thing is, this cutting will definitely cut into the rotor around it, which is why I only mention it because you're replacing the rotor.
Did a valve clearance adjustment and changed out the spark plugs a few days ago. Engine sounds really smooth now! Plugs appeared to be original to the car and after 64,xxx miles, I think it was time for both the valve clearance adjustment as well as replacing the spark plugs. I also took the liberty of cleaning out the throttle body while everything was taken apart.