
MODS/ACCESSORIES for the GK


Member
Joined: Jul 2014
Posts: 3,276
From: Shokan, NY

Right! I can't understand why they don't. And we need a cover for the armrest/lid. I can see that wearing quickly.

Member
Joined: Jul 2014
Posts: 3,276
From: Shokan, NY
You could hear the license plate vibrating? You must have super hearing and a very quiet Fit.
Member
Joined: Jul 2014
Posts: 3,276
From: Shokan, NY
My son got the Honda cargo liner. I'm waiting for the WeatherTech to become available. Then I'll compare them.
Member
Joined: Jul 2014
Posts: 3,276
From: Shokan, NY
Looks good. I'd like to put a strip across the top of the windshield.

Member
Joined: Sep 2014
Posts: 927
From: The Middle West
es
Thread Starter
|
Someone that spends his life on FitFreak.net
Joined: Mar 2014
Posts: 1,116
From: Hawaii: relocated to Western Canada Sept, 2015
Awesome!!! An accessory that matters.
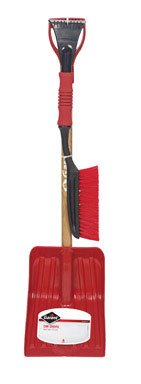
Fitmo's timely reminder to Fit owners to prepare for the upcoming Winter season.
My prep was done decades ago. Moved to the islands and now watch snowfalls on the flatscreen instead.
Have taken the liberty of posting the following attached threads. These are terrific shares!!! Thank you CyclingFit, BMO, SheepNutz, Arson, Bassguitarist1985!!!
Hello All,
Thought I would share my recent install. Probably a love or hate thing for some.. I just got my fit a little over a week ago. 2015 Red LX 6spd. I never really researched the accessories, I simply loved the car I saw in the dealer lot. So I didn't realize there is an optional door sill guard... When I noticed the amount of red paint exposed to feet entering the vehicle I decided to research, only to find out the pricey option.
I had these made at a local decal shop. It's not your normal vinyl. This is s special floor vinyl over the top of a regular black vinyl, making them (hopefully) incredibly durable.
At this point:
Please ignore my dirty floorboards. It's been raining on and off here since the day I got my car.


Thought I would share my recent install. Probably a love or hate thing for some.. I just got my fit a little over a week ago. 2015 Red LX 6spd. I never really researched the accessories, I simply loved the car I saw in the dealer lot. So I didn't realize there is an optional door sill guard... When I noticed the amount of red paint exposed to feet entering the vehicle I decided to research, only to find out the pricey option.
I had these made at a local decal shop. It's not your normal vinyl. This is s special floor vinyl over the top of a regular black vinyl, making them (hopefully) incredibly durable.
At this point:
- I'm curious to see what red would have looked like
- If they could have put the 'Fit' logo between the layers, in red
- If I should have gone even wider in the door frame.
- durability.
Please ignore my dirty floorboards. It's been raining on and off here since the day I got my car.
I know this is nothing new, but I'm pretty pleased and thought I'd pass along a few (crappy) pics. I didn't weight the vinyl before I cut it, so it's still got a bit of a bow/curve to it. That should settle out, but it's visible in some of these pics. The covers are much less rippled than they photograph, and don't sag at all.
Materials:
-9' of vinyl runner @ $2.27/lf ( Multy Home Black 27 in. x 72 in. Vinyl Runner-MT5310063US at The Home Depot)
-18" of adhesive-back Velcro $1.50 (might need more, we'll see)
-heavy duty scissors
-newspaper
-chalk
-marker
-about an hour of time
seats down:

seats up:

no seat back covers or flaps (this uses a hair over 4' of mat):

60/40 split:

Overall, I'm super pumped at this $22 project! This is for everyday sorts of stuff. It doesn't cover everything with the seats down, so if it's a messy job, I'll use a tarp.
A few more photos at the link: Cargo Mat Photos by BMOfit | Photobucket
Hey guys, I've been eyeing the shift knob to the Japanese Fit RS for a while now, and I finally got my hands on one. I bought it off a guy on ebay that sells JDM parts. He didn't have an auction listed, but I just messaged him and he was able to get it for me. It was $96 with shipping from Japan, which only took about 5 days! I ran into some issues with it, since it's not exactly compatible with our USDM Fits like I thought, but here's what you need to do to install this beauty.
Here's a closeup of the knob and its part number: 54102-TF0-R02ZD.

Another glamour shot.

Here's the before shot with the old stock knob. To remove the knob, you pull down on the silver shift boot holder/grommet (not sure what to call it, it's that little silver piece right below the knob). Once that's loose, you just unscrew it.

Here's the two side by side. You can see how much bigger around the JDM one is.

From this shot you can also see how much taller it is.

The old knob weighed in at 62 g.

The new knob is about 2.5 times as heavy, at 159 g.

Here's where I started running into issues. From here, you can see that the JDM knob is obviously fit for a different shift boot holder/grommet (notice the little tabs sticking out in 4 separate directions that the old USDM knob doesn't have).

Here's another shot of the tabs. They have to go if we're going to get this installed properly.

Here's the other problem I ran into. The locking tabs for the JDM knob stick down about 8mm more than the USDM knob. That means when I install it, the shift boot holder will have that much of a gap between it and the knob. I couldn't think of a way to get around this.

I took a dremel to the tabs on all 4 sides to remove them, first using a cutting wheel to shave them off, then a grinding attachment to smooth it out.

Here's the new knob installed. It looks pretty, but there's that damn gap below it.

Here are a couple more shots of the gap. I'm not sure how to get rid of it. I was thinking about trying to superglue the silver piece to the bottom of the knob, but I'm not sure it would hold. Plus it could end up ripping the leather wrap off of the knob, since that's where the leather starts, and it doesn't seem like it's held on very tight.


The new knob shifts wonderfully though, and I like the size and heavy feel. I highly recommend this knob, even for the price and work needed to make it fit. Enjoy!
Here's a closeup of the knob and its part number: 54102-TF0-R02ZD.
Another glamour shot.
Here's the before shot with the old stock knob. To remove the knob, you pull down on the silver shift boot holder/grommet (not sure what to call it, it's that little silver piece right below the knob). Once that's loose, you just unscrew it.
Here's the two side by side. You can see how much bigger around the JDM one is.
From this shot you can also see how much taller it is.
The old knob weighed in at 62 g.
The new knob is about 2.5 times as heavy, at 159 g.
Here's where I started running into issues. From here, you can see that the JDM knob is obviously fit for a different shift boot holder/grommet (notice the little tabs sticking out in 4 separate directions that the old USDM knob doesn't have).
Here's another shot of the tabs. They have to go if we're going to get this installed properly.
Here's the other problem I ran into. The locking tabs for the JDM knob stick down about 8mm more than the USDM knob. That means when I install it, the shift boot holder will have that much of a gap between it and the knob. I couldn't think of a way to get around this.
I took a dremel to the tabs on all 4 sides to remove them, first using a cutting wheel to shave them off, then a grinding attachment to smooth it out.
Here's the new knob installed. It looks pretty, but there's that damn gap below it.
Here are a couple more shots of the gap. I'm not sure how to get rid of it. I was thinking about trying to superglue the silver piece to the bottom of the knob, but I'm not sure it would hold. Plus it could end up ripping the leather wrap off of the knob, since that's where the leather starts, and it doesn't seem like it's held on very tight.
The new knob shifts wonderfully though, and I like the size and heavy feel. I highly recommend this knob, even for the price and work needed to make it fit. Enjoy!
........hope this helps anyone who was having trouble with this.
2015 Honda Fit Cargo Cover Installation - YouTube
2015 Honda Fit Cargo Cover Installation - YouTube
The cost isn't bad at all for the parts, its the labor to install them. I sized up the job yesterday, actually haven't done the work yet. So many side projects between new windows for the house, other electronic projects, and restoring/rebuilding my pinball machine.
Heated mirror glasses: ~$75
SPST Relay & Wire: ~$20
Add a circuit fuse holder with 7.5A fuse: ~$6
Molding and Panel removal kit from HF: ~$7
Zip ties: $2 Total: $110
Time wise I'm looking at half a days worth of labor for me. Yeah I may be slow in that respect but I'm taking precaution not to break any plastic panels or break something else costing me more money.
Fit EX Mirror SUB assembly part# (Glass/bracket w/o heating grid)
Left: 76253-T5R-305 ~$36.46 USD
Right: 76203-T5R-305 ~$31.07 USD
Fit EX-L Mirror Glass SUB assembly part# (Glass/bracket with heating grid)
Left: 76253-T5R-306 ~$44.02
Right: 76203-T5R-306 ~$37.04 USD
For those looking into this. Cost is very reasonable.
Left: 76253-T5R-305 ~$36.46 USD
Right: 76203-T5R-305 ~$31.07 USD
Fit EX-L Mirror Glass SUB assembly part# (Glass/bracket with heating grid)
Left: 76253-T5R-306 ~$44.02
Right: 76203-T5R-306 ~$37.04 USD
For those looking into this. Cost is very reasonable.
Last edited by ROTTBOY; Oct 15, 2014 at 12:53 PM.

Member
Joined: Sep 2014
Posts: 95
From: New York
So far I have the following completed:
- Splash guards, all weather mats and cargo tray installed by dealer;
- 35% tint all the way around;
- Installed LED interior lighting (my favorite mod by far!);
- Aluminum sport pedals;
- Visual Garage shark fin antennae.
I am getting my RPF1's mounted today and then I think I am done. No plans to do any further exterior mods.
Thread Starter
|
Someone that spends his life on FitFreak.net
Joined: Mar 2014
Posts: 1,116
From: Hawaii: relocated to Western Canada Sept, 2015
Nice mods!
Post pics after the RPF1's are mounted.
As for being done? Thought I was done too when I purchased an UltraGauge (first add-on). Not only isn't it installed yet, I went on a binge and shopped for many other things I thought I'd never get.
Who do I blame? The FF forum! The perfect venue for unselfish shares!!!
Member
Joined: Sep 2014
Posts: 95
From: New York
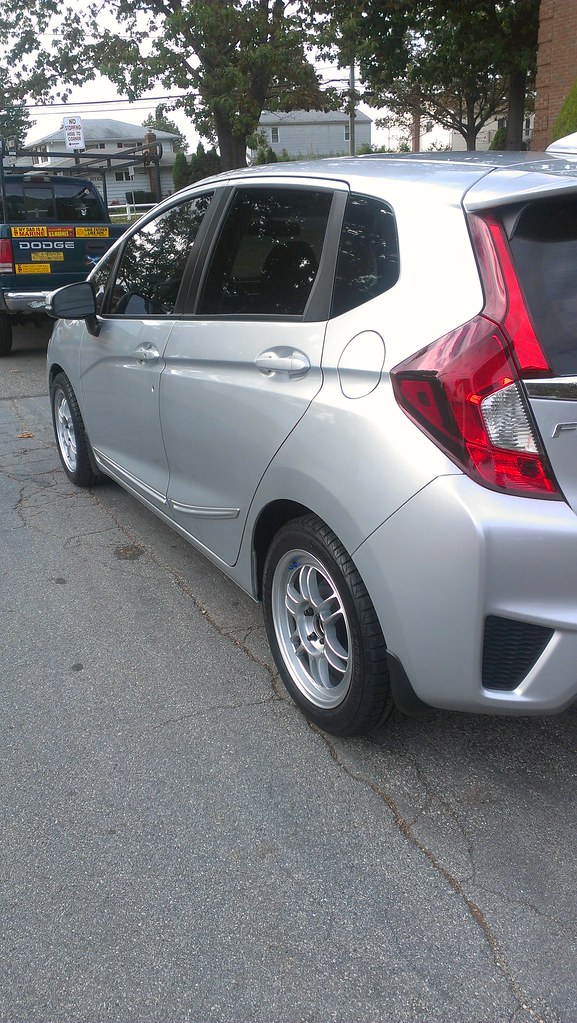
Here are some really bad pics I just took. 16x7 RPF1's with Conti DWS 205/50/16. I did not think that the tire profile would be this chunky. Aesthetically, they don't look as sleek as I would have liked. Also, the tires seem super "floaty" if that makes sense. I'm hoping it's the break in. I felt much more connected on the Bridgestones.
I will say I have already noticed a difference in acceleration with the wheels though. Overall, I'm happy and I had to compromise on the looks for utility purposes.

I will say I have already noticed a difference in acceleration with the wheels though. Overall, I'm happy and I had to compromise on the looks for utility purposes.


Member
Joined: Oct 2014
Posts: 39
From: Bay Area
<<<@!1!@>>>
i actually bought it at my local kmart but I did originally find it on amazon...
I wanted to buy it in person in case it didn't fit and can return with no hassle of shipping it back. im not sure if that is the exact same one I have but they look the same so don't rely on me if it fits lol. good luck!
Member
Joined: Sep 2014
Posts: 95
From: New York
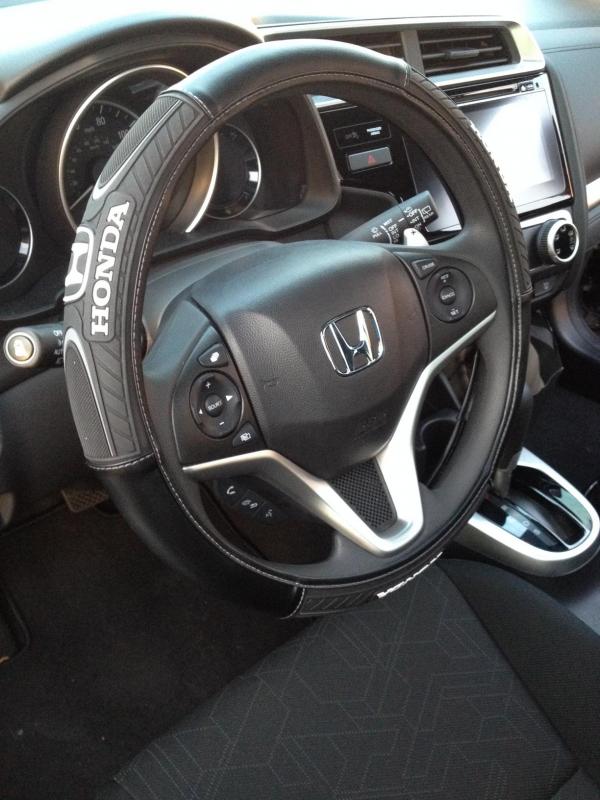
<<<@!1!@>>>
i actually bought it at my local kmart but I did originally find it on amazon... Amazon.com: Plasticolor 006492R01 Sport Grip 'Honda' Steering Wheel Cover: Automotive
I wanted to buy it in person in case it didn't fit and can return with no hassle of shipping it back. im not sure if that is the exact same one I have but they look the same so don't rely on me if it fits lol. good luck!

Member
Joined: Sep 2014
Posts: 43
From: Los Angeles


New Member
Joined: Oct 2014
Posts: 7
From: florida