When you click on links to various merchants on this site and make a purchase, this can result in this site earning a commission. Affiliate programs and affiliations include, but are not limited to, the eBay Partner Network.
After I�m embarrassed to say how many hours, I have put back at the dash pieces, reconnected battery, collapsed on sofa, drenched in sweat from this heat. Could not remove the 8mm bolt from the underside of lower bracket. Searched for everyone�s tips and and instructions, but can�t get a tool in there to stay straight with the AC dash trim in place. Has anyone had to remove that also to get to that damn bolt?
I removed the panel under the AC controls, the usb, hdmi, and 12v panel, but it was still really crowded trying to access the bolt, and impossible to see. This is my first time removing ANY panels, so I'm being super cautious. Is the steering column lower cover panel easy to remove?
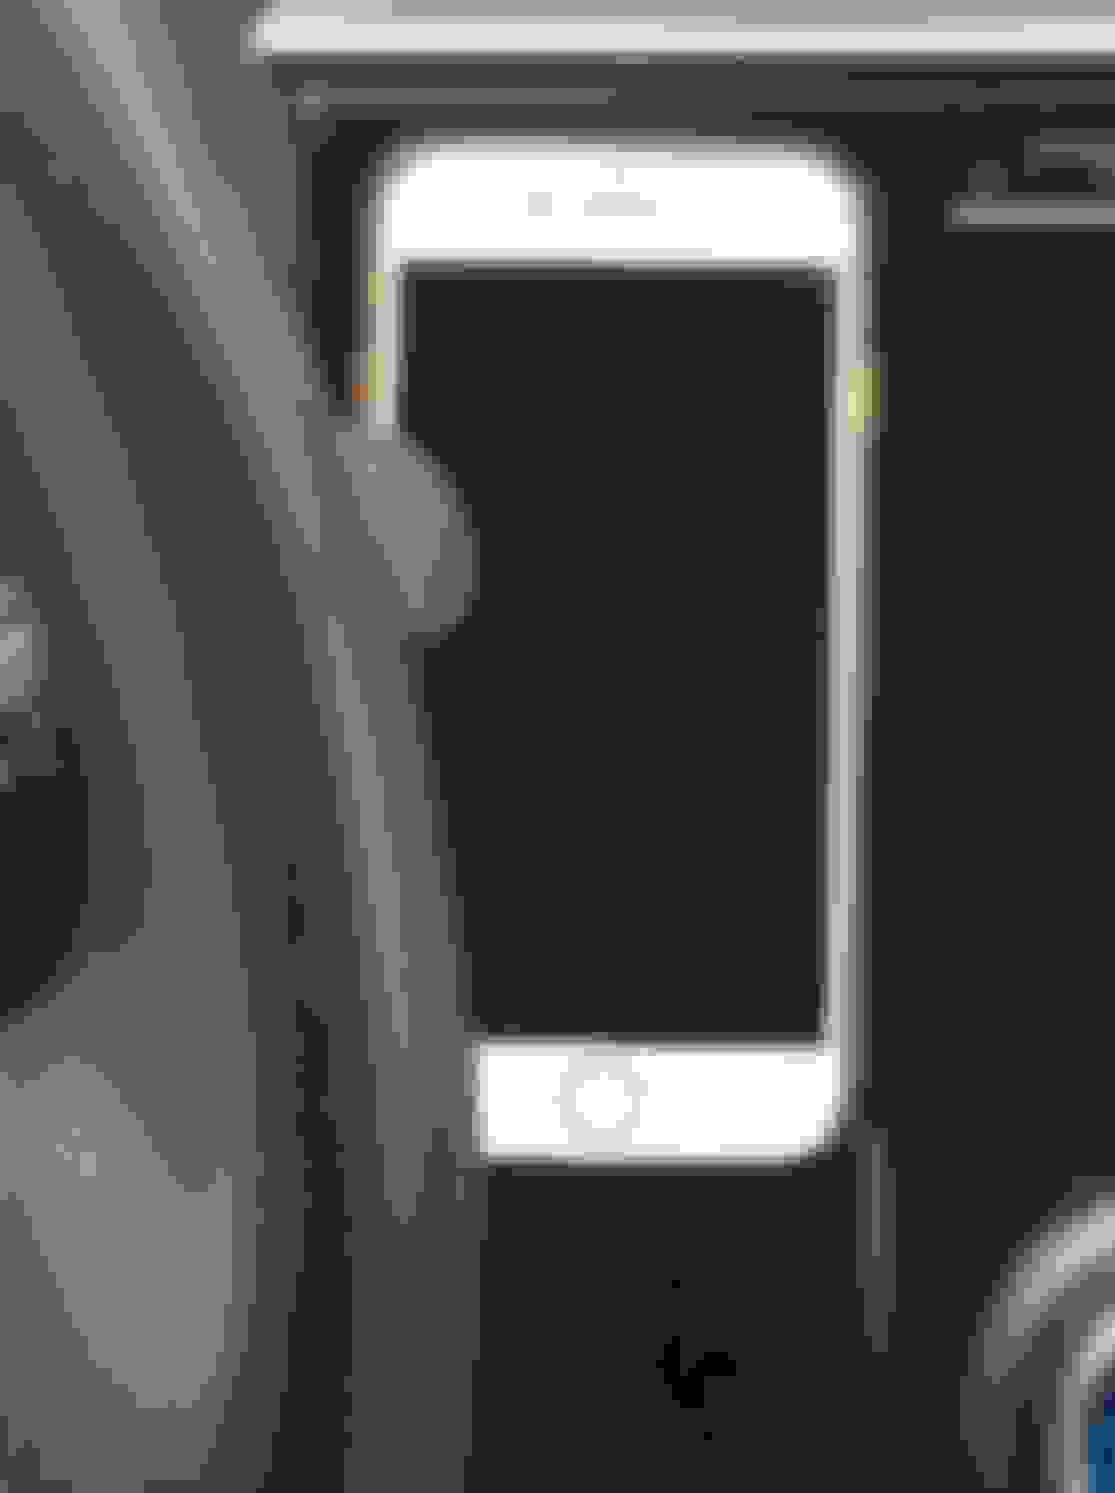
Here you can see what I have used to create my cheap in car phone mount.
My mount for my iPhone in the 2015 Fit was really very inexpensive. In fact, two small pieces of Gorilla double sided tape, a Canadian dime and an old magnet I retrieved from a dismantled old 3.5 inch hard drive.
All Canadian coins are magnetic so you could use a nickel or a quarter for a deluxe version.
Bet it it is way less expensive than a Weathertech Cup Phone.
After I�m embarrassed to say how many hours, I have put back at the dash pieces, reconnected battery, collapsed on sofa, drenched in sweat from this heat. Could not remove the 8mm bolt from the underside of lower bracket. Searched for everyone�s tips and and instructions, but can�t get a tool in there to stay straight with the AC dash trim in place. Has anyone had to remove that also to get to that damn bolt?
Here's one diagram. I'll see what else I can find.
EDIT: The first step in removing the heater control panel is removing the audio unit. That has six pages of directions. Do you really think you want to do that? If you do, I can send those pages.
Last edited by SilverEX15; Jul 21, 2019 at 12:02 PM.
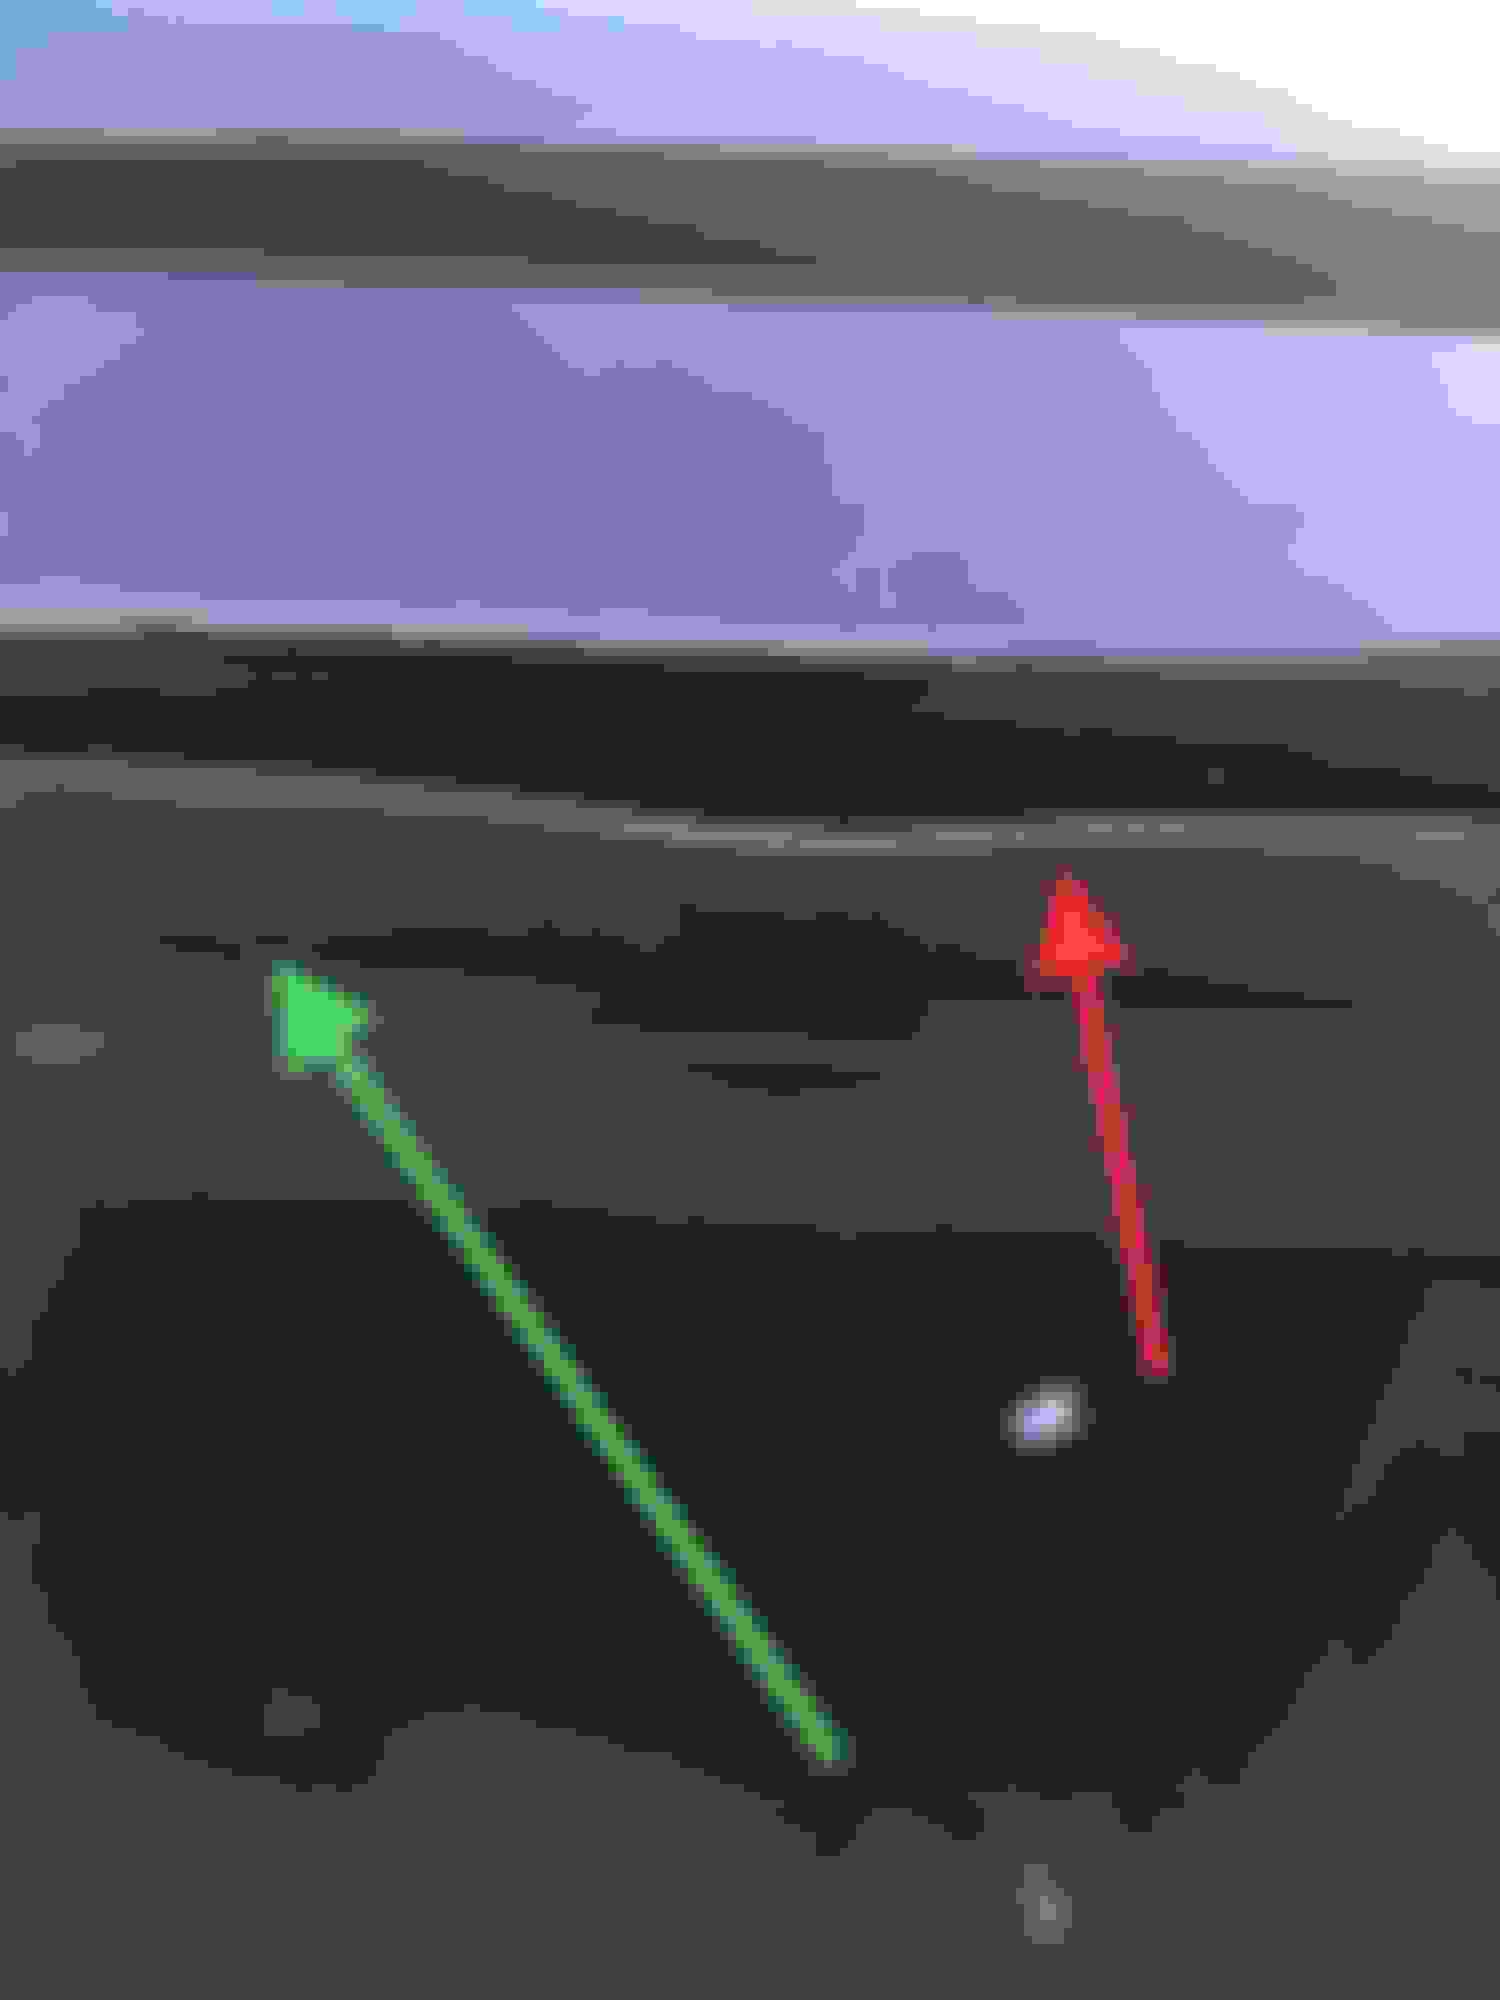
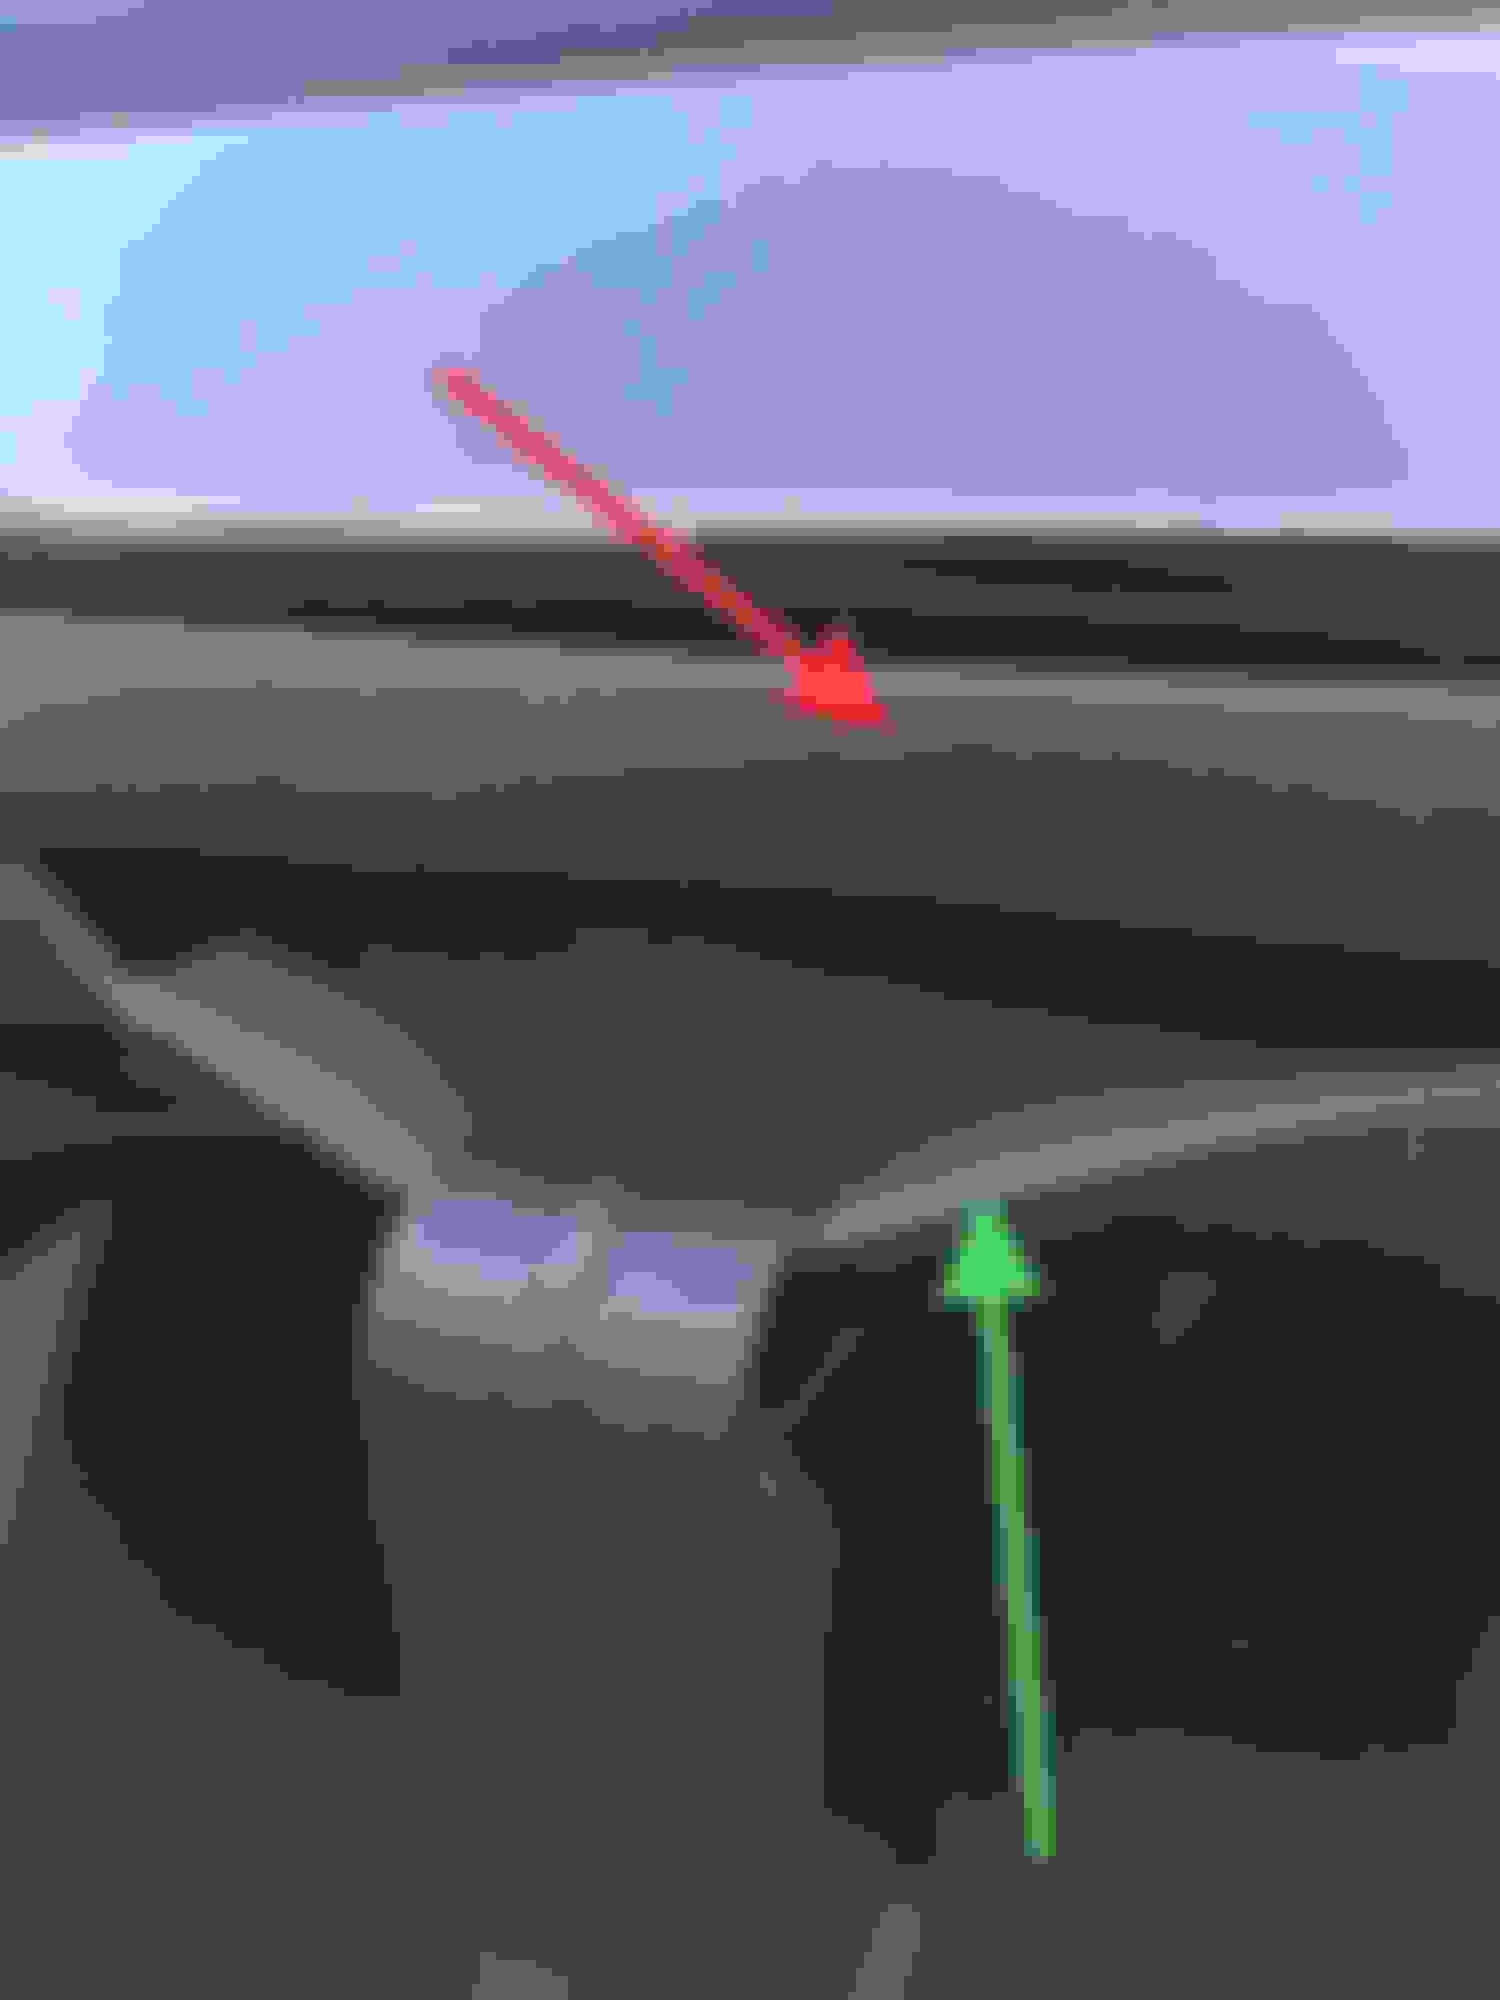
Done. If you plan on doing this, the back window needs to be installed with the clip. Pull on the weatherstrip shown below (green arrow). The instructions that came with it was misleading. Even their support didn�t get it at first.
Done. If you plan on doing this, the back window needs to be installed with the clip. Pull on the weatherstrip shown below (green arrow). The instructions that came with it was misleading. Even their support didn�t get it at first.
What is the "this" you're referring to? A picture of the whole area would help.
What is the "this" you're referring to? A picture of the whole area would help.
‘This’ is WeatherTech Visor.....
Look at the rear weatherstripping of your window.... sorry I didn’t take a pic of it from far away. Just know that it is not ‘one piece’ like I initially thought.
This is what they sent me which really didn’t help.
Look at the rear weatherstripping of your window.... sorry I didn’t take a pic of it from far away. Just know that it is not ‘one piece’ like I initially thought.
This is what they sent me which really didn’t help.
Thanks, this is the 1st time I had to use clips with their “deflectors”. I’ve been using them for years on my other vehicles (civic, ody) and never had to. The in-channel visors are better looking in my opinion.
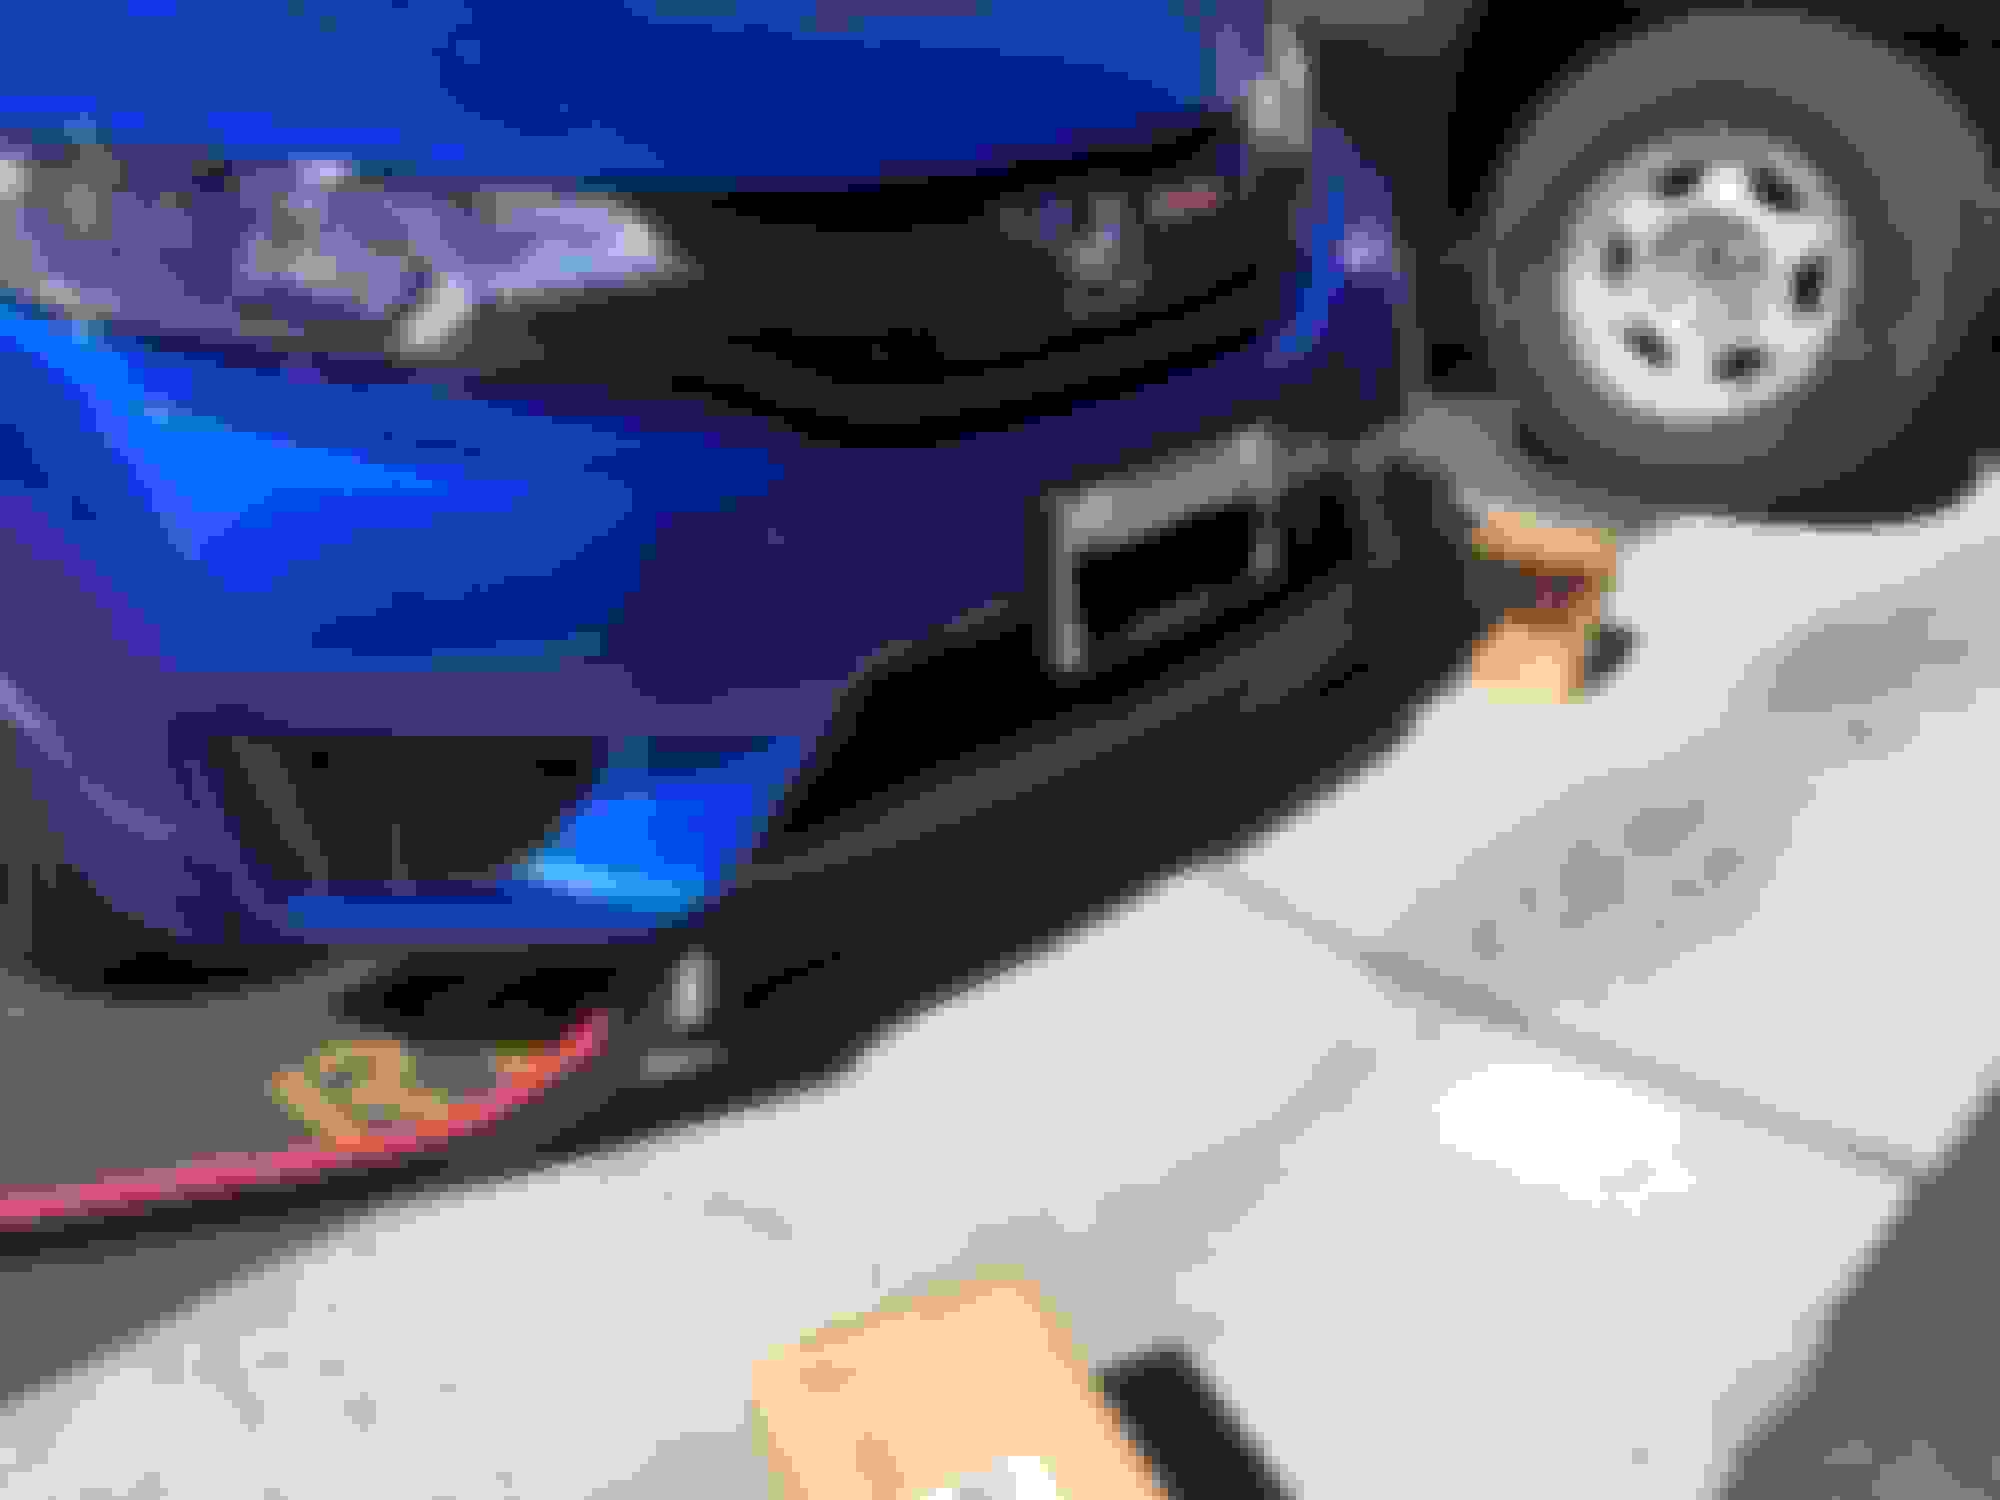
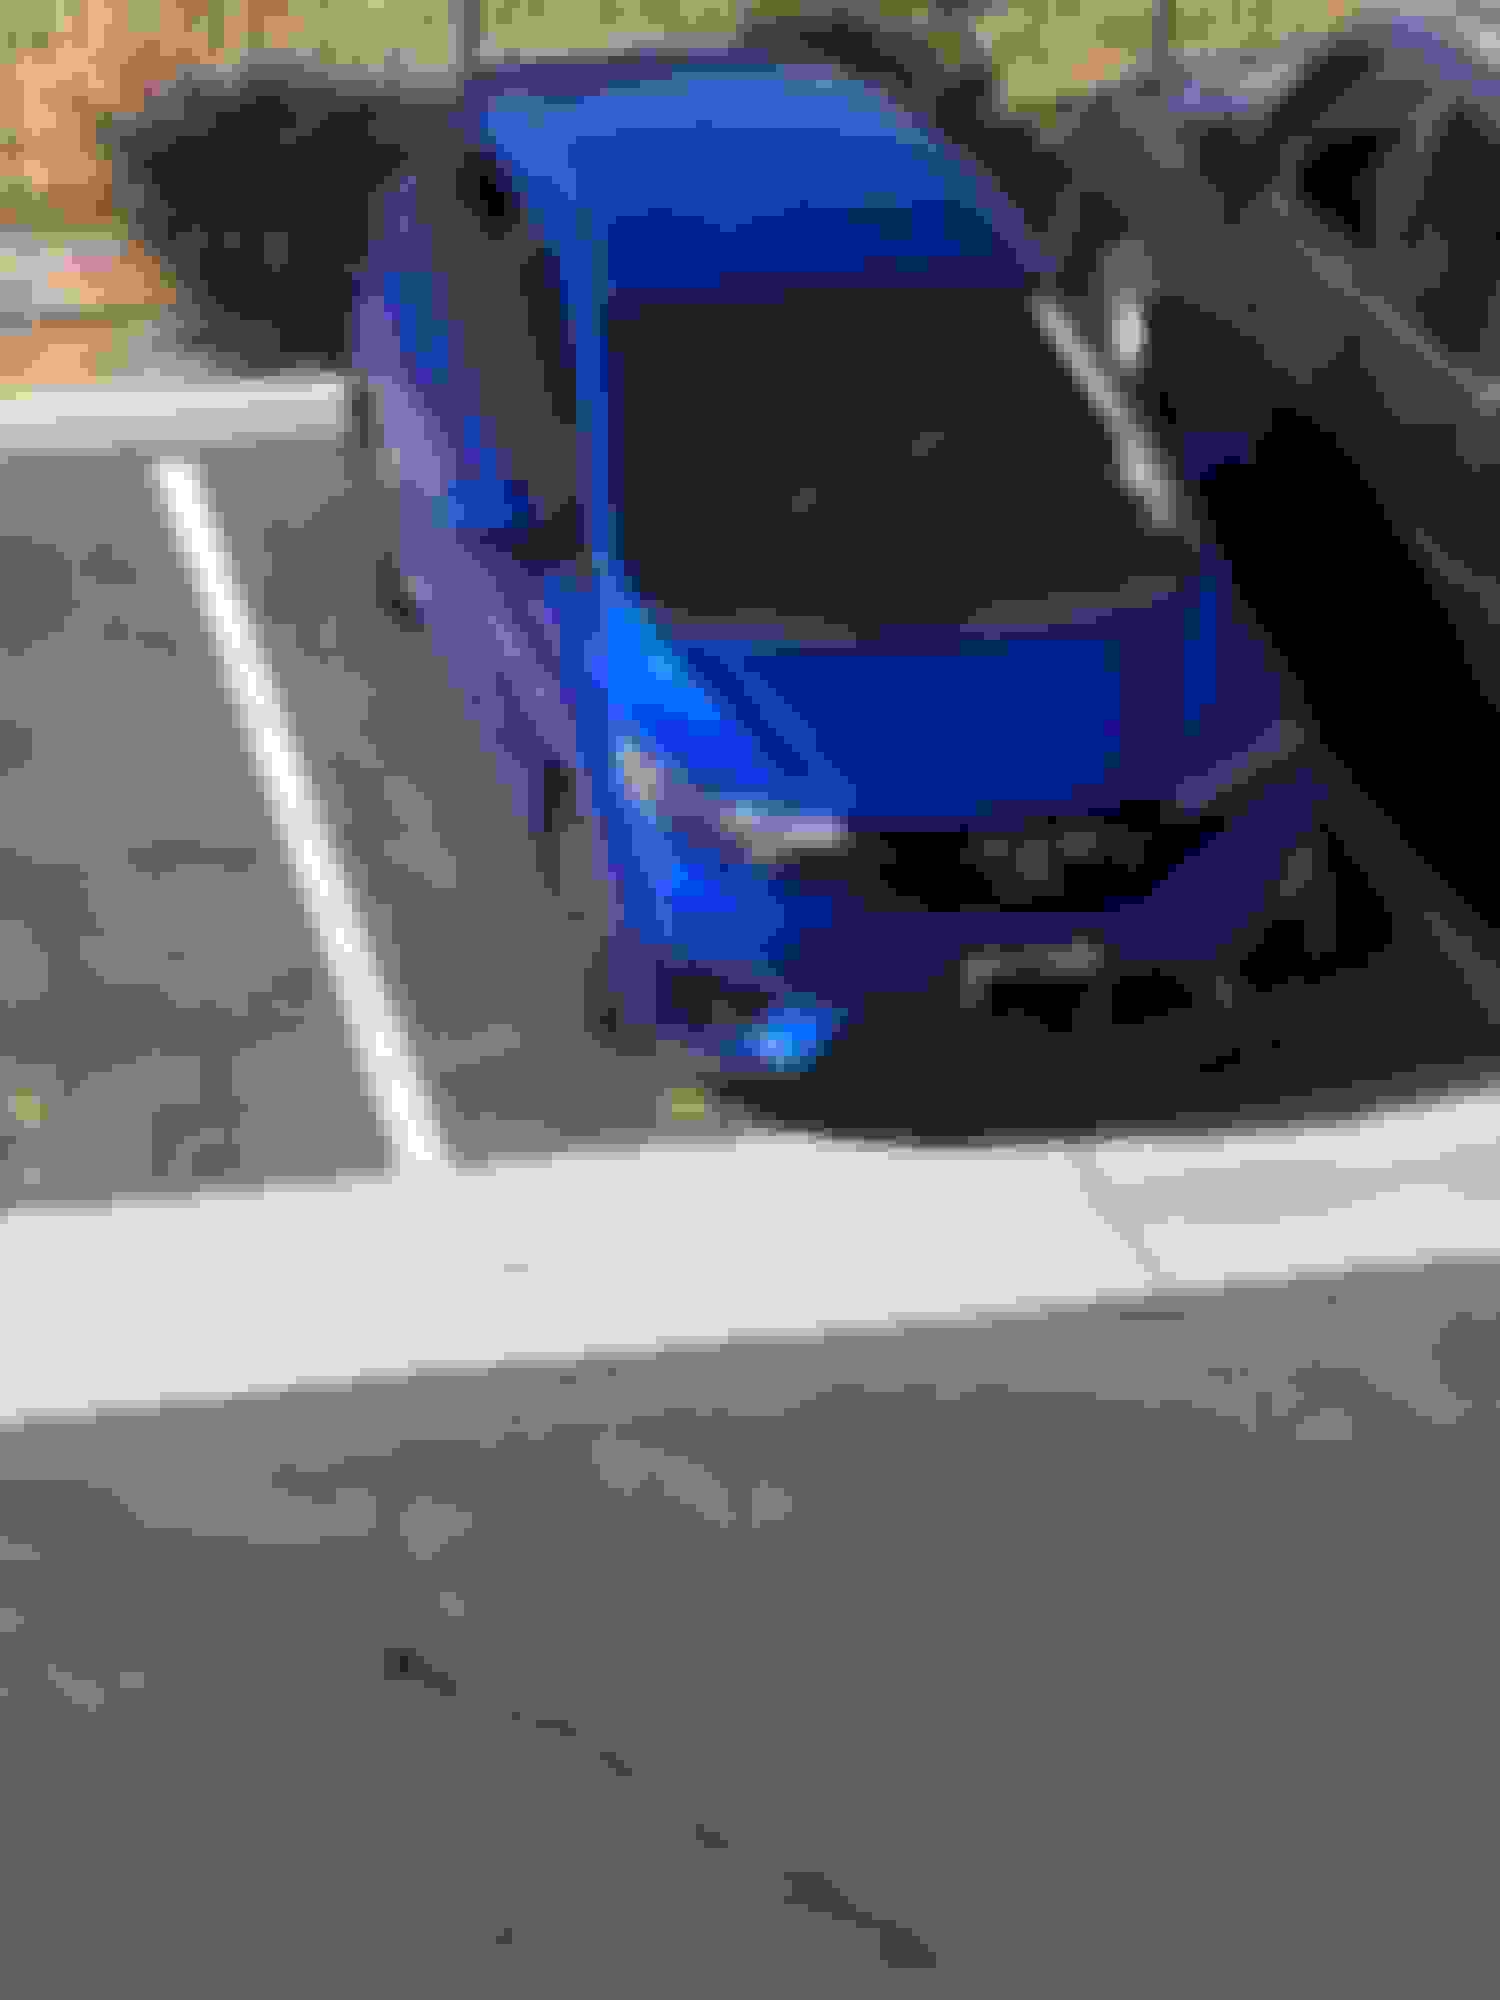
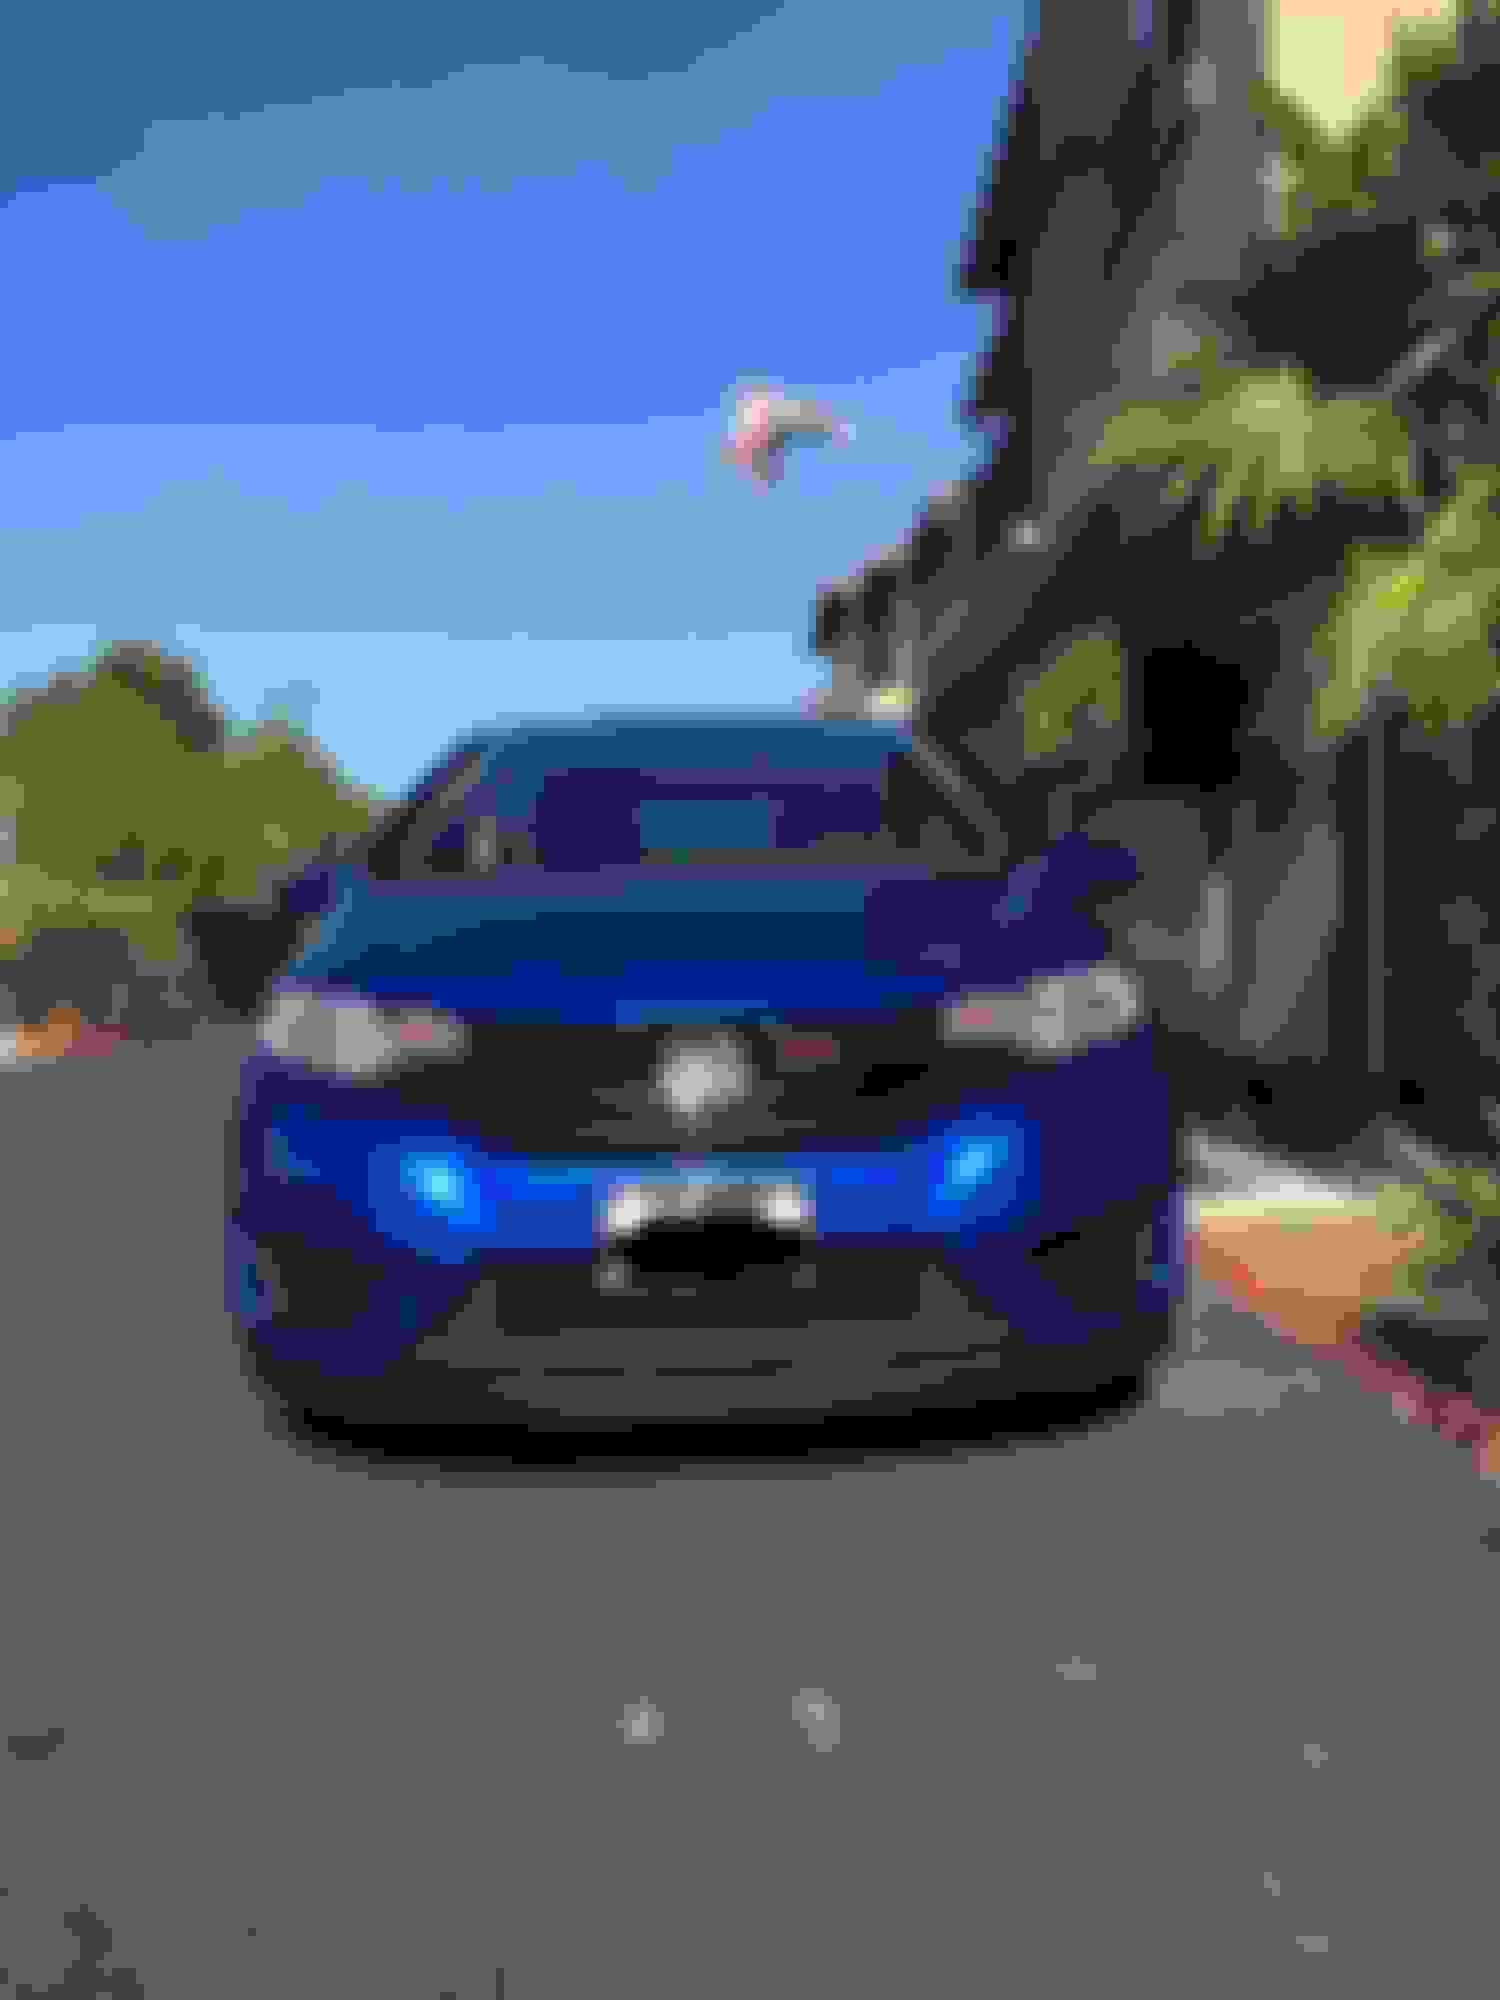
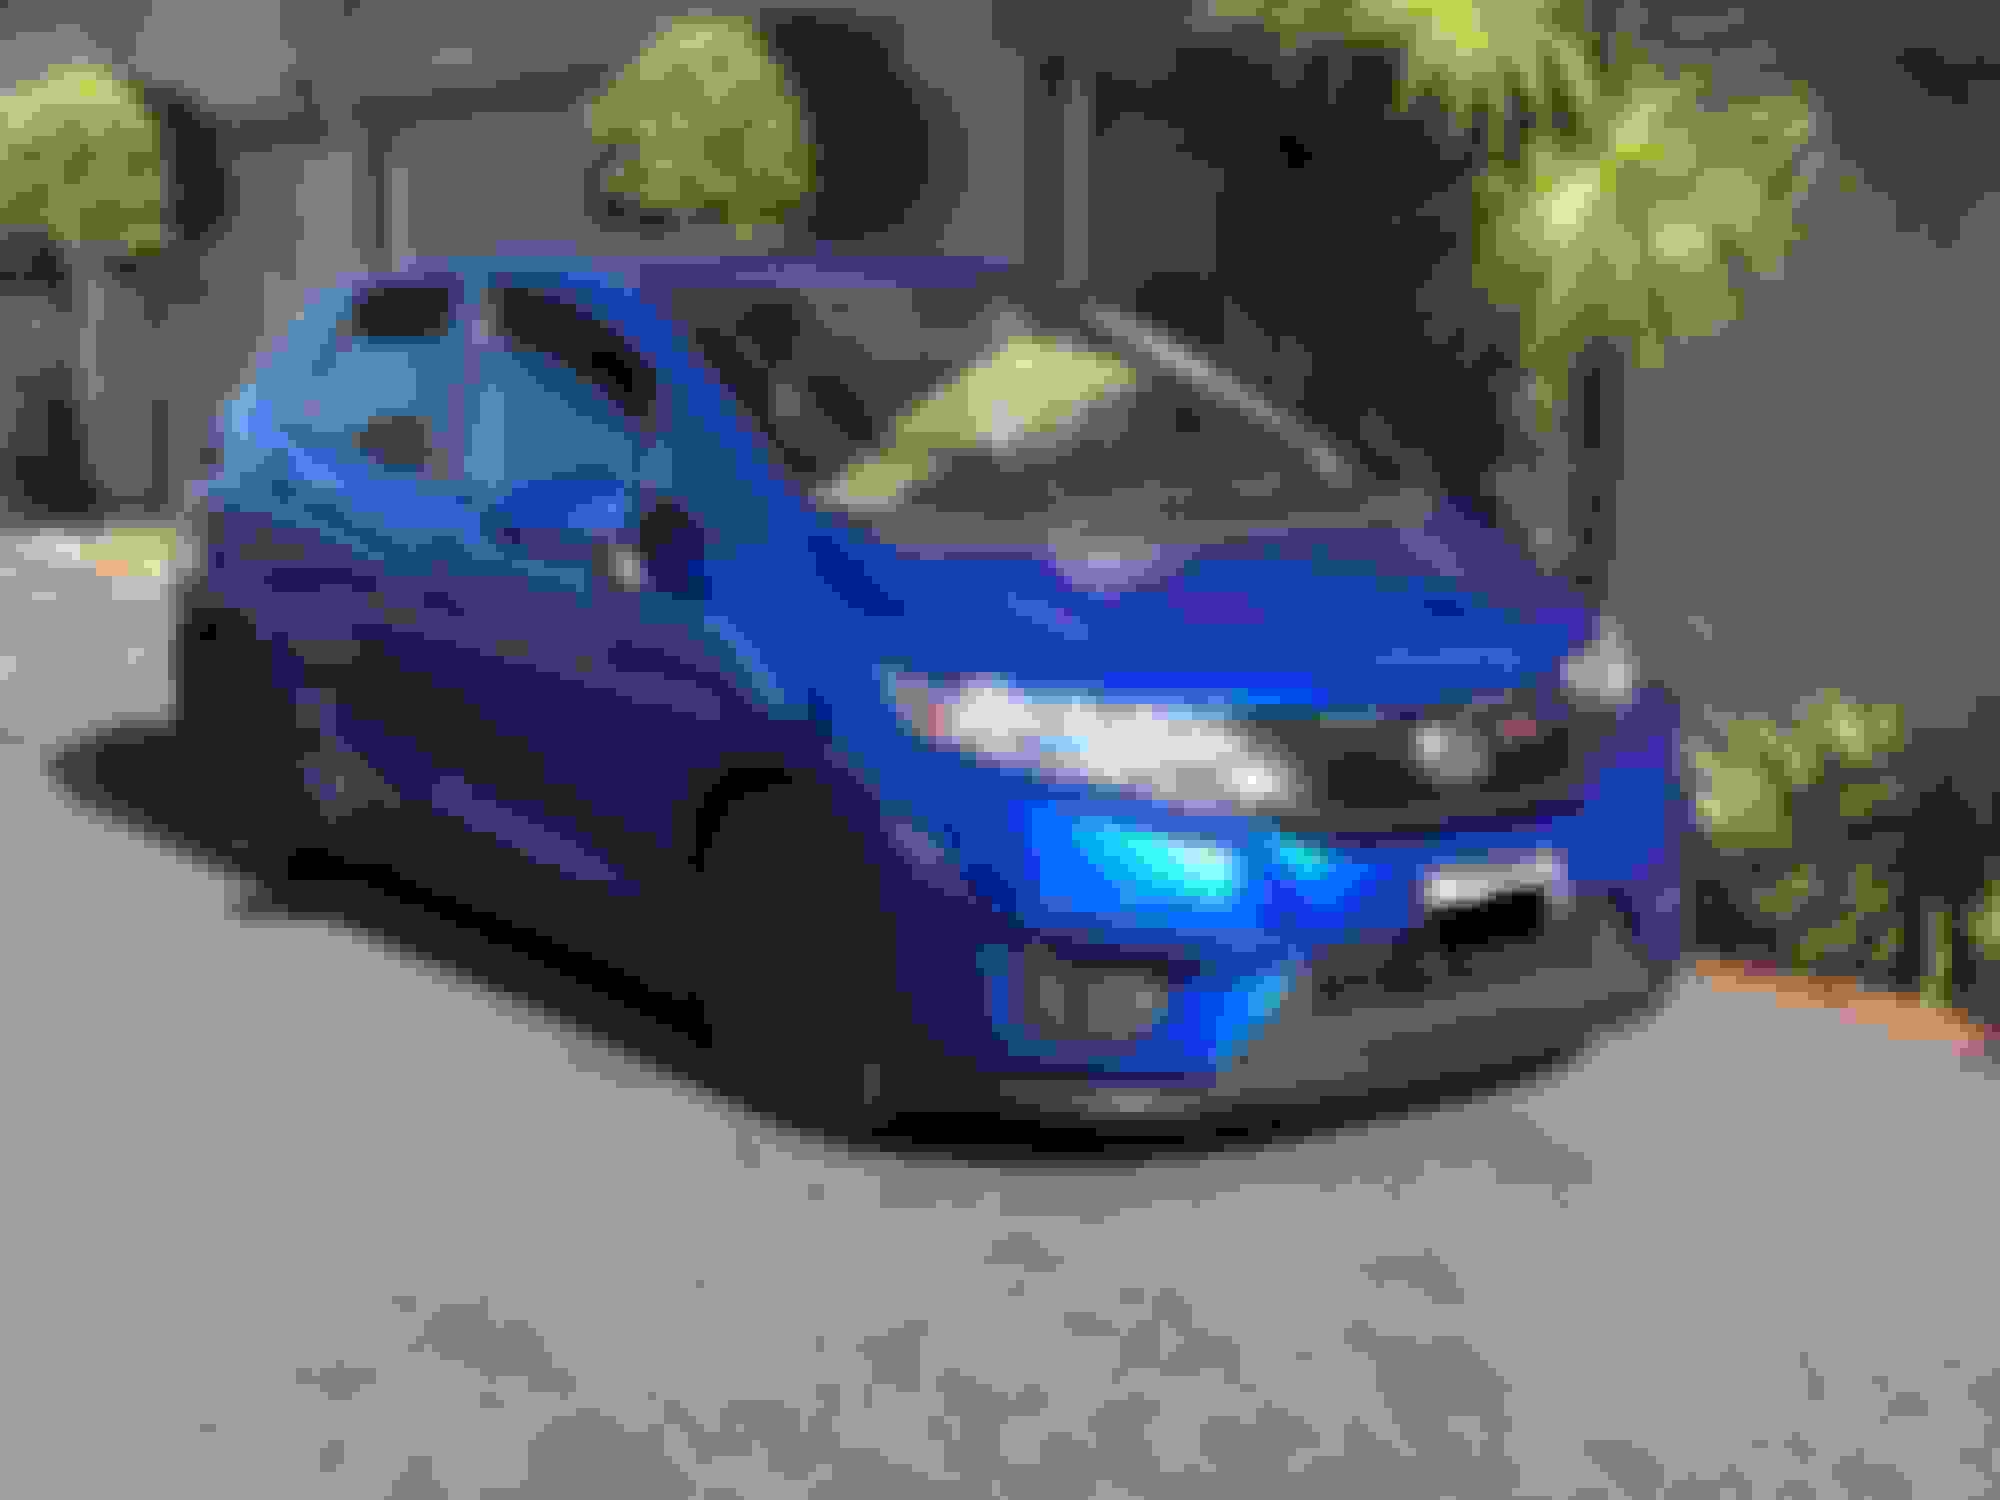
Okay, so this didn�t came out as well as i�d like but i think it looks pretty good for a start. I spent way more time on this than I expected but I didn�t like the front lips available and the one I did like was going to cost too much to ship, so here we are.
Below are the materials I purchased from Amazon. I basically followed the same technique for application as my sideskirts. Clean the area of application thoroughly before sticking on. I didn�t bolt/screw in anything of the lip.
I started off building the center piece to fill in the gap in the center of the bumper. The center piece measured almost 39�.
Below are some pictures of the measurements. The stock bumper is roughly 8 feet curved. It�s hard to say exactly because of the rubber material�s ability to stretch.
The big aha moment was that the bottom curves of the bumper were easy to fill in by bending the rubber strip. At first this seemed like the most daunting part of application but it turned out to make the lip wrap around even better. Please let me know your thoughts, I�m a big boy so I can take it.